



The first six weeks after birth are not the time for punishment workouts. Postpartum workouts should feel almost suspiciously small at first, because your body is still closing loops, healing tissue, and finding its balance again.
A lot of new parents expect to “bounce back” by doing more, but the smarter move is usually the opposite. Your core is relearning how to brace without gripping, your pelvic floor is dealing with pressure changes, and if you had a C-section or tearing, there’s actual tissue repair happening. That means the best postpartum exercise choices are the ones that restore control, blood flow, and confidence before they chase sweat.
I’d rather see someone do five clean breaths, a short walk around the house, and a handful of slow bridges than grind through a random core video that makes the belly dome, the incision pull, or the pelvic floor feel heavy. That heavy, dragging sensation is not something to “push through.” Neither is bleeding that ramps up, dizziness, fever, chest pain, or calf pain. Those need a medical call, not another rep.
So the game is simple. Start with movements that feel boring in the best possible way, then build only when your body gives you a clean signal to do more. Breathing comes first.
1. Diaphragmatic Breathing for Postpartum Core Recovery
If you only do one thing for a few days, make it this. A slow, full breath teaches your ribs, abdomen, and pelvic floor to move together again, which sounds modest until you realize how many post-birth aches come from holding everything tight.
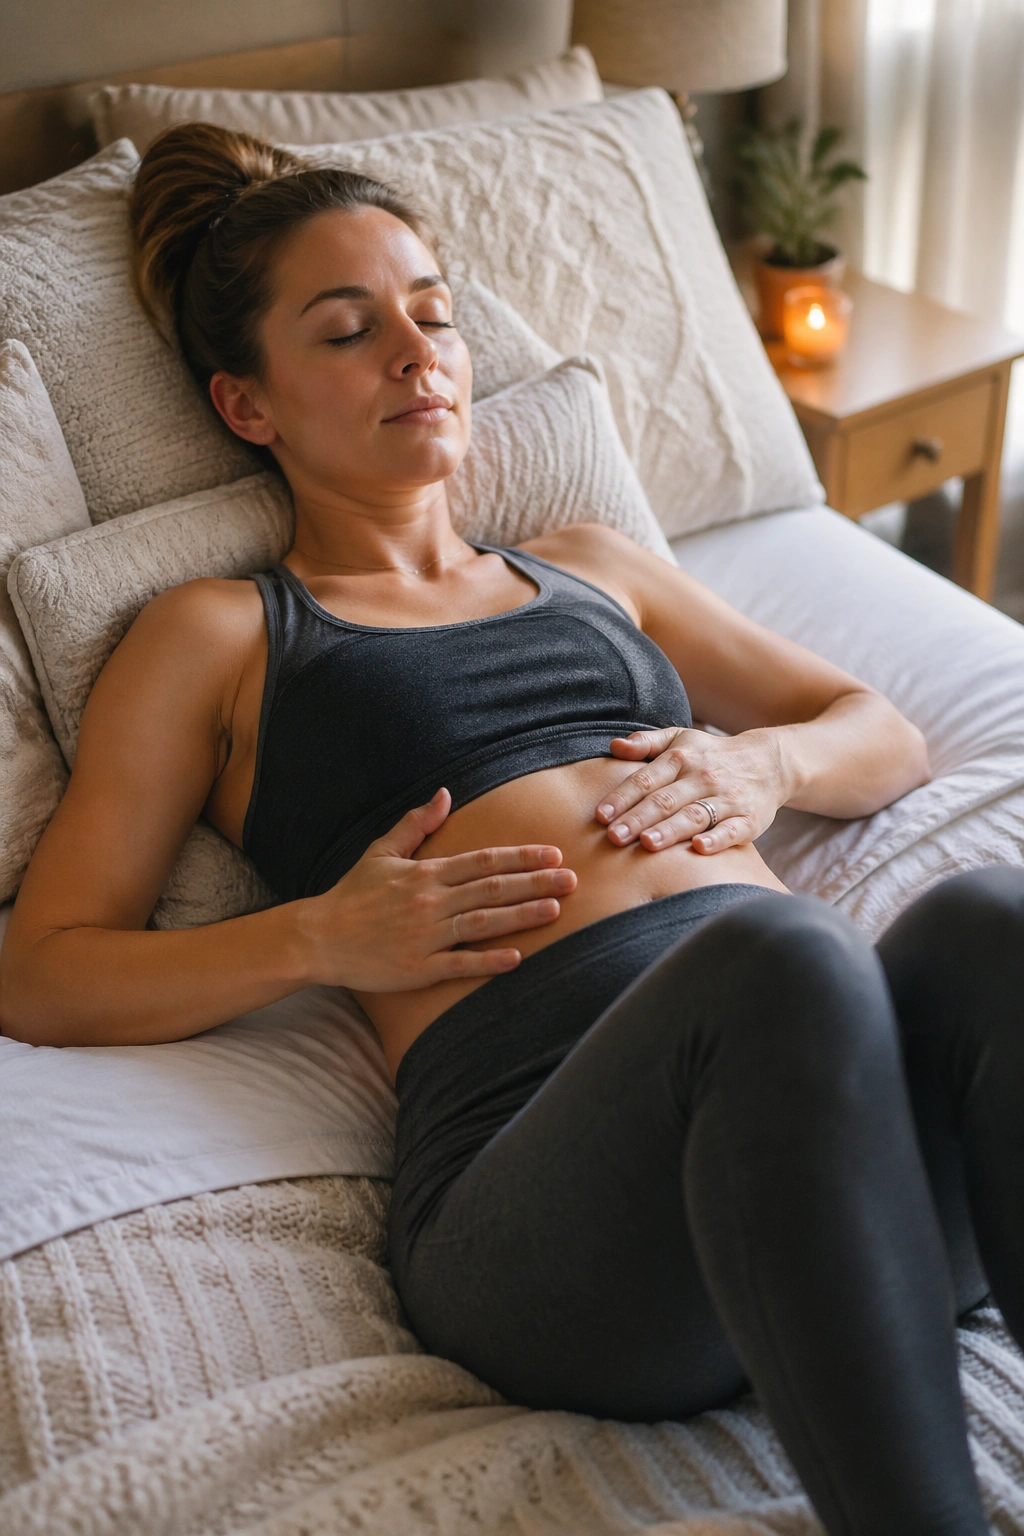
Lie on your back with your knees bent, or recline against pillows if the floor feels like too much. Put one hand on your lower ribs and one on your belly. Inhale through your nose and let the ribs widen sideways. Exhale through your mouth like you’re fogging a mirror, and let the belly soften instead of bracing.
Why It Matters
That long exhale is the useful part. It helps the deep core switch on without a hard crunch, and it gives the pelvic floor permission to release instead of gripping all day. A lot of postpartum tension lives there, especially if you’ve been guarding a sore incision or clenching through pain.
- Do 5 slow breaths per round.
- Repeat 2 to 4 rounds a day.
- Keep the exhale longer than the inhale.
- If your shoulders climb toward your ears, slow down.
Tip: if you can’t breathe quietly, you’re going too hard. The point is control, not effort.
2. Pelvic Floor Contractions With Full Release

Can you do a pelvic floor contraction without squeezing your butt, thighs, and jaw at the same time? That’s the real test. A clean Kegel is tiny, and the release afterward matters just as much as the lift.
Think of it as a gentle “pick up” around the vaginal opening and anus, then let it go completely. Hold your breath through it and the exercise loses half its value. Crush it too hard and your pelvic floor may get more irritated, not less. That matters a lot in the first six weeks, when tissues can still be swollen, tender, or stitched.
How to Do It
- Exhale softly and imagine lifting the pelvic floor up and in.
- Hold for 2 to 3 seconds at first.
- Release for 5 to 6 seconds.
- Repeat 6 to 8 times.
- Finish with a few relaxed breaths and a full let-go.
If you feel pain, pressure, or a “too tight” sensation, skip the squeeze and work on relaxation breathing instead. Some postpartum bodies need less contraction and more release. That is not failure. It’s useful information.
3. Ankle Pumps and Circles for Swelling Relief

If your feet look puffy after a long stretch of sitting or lying down, this tiny movement is worth doing. It wakes up the calves, helps blood move back up the legs, and loosens the stiff, boxed-in feeling that can show up fast after birth.
You can do ankle pumps in bed, on the couch, or while feeding the baby. Pull the toes toward you, then point them away. After that, draw slow circles in both directions. No fancy setup. No mat. Just movement that keeps the lower legs from getting sleepy and swollen.
- Do 10 pumps up and down.
- Do 10 circles in each direction.
- Repeat 2 to 3 times during the day.
- Move both ankles if one side feels tight.
A quick note: if one calf becomes painful, hot, red, or noticeably more swollen than the other, that is not a normal “postpartum stiffness” issue. Get medical help. The exercise itself is harmless. The symptom isn’t.
4. Short Indoor Walks for Postpartum Recovery
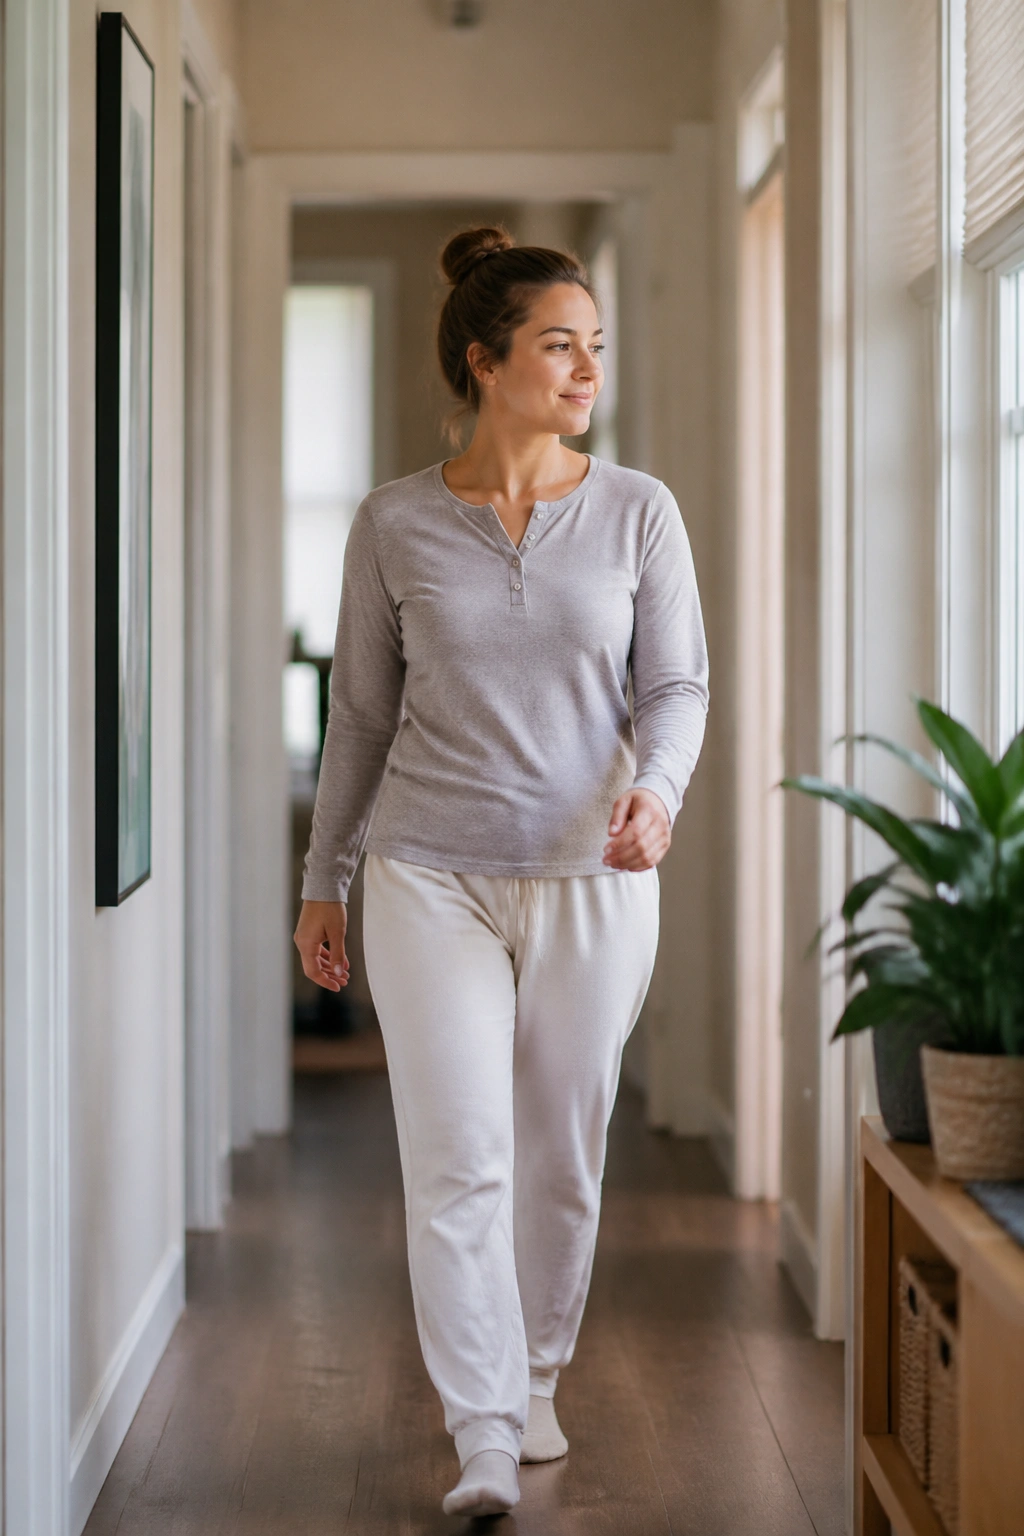
Walking is still a workout when your body is recovering. The trick is to keep it small enough that you finish feeling looser, not wiped out. Think hallway laps, kitchen circles, or a slow walk from the bedroom to the mailbox and back if that feels fine.
Unlike a structured cardio session, these little walks are about circulation, mood, digestion, and getting your hips moving without load. They also help with the weird foggy feeling that can show up when you sit or lie down too long. A five-minute walk can do more for your energy than a harder workout that leaves you shaky.
Try 2 to 5 minutes at a time, 3 to 6 times a day. If that’s easy, add a minute or two. If you notice more bleeding, pelvic heaviness, incision pulling, or a rise in pain later that day, scale back. The body usually gives a pretty clear bill.
I like the talk test here. If you can speak in full sentences, you’re probably in the right zone. If you’re huffing, you’re pushing too hard for this stage.
5. Neck, Shoulder, and Upper-Back Rolls
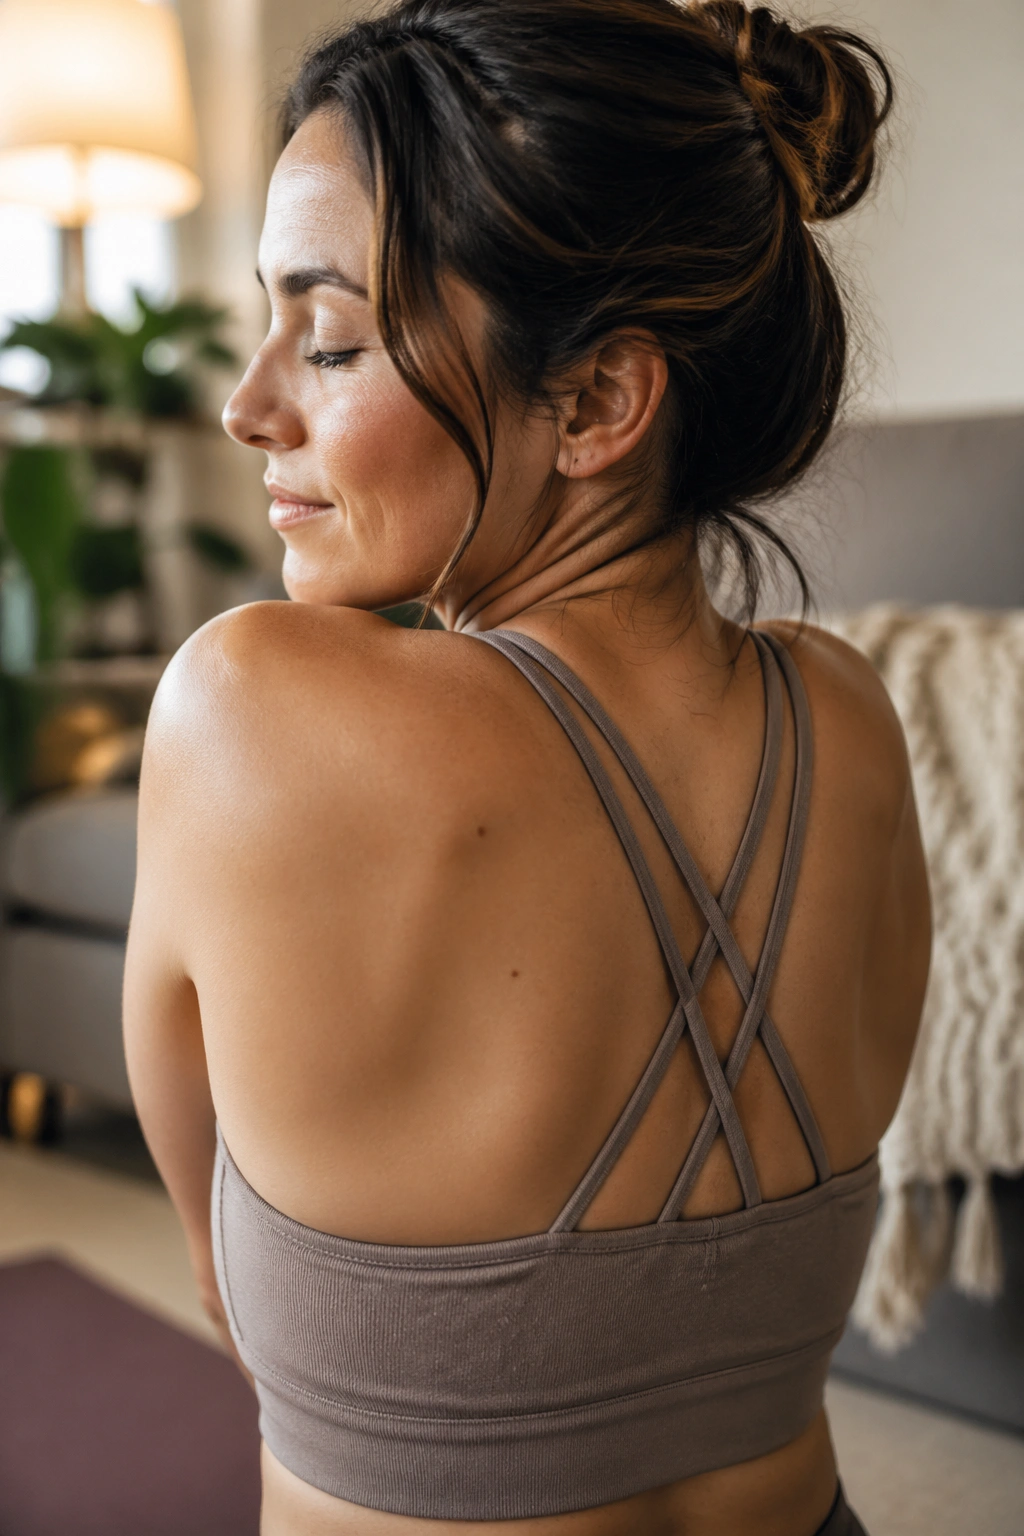
The first weeks after birth can do a number on your neck. Feeding positions, holding a baby with one arm, carrying a car seat, sleeping in odd chunks — it all lands in the same place, and that place is usually between the base of the skull and the tops of the shoulders.
Start with simple shoulder rolls. Lift the shoulders up, roll them back, and let them drop. Then circle the neck only halfway, side to side, instead of whipping the head around. Full neck circles can feel nice on paper and awful in real life if you’re already tight.
One-sentence version: slow beats big here.
After a few rolls, squeeze the shoulder blades together for two seconds, then let them drift apart. Do that standing, seated, or while waiting for a bottle to warm. The whole thing takes less than a minute, but it can take the edge off that clenched, hunched feeling that makes new parents look older than they are.
6. Seated Cat-Cow for a Stiff Back
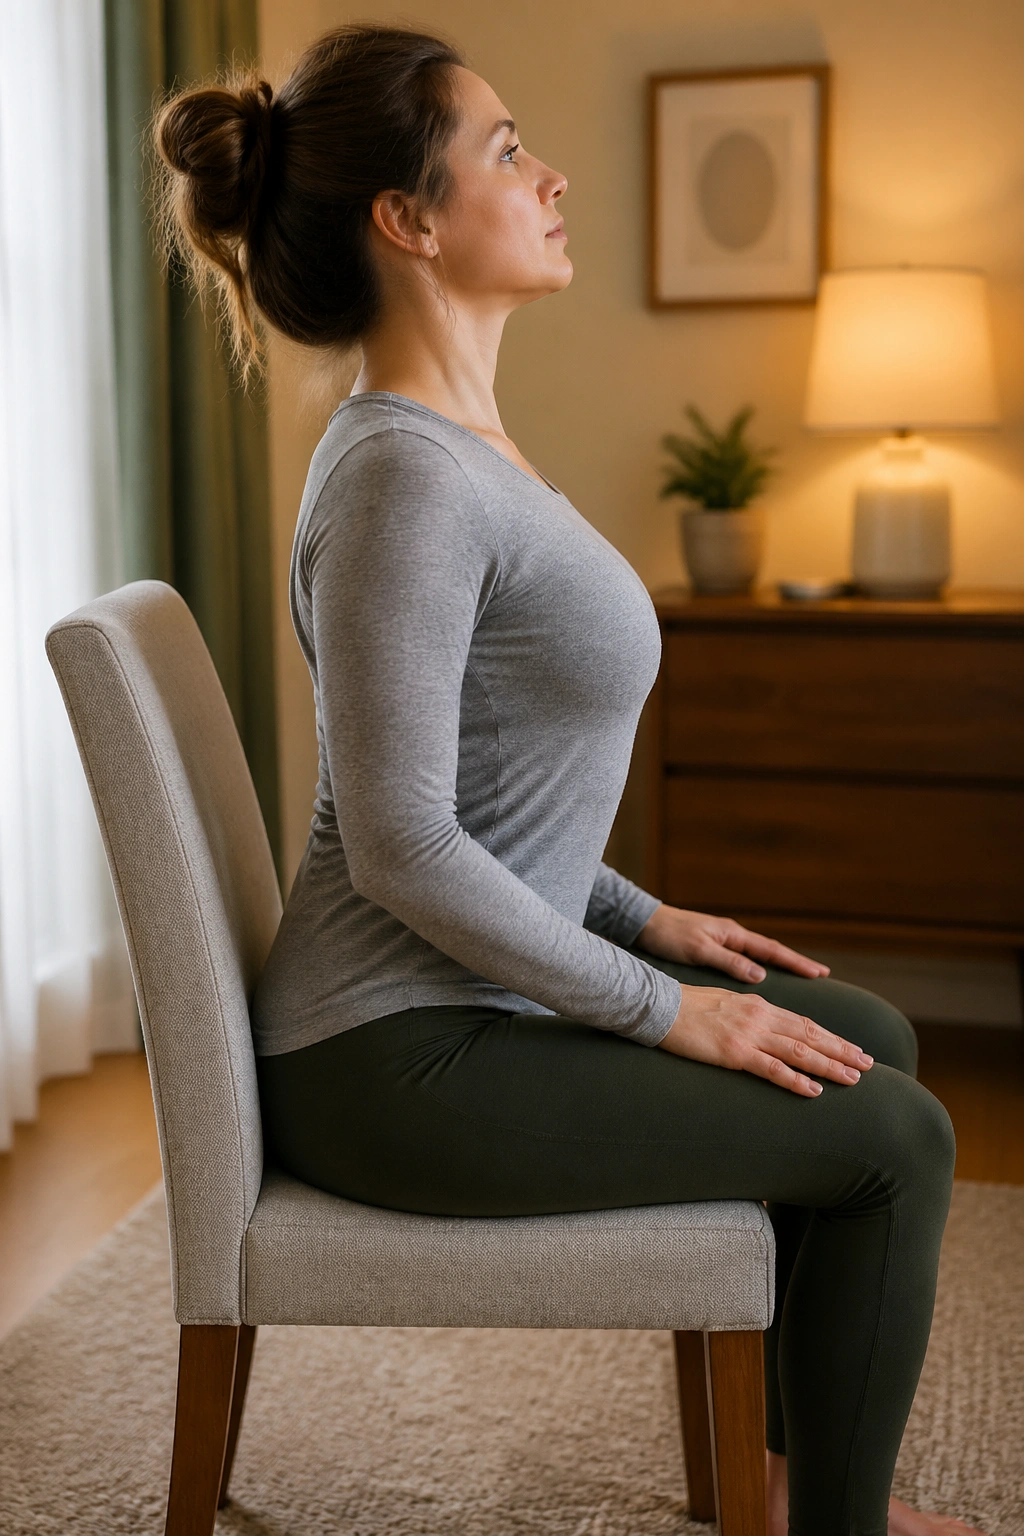
A chair can do a lot more for your back than people give it credit for. Seated cat-cow is one of those postpartum exercises that looks too easy until you realize how good it feels to move the spine after days of hunching over a feeding pillow.
Sit near the front edge of a sturdy chair with your feet flat. Inhale and tilt the chest up while gently arching the back. Exhale and round the spine, pulling the belly in just a little as you tuck the tailbone. Keep the motion smooth and slow, not exaggerated.
Why It Works
It gives the ribs, mid-back, and pelvis a chance to reconnect without pressure on the abdomen. That matters if your belly still feels weak or if floor positions are awkward because of stitches, soreness, or a C-section incision. You’re not trying to bend as far as possible. You’re trying to move cleanly.
- Do 6 to 10 reps.
- Keep the shoulders relaxed.
- Breathe with the movement.
- Stop if the movement creates pinching in the low back.
Best cue: move as if your spine is made of soft beads on a string.
7. Heel Slides for Gentle Core Reconnection
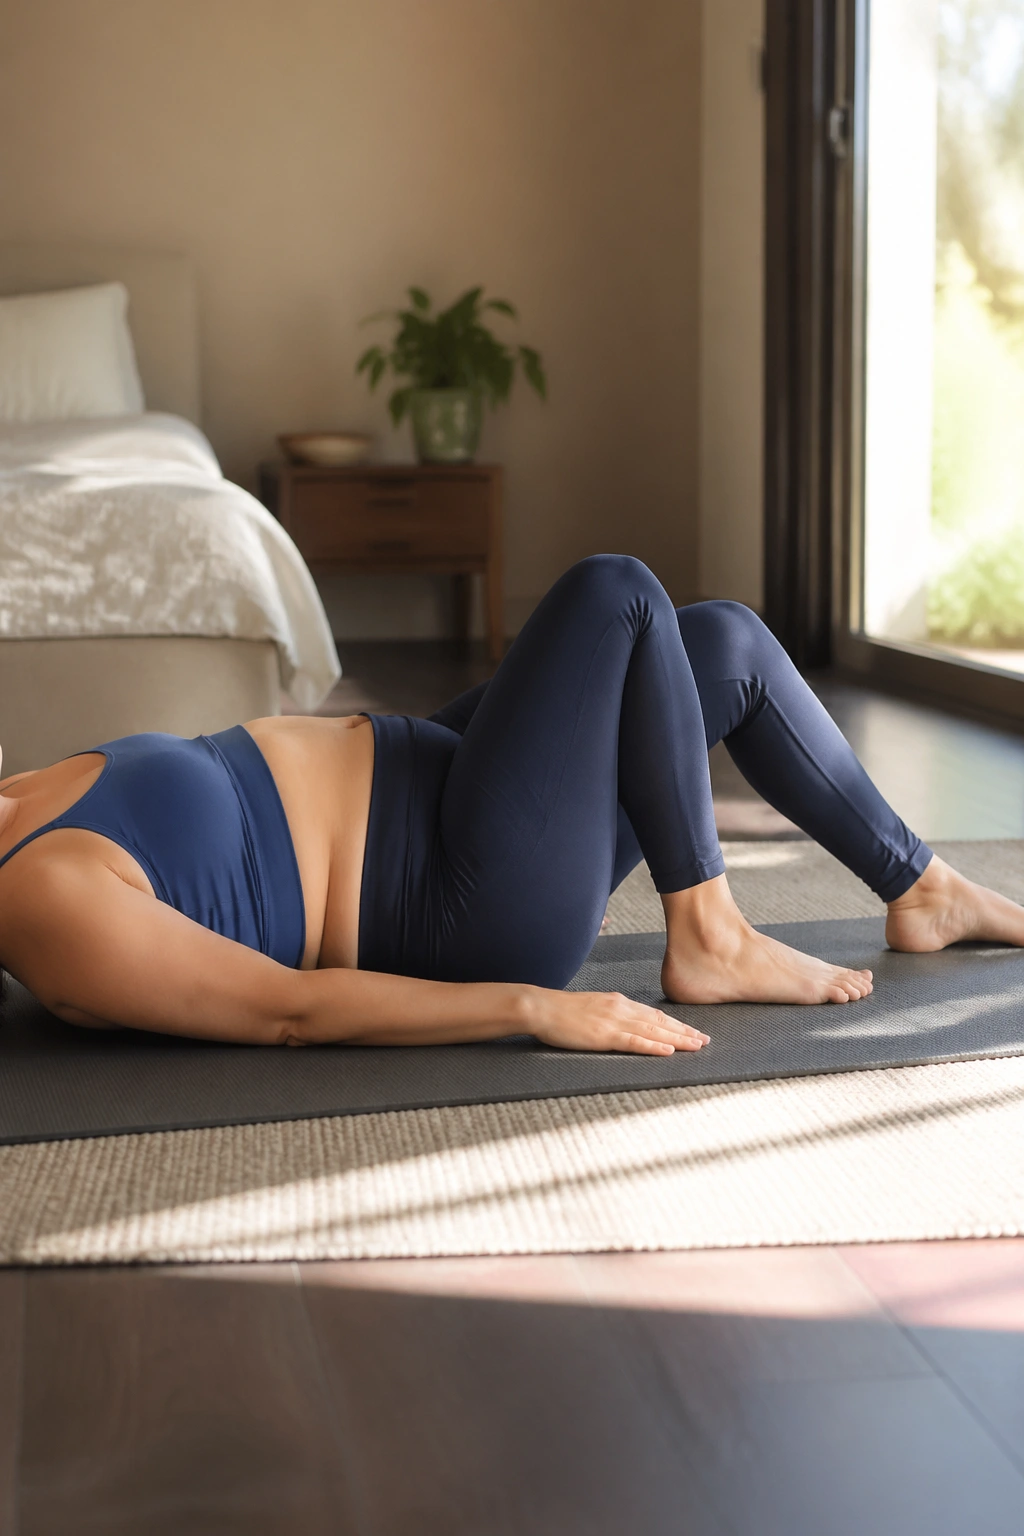
Heel slides look tiny. They are not useless. In the first six weeks postpartum, tiny is often exactly right, because the goal is to wake the deep core without turning on the old habit of bracing hard through the abdomen.
Lie on your back with knees bent and feet flat. Exhale, then slowly slide one heel away from you until the leg is almost straight. Inhale as you bring it back. The torso should stay quiet. If the belly pops up into a ridge or the low back arches hard, shorten the slide.
That little sliding motion asks the transverse abdominis to do a small job without a crunch. It’s one of the gentler ways to start core rehab after birth, especially if sit-ups or planks feel like a joke you do not want to hear.
Try 5 slides per side to start. Add more only if your belly stays flat and the movement feels smooth. Sloppy heel slides are not better than fewer good ones. They’re just sloppier.
8. Pelvic Tilts Against the Floor or Wall
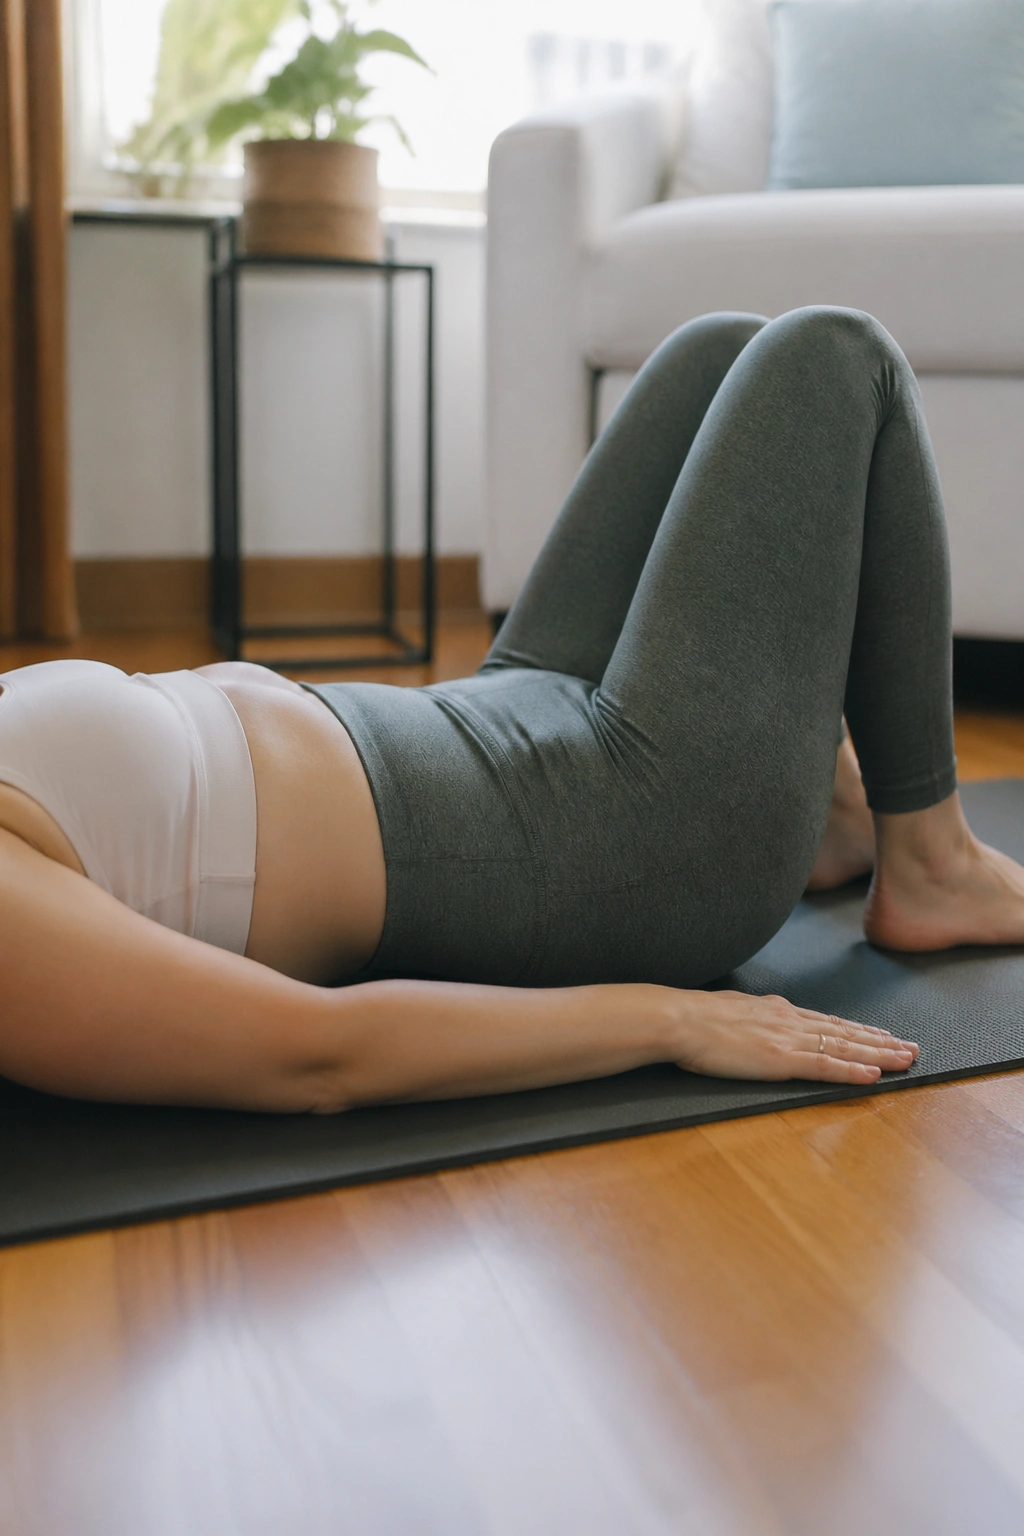
Why does a tiny pelvic tuck help so much? Because postpartum backs often get stuck in a shape they never asked for — arched from sitting, feeding, carrying, and sleeping in half-broken positions.
Lie on your back with knees bent, or stand with your back against a wall if floor work is uncomfortable. Exhale and gently flatten the lower back toward the surface by tipping the pelvis backward. Inhale and return to neutral. That’s the whole thing. No hard crunch, no white-knuckle squeeze.
How to Use It
- Do 8 to 12 reps.
- Pair the tilt with an exhale.
- Keep the rib cage soft.
- If the lower back flares or the belly domes, reduce the range.
Pelvic tilts are good companions to heel slides, because they remind the pelvis where neutral lives. A lot of new parents spend the day tucked forward or arched back. This move lands somewhere in the middle, which is where the body usually wants to be.
9. Supported Glute Bridges With a Small Lift
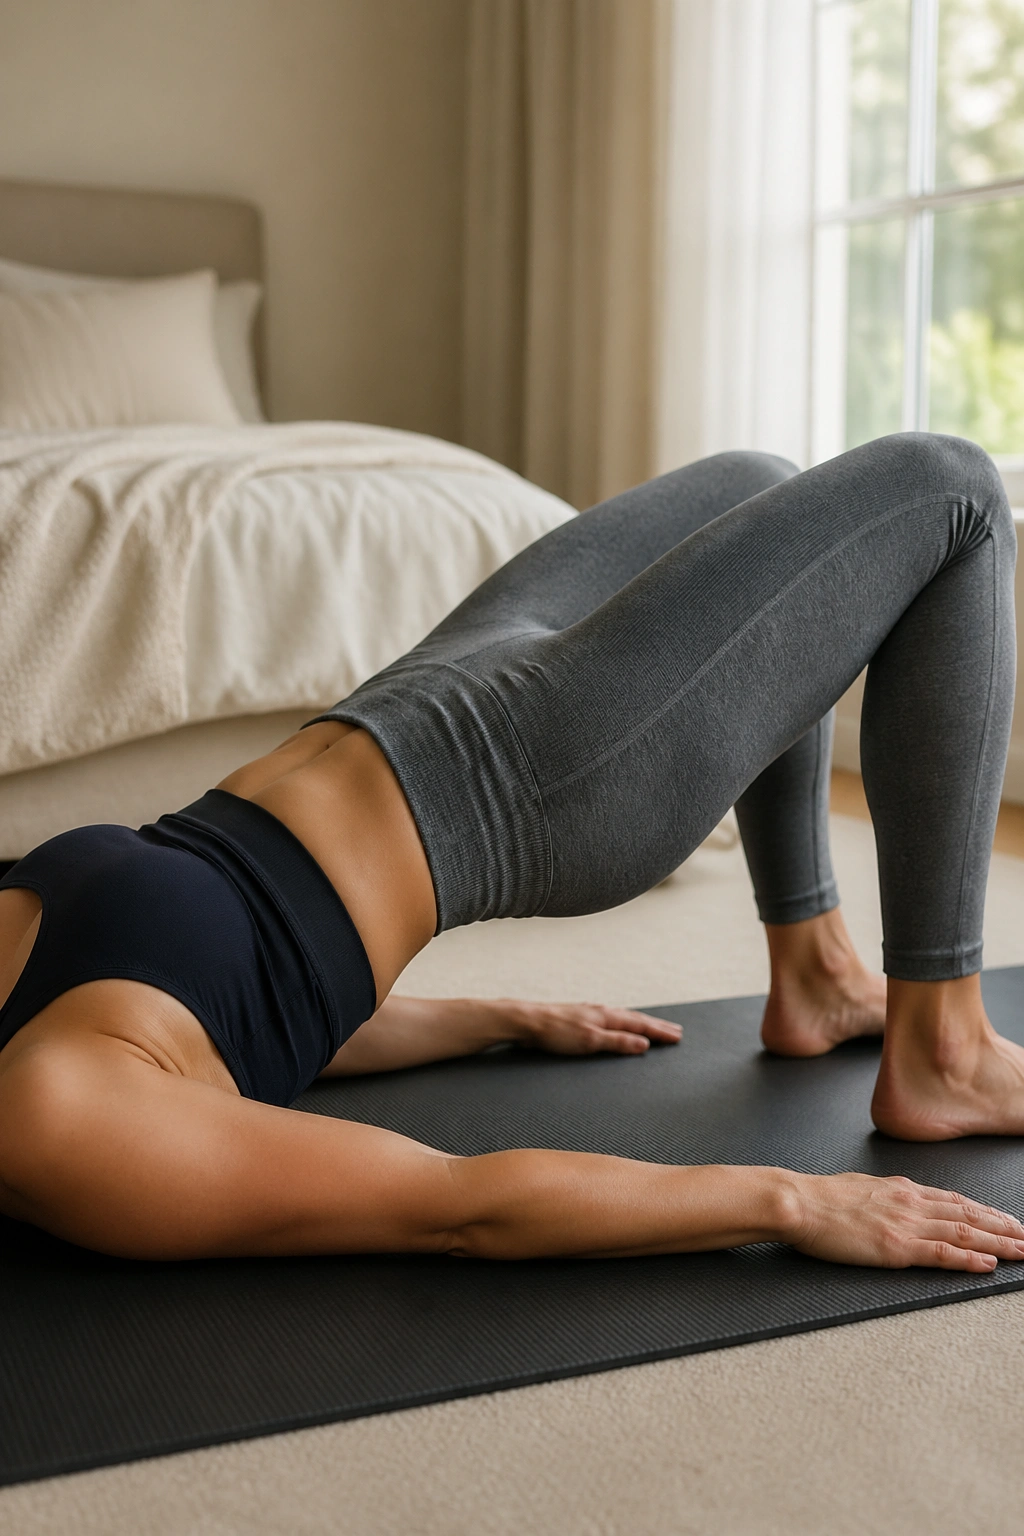
A sleepy backside is common after birth. You sit more, walk less, carry more weight in front, and the glutes start acting like they’ve gone on strike. Supported bridges can wake them up, but the lift should stay small, especially if your incision is still tender.
Lie on your back with knees bent and feet about hip-width apart. Exhale, squeeze the glutes lightly, and lift the hips only 2 to 3 inches. Pause for a second or two. Lower slowly. If the lift makes your belly bulge, your low back cranky, or your incision pull, stop the bridge and stay with a floor press or a glute squeeze instead.
- Keep the feet planted.
- Do 6 to 8 reps.
- Lift no higher than feels smooth.
- Watch for doming across the middle of the belly.
Bridge work is useful because it ties the backside, hamstrings, and core together without standing impact. It’s not a race to see how high the hips can go. Small and clean beats big and messy here.
10. Side-Lying Clamshells for Hip Stability
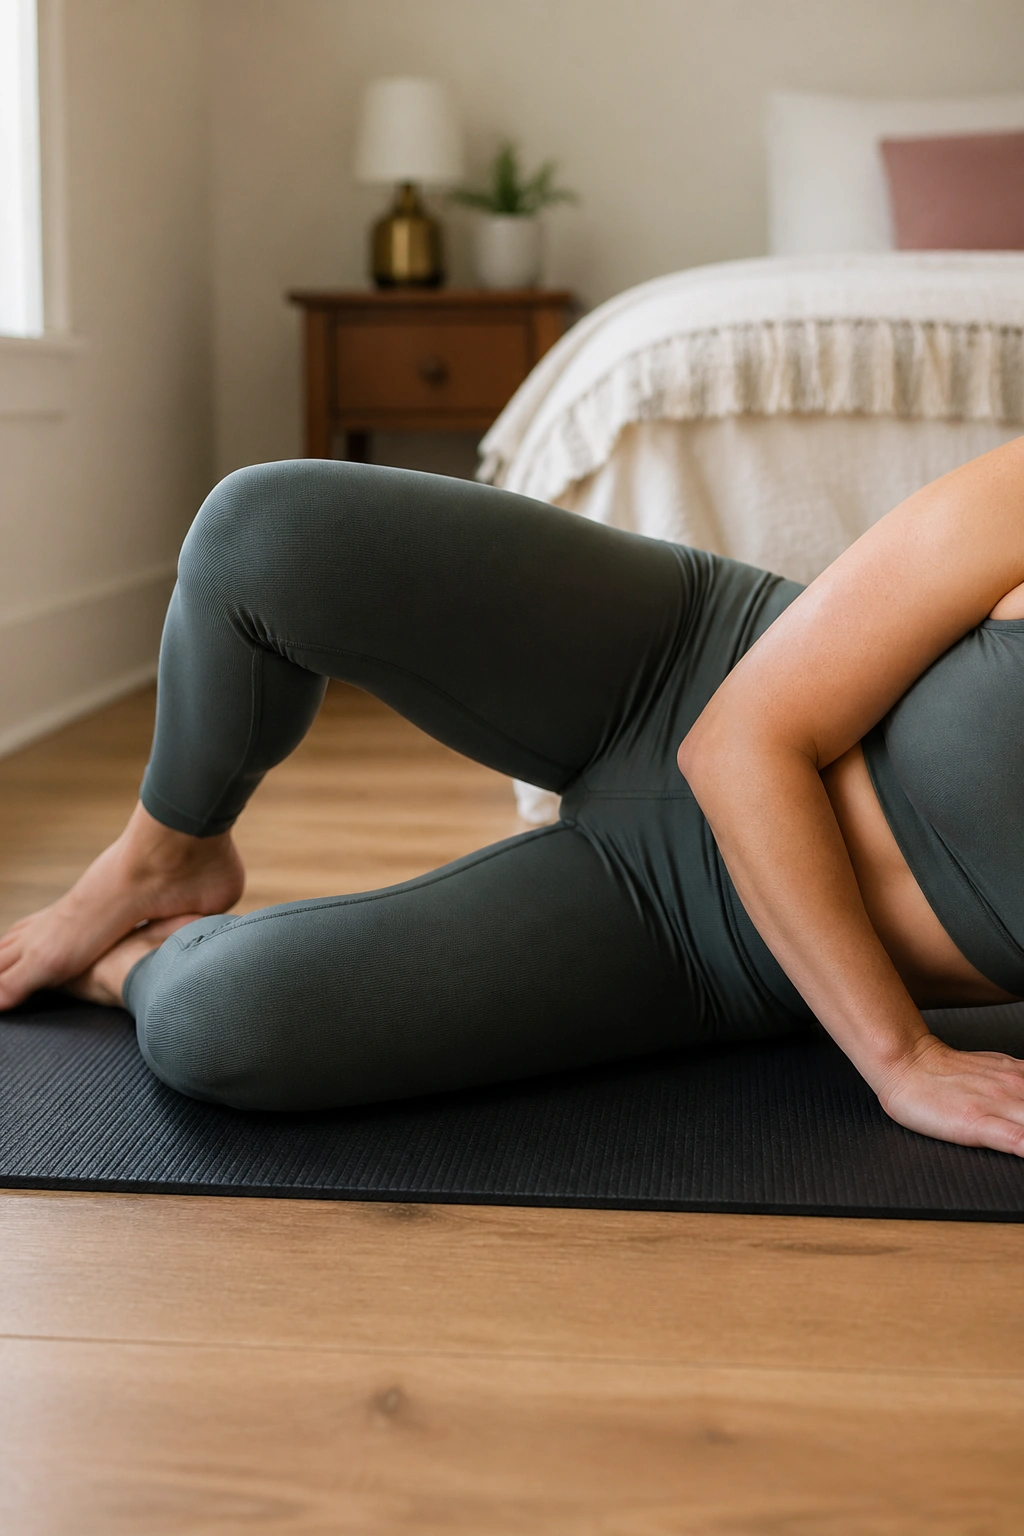
Unlike squats, which can feel too demanding early on, clamshells stay close to the ground and ask the side glutes to wake up without loading the abdomen much. That makes them a smart pick when your hips feel loose, shaky, or oddly tired from all the carrying.
Lie on your side with knees bent and feet stacked. Keep the hips still, then lift the top knee a few inches like the shell of a clamshell opening. Lower it slowly. You should feel the side of the upper butt work, not the lower back twist. If you roll backward while lifting, the motion has gotten too big.
These are especially nice if one hip feels more annoying than the other, or if stairs suddenly seem harder than they used to. That kind of side-to-side weakness shows up a lot in postpartum recovery. A loop band can be added later, but I would start without one and keep the form clean.
Do 8 to 12 reps per side. Slow down the lowering phase. That’s where the work lives.
11. Tabletop Weight Shifts and Rock-Backs
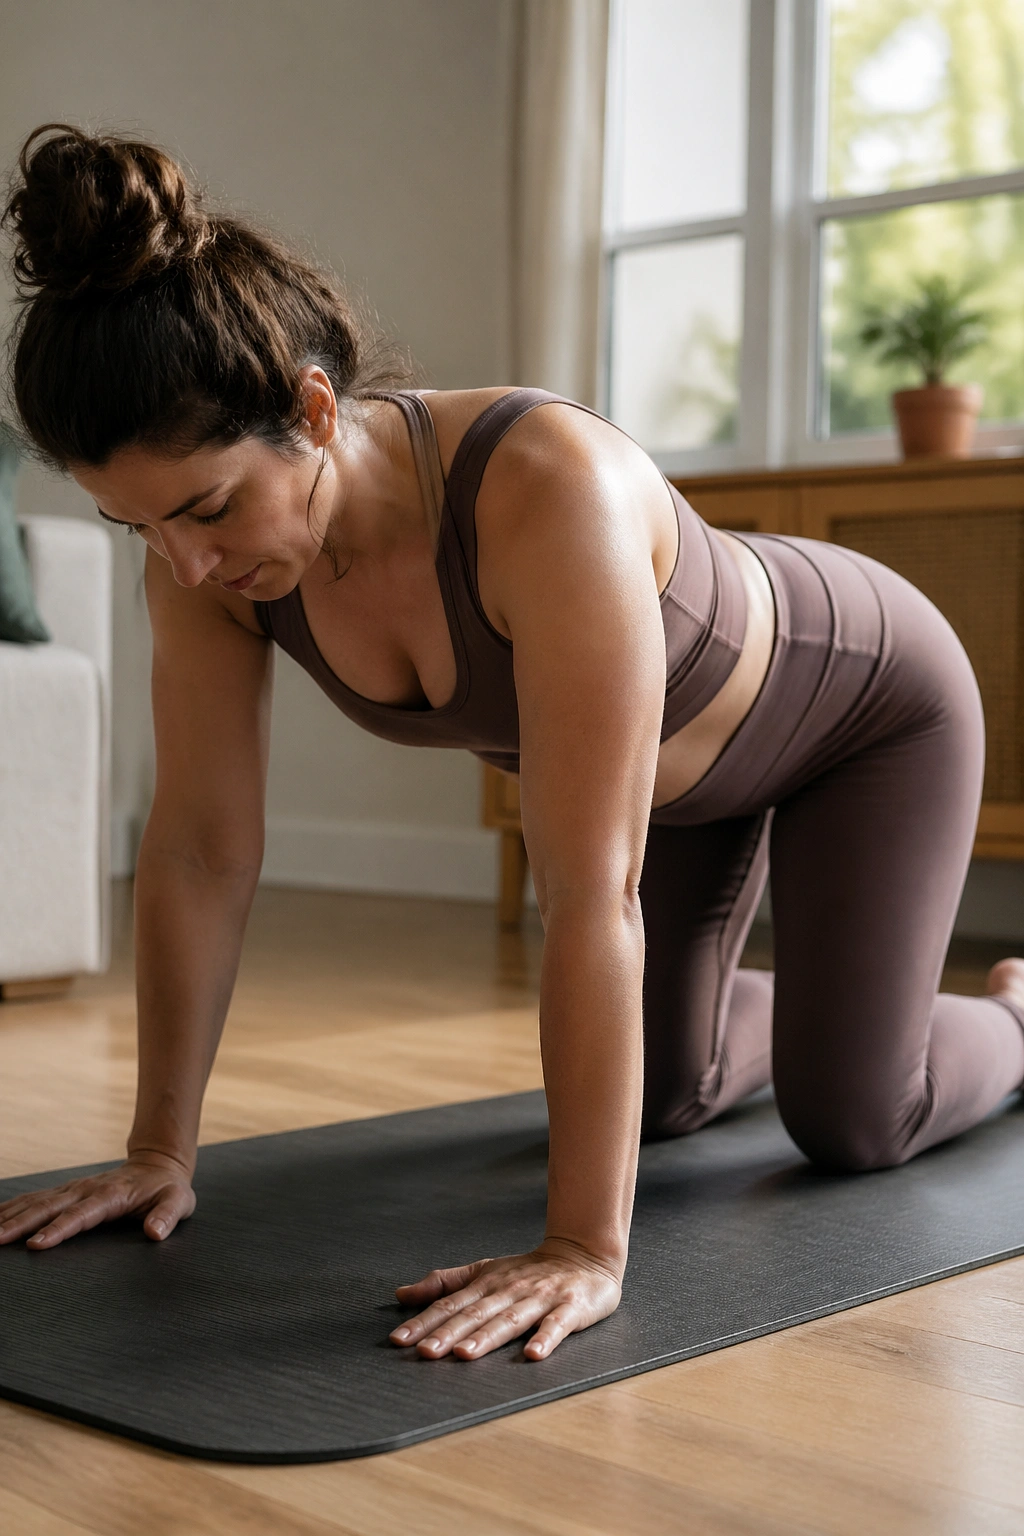
Being on all fours changes the feel of core work in a good way. The belly is not compressed the way it can be on a mat, and the position gives you a cleaner chance to notice how your trunk responds when weight moves from one side to the other.
Start on hands and knees with wrists under shoulders and knees under hips. If wrists are tender, drop to forearms or place hands on the edge of a couch or bed. Gently rock forward and back an inch or two, then side to side. The idea is to move with control, not to chase range. Keep the breath easy.
One clean rep is better than ten sloppy ones. Seriously.
After a few shifts, pause and notice whether one side feels heavier, whether the low back wants to sag, or whether the abdomen pushes outward in a cone shape. Those little clues matter. If the movement feels fine, rock back toward the heels a few inches and return. That version often feels good on tight hips and can be a nice bridge toward more active floor work.
12. Sit-to-Stand From a Chair for Postpartum Strength
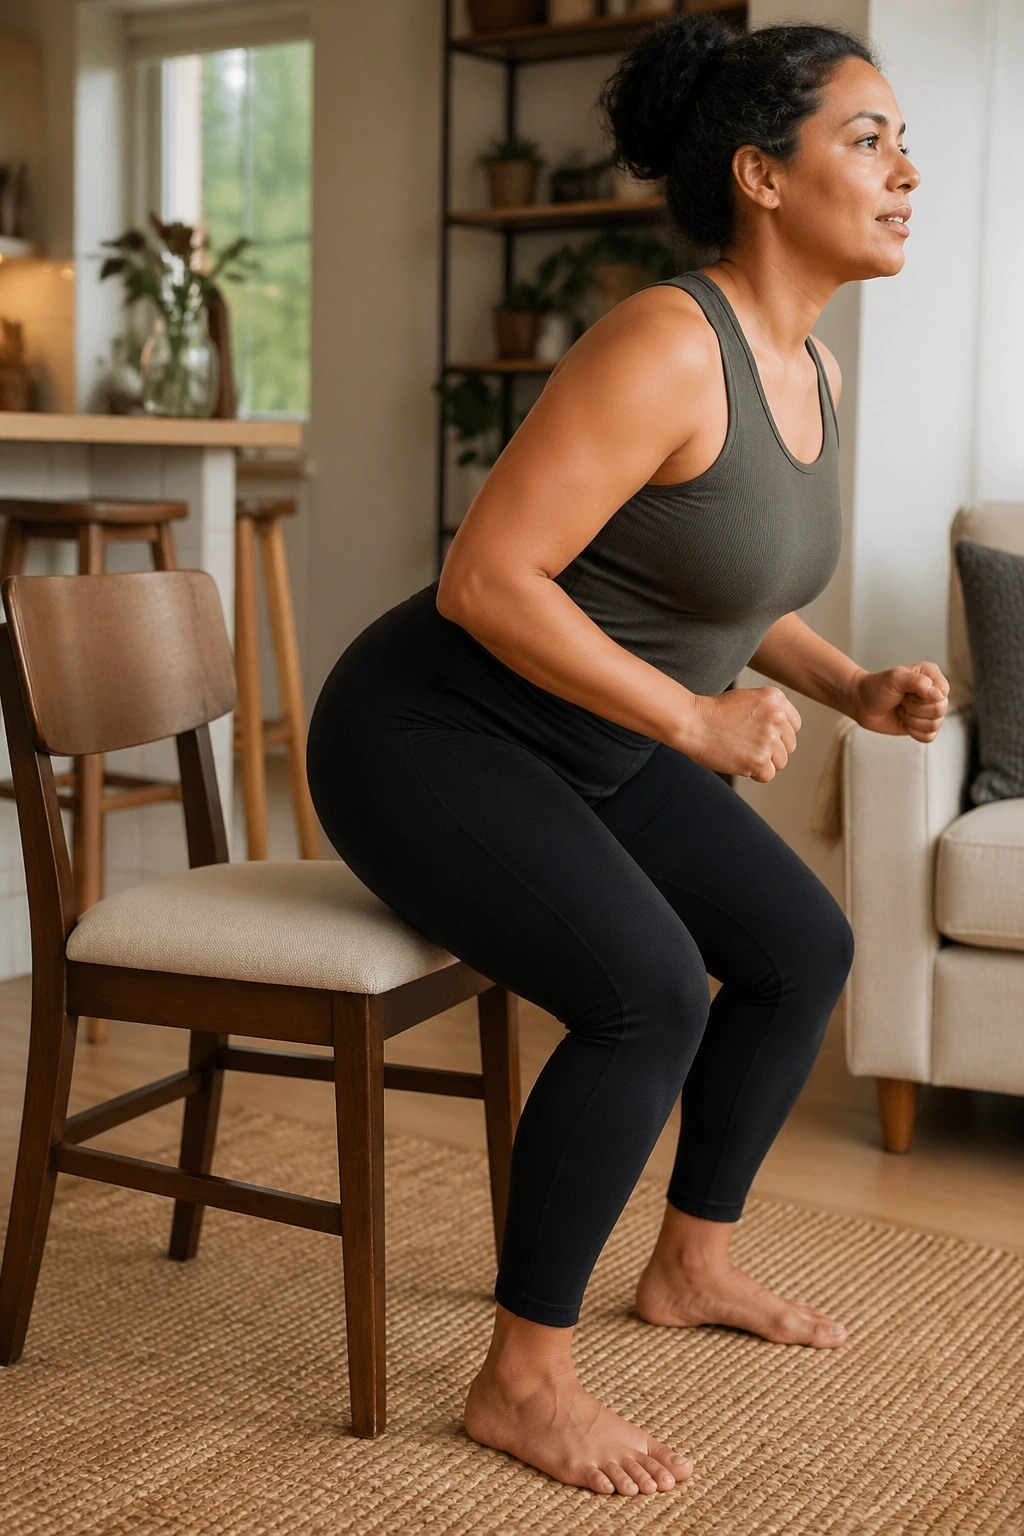
If you want one move that shows up in real life, it’s this one. You stand up from the couch, from the floor edge, from a dining chair, from a car seat area — over and over, usually while holding something or someone. Sit-to-stand trains that pattern without making you leave the house.
How to Do It
- Sit on a firm chair with your feet flat and about hip-width apart.
- Lean your chest slightly forward so your nose comes over your toes.
- Exhale as you stand, using your legs first.
- Sit back down slowly with control.
- Repeat 5 to 10 times.
Use your arms lightly if needed, especially in the early weeks. A plush couch can be too low and too soft, so choose a firmer seat if you can. The lower the chair, the harder the move gets.
This one builds the exact muscles that help with getting up from bed, lifting the baby carrier, and moving through the day without feeling stuck. It also gives a tidy cue for breathing: stand on the exhale, not on a held breath. That part matters more than people think.
13. Wall Push-Ups for Upper-Body Support
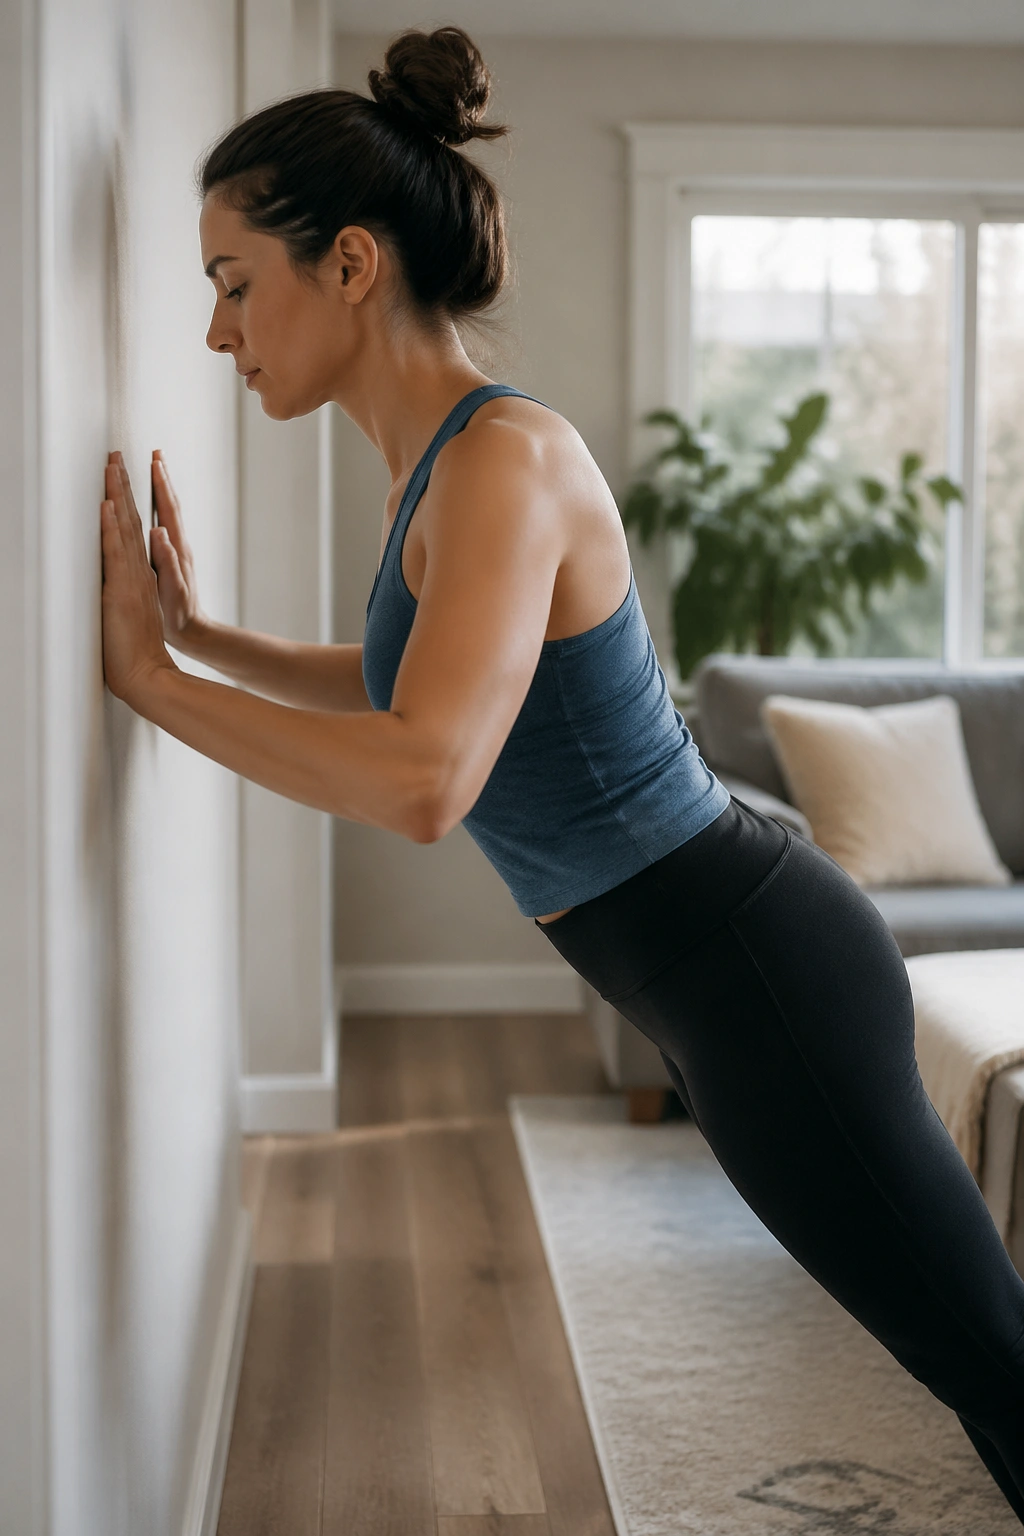
Wall push-ups are one of the safest ways to wake up the chest, arms, and core without dropping to the floor. They sound almost too easy, and then your triceps start talking after the second set.
Stand about an arm’s length from a wall. Place your hands on the wall at chest height, a little wider than shoulder-width. Bend the elbows and lower your chest toward the wall, then press back to standing. Keep the ribs from flaring out and the body in one long line from head to heels. If your wrists complain, try a countertop instead of a wall; the angle changes the load in a useful way.
Do 6 to 12 reps. Stay slow. If your belly domes or your shoulders shrug up, the angle is too steep. Step closer to the wall if you need an easier version.
This is a nice postpartum exercise because it rebuilds pushing strength for everyday life: moving a stroller, lifting a laundry basket, propping yourself up while feeding. You do not need a mat to get started.
14. Mini Squats Holding a Counter
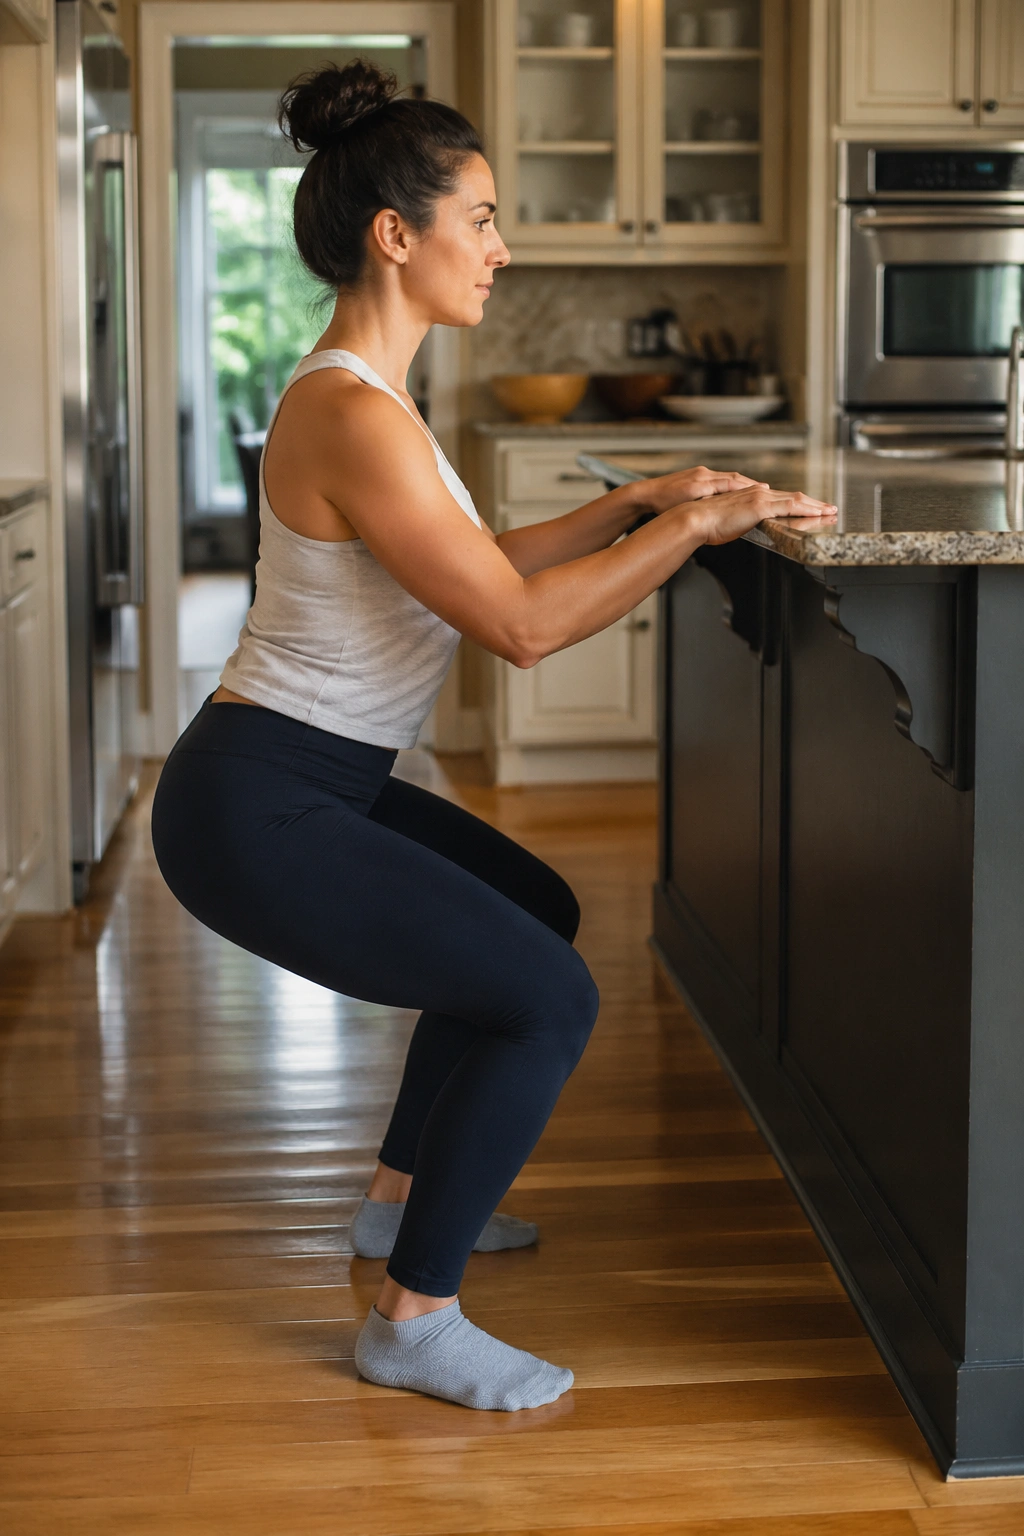
A tiny squat done well can be more useful than a deep squat done badly. That’s especially true in the first six weeks, when the goal is leg strength, balance, and body control — not proving how far down you can go.
Stand in front of a counter or sturdy chair and hold it lightly for support. Feet should be about hip-width apart. Bend the knees a few inches, send the hips back a touch, then stand again while exhaling. Keep the weight through the whole foot, not dumped into the toes. If the lower back rounds hard or the belly pushes out, shorten the range.
- Start with 5 to 8 reps.
- Keep the squat shallow.
- Use the counter only as balance support, not a pull-up bar.
- Stop if you feel pelvic heaviness.
These mini squats are useful because they connect the glutes, thighs, and core in a real-world shape. You’ll use this pattern constantly while lifting a baby, folding laundry, or picking things up from low shelves. Tiny range. Real payoff.
15. Standing Marches at the Counter
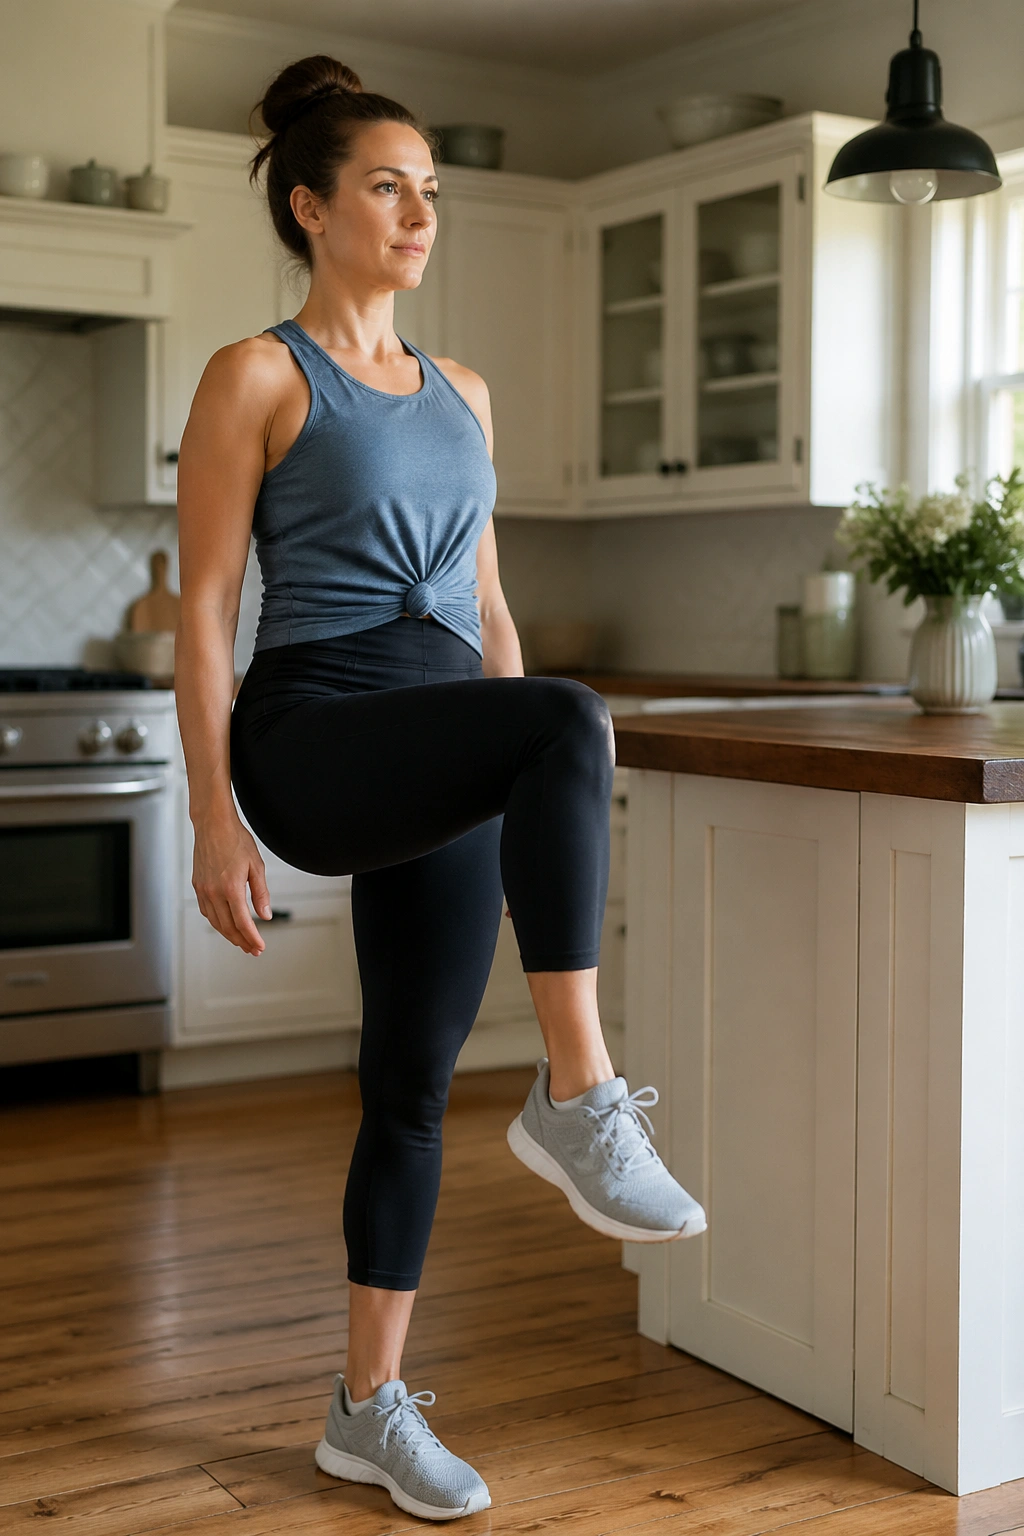
If walking feels fine but you want a bit more control and a little more heart rate, standing marches are a tidy next step. They are basically hallway walking without the hallway, which makes them easy to start, stop, and scale.
Stand near a counter with your feet under you and march one knee up a few inches, then switch sides. Keep the torso tall and avoid leaning backward. Add a small arm swing only if your balance feels steady. The motion should look smooth, not bouncy. Think controlled lift, controlled lower.
Try 30 to 60 seconds at a time, rest, then repeat 2 to 4 rounds. If the pelvic floor feels heavy or the abdomen domes, reduce the knee lift or go back to plain walking. Some bodies tolerate this well in week 2 or 3; others need a little more time. That gap is normal.
Compared with jogging or faster cardio, marching gives you a lot more control over impact and pressure. It’s a decent way to test how your body handles a slightly higher effort without jumping into anything dramatic.
Final Thoughts
The best postpartum workouts in the first six weeks are usually the ones that look almost too simple. Breathing, walking, mobility, and a few strength basics can do a surprising amount of work when they’re done cleanly and often.
Start small. Stay picky about how each rep feels. If something makes the belly bulge, the incision tug, the pelvis feel heavy, or the bleeding pick up, back off and choose a gentler version.
That’s not a setback. It’s smart recovery.
