



Post pregnancy workouts should feel almost suspiciously small at first. A stroller walk, a few deep breaths, a bridge on the living-room floor — that’s not a backup plan, it’s smart training when your body is still knitting itself back together.
Real moms rarely get clean, uninterrupted workout windows. There are naps that end early, a baby that wants to be held the second you unroll a mat, and hips that feel stiff in one direction and loose in another. The trick is choosing movement that gives you something back without asking your core and pelvic floor to pretend nothing happened.
I like the early return to exercise to be simple: breathe first, load second, and chase control before speed. If a move causes leaking, heaviness, pain, doming along the midline, or a weird pulling feeling near a scar, that’s not a badge of grit. It’s a sign to scale down.
Start with the work that looks almost too easy. Boring is often where the healing lives.
1. A Ten-Minute Stroller Walk
A stroller walk is boring in the best way. It gets your heart rate up, loosens stiff hips, and gives you a chance to move without bracing every muscle like you’re in a hard gym class.
Keep the pace conversational for most of the walk. If you can’t speak in full sentences, you’ve probably pushed harder than you need to on day one. Ten minutes is enough to start, and twenty can feel surprisingly good if your sleep wasn’t a disaster and your pelvic floor feels calm.
A few cues make it count:
- Keep your ribs stacked over your pelvis instead of leaning back into the stroller.
- Let your shoulders drop away from your ears.
- Take even steps, not long stompy ones.
- Exhale gently as you push the stroller uphill or around a corner.
One good walk beats a perfect plan you never start. That matters more than people admit.
2. Walk Intervals That Wake Up Your Legs
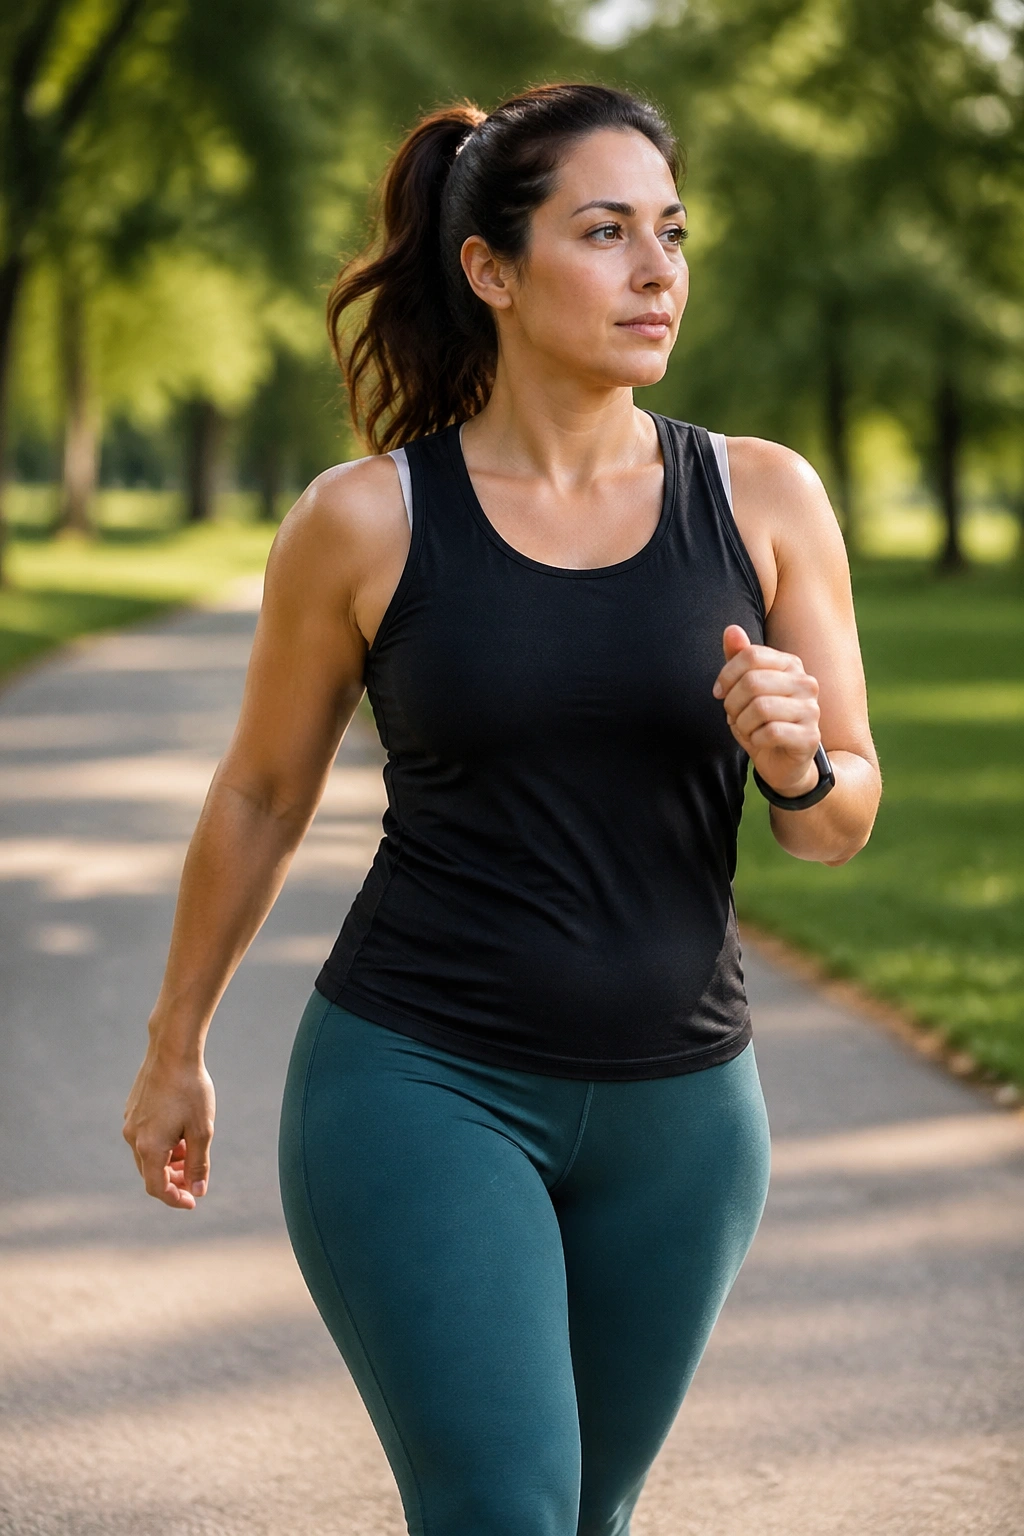
Why start with intervals instead of going straight into a long workout? Because postpartum bodies often like variety more than volume. A short burst of brisk walking, followed by an easier stretch, wakes up your legs without leaving you flattened.
Try 2 minutes at an easy pace, then 1 minute a little faster. Repeat that 6 to 8 times. You should finish feeling warm, not wrecked. On a good day, the brisk minute feels like a purposeful push; on a tired day, it can just mean a slightly longer stride and stronger arm swing.
How to keep the pace honest
- Stay on flat ground at first.
- Use your breathing as a check: smooth and steady, not strained.
- Keep your pelvis quiet; no bouncing or twisting from side to side.
- Stop if you notice heaviness, pulling, or leaking.
This kind of walking is sneaky. It builds stamina, but it also teaches your body how to shift gears again.
3. 360 Breathing and Rib Reset
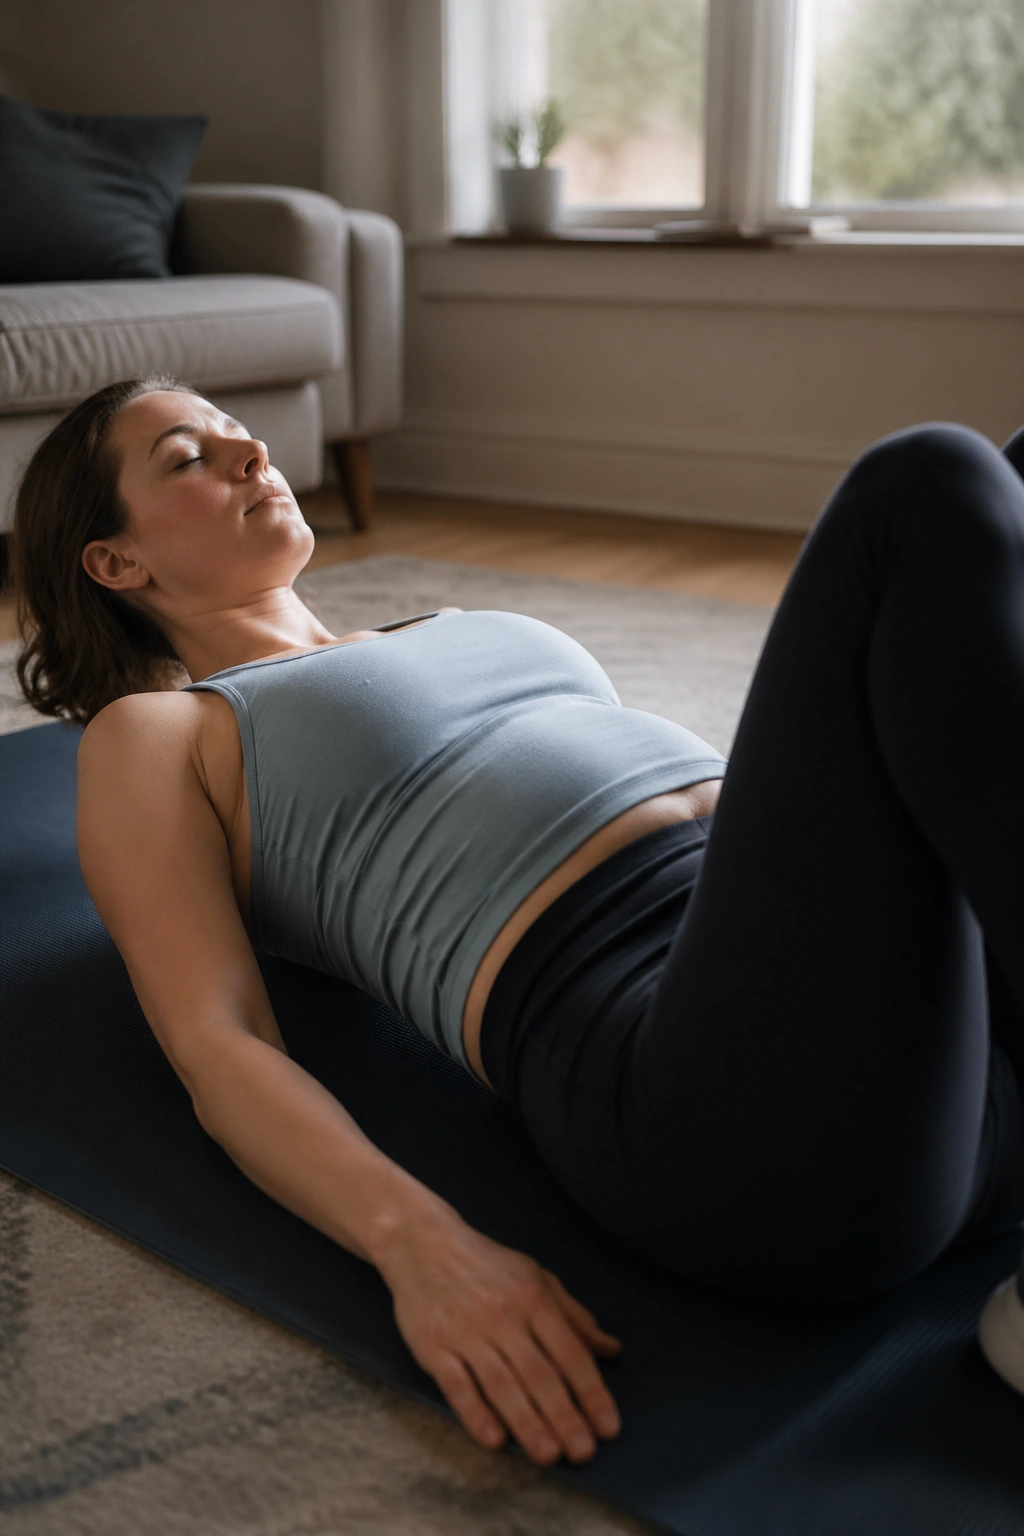
Lying on the floor and breathing sounds too easy. It isn’t. For a lot of new moms, this is where the deep core starts remembering how to work without clenching the whole abdomen like a fist.
Lie on your back with your knees bent, or prop yourself on your side if that feels better. Inhale through your nose and let the air expand the sides and back of your ribs. Then exhale slowly and feel the lower belly soften inward a little, not sucked in hard. The goal is control, not a dramatic stomach hollow.
What to feel
- Your ribs move, not just your chest.
- Your neck stays relaxed.
- Your exhale feels long enough to slow you down.
- Your pelvic floor gently responds on the exhale.
Do 5 to 8 breaths before any other workout, or use this as the whole workout on a rough day. If you had a C-section or your core feels disconnected, this is a smart place to start.
4. Pelvic Tilts on the Floor
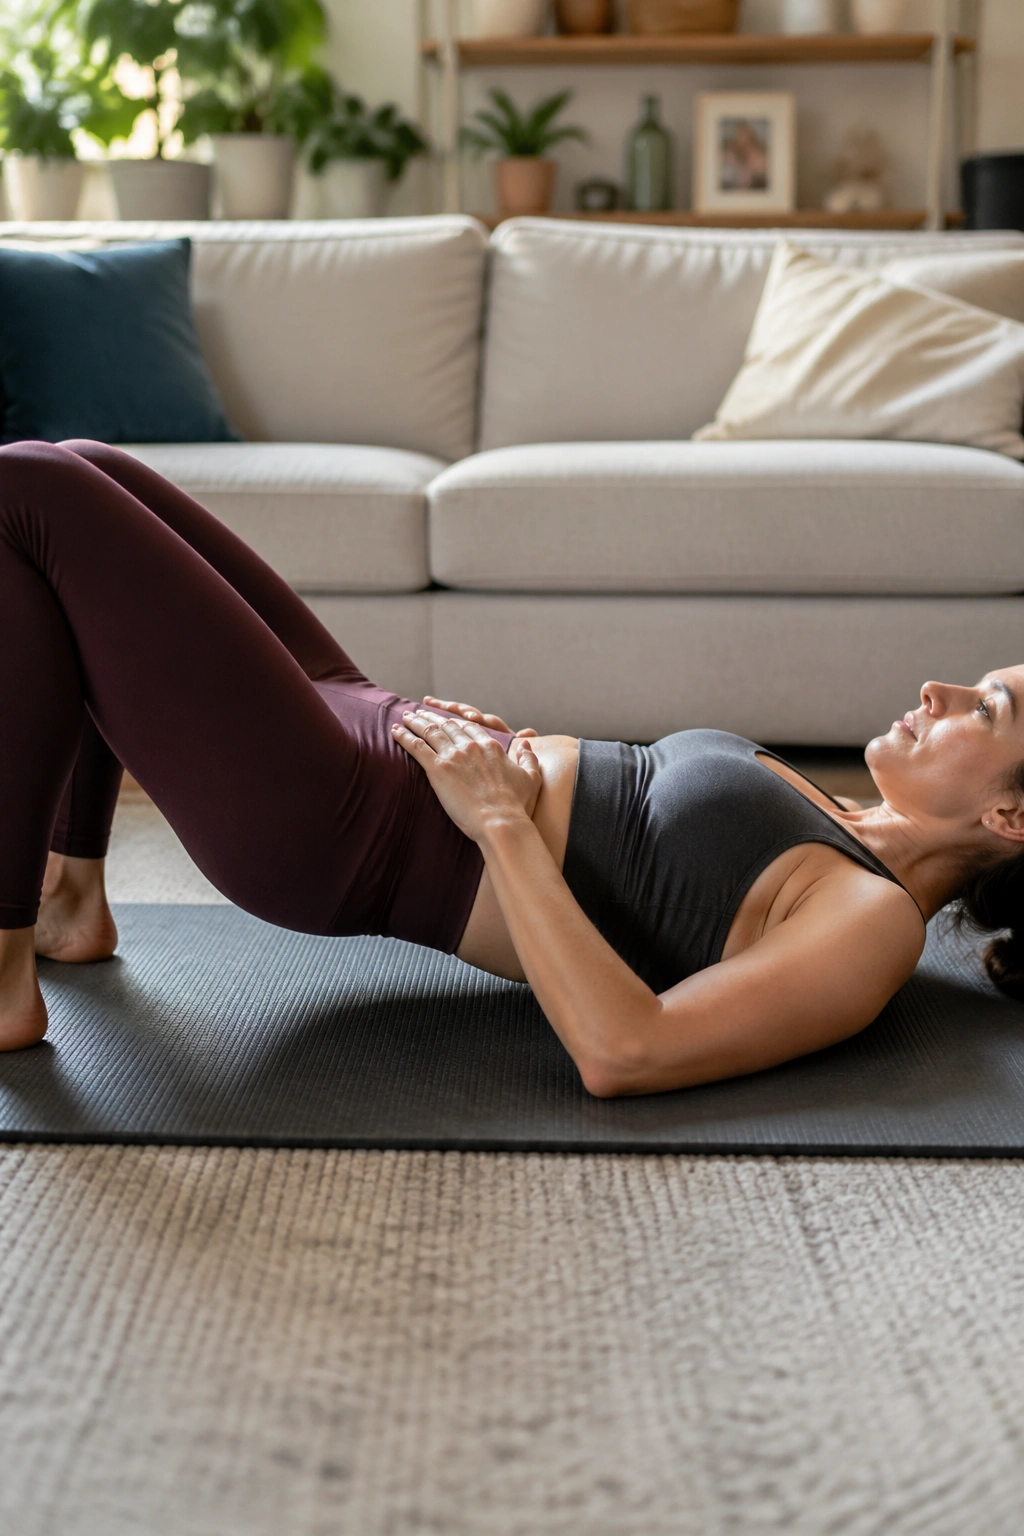
Pelvic tilts look tiny, and that’s the point. They teach your lower back and abdomen to move together again instead of locking up or dumping into an arch every time you stand, feed, or pick up a baby carrier.
Lie on your back with knees bent and feet flat. On an exhale, gently flatten your low back toward the floor. On the inhale, let it return to a neutral curve. The movement is small. If your hips are rolling or your ribs are popping up, you’ve gone too far.
What makes this useful
- It wakes up the deep abs without strain.
- It often feels good on a stiff lower back.
- It builds awareness for better lifting later.
- It’s easy to do beside a crib, which, honestly, matters.
Try 8 to 12 slow reps. If you feel pressure in the incision area, or if your belly domes in the middle, shorten the range and slow the exhale.
5. Heel Slides for Deep Core Control
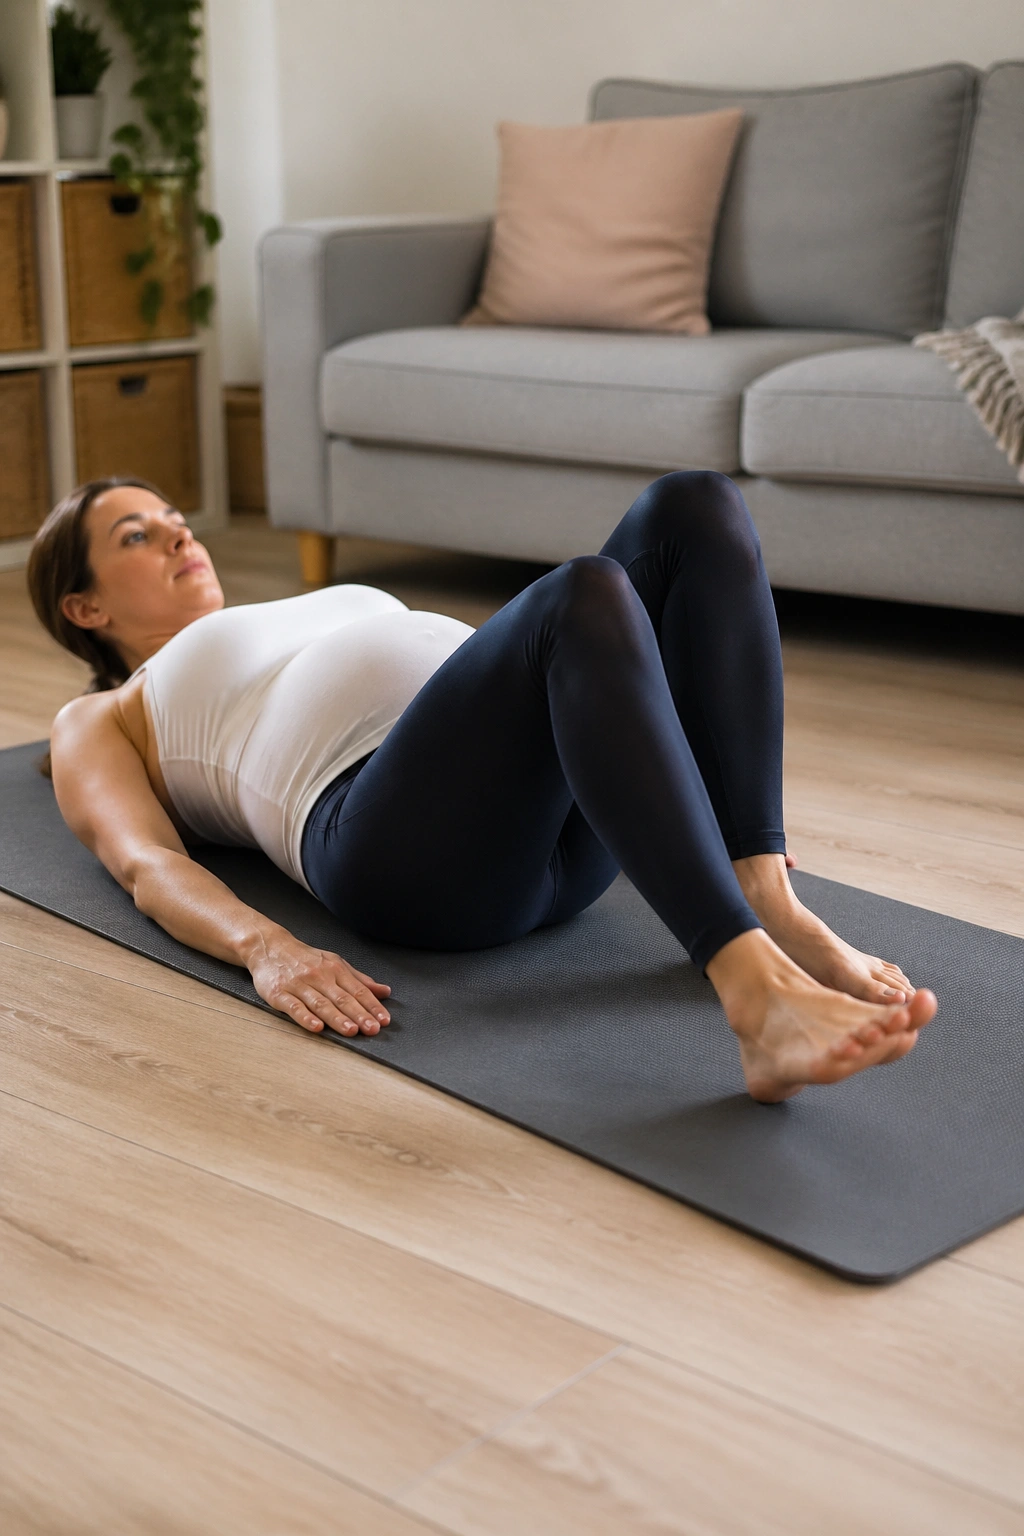
Heel slides are the move I recommend when a mom says, “I want to do something, but I don’t want to feel wrecked afterward.” They’re quiet, controlled, and just hard enough to teach the belly to stay calm while the legs move.
Start on your back with both knees bent. Exhale, brace gently, then slide one heel away from you until the leg is almost straight. Inhale to return it. Keep your pelvis level. No rocking. No rushing. The floor should feel steady under your back.
A few reps tell you a lot:
- If your ribs pop up, make the slide shorter.
- If your low back arches, reset and exhale before each rep.
- If you feel shaky, that’s normal; stay slow.
Do 6 to 8 reps per side. Heel slides are especially helpful when you’re rebuilding coordination after pregnancy and trying to reconnect the core without hammering it.
6. Glute Bridges on a Mat
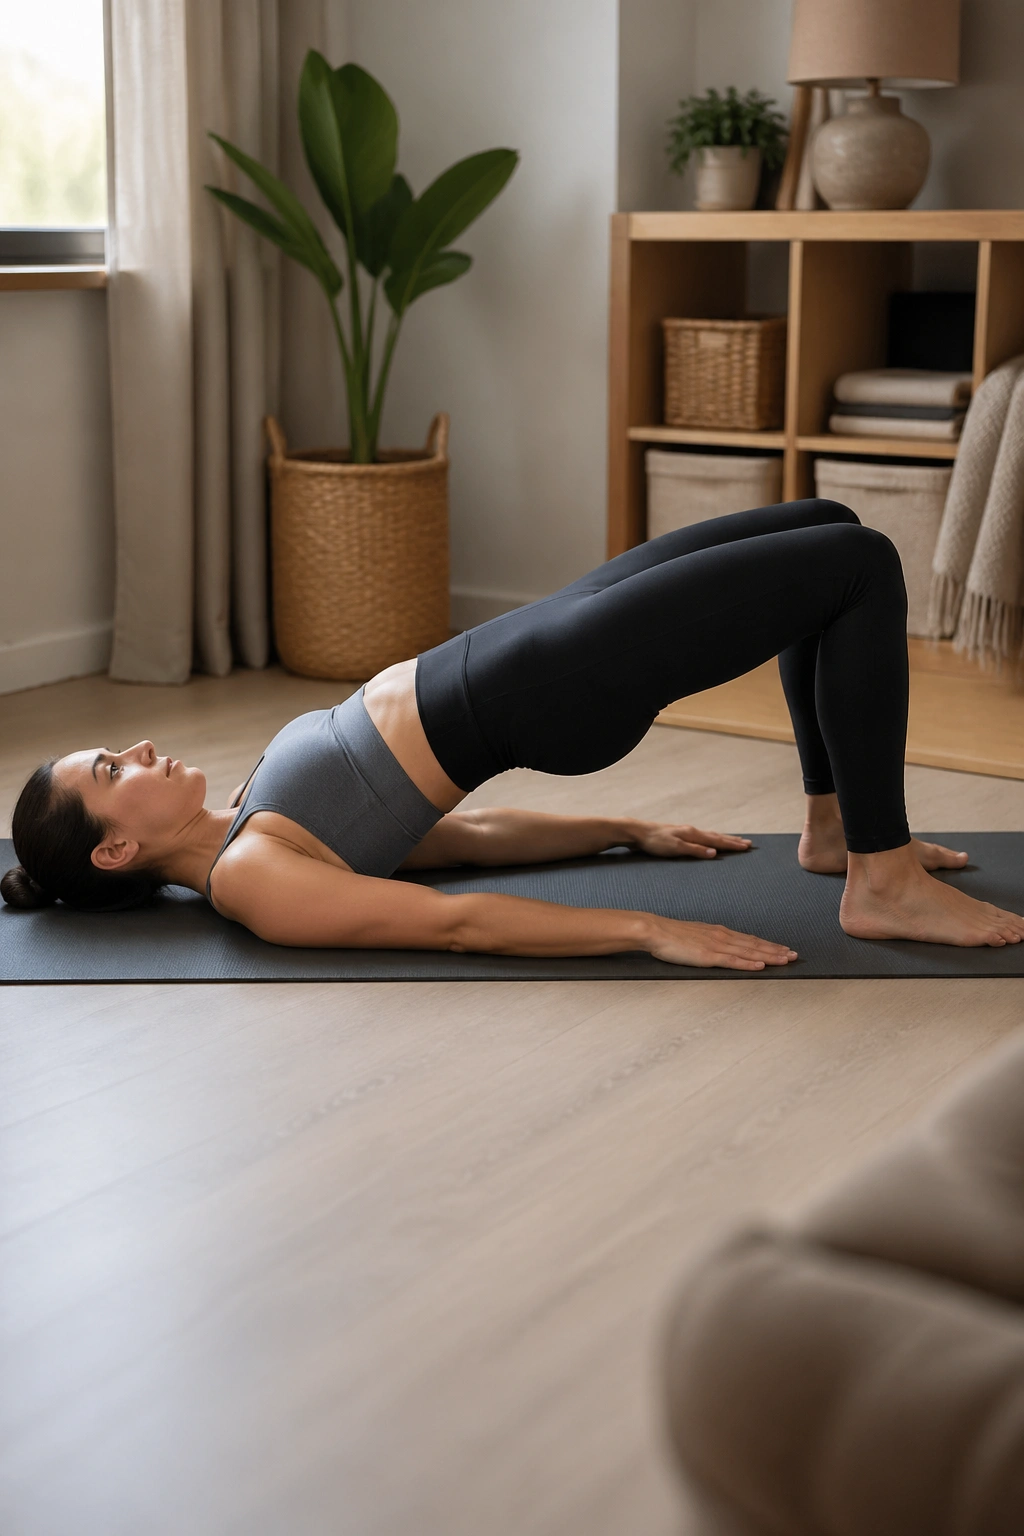
Glute bridges earn their place fast. They wake up the backside, support the pelvis, and give your low back a break when it has been doing too much of the work.
Lie on your back with knees bent and feet hip-width apart. Exhale, press through your heels, and lift your hips until your body makes a long line from shoulders to knees. Pause for 1 second at the top, then lower with control. If you feel the movement in your hamstrings more than your glutes, bring your feet a little closer to your seat.
A clean bridge feels firm, not cranky. Do not flare your ribs or push your belly outward to get higher.
Try 2 sets of 8 to 12 reps. Add a light dumbbell or a yoga block later, but only after you can keep the pelvis steady.
7. Side-Lying Clamshells
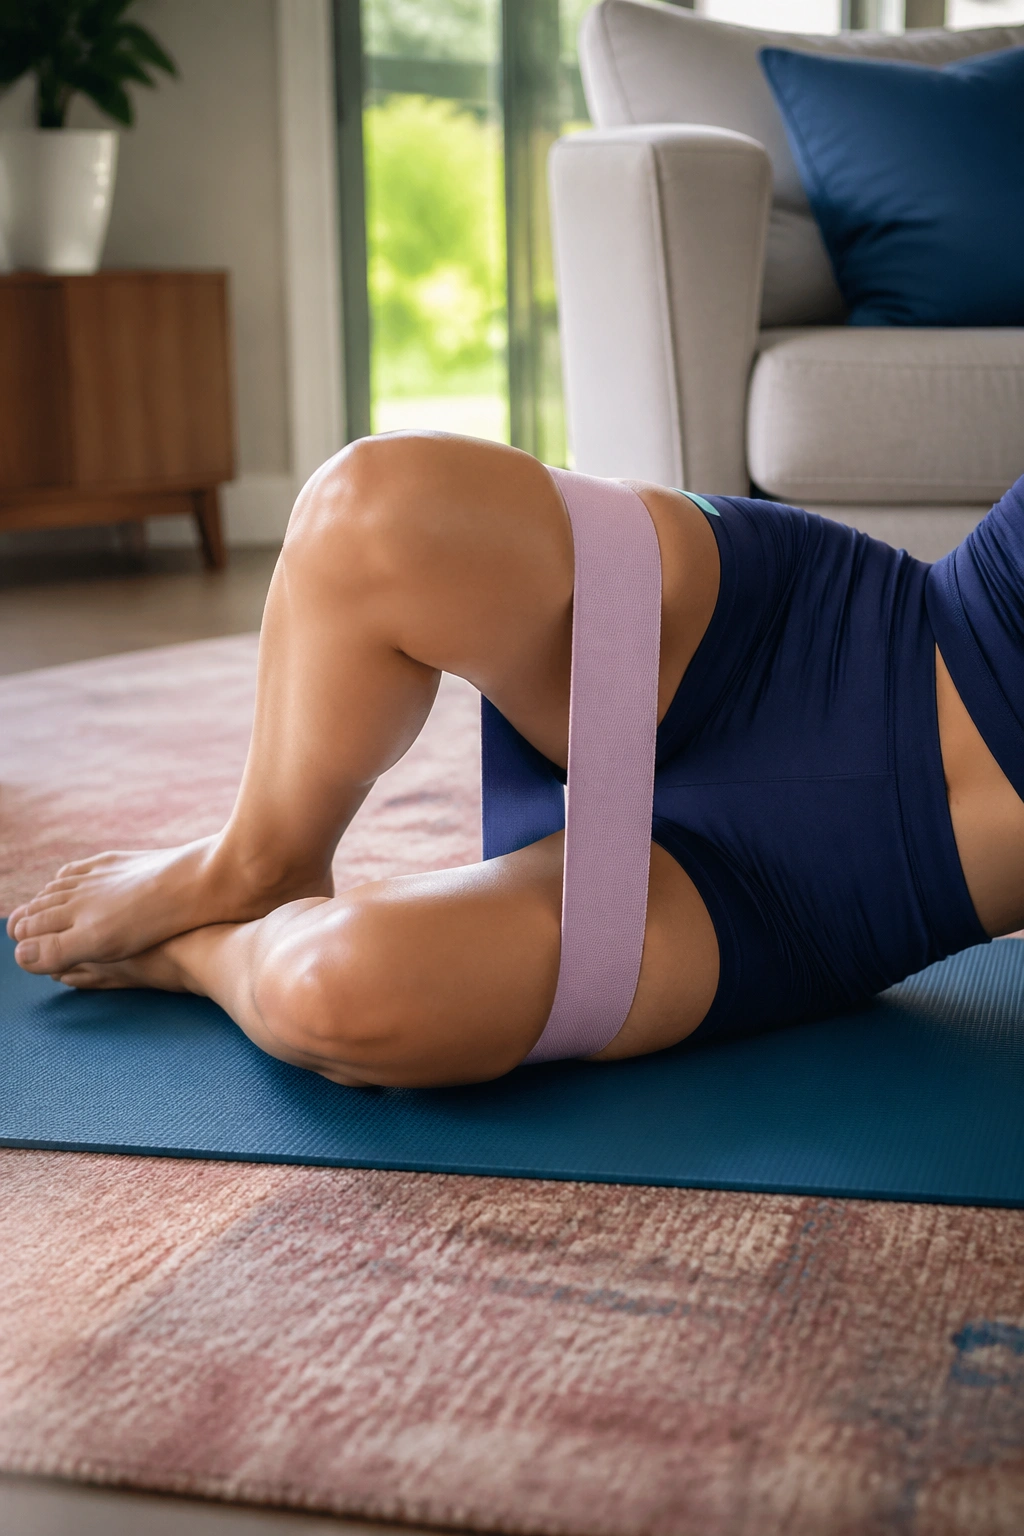
Side-lying clamshells are tiny, and that’s the point. They target the glute medius, the side-butt muscle that helps with walking, stairs, standing on one leg, and not feeling like your hips are loose marbles.
Lie on your side with knees bent and feet together. Keep your hips stacked, then open the top knee like a clamshell without rolling your pelvis backward. The movement should feel controlled and a little burny near the side of the hip. If you throw the knee open, the work disappears.
What to watch for
- The low back stays quiet.
- The feet stay touching.
- The pelvis does not tip open.
- A small band above the knees can make it harder, but it’s optional.
Do 10 to 15 reps per side. I like this move for moms whose knees cave inward on squats or whose outer hips feel weak after a lot of carrying.
8. Bird Dogs From Hands and Knees
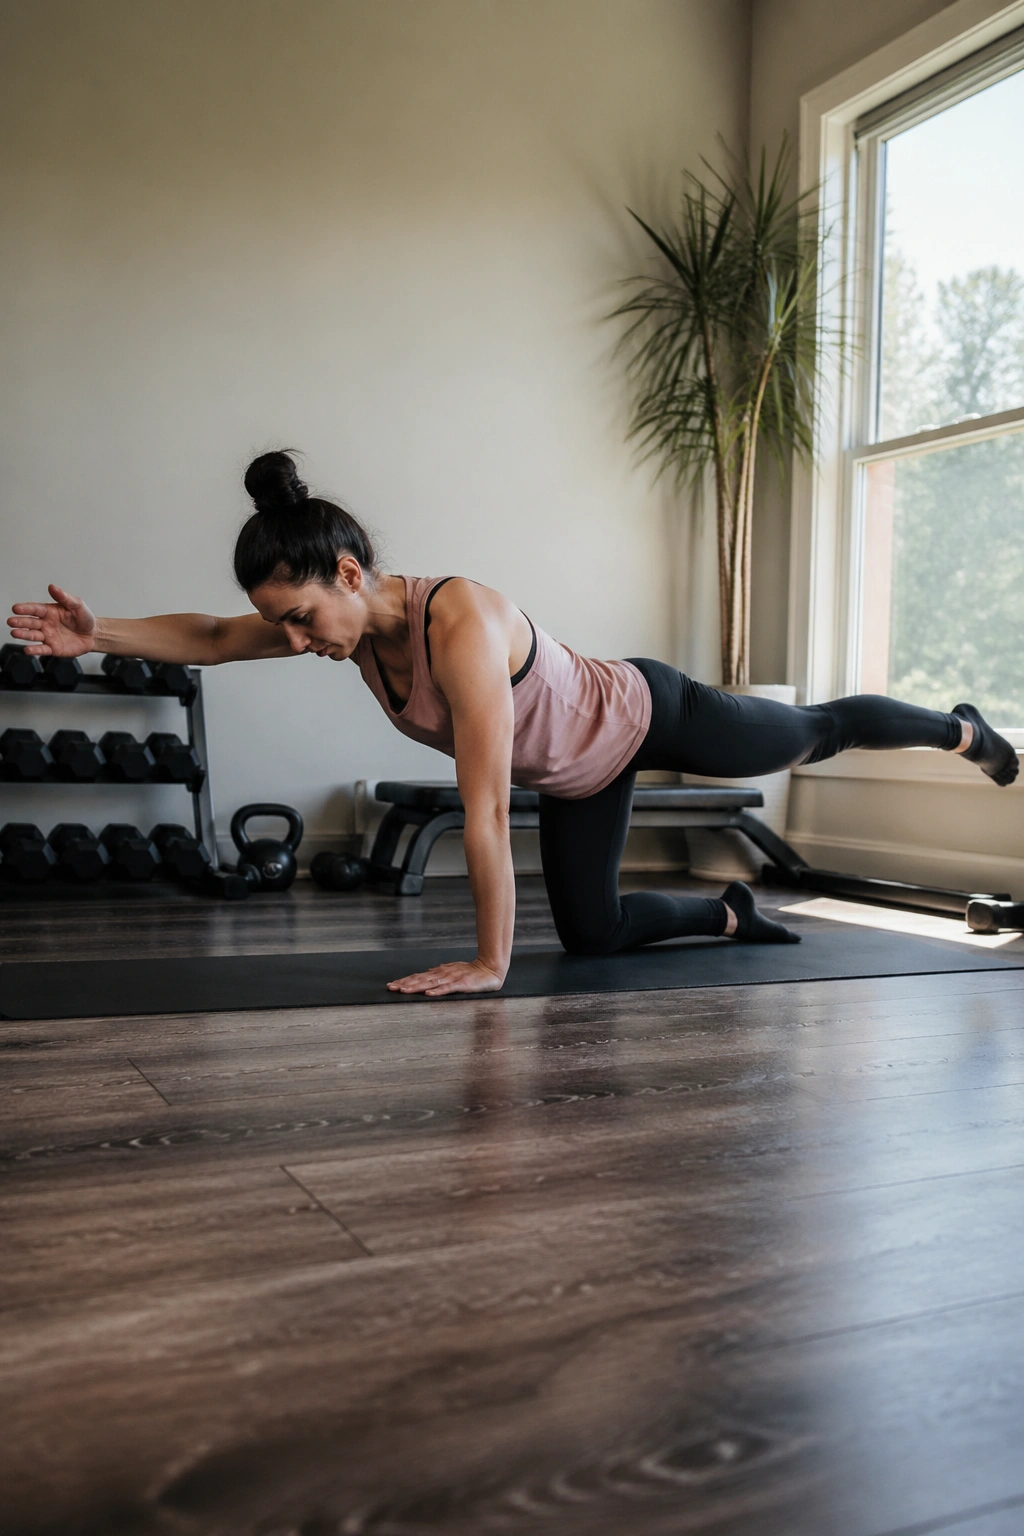
Bird dogs make you honest. You can’t fake control here, because the second your hips twist or your back arches, the move tells on you.
Start on hands and knees. Reach one leg back and the opposite arm forward, keeping the spine long. Hold for 2 to 3 seconds, then return slowly. The secret is not height. A low, steady reach is better than lifting the arm and leg so high that the back starts doing the job.
How to get the most from it
- Keep your eyes on the floor, not forward.
- Exhale as you extend.
- Stop the rep if you feel your ribs flare.
- Start with just the leg, then add the arm.
Six reps per side is enough for most beginners. This one is gold for postpartum core work because it trains the trunk to stay steady while the limbs move, which is the whole game when you’re lifting babies, bags, and laundry baskets all day.
9. Sit-to-Stand Squats From a Chair
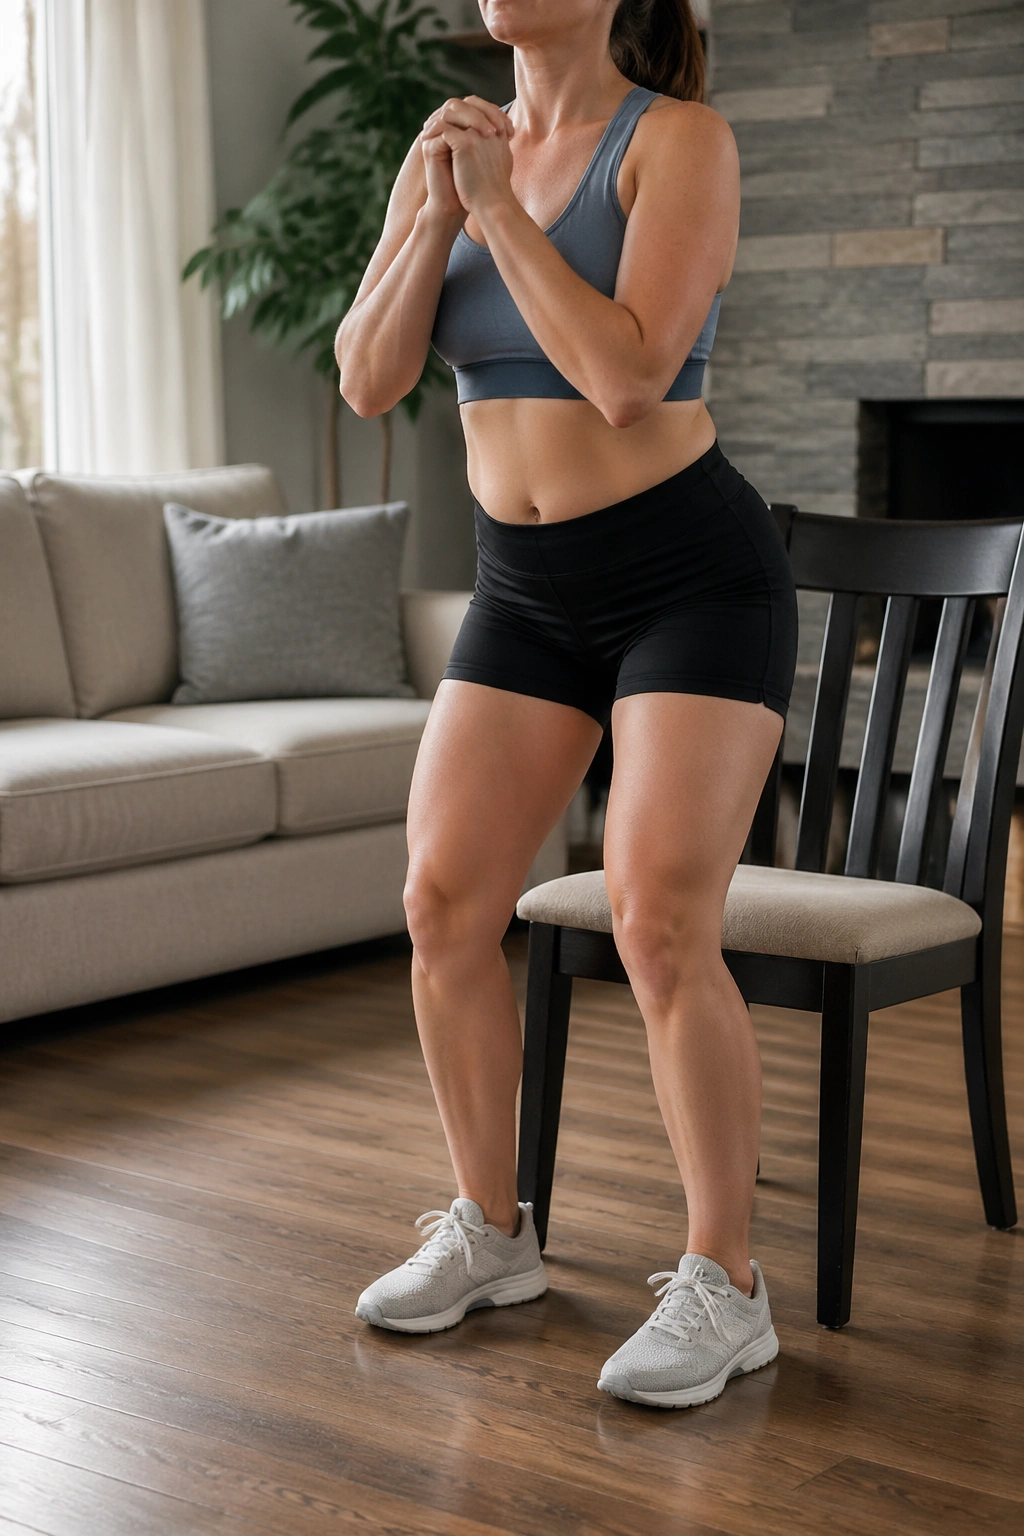
Can you stand up from a chair with control? If not, this move fixes a lot of little things at once. It builds leg strength, teaches hip hinge mechanics, and prepares you for the endless real-life squat of picking things up off the floor.
Sit on a sturdy chair, feet planted about hip-width apart. Lean your chest slightly forward, press through the whole foot, and stand up without using a big push from your hands. Sit back down slowly. That slow lower matters just as much as the standing part.
A few useful cues:
- Knees track over the middle toes.
- Chest stays proud, not collapsed.
- Weight stays in the feet, not the toes.
- The chair should feel like a target, not a crash landing.
Try 2 sets of 8 to 10 reps. Add a light hold, like a small dumbbell or even a baby-free laundry basket, later on. Not on day one.
10. Wall Push-Ups for Upper-Body Strength
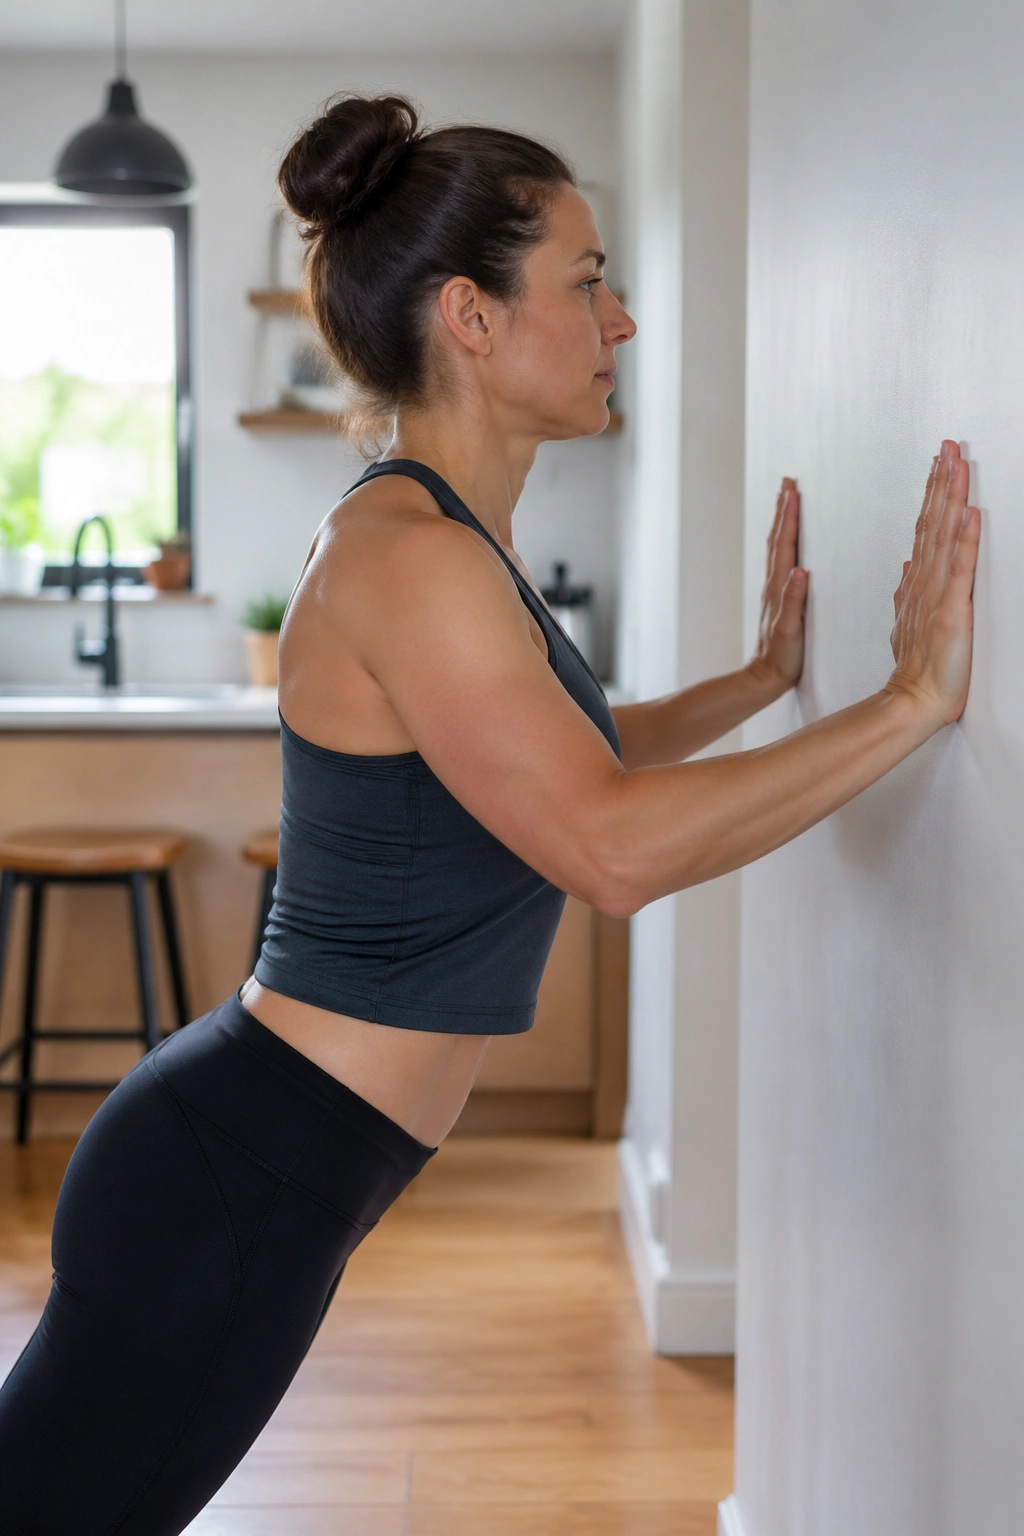
Wall push-ups feel almost laughably easy until your chest and triceps start talking back. They’re a clean way to rebuild pushing strength without dropping straight to the floor, where a lot of postpartum shoulders and wrists complain.
Stand an arm’s length from a wall, place your hands at chest height, and lower your body toward the wall with control. Push back to standing. Keep your body in one line. No sagging through the belly, and no neck jutting forward like you’re reaching for something across the room.
Why this one matters
- It helps with feeding posture and carrying.
- It builds chest and shoulder endurance.
- It’s easy to scale by changing distance from the wall.
Start with 2 sets of 8 to 15 reps. Step farther away if it feels too easy, or bring your feet closer if you want more challenge. If your wrists are angry, place your hands on a counter instead.
11. Resistance Band Rows
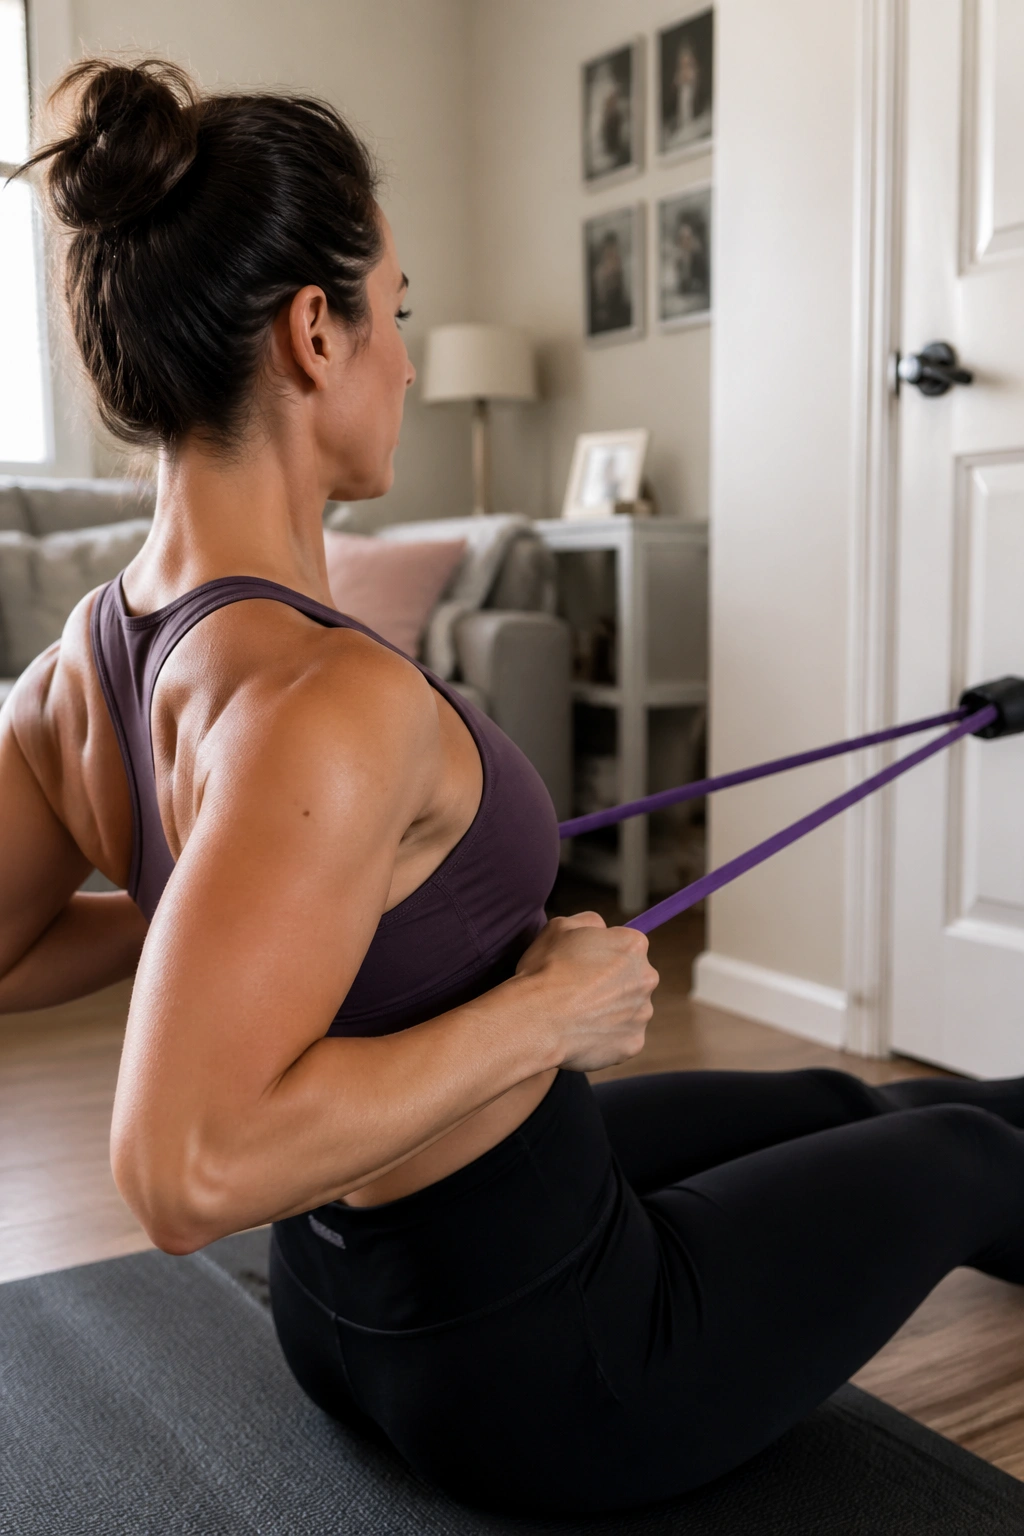
Rows are the exercise many new moms skip, and that’s a mistake. Feeding, holding, and rocking a baby all pull you forward, so your upper back usually needs help waking up.
Anchor a resistance band at chest height. Pull the handles or ends toward your ribs, squeezing the shoulder blades gently together, then return with control. The key word is gently. You’re not trying to pinch a coin between your shoulder blades.
If you do this right, you’ll feel your upper back and the back of your shoulders, not your neck.
- Keep your ribs down.
- Avoid shrugging.
- Use a band that lets you finish 10 to 12 clean reps.
- Pause for 1 second at the end of each pull.
I’d pair rows with wall push-ups on the same day. Push and pull together. Simple, and a lot more useful than chasing random burn.
12. Dead Bug Marches
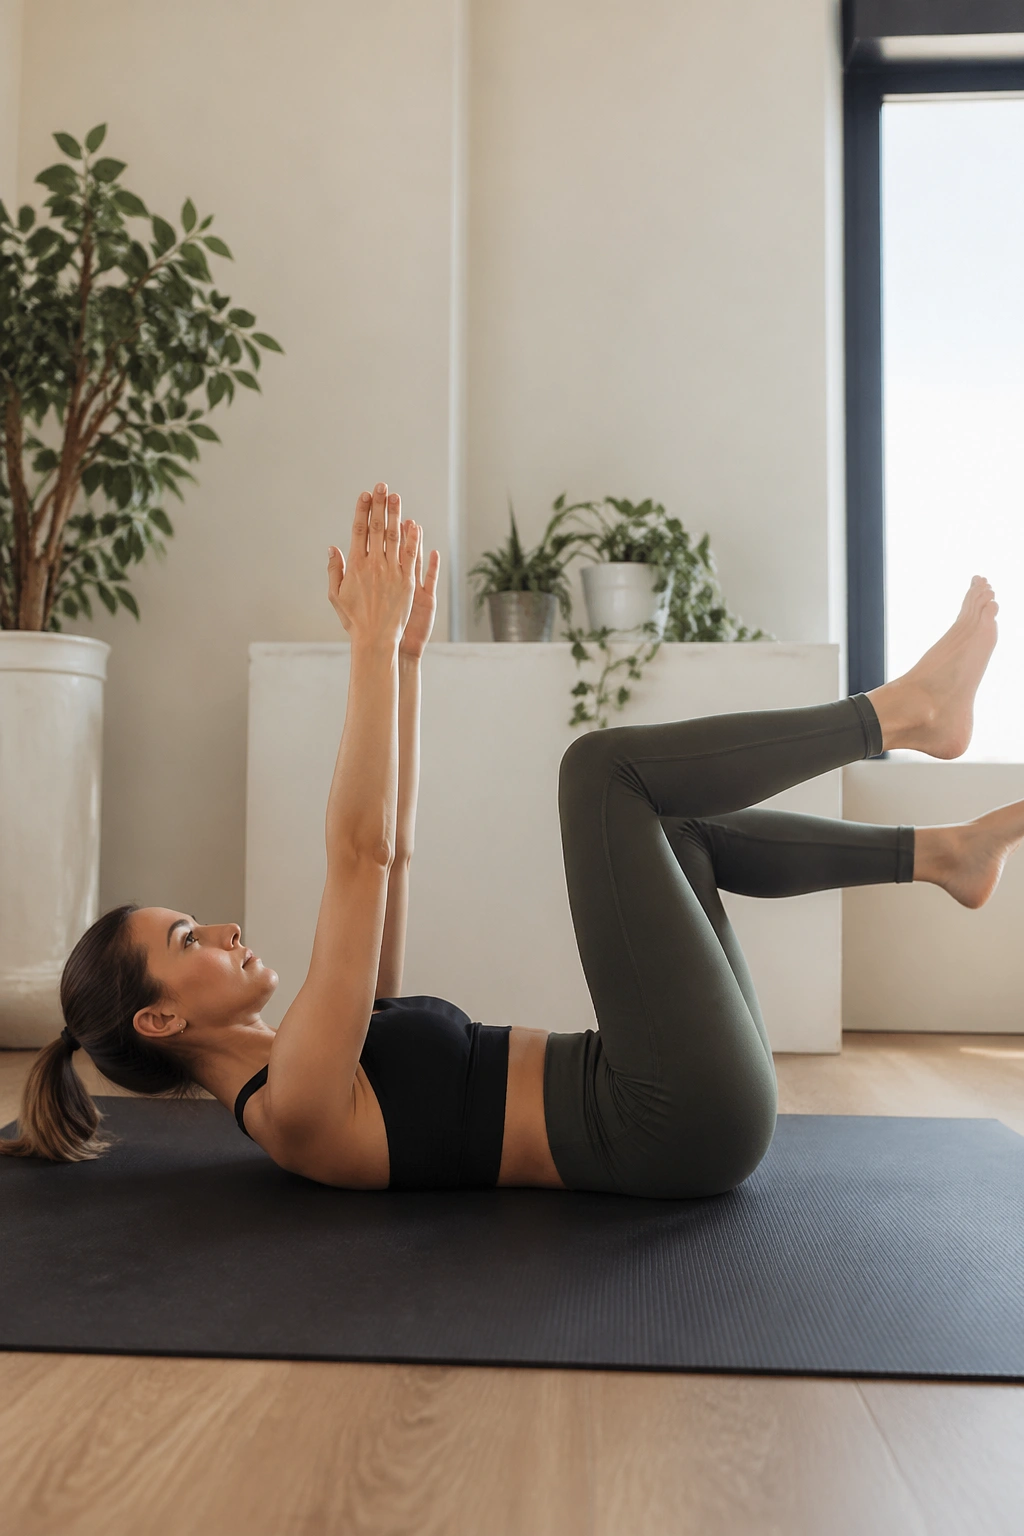
Dead bugs are a sneaky test of control. They look calm from the outside, but your midsection has to do real work to keep the back from arching.
Lie on your back with hips and knees bent at 90 degrees, or keep your feet on the floor if that feels safer. Exhale, brace lightly, and lower one heel to tap the floor or march one foot down. Return, then switch sides. The smaller the movement, the better the control in the early stages.
What good form feels like
- Low back stays heavy on the mat.
- Ribs don’t flare upward.
- Neck stays soft.
- The belly doesn’t bulge up in the middle.
Do 6 to 8 reps per side. If you see doming along the midline, regress to heel taps with a shorter range. This is one of the best postpartum core workouts because it teaches the trunk to stay organized under motion.
13. Farmer Carries With Grocery Bags or Dumbbells

A pair of grocery bags can become a core workout. So can a couple of dumbbells, a kettlebell, or anything heavy enough to make you work without twisting from side to side.
Stand tall, hold the weight in one hand or both hands, and walk 20 to 40 steps. Keep your shoulders level and your ribs stacked over your pelvis. If one side starts slouching, the load is too heavy or the distance is too long.
This move is plain old useful.
- It trains grip strength.
- It helps your core resist side bending.
- It builds posture for daily carrying.
- It shows you quickly if your pelvis feels stable.
Start with light loads and short walks. If you feel pressure downward, shorten the carry or choose a lighter object. Carrying is a natural human movement, but postpartum it has to be earned again.
14. Step-Ups on a Low Step
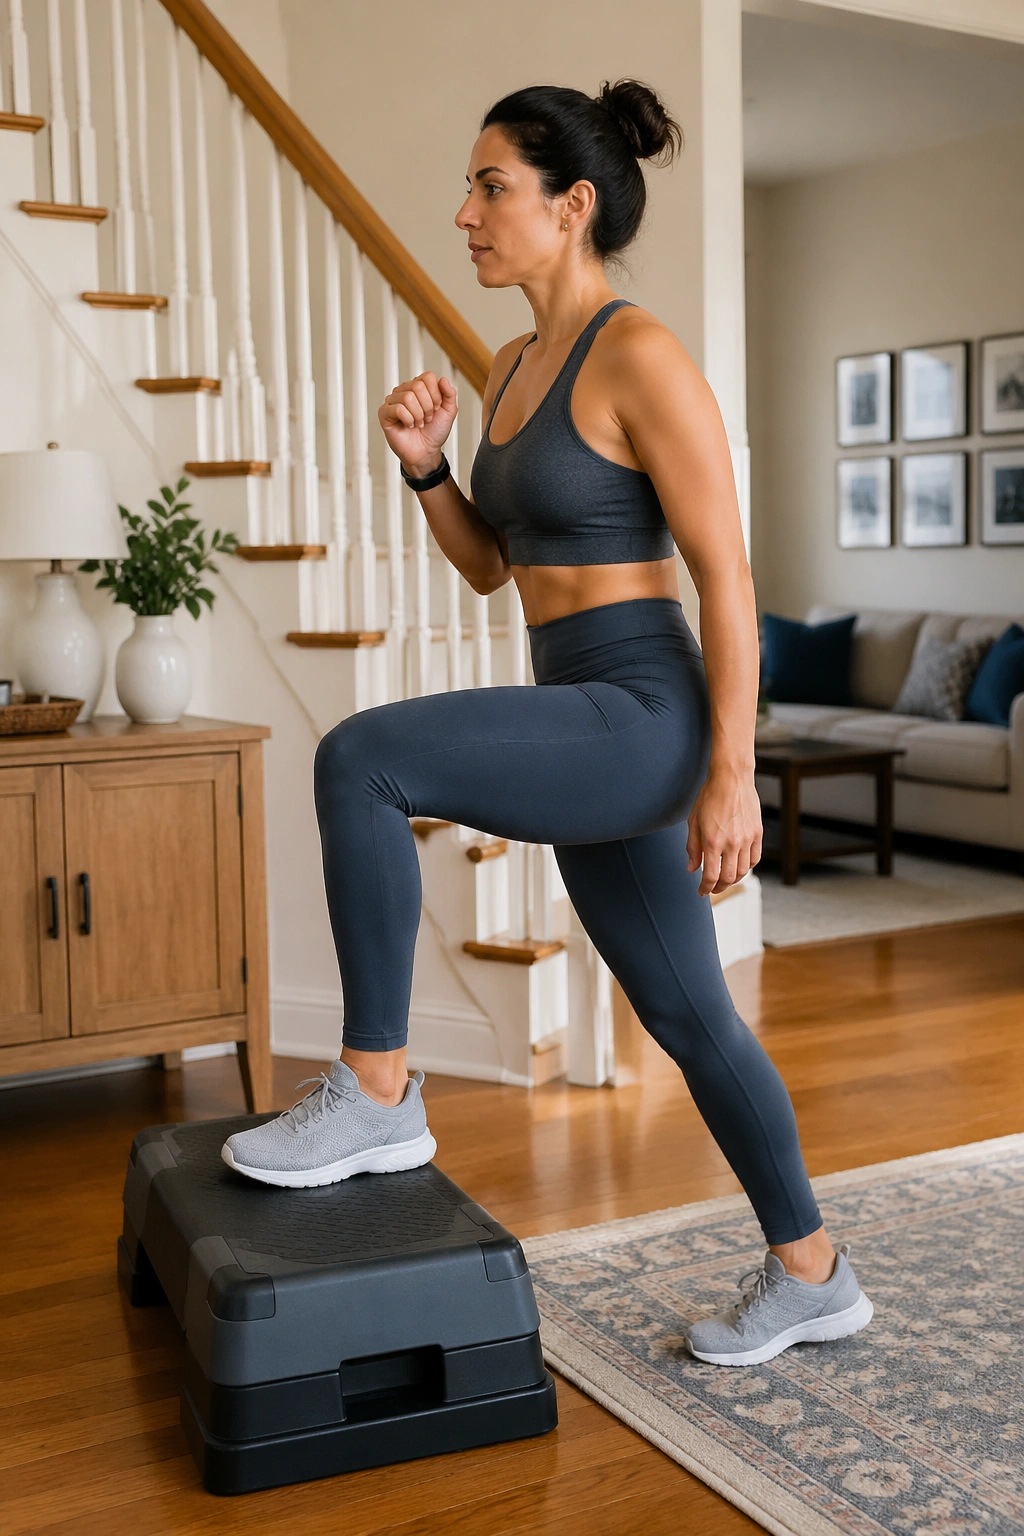
Step-ups punish sloppy balance, which is exactly why they’re so helpful. They bring back single-leg strength in a way that feels close to everyday life: stairs, curbs, and the weird half-step you take while holding a baby carrier.
Use a low step, about 4 to 8 inches at first. Place your whole foot on the step, press through the heel and midfoot, and stand up. Lower with control. Don’t bounce off the back leg. That back foot should assist, not steal the work.
Make them work for you
- Keep your knee tracking forward, not collapsing inward.
- Start with body weight only.
- Hold a wall or railing if balance feels shaky.
- Go slow on the way down.
Eight reps per side is enough to begin. If your knees feel cranky, shorten the step height. If your glutes feel nothing, slow the descent and really push through the step foot.
15. Supported Split Squats
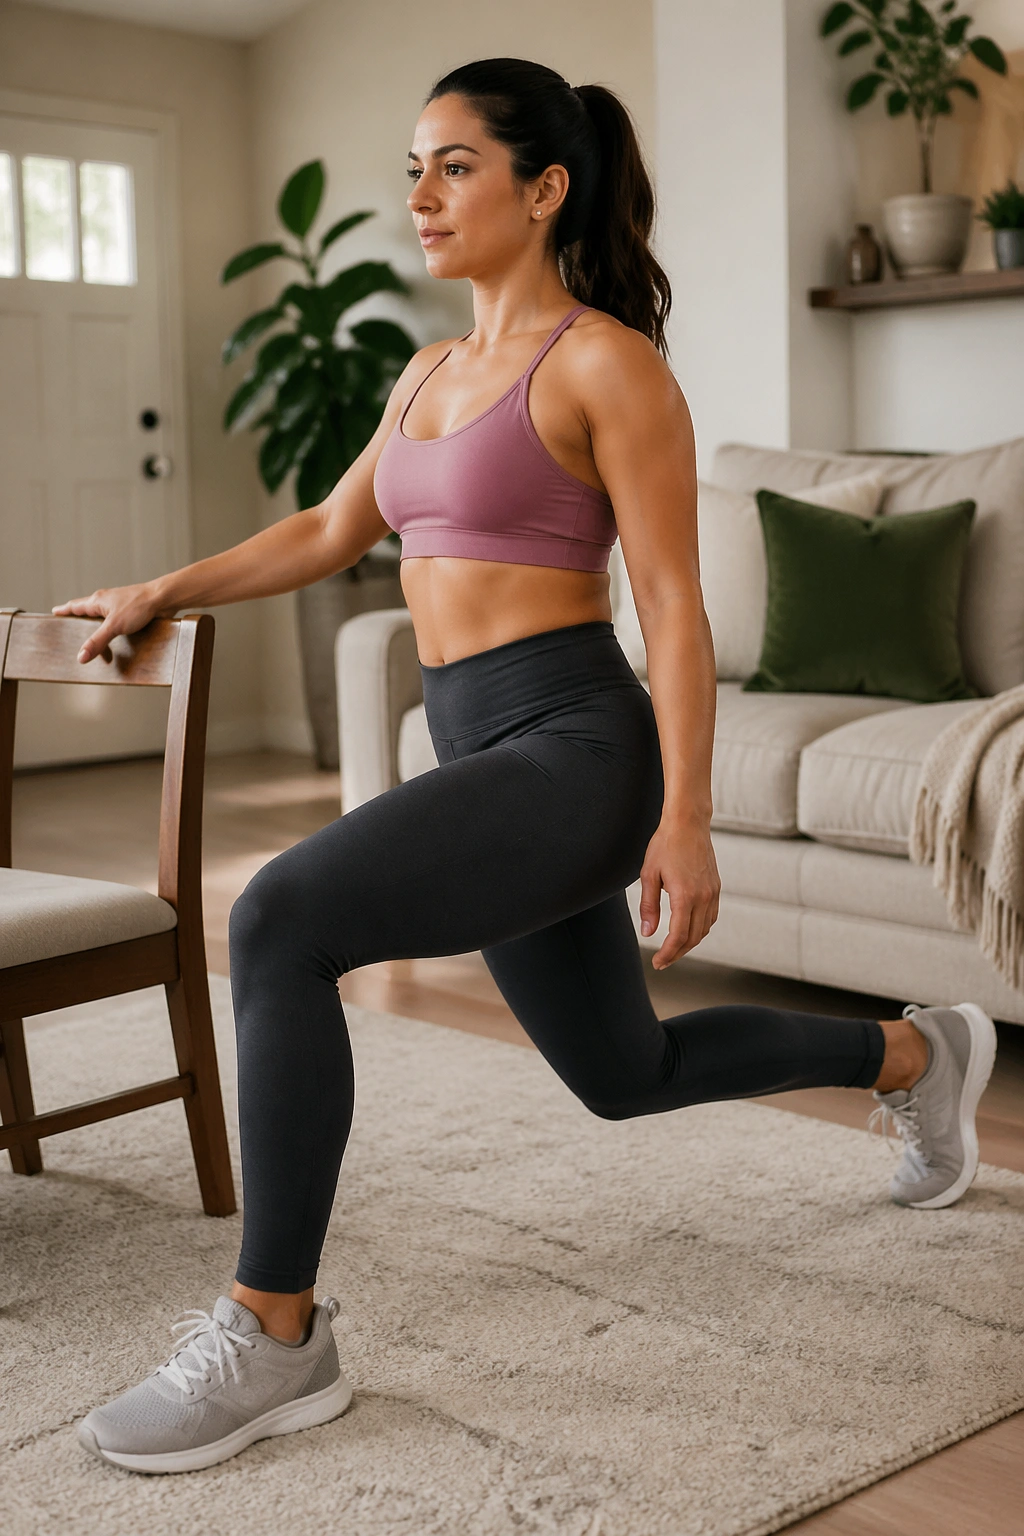
Split squats are the first lower-body move that feels like real training again. They build strength in the glutes, quads, and hips without needing a lot of equipment, and the support from a chair or wall makes them far more approachable.
Set one foot forward and one back, as if you’re in a short lunge. Hold onto a stable surface. Lower straight down a few inches, then press back up. Keep the front heel down and the torso tall. The range can be tiny at first. Small and clean beats deep and wobbly every time.
Why this works so well
- It trains each leg separately.
- It helps with pelvic control.
- It mimics the split stance you use when picking up a baby from a crib.
Try 6 to 8 reps per side. If your balance feels off, reduce the stance length. If your front knee feels pinchy, keep the shin more vertical and shorten the descent.
16. Incline Push-Ups on a Counter
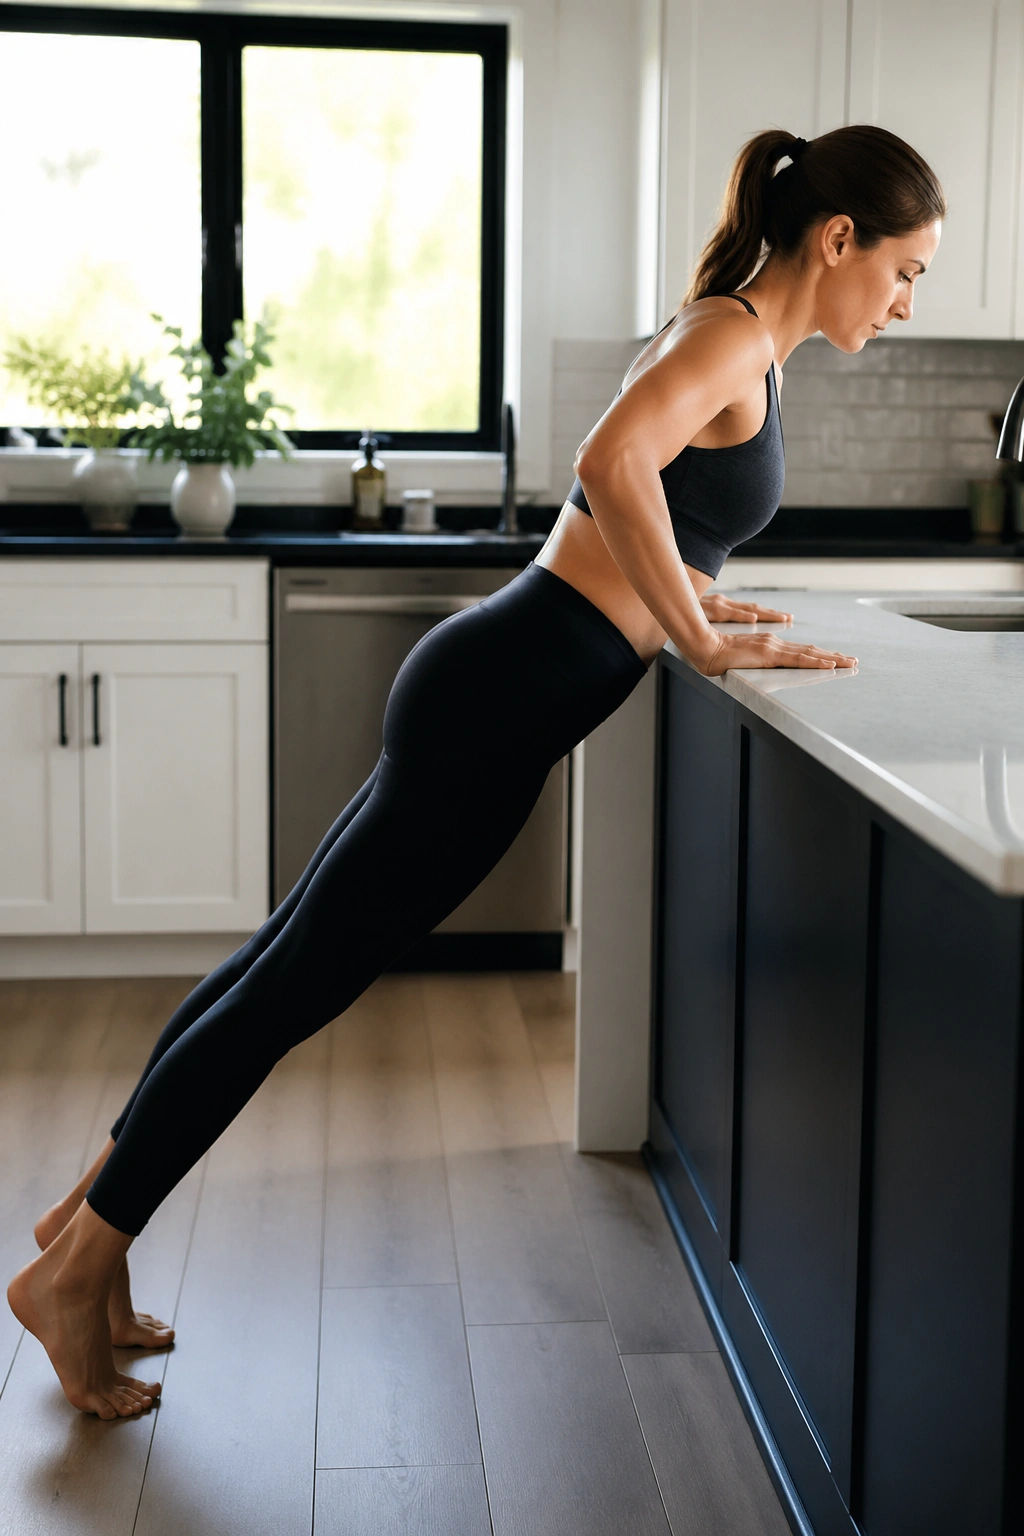
Incline push-ups are where the upper body starts to feel useful again. They’re stronger than wall push-ups, but still kinder than dropping to the floor before your trunk is ready.
Place your hands on a kitchen counter, sturdy table, or bench. Walk your feet back so your body forms a straight line. Lower your chest toward the surface, then press back up. Keep the ribs from flaring, and avoid letting the hips sag when you get tired.
A good incline push-up has a neat feel to it. The chest, shoulders, and triceps all work, but the core stays involved the whole time. That matters after pregnancy, because upper-body strength without trunk control can feel awkward fast.
Do 2 sets of 6 to 12 reps. Lower the surface height over time. A countertop one week, a sturdy bench later. Progression can be that simple.
17. Band Pull-Aparts for Posture
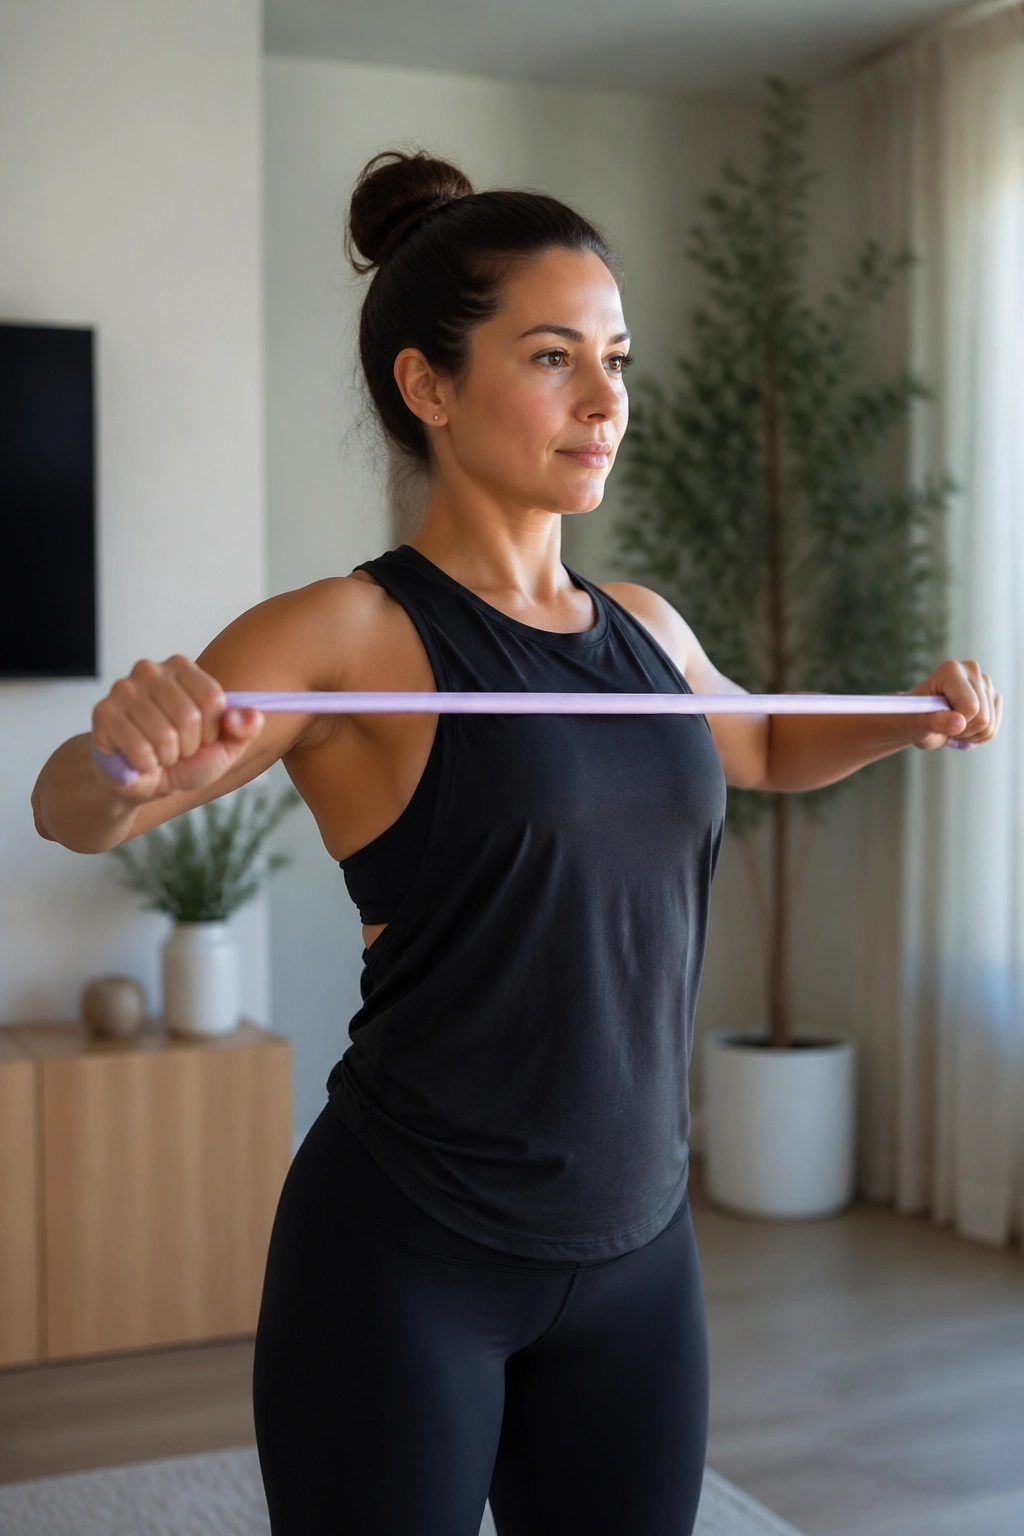
Band pull-aparts seem humble. They’re easy to underestimate because the movement is small and there’s no fancy burn to brag about. Still, they do a lot for the upper back, especially if you spend half the day rounded over a feeding pillow.
Hold a light resistance band with straight arms at chest height. Pull the band apart until your hands move out toward your sides, then return slowly. Keep your neck long and your ribs from flaring up. The motion should come from the upper back and rear shoulders, not from shrugging the whole upper body.
Good reasons to keep these in rotation
- They help open the chest after long feeding sessions.
- They support shoulder health.
- They’re easy to do in a tiny space.
- They warm up the back before stronger lifts.
Try 12 to 15 reps. If the band is yanking your hands around, it’s too heavy. Light and crisp works better here.
18. Stationary Bike Intervals
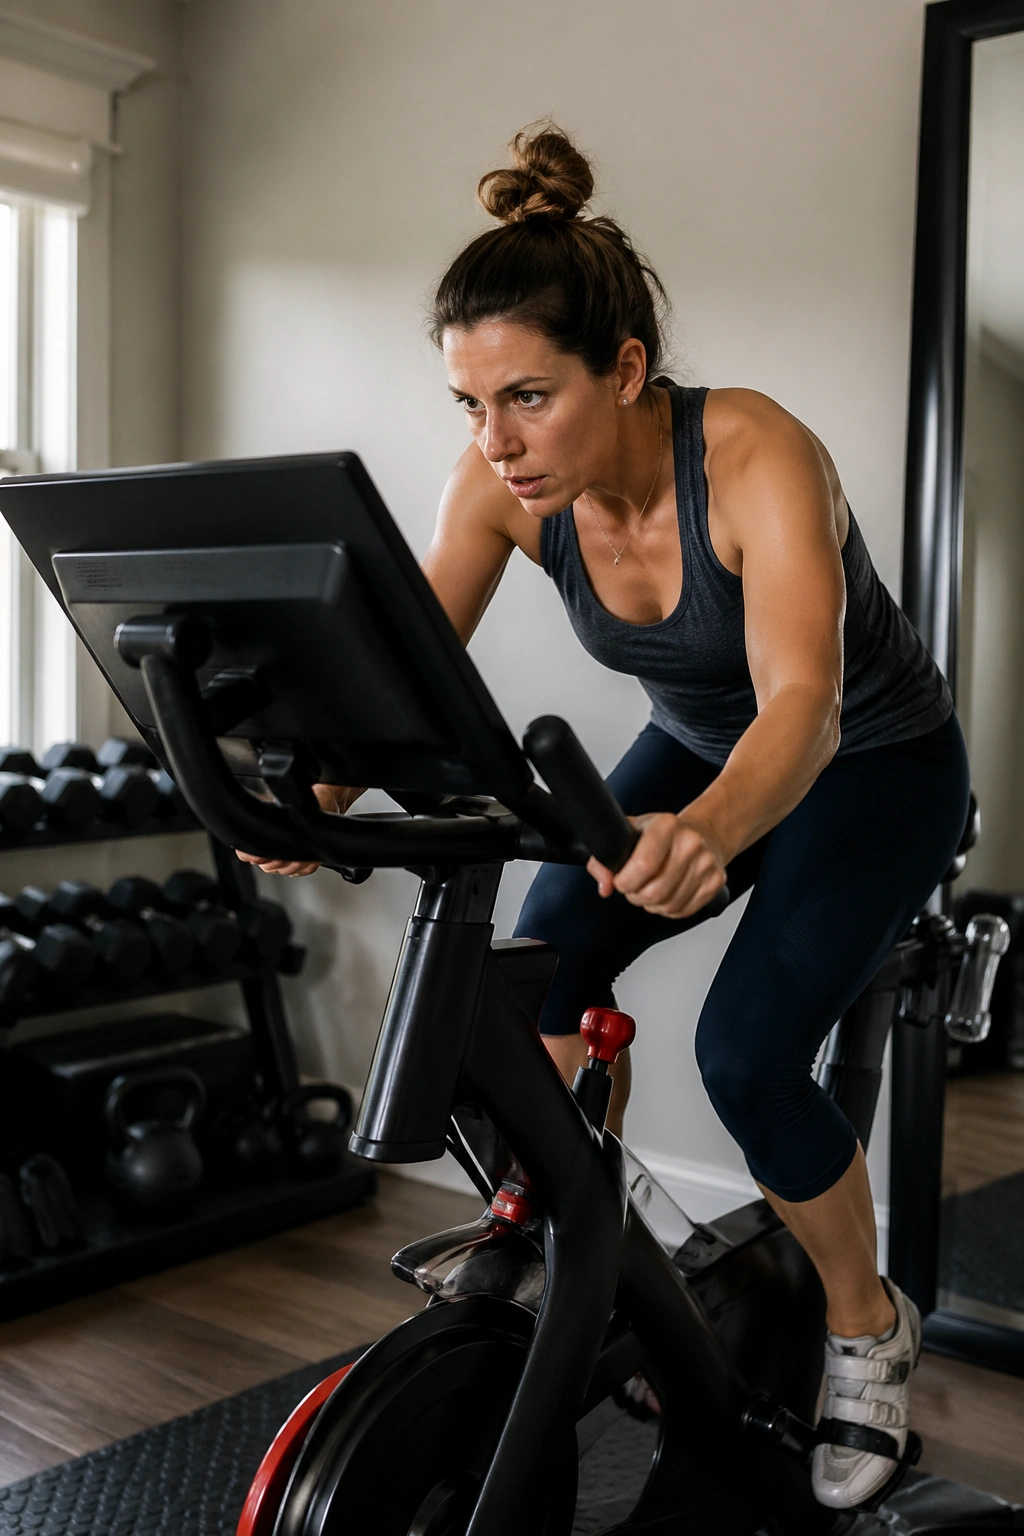
A stationary bike can save your sanity when the baby slept in fragments and you slept in fragments too. You sit down, move your legs, and get a clean cardio dose without the pounding that comes with running or jump-heavy workouts.
Start with 5 minutes easy. Then ride 30 seconds at a moderate effort, followed by 90 seconds easy. Repeat that 6 times. You should finish sweaty and awake, not shaky. If you feel pelvic heaviness or see your stomach bulging, back off the resistance or skip the intervals and just pedal easy.
The bike is kind to sore knees and can feel especially good if your floor exercises have started to feel stale. It also gives you a way to train while you’re still rebuilding endurance.
No one needs a heroic ride. Fifteen to twenty minutes can do plenty.
19. Pool Walking or Easy Laps

Pool workouts are underrated for postpartum bodies. Water takes pressure off the joints, supports the pelvis, and lets you move more freely than you might on land.
Pool walking is the easiest place to start. Walk forward, backward, and sideways for 10 to 15 minutes. If swimming feels good and your clinician has cleared you, easy laps can work too. Keep the effort gentle. The goal is movement, not proving anything.
Why the pool feels different
- You can move with less impact.
- Swelling and joint stiffness often feel better.
- Breathing tends to settle down faster.
- The resistance is smooth, not jarring.
If you’ve had a C-section or you feel sensitive around the scar, wait until the incision is fully healed before jumping in. Once you’re cleared, pool work can be a relief on days when land-based exercise feels like too much.
20. Slow Yoga Flow for Hips and Back
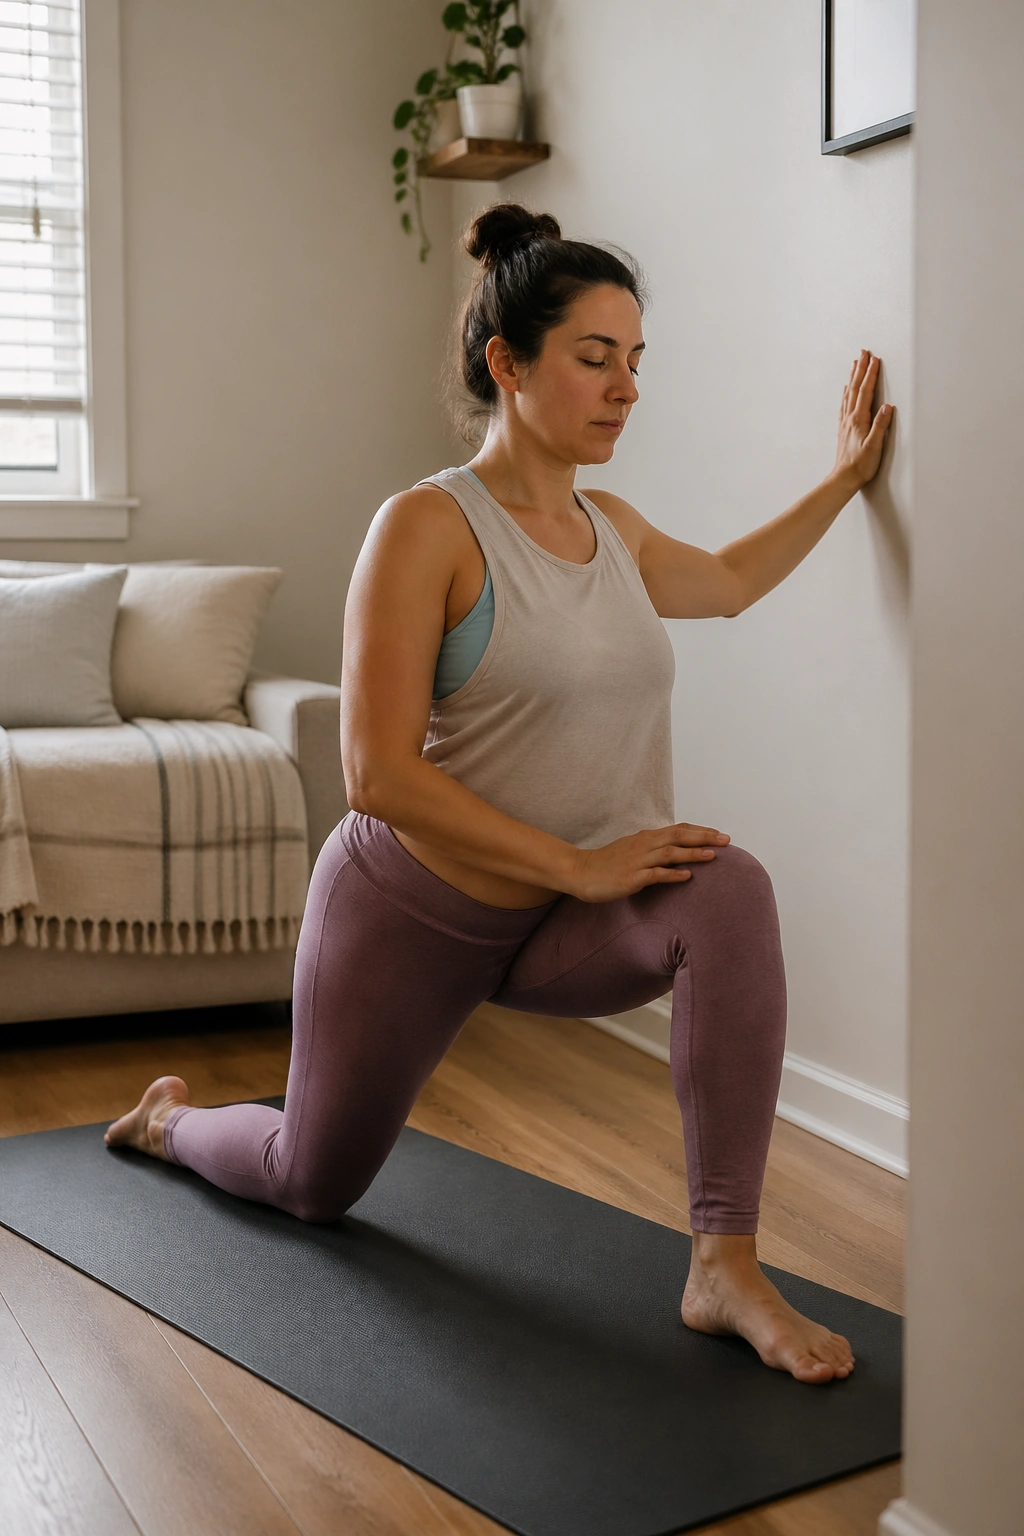
Yoga can help, but only the kind that moves slowly and keeps the ribs quiet. Fast flows and deep backbends are not where most postpartum bodies need to start.
Choose a small sequence: cat-cow, thread the needle, low lunge with support, and child’s pose with knees wide if that feels good. Move with your breath instead of racing from pose to pose. The point is to open the hips, calm the back, and bring the rib cage back into a better position over the pelvis.
A few useful rules:
- Skip deep twists if your midsection feels weak.
- Keep one hand on a wall or chair if balance feels wobbly.
- Stop any pose that creates pressure or coning in the belly.
- Use blocks. They’re not cheating.
This kind of yoga is less about being flexible and more about feeling put back together.
21. Modified Side Planks
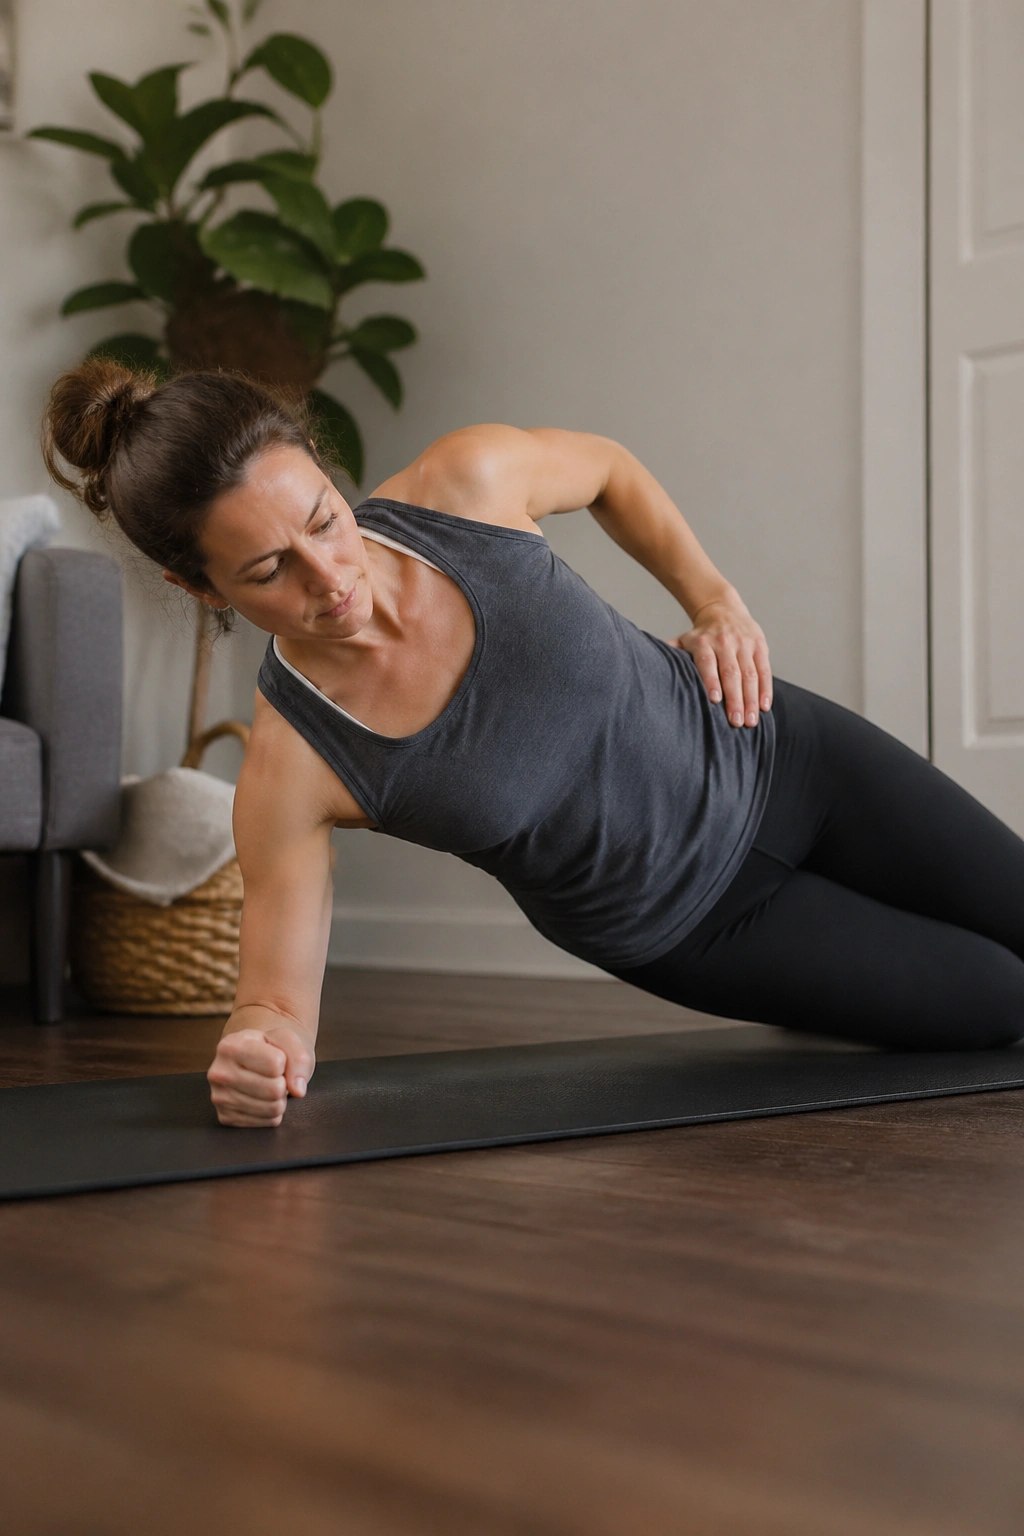
Side planks are not day-one stuff. They’re a later move, and they deserve respect because they ask the obliques, glutes, and shoulder to cooperate without letting the waist collapse.
Start on your forearm with knees bent and stacked. Lift your hips so your body forms a straight line from shoulder to knee. Hold for 10 to 20 seconds on each side. If that feels smooth, extend the top leg later or move to a longer lever. If your belly domes or your shoulder shakes hard, back up a step.
What to focus on
- Keep the top shoulder away from the ear.
- Don’t let the hips drift backward.
- Breathe through the hold instead of freezing.
- Stop before the form breaks.
This is one of those moves that rewards patience. Rush it and it turns sloppy. Build it slowly and it becomes a steady anchor for the rest of your training.
22. A 15-Minute Full-Body Circuit
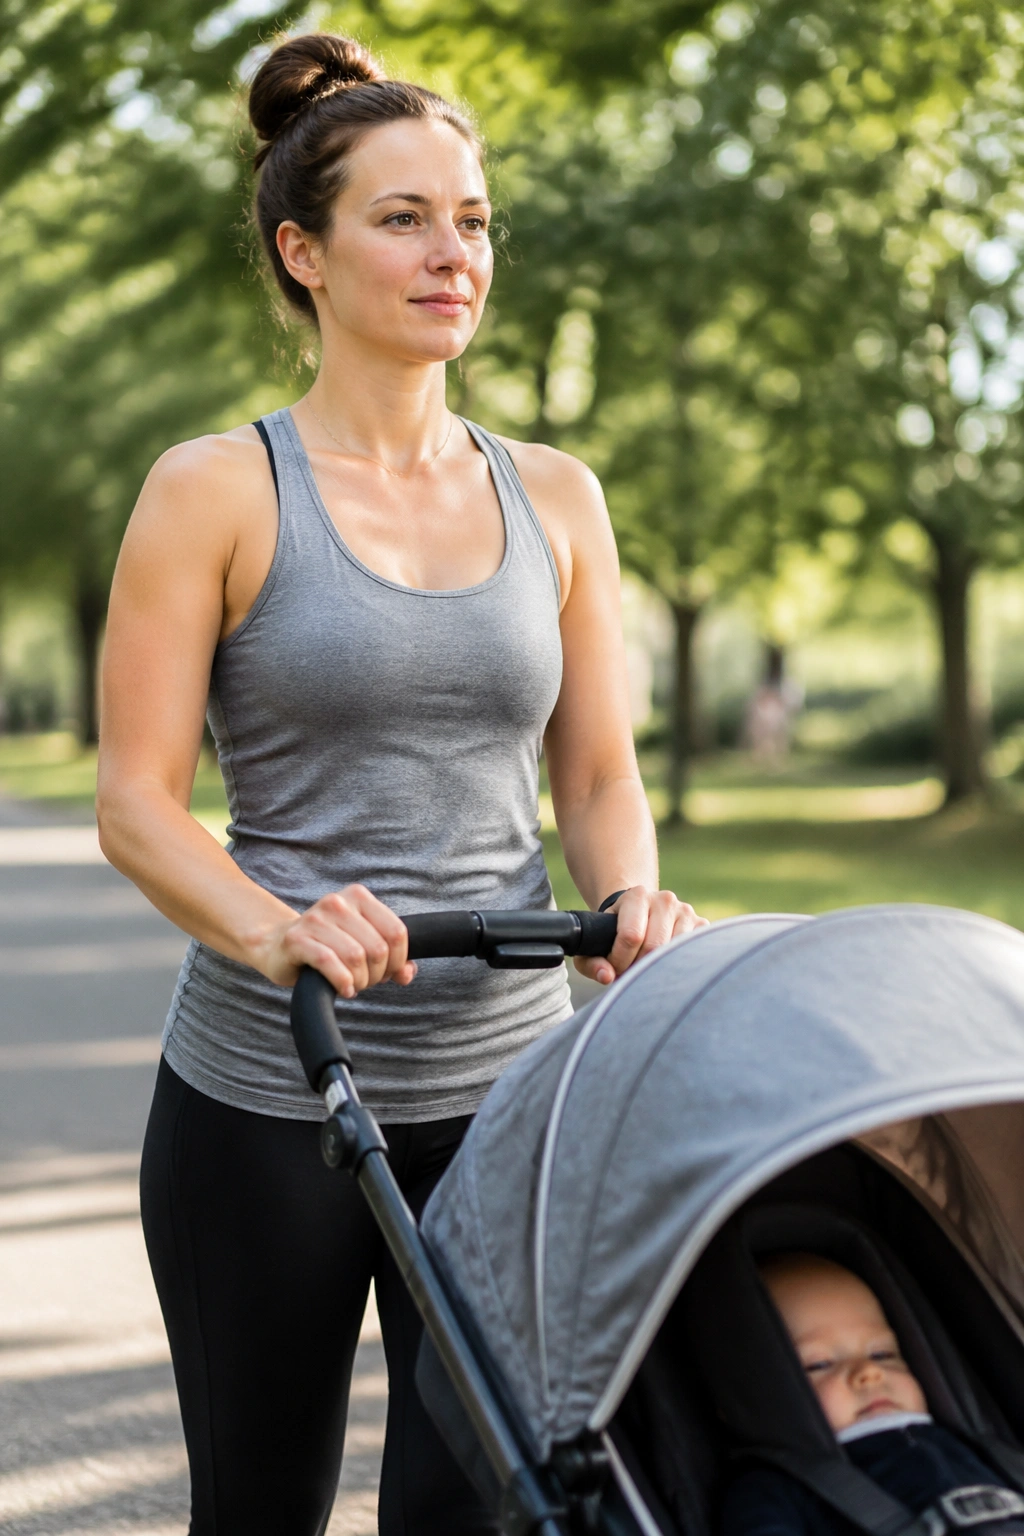
A short full-body circuit beats a heroic, one-hour plan you’ll skip. That’s the honest truth for a lot of moms. You need something that covers strength, breathing, and a little cardio without asking for a perfect schedule.
Try this simple circuit:
- 8 sit-to-stands
- 8 band rows
- 10 glute bridges
- 20-second farmer carry
- 6 bird dogs per side
Rest 30 to 45 seconds, then repeat for 3 rounds. If you’re tired, drop one round. If you’re feeling good, keep the form sharp and leave a little energy in the tank. The workout should make you feel more alive after, not emptied out.
This is the style of training that tends to last. Not flashy. Not punishing. Just enough strength, enough breath, enough repetition to rebuild trust in your body. And that trust matters far more than squeezing yourself into someone else’s schedule.
