



No jumping. No burpees. No apology.
The best easy workouts for plus size beginners are the ones that let your joints settle in first and your lungs catch up second. If a workout leaves you too sore to try again for three days, it didn’t help your habit very much.
A lot of people get handed a rough deal at the start: copy a hard-looking routine, sweat through it once, then spend the next week avoiding exercise because everything hurts. That’s not a fitness problem. That’s a bad starting point.
A smarter start is quieter. Short walks, chair work, wall push-ups, gentle cardio, a little balance, a little breathing. The point is to build a body that trusts movement, not one that feels punished by it. If you can keep the effort around a 4 to 6 out of 10, you’re in the sweet spot where you can still talk in short sentences without feeling like you need a couch immediately.
You do not need a home gym. A sturdy chair, a wall, supportive shoes, and 10 minutes can go a long way. If sharp pain shows up, stop. Muscle burn is fine. Getting winded is fine. A stabbing knee, pinching hip, or dizzy spell is not. Start where your body is, not where some overly cheerful video thinks you should be, and the first workout below is the one I’d hand to almost anyone who wants to begin without making a drama of it.
1. Walking Intervals That Respect Your Knees
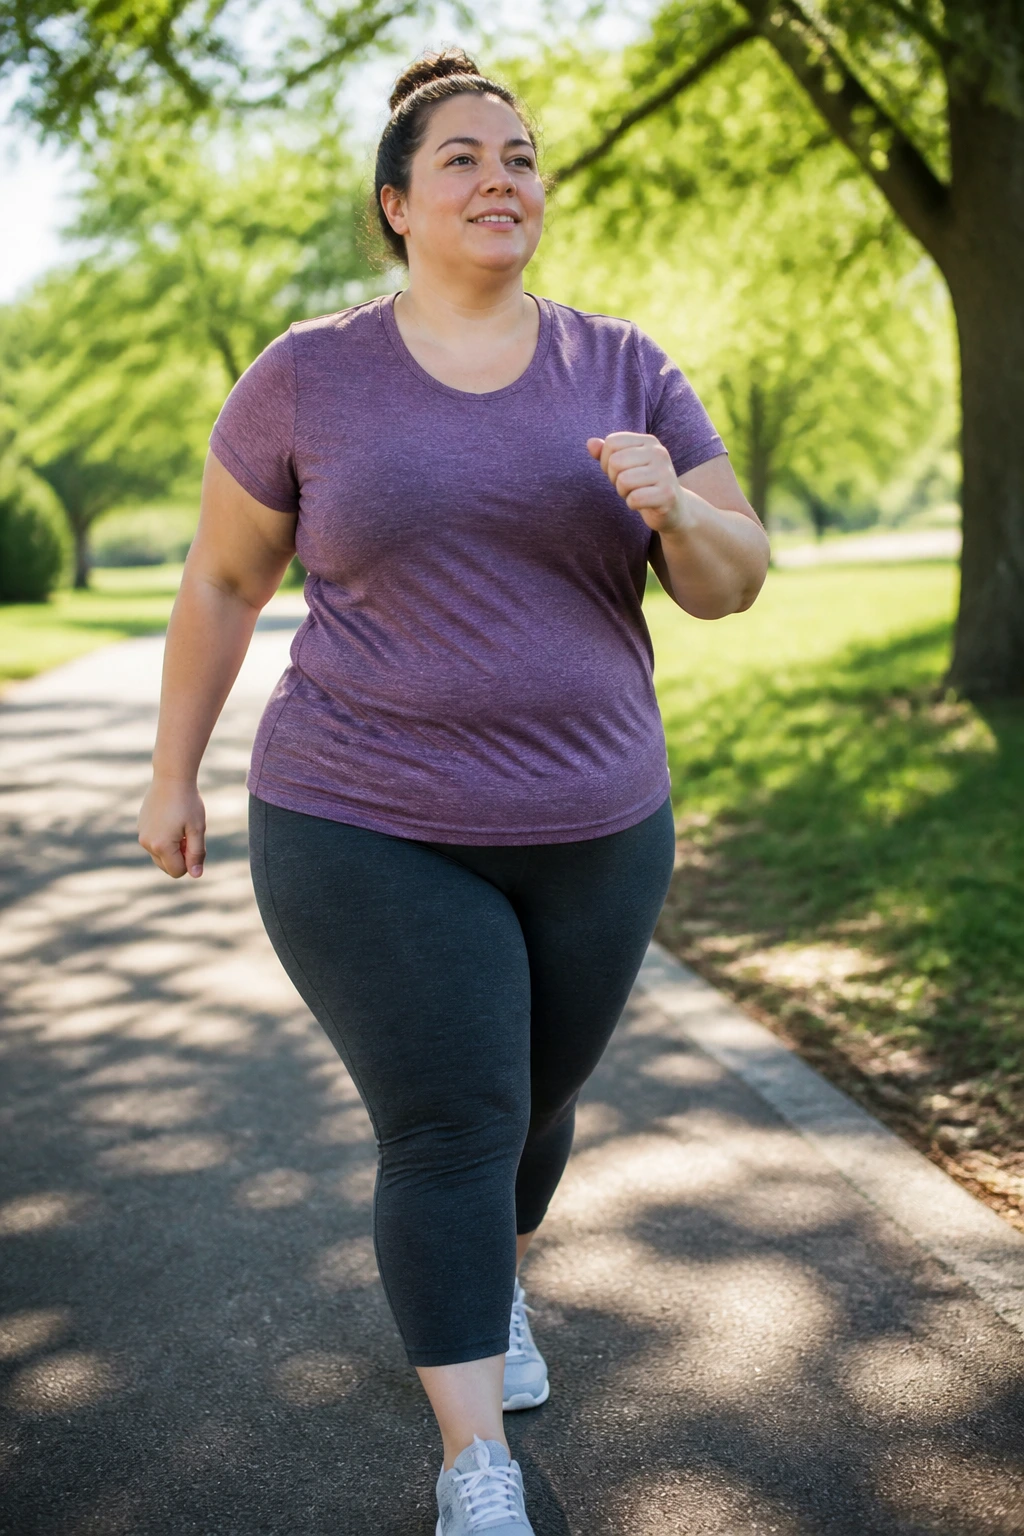
Walking is boring in the best possible way.
That sounds like a backhanded compliment, but it isn’t. Walking intervals give plus size beginners a real cardio base without asking for jumping, complicated choreography, or a floor transition every 20 seconds. You can do them outside, on a treadmill, or around your house if the weather, traffic, or mood is not cooperating.
Start with a 3- to 5-minute easy warm-up. Then walk a little faster for 30 to 60 seconds, followed by 1 to 2 minutes at a comfortable pace. Repeat that cycle for 10 to 15 minutes, then cool down for another few minutes. Your breathing should be deeper, but not panicky. If you can still speak a short sentence, you’re doing it right.
A simple first session
- 3 minutes of easy walking
- 6 rounds of 45 seconds brisk / 75 seconds easy
- 3 minutes of slow walking to finish
Short steps help. Big, stomping strides can tug at the knees and lower back. Keep your chest tall, let your arms swing naturally, and try not to lean forward like you’re chasing a bus.
If you want one workout that can quietly become a habit, this is the one.
2. Seated Marches and Arm Reaches
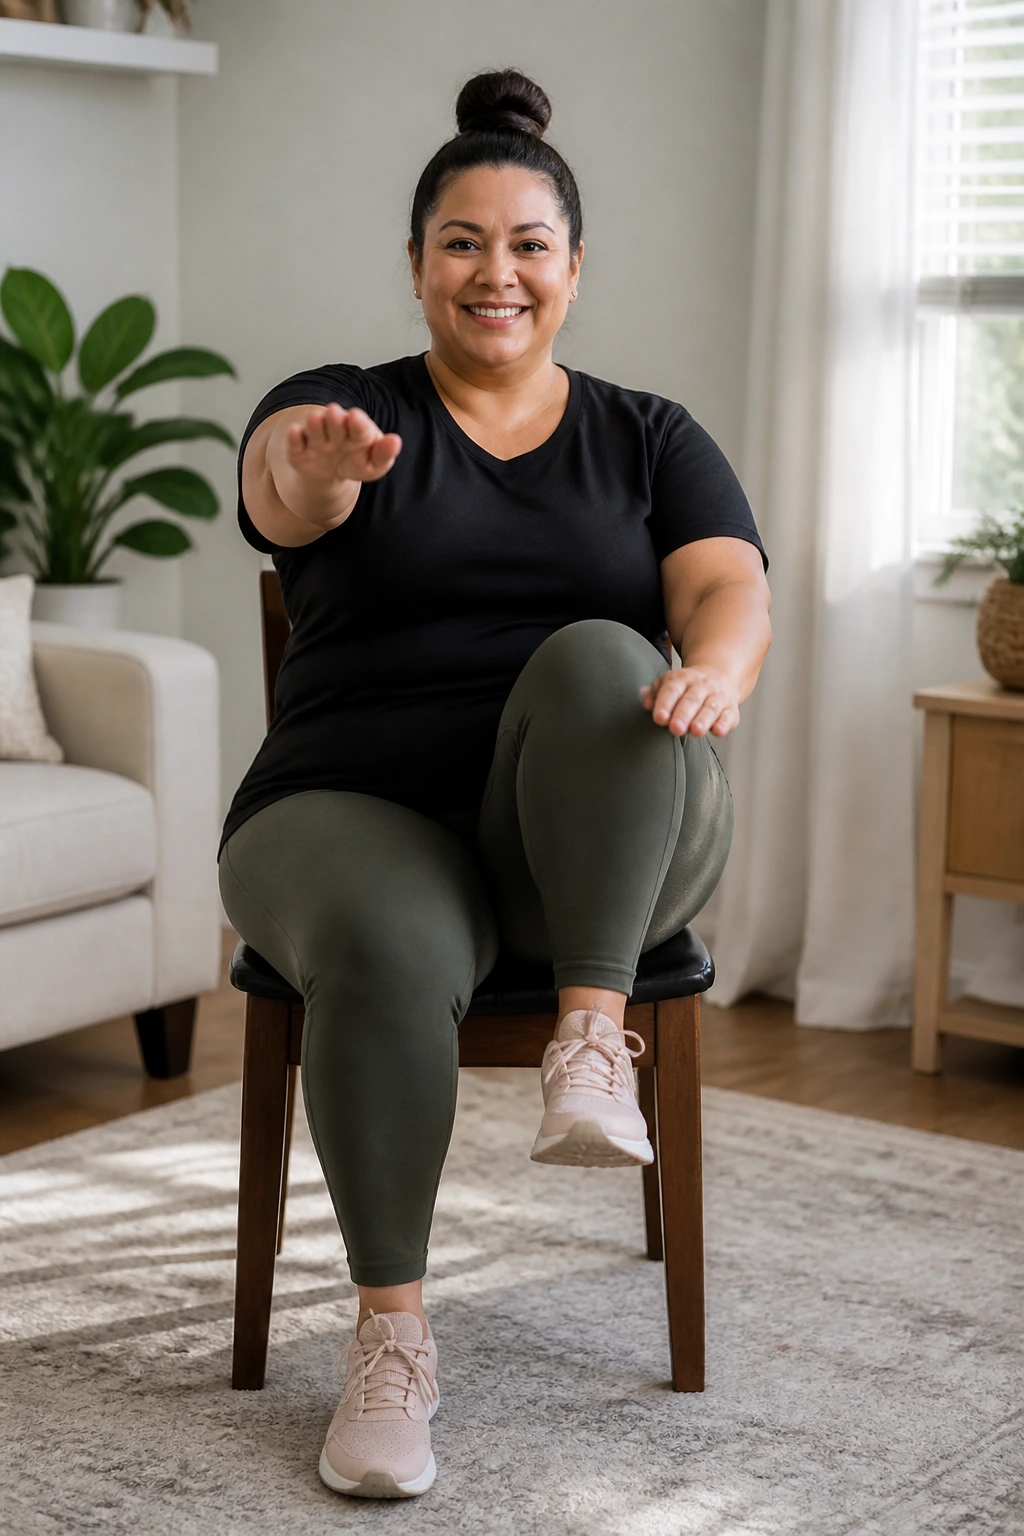
Can you get sweaty in a chair?
Absolutely. And that’s good news on the days when standing feels like too much, your knees are cranky, or you’re easing back into movement after a long stretch of doing very little.
Sit on a sturdy chair with both feet flat on the floor. Lift one knee, then the other, like you’re marching in place. Add arm reaches at shoulder height, overhead if that feels fine, or even gentle punches straight out in front of you. Do 20 to 30 seconds of work, then rest for 20 seconds. Repeat 6 to 10 times.
What matters most here is posture. Sit toward the front half of the chair, keep your ribcage stacked over your hips, and don’t hunch your shoulders up toward your ears. That part sneaks in fast.
How to keep the movement honest
- Keep the feet moving, not just the hands
- Lift the knees as high as feels smooth
- Exhale when the arms reach or the knee lifts
- Use a chair that does not roll or wobble
If seated work sounds too easy, try a minute of it and see what your breathing says. Chair cardio has a sneaky way of proving people wrong.
3. Chair Squats That Teach Your Legs to Work
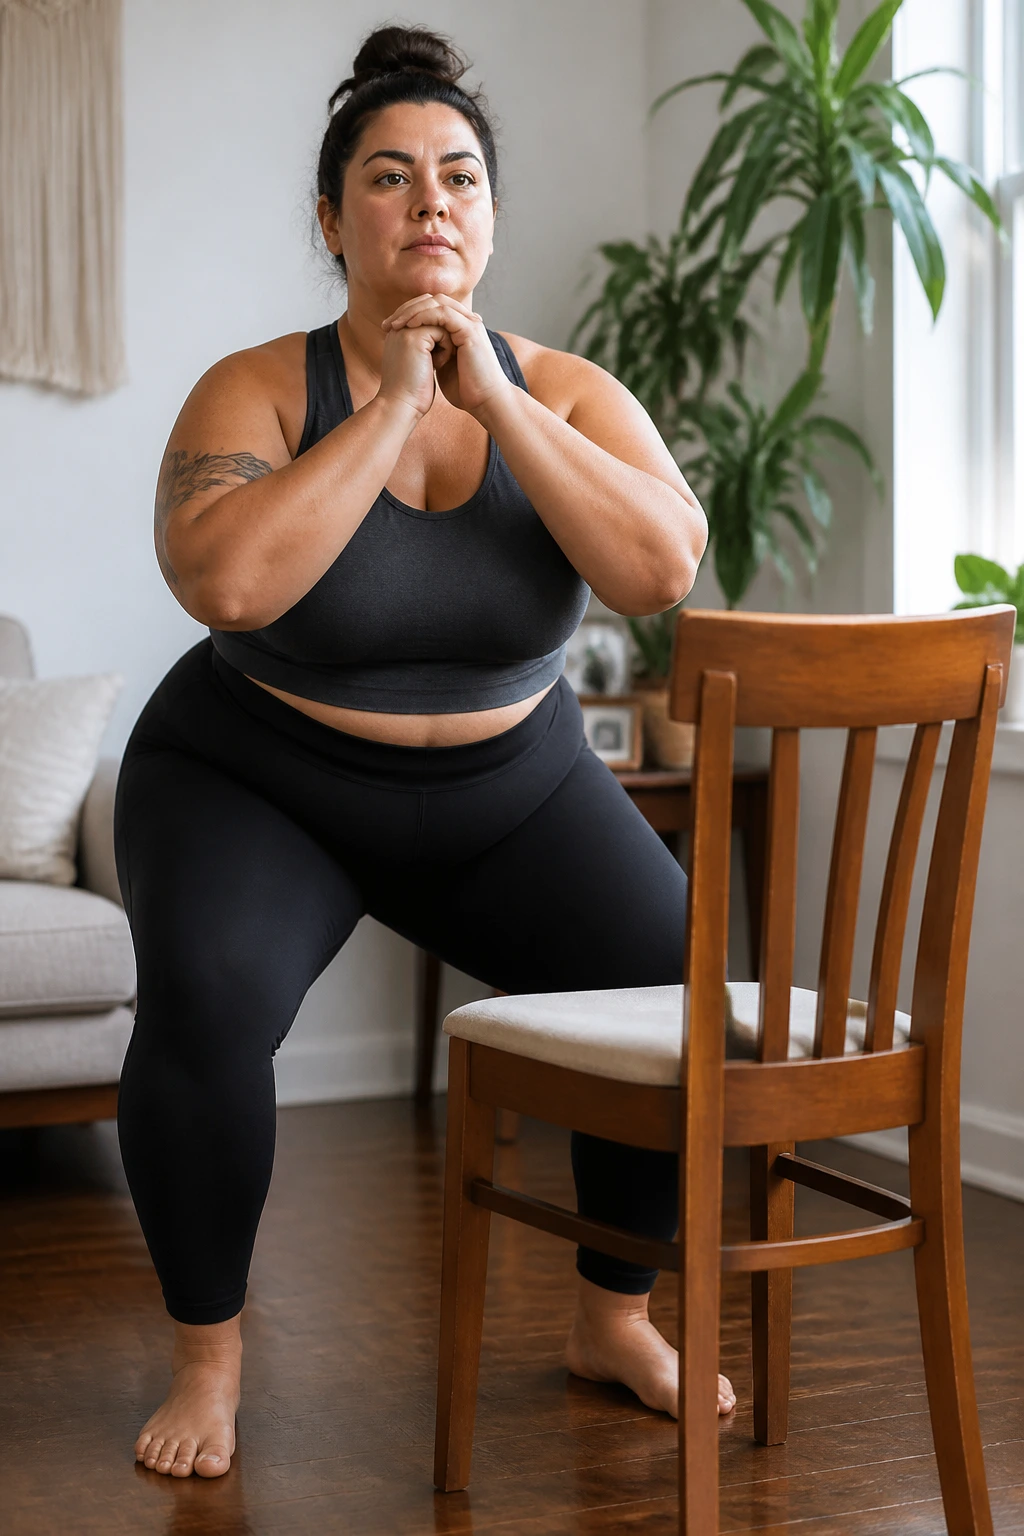
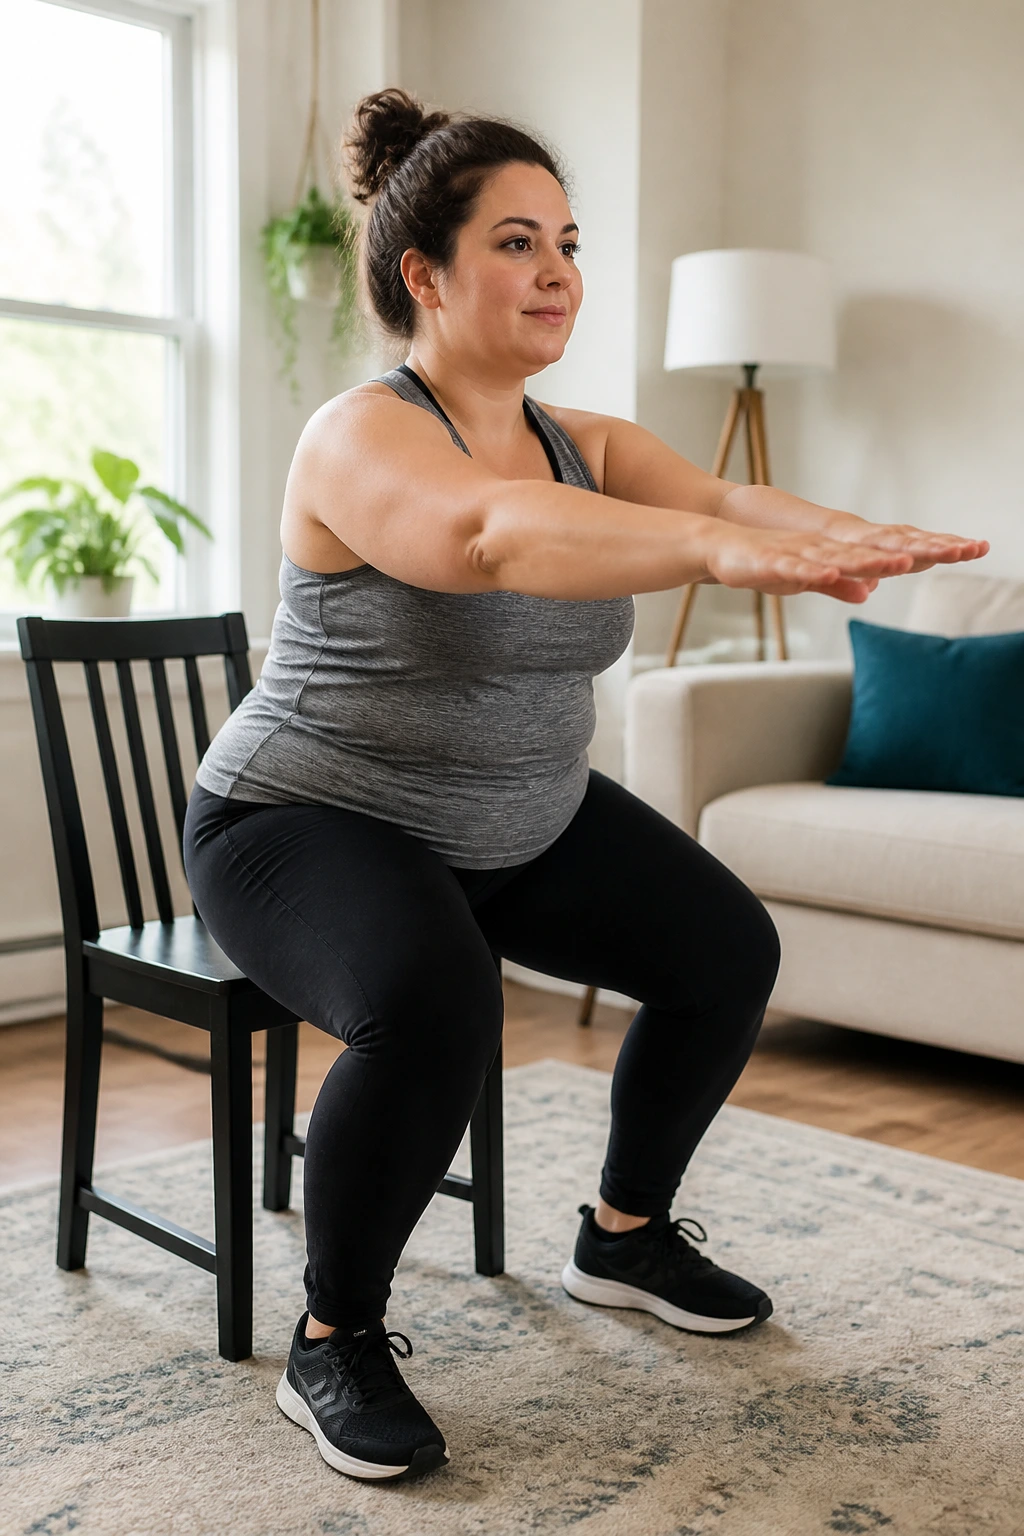
Chair squats are one of the smartest beginner strength moves there is.
They teach your body the exact skill you use all day: sit down, stand up, and do it without flopping. For plus size beginners, that matters. Strong legs make walking easier, stairs less rude, and balance less uncertain. Plus, a chair gives you a target, which takes the guesswork out of depth.
Stand in front of a sturdy chair with your feet about hip-width apart. Reach your hips back as if you’re about to sit, tap the chair lightly, then stand back up. Start with 5 to 8 reps, rest for 30 to 60 seconds, then do 2 more rounds. If the movement feels shaky, use your hands on your thighs for support. That is not cheating. That is smart.
Tiny range counts.
If a full squat feels like too much, raise the chair by putting a firm cushion on it. If the movement feels too easy, slow the lowering phase to 3 full seconds. That eccentric lowering is where a lot of strength gets built.
Good signs to watch for
- Knees track roughly over the toes
- Weight stays in the heels and midfoot
- Your chest stays proud, not collapsed
- You can stand without throwing your head forward
Skip any version that makes your knees pinch. A squat should feel like work, not like a complaint letter from your joints.
4. Wall Push-Ups for a Gentle Upper-Body Start
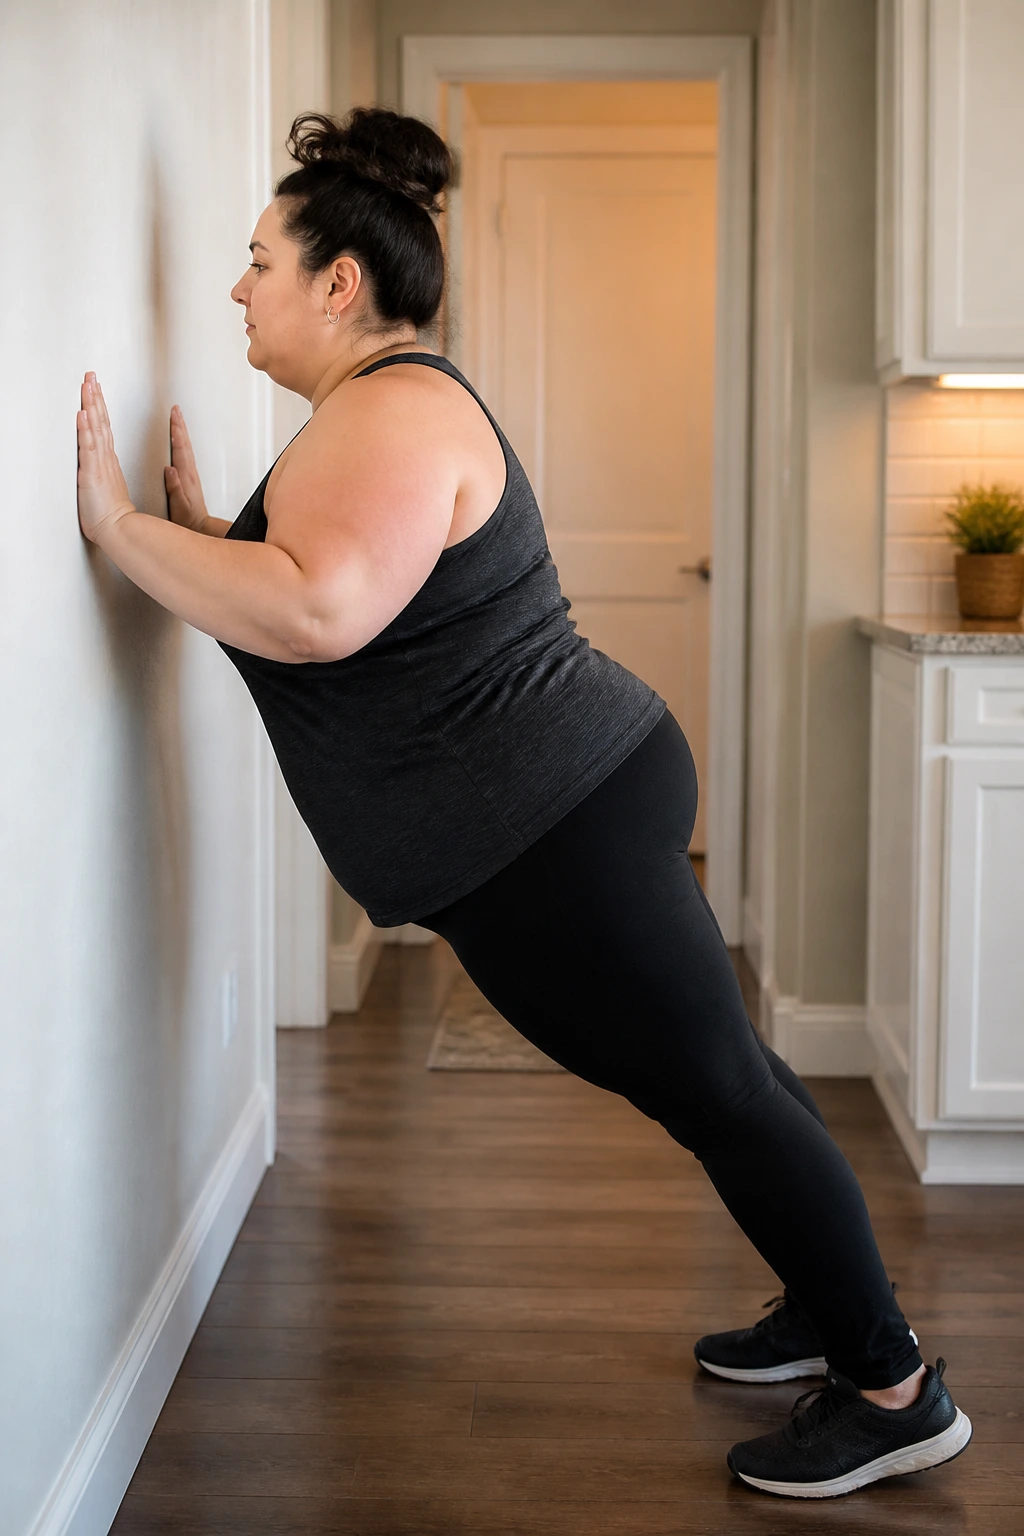
If the floor feels like a bad deal, stay upright.
Wall push-ups are a clean way to wake up the chest, shoulders, triceps, and core without asking your wrists, knees, or ego to do too much at once. They’re one of those exercises that looks almost too easy until your arms start shaking on rep 8.
Stand an arm’s length from a wall. Put your hands on the wall at chest height, a little wider than your shoulders. Bend your elbows and bring your chest toward the wall, then press back to the starting position. Start with 6 to 10 reps and do 2 or 3 sets. The farther your feet are from the wall, the harder it gets. Closer feet make it easier.
What to watch for
- Keep your body in one long line
- Don’t let your lower back sag
- Keep elbows angled down and out, not flared wildly
- Move slowly enough that you can feel the muscles working
A countertop works too if the wall feels too easy. That’s the nice thing about push-ups at an angle: you can find your level without making a show of it. Strong upper body, low drama.
5. Resistance Band Rows for Better Posture
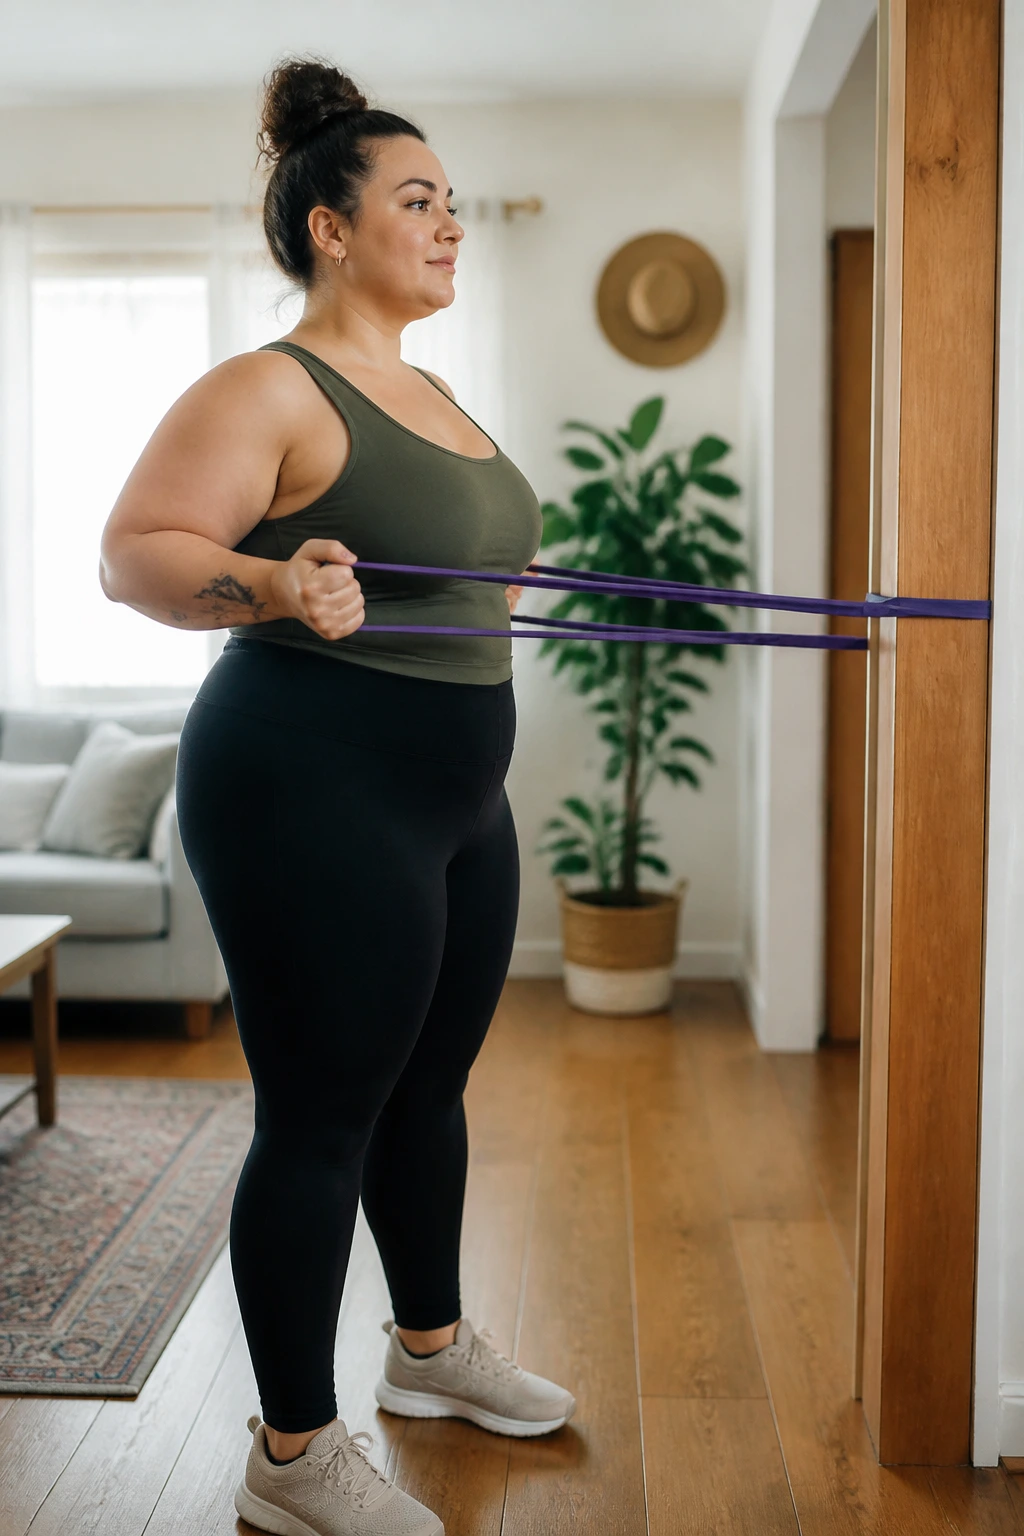
Rows are the quiet fix for a lot of beginner complaints.
If you sit a lot, carry groceries, hunch over a phone, or just have a back that feels tired by the end of the day, band rows help. They train the muscles between the shoulder blades and along the back of the arms, which gives your posture a better base and makes everyday lifting feel less clumsy.
Anchor a resistance band around a sturdy post, or step on the middle of the band with both feet. Hold one end in each hand and pull your elbows back toward your ribs. Pause for one second when the shoulder blades come together, then return slowly. Start with 8 to 12 reps for 2 or 3 sets.
The tension should feel challenging on the last few reps, but not so heavy that your neck tightens. If your shoulders creep up toward your ears, the band is too tough or you’re pulling too hard.
A few details that matter
- Keep your chest open, not puffed up
- Pull with the elbows, not the hands
- Stop when the elbows line up with your torso
- Use a lighter band if your lower back starts to lean back and cheat
This is not flashy work. It’s useful work. That’s the whole point.
6. Step-Touches and Side Steps for Easy Cardio
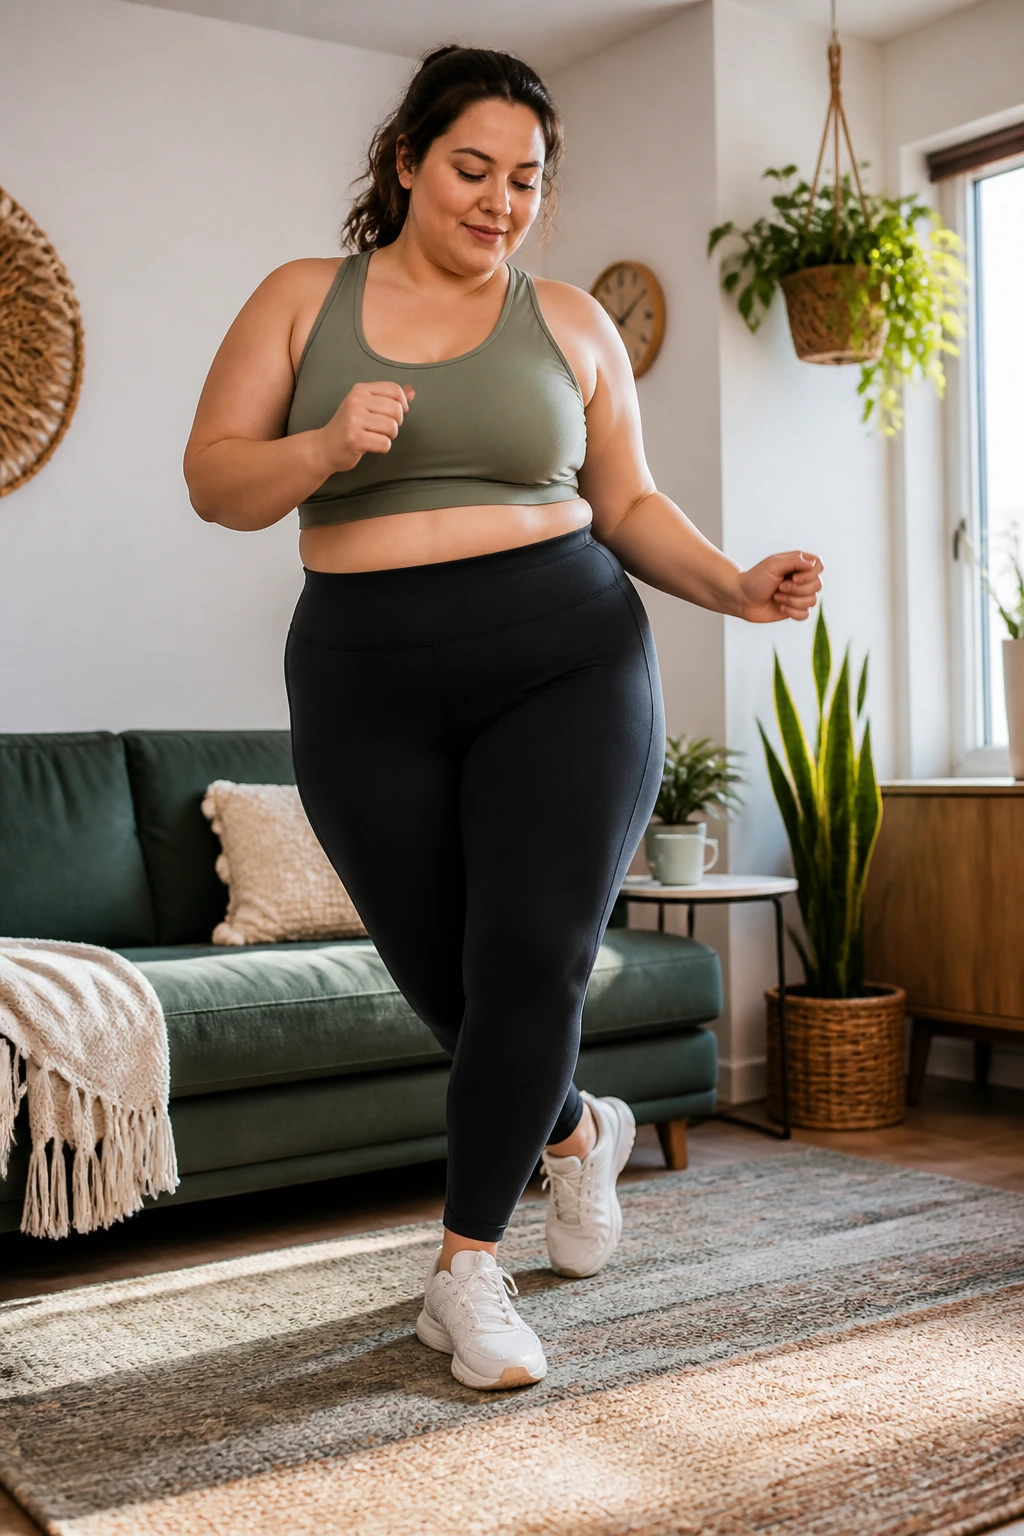
Put on one song and your feet already know what to do.
Step-touches are basically cardio with training wheels, and I mean that as praise. You step to the right, bring the left foot in, then step left and bring the right foot in. Add arm swings, shoulder-height reaches, or a small bounce if your joints are happy with it.
Try 30 seconds on, 30 seconds easy, for 8 to 10 rounds. If your balance feels shaky, do it near a counter or the back of a couch. Keep the steps small at first. Bigger is not better here; smoother is.
If you want to turn it into a real workout, add a gentle squat as you step out, or lift the arms overhead on every fourth step. If your knees hate twisting, keep the feet parallel and skip anything that crosses one leg behind the other.
A few simple ways to change it up:
- Small side steps for warm-up
- Bigger step-touches for more breathing
- Arm reaches for extra upper-body work
- Mini squat on the side step for more leg burn
It’s hard to beat a workout that feels this friendly and still leaves you a little breathless.
7. Water Walking for Zero-Fuss Joint Relief
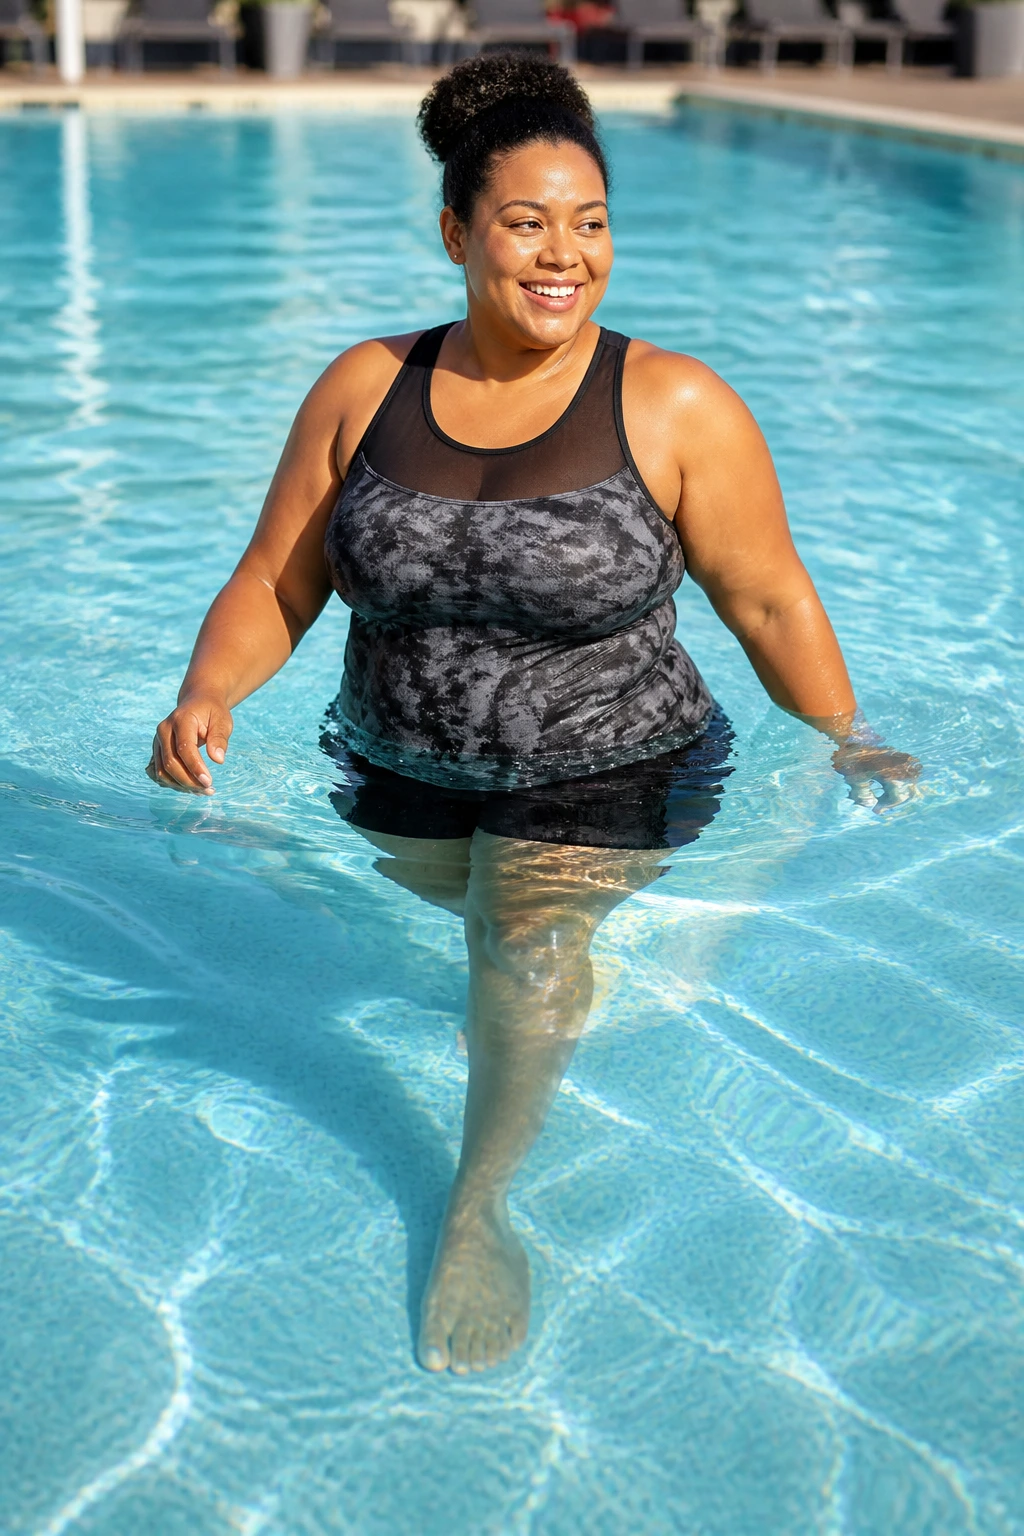
Why does water feel so good when your joints are irritated?
Because it supports you. The buoyancy takes some of your body weight off the knees, hips, and ankles, while the water itself adds resistance every time you move through it. That’s a rare combination: less impact, more effort.
Use the shallow end or waist-to-chest-deep water and walk forward, backward, and sideways. Start with 10 minutes, then build toward 15 or 20. Keep your steps controlled. Racing through water turns into sloshing fast, and that’s not the goal. If the pool floor feels slick, water shoes help.
Three pool patterns that work well
- Forward walking for steady cardio
- Sideways walking for hips and inner thighs
- Backward walking for glutes and balance
If the water is chest-deep, your arms will have to work a little harder to stay coordinated. That’s normal. If you’re in a crowded pool, keep the pace slow and stay out of everyone else’s lane. Aquatic workouts are supposed to feel supportive, not like a traffic problem with goggles.
8. Stationary Bike Rides That Build Stamina
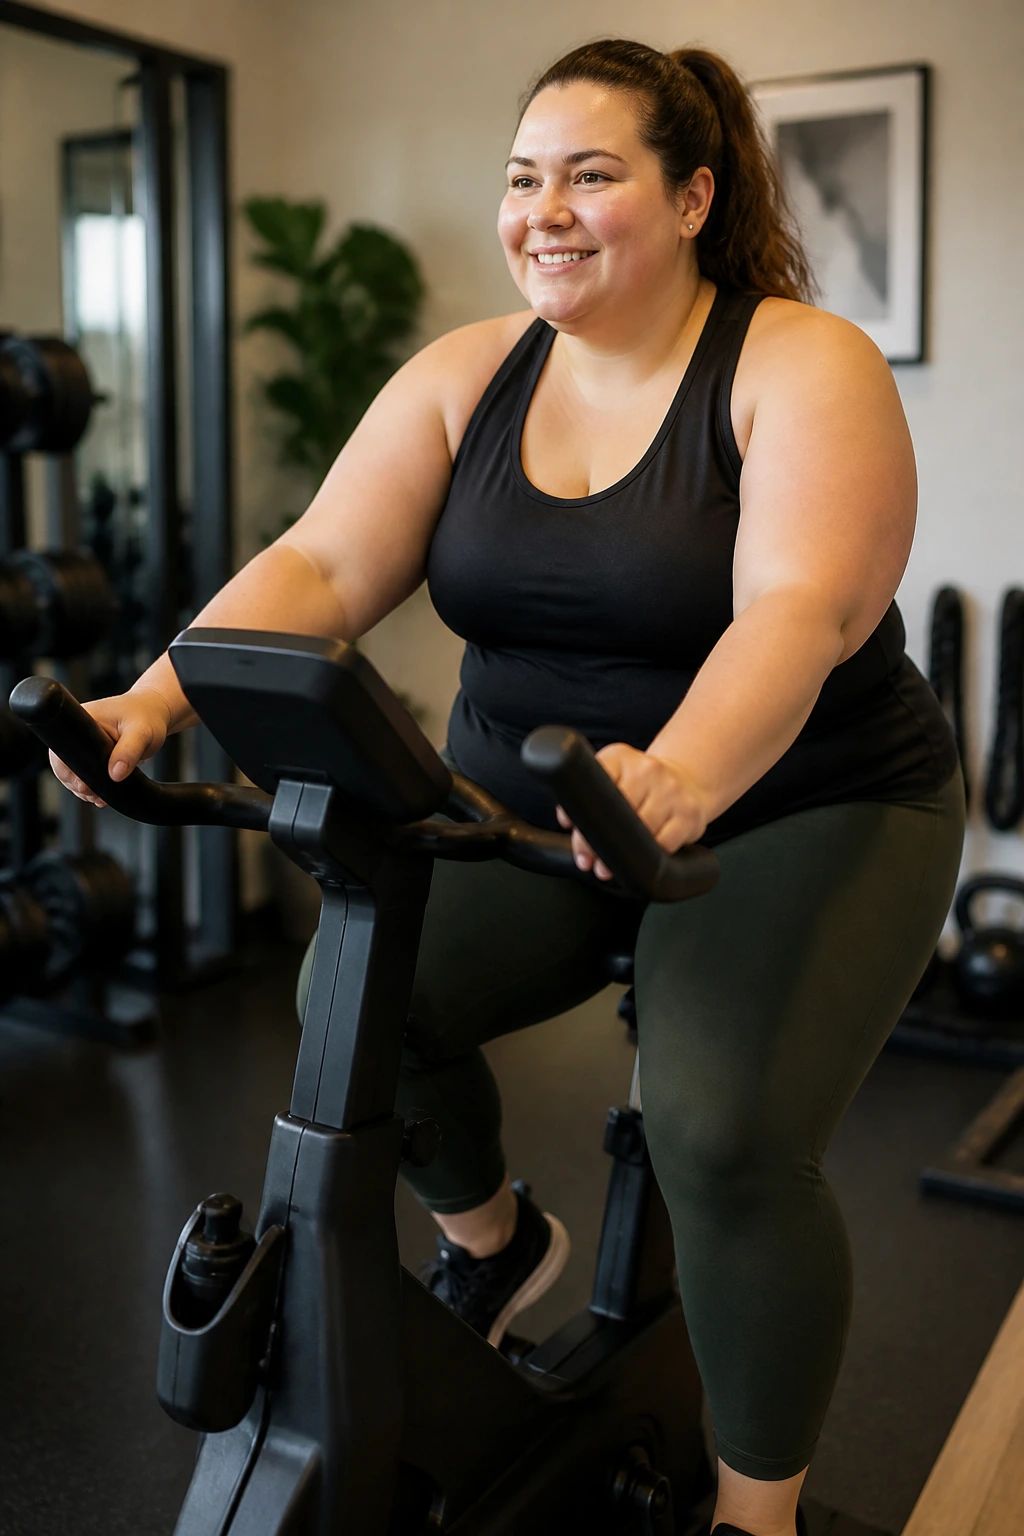
A bike can feel kinder than a walk when your knees are cranky.
That’s because the seat carries some of your body weight and the pedals keep impact low. The trick is making the bike fit you instead of forcing yourself to fit the bike. Seat height matters more than grit here. If the seat is too low, your knees end up doing extra work and the ride starts to feel annoying fast.
Set the seat so your knee has a slight bend at the bottom of the pedal stroke. Start with 5 minutes of easy pedaling, then do 1 minute a little harder and 2 minutes easy. Repeat that pattern 4 to 5 times. You should feel your legs warming up and your breathing deepen, not your hips rocking side to side.
A recumbent bike is often easier for plus size beginners because the seat is wider and the back support takes pressure off the spine. An upright bike works fine too if you prefer that position.
Bike cues worth checking
- Pedal smoothly, no stomping
- Keep shoulders relaxed
- Don’t cling to the handlebars
- Increase resistance one small notch at a time
Pedaling faster is not the same as getting a better workout. Smooth, steady, and repeatable usually wins.
9. Standing Knee Lifts With a Chair Nearby
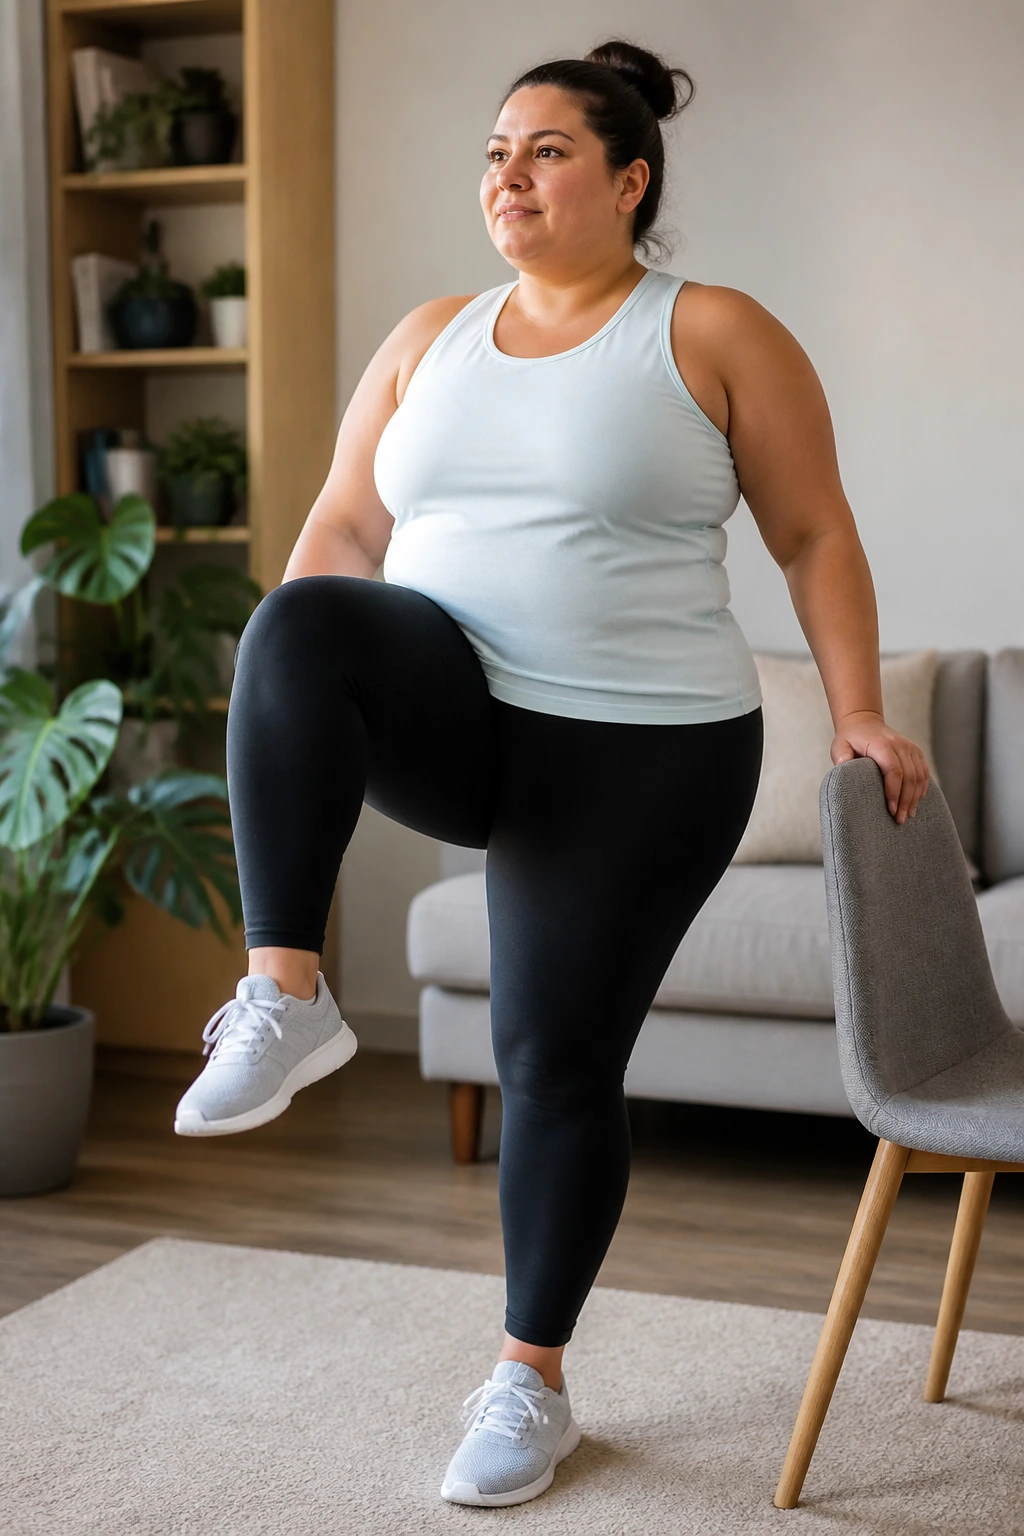
Stand next to a chair, and you get balance practice without making it a circus.
Standing knee lifts are simple, but they train your hips, core, and balance in a way that carries over to stairs, dressing, and getting in and out of cars. Hold the chair with one hand if you need support. Lift one knee toward hip height or lower, pause for a beat, then lower it with control.
Start with 6 to 10 lifts per side. If you want a little more challenge, tap the lifted knee with the opposite hand or hold the top position for 2 seconds. Keep your torso tall. Don’t lean back and don’t rush the lowering phase.
How to make it smooth
- Keep the standing knee soft, not locked
- Press through the whole foot on the standing leg
- Exhale as the knee lifts
- Use the chair lightly, not as a crutch
This move looks plain. Good. Plain is useful. And useful is what beginner workouts should be.
10. Glute Bridges and Dead Bugs on the Floor
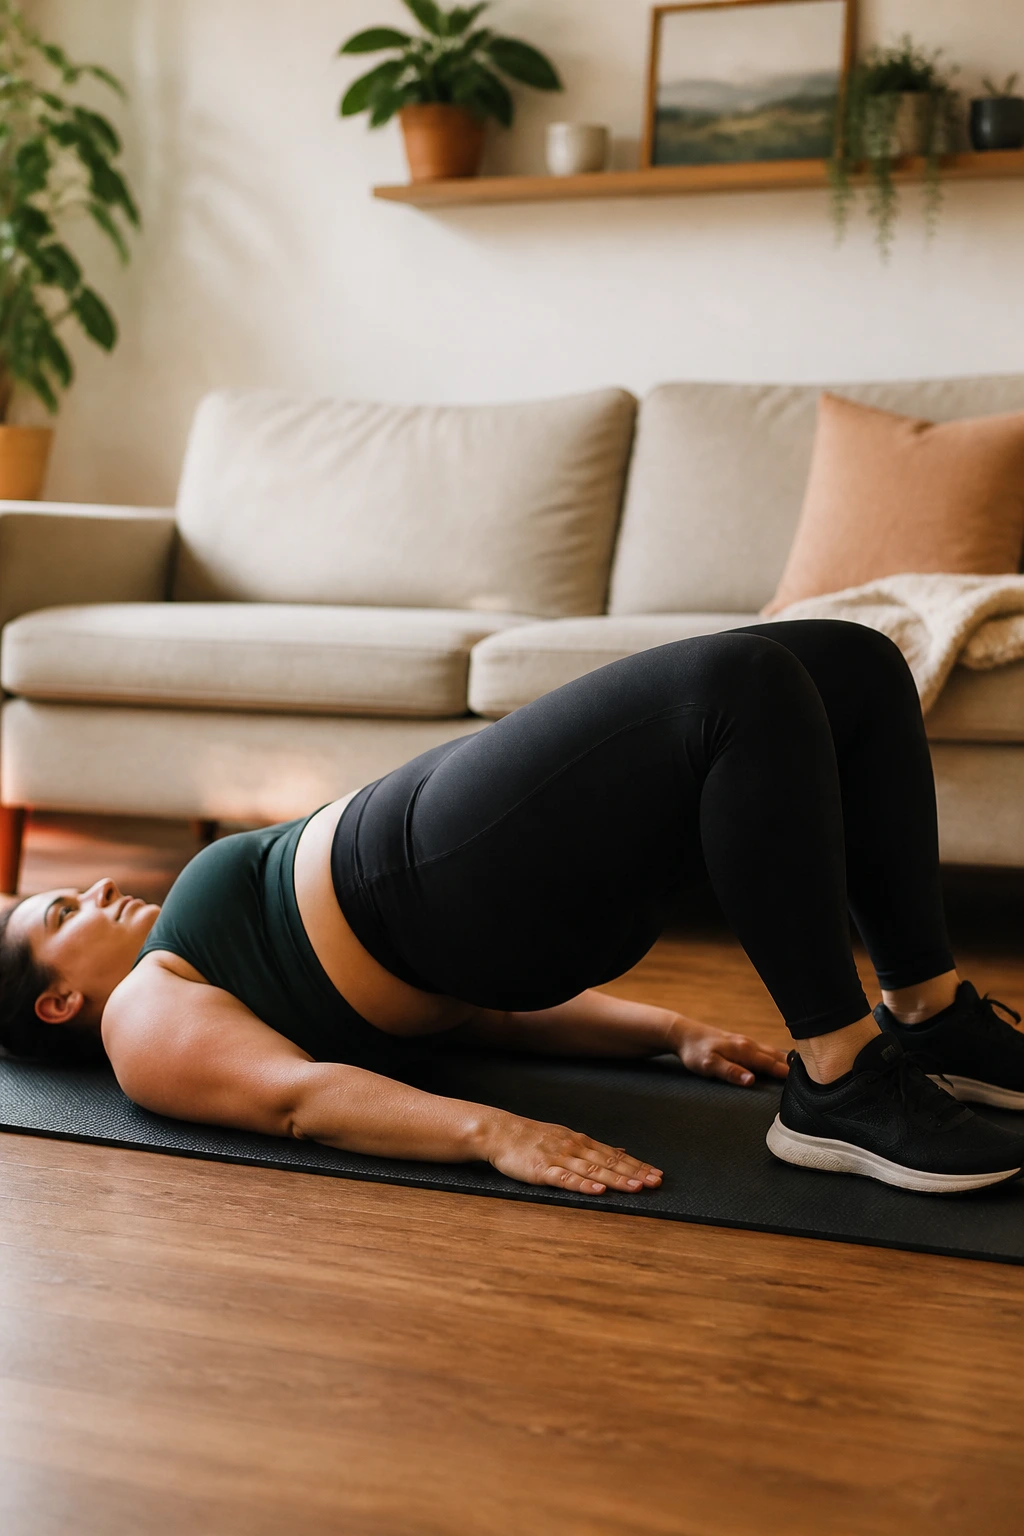
Floor work gets a bad reputation because people rush it.
They see a mat and assume the move has to be intense to count. It doesn’t. Glute bridges and dead bugs are slow, controlled exercises that build the muscles that support your lower back, hips, and torso. If getting to the floor is hard, place the mat near a couch or bed so you have something stable to hold while you lower yourself down.
For glute bridges, lie on your back with your knees bent and feet flat. Press through your heels and lift your hips until your body makes a gentle slope from shoulders to knees. Squeeze your glutes at the top, then lower slowly. Aim for 8 to 12 reps.
Glute bridge cues
- Feet stay hip-width apart
- Ribs stay down, not flared
- Lift until the glutes work, not until the back arches
- Lower with control
For dead bugs, lie on your back with your knees bent over your hips and arms pointing to the ceiling. Slowly lower the opposite arm and leg, then return to center and switch sides. Keep your lower back heavy against the mat. If that changes, shorten the range.
Dead bug cues
- Move one arm and one leg at a time
- Keep the motion slow
- Stop before your back lifts
- Exhale as the limbs extend
These two moves are not glamorous. They are, however, excellent.
11. Shadow Boxing Rounds for Cardio and Confidence
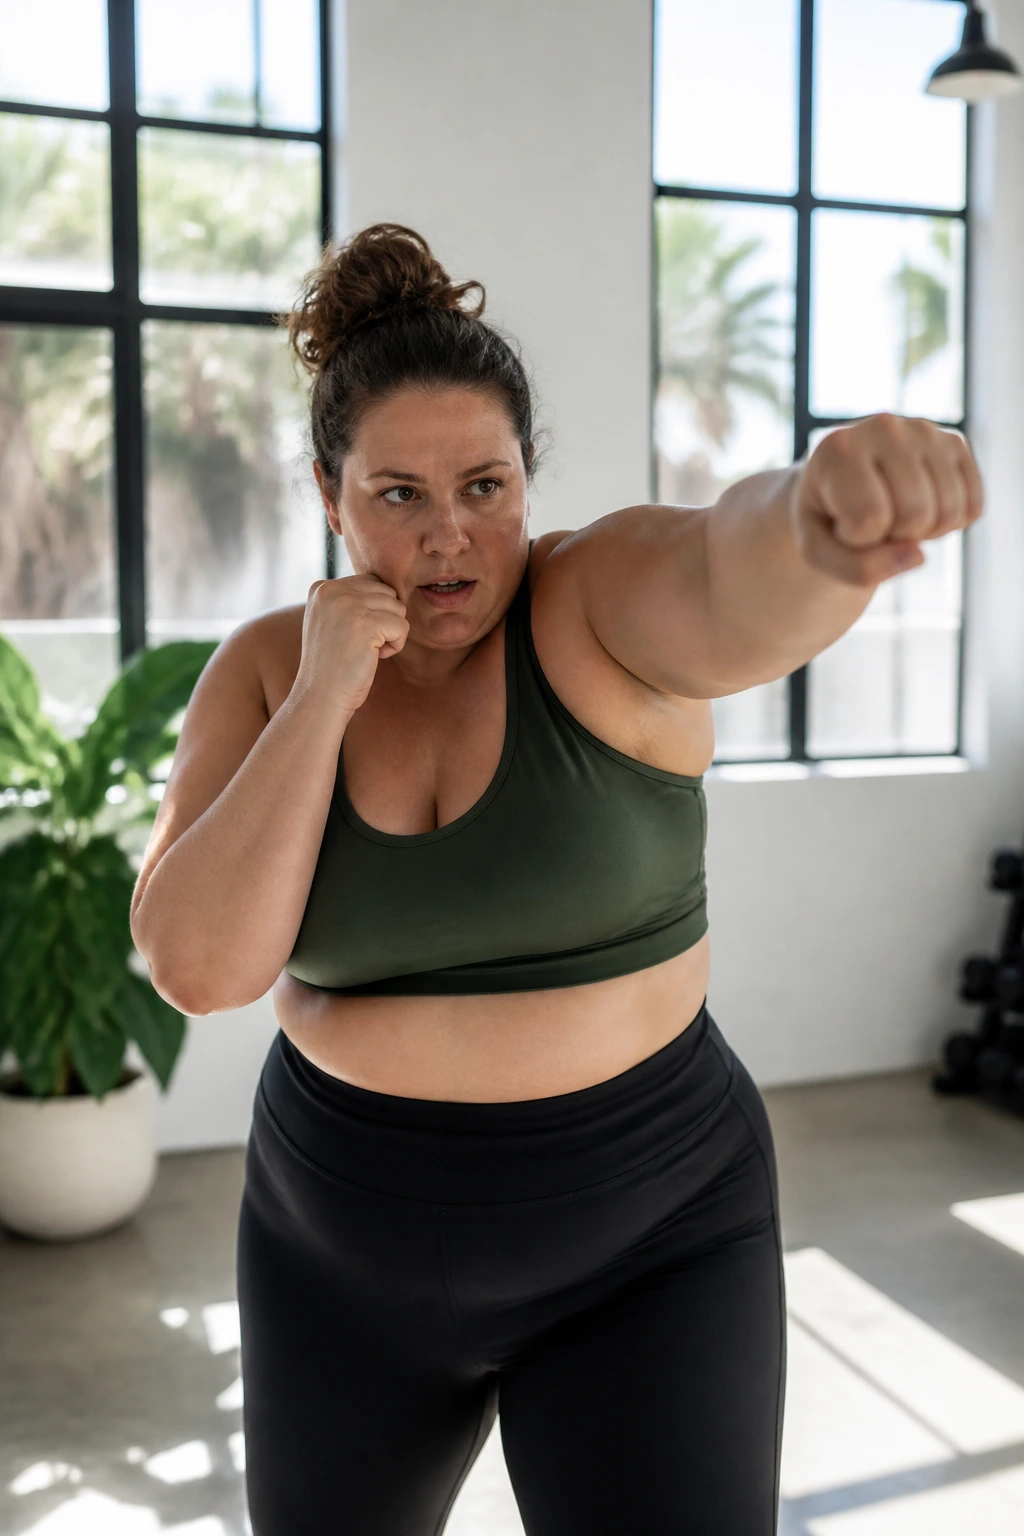
Shadow boxing is cardio for people who want a little attitude with their workout.
There’s something satisfying about throwing light punches into the air while your heart rate climbs. You don’t need combat sports experience. You need enough space to move your arms and enough honesty to keep the punches controlled. Start with a jab-cross pattern: left hand, right hand, then reset. If that feels fine, add hooks later.
Try 20 seconds of punches, 20 seconds of rest, for 8 to 10 rounds. You can do it standing or seated. Keep your wrists straight, elbows soft, and fists loose until the moment you punch. Hard clenching makes your forearms tire faster than they need to.
Easy round structure
- Round 1: jabs only
- Round 2: jab-cross
- Round 3: jab-cross with a small side step
- Round 4: add light hooks if your shoulders feel good
You do not need to hit hard. Quick, snappy punches with clean form beat wild flailing every time. This one wakes up the whole body fast, which is handy on days when motivation shows up wearing a hoodie and hiding in the corner.
12. Incline Walking on a Treadmill or Hill
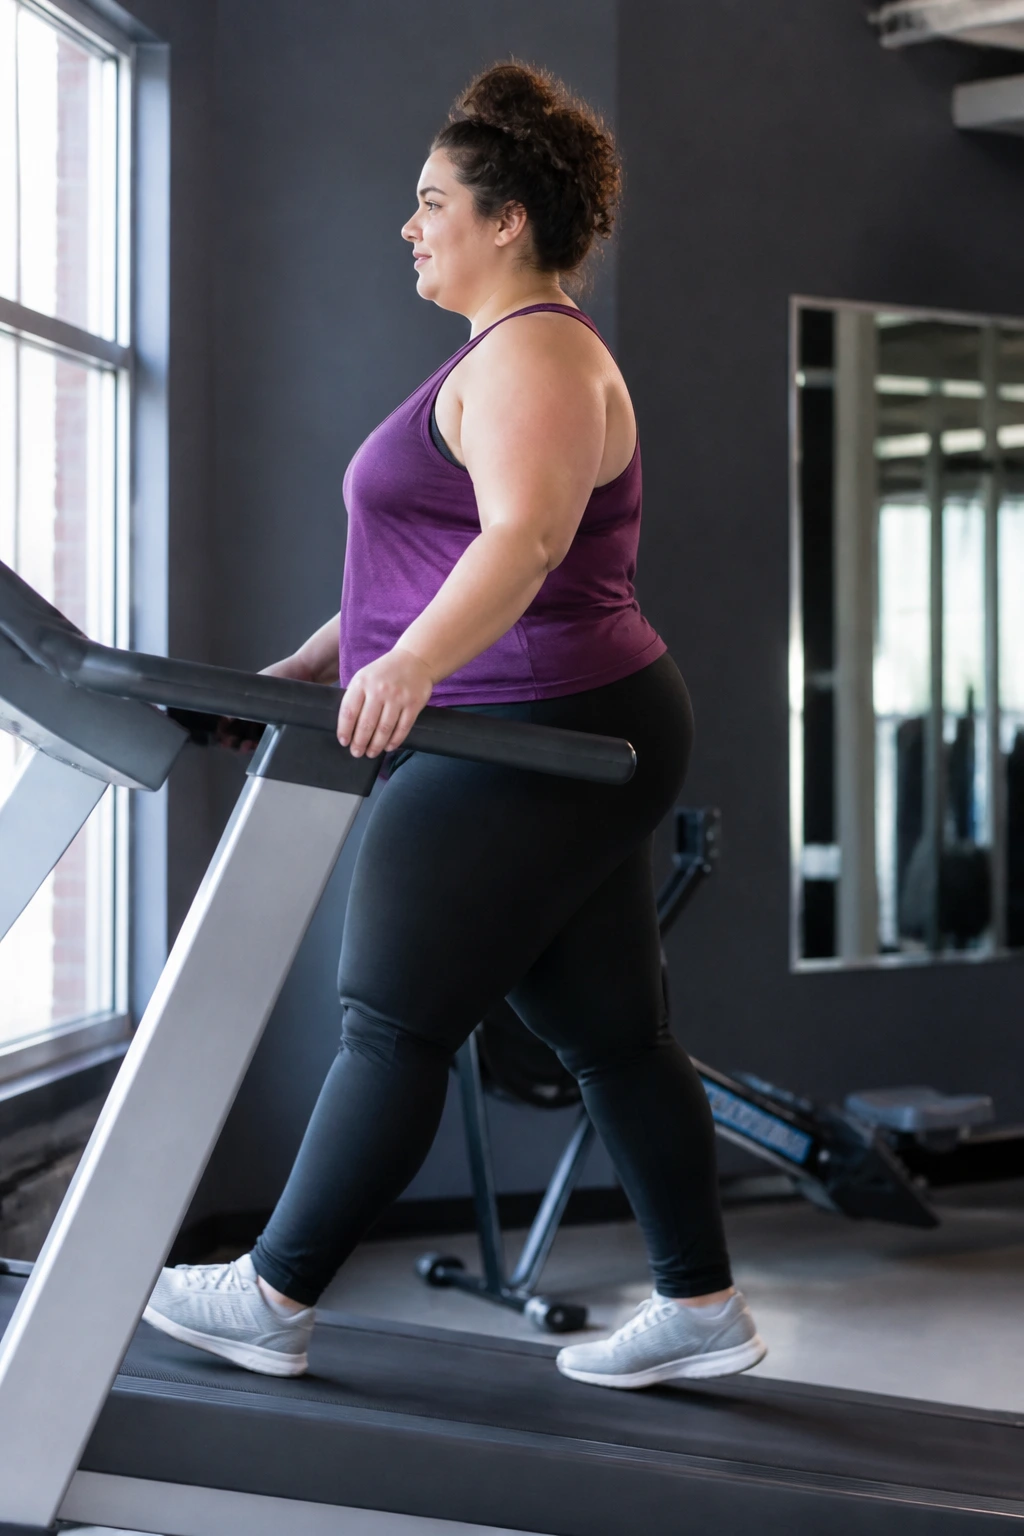
A small hill can be easier on the body than running and harder than flat walking, which is exactly why it works.
Incline walking raises your heart rate without adding the pounding that comes with jogging. It also wakes up the glutes and calves in a way flat ground sometimes doesn’t. If you use a treadmill, start with a 1% to 3% incline and keep the speed slow enough that you can still control your posture. If you’re outside, pick a gentle hill rather than a steep one that turns into a knee argument.
Walk for 1 to 2 minutes on the incline, then return to flat ground for 2 to 3 minutes. Repeat that 5 times. Keep your torso tall and resist the urge to hang on to the treadmill rails for dear life. Light fingertips are fine. Full-body leaning is not.
A few useful reminders:
- Shorten your stride on the hill
- Keep your gaze forward, not down
- Let the glutes work
- Slow down before the form breaks
This workout is sneaky. It doesn’t look dramatic, but it can leave you breathing hard in a way that flat walking often doesn’t.
13. Heel Raises and Balance Holds at the Counter
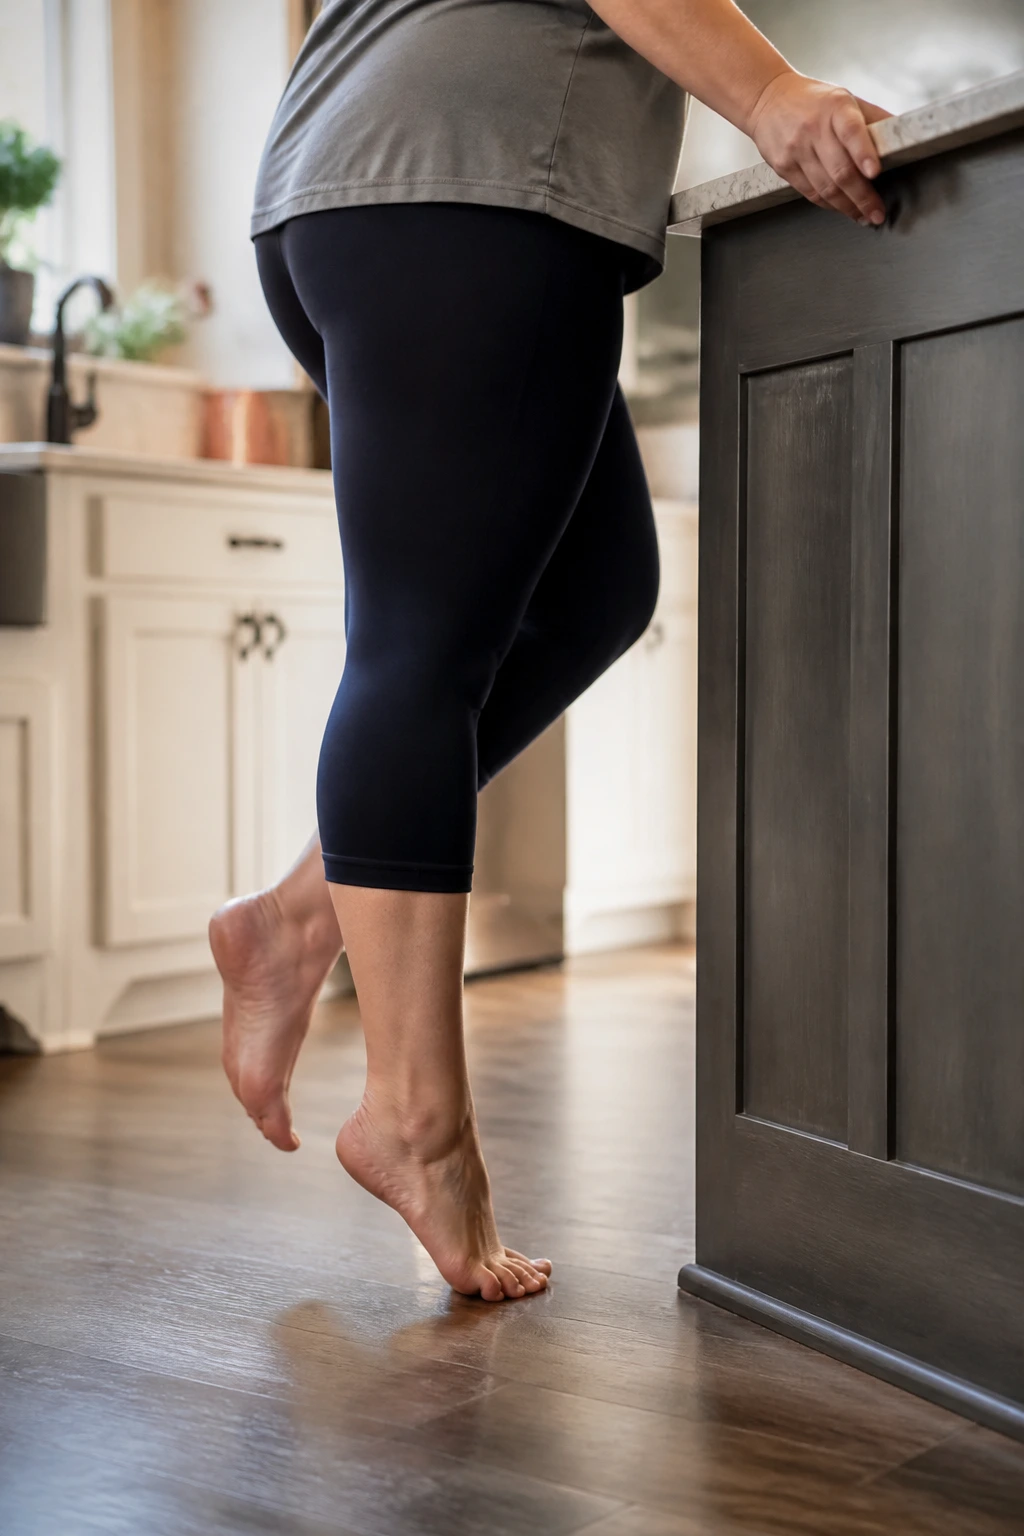
When did ankle strength become boring and important at the same time?
Probably the moment people stopped thinking about it. But heel raises and balance holds are worth your attention, because better ankles mean better stairs, steadier walking, and fewer surprise wobbles when you turn too fast. Hold the counter with one hand and lift both heels off the floor. Lower slowly. That’s the whole move, and it works.
Do 10 to 15 heel raises, then stand on one leg for 10 seconds while keeping your fingertips on the counter. Switch sides and repeat. If standing on one leg feels too wobbly, do toe taps instead: lift one foot and tap the toe forward, side, and back while the other foot stays planted.
Tiny progressions that add up
- Two-foot heel raises first
- One-hand balance next
- Then fingertip balance
- Finally longer holds, if they feel steady
The goal is not to become a circus act on your first try. The goal is to teach your feet and ankles to trust the ground again. That matters more than people think, especially if you’ve been moving cautiously for a while.
14. Gentle Yoga Flows for Mobility and Breathing
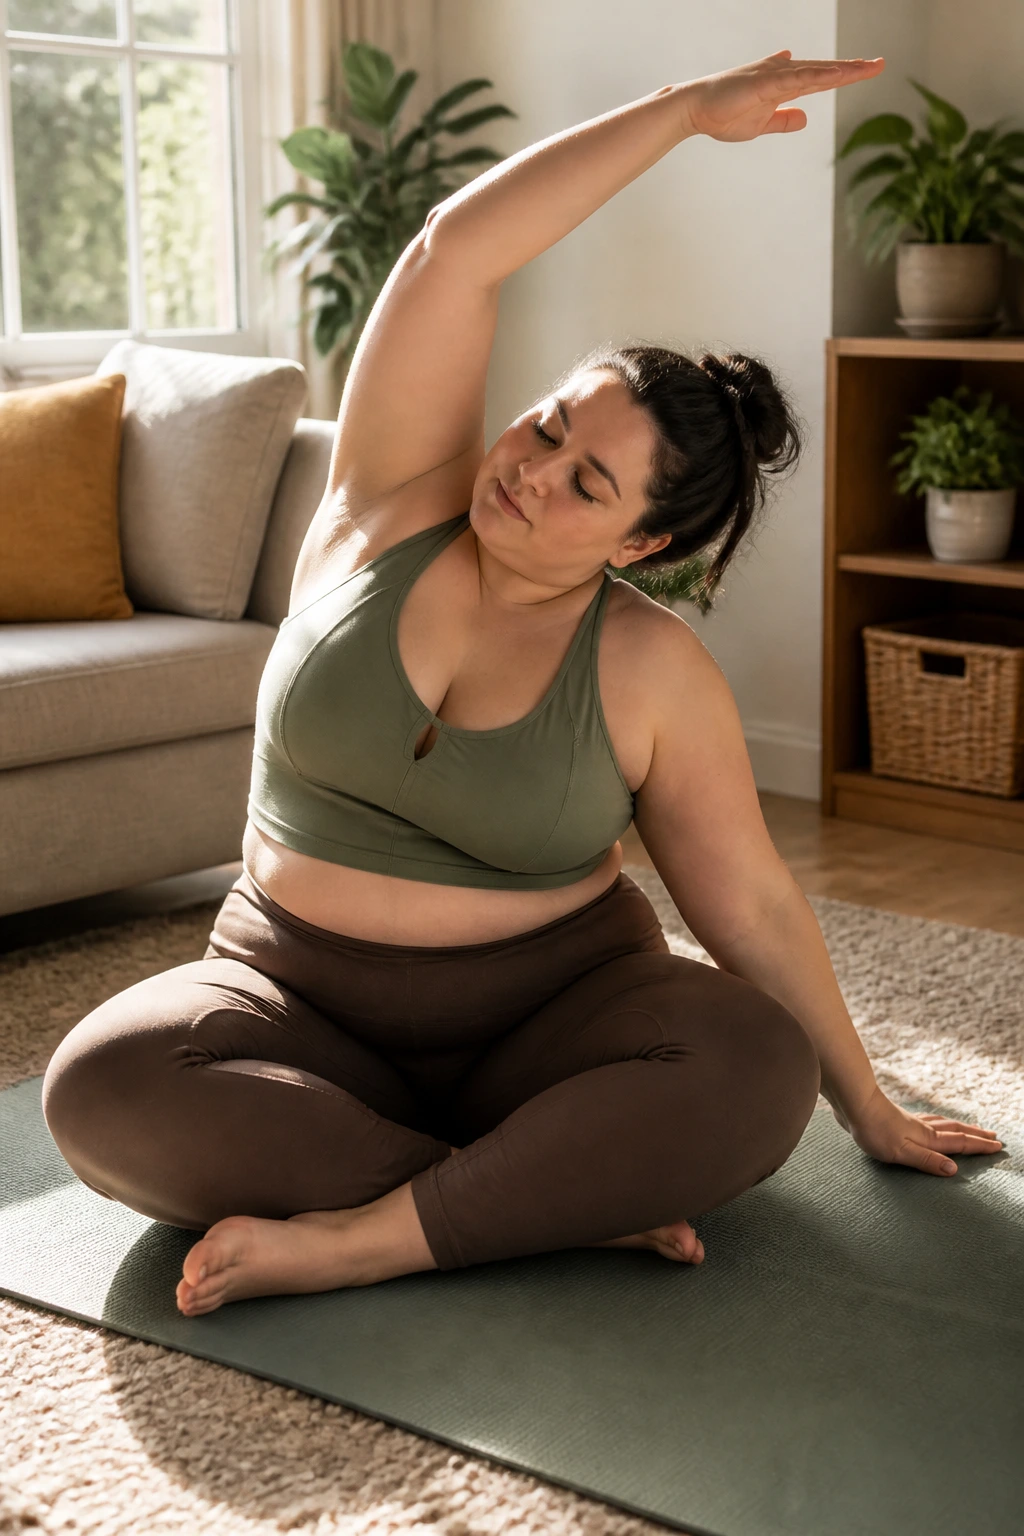
Yoga does not need to be bendy, quiet, or expensive.
It can be a chair, a wall, a mat, or a folded blanket in the living room. For plus size beginners, the useful part of yoga is not making pretty shapes. It’s breathing better, moving joints through a fuller range, and learning how to soften instead of brace. If a pose feels like it’s pinching your belly or forcing your knees apart, skip it or change the angle.
A good beginner flow can be simple: seated or standing cat-cow, a side reach, a chest opener against the wall, a supported hamstring stretch, and a slow forward fold with hands on thighs or a chair. Hold each position for 3 to 5 breaths. Keep the breath smooth. If you’re holding it, the pose is too much right now.
A simple sequence
- 3 slow breaths with shoulder rolls
- Cat-cow at the wall or on a chair
- Side bend with one hand on the hip
- Hamstring stretch with one foot on a low step
- Chest opener with hands on the wall
You are not trying to win flexibility points. You are trying to feel less stiff when you stand up later. That’s enough.
15. A Simple Low-Impact Circuit You Can Repeat
If you want one workout you can repeat on autopilot, this is the one.
Take a few moves from the list above and string them together in a clean 10-minute circuit. That makes the session feel complete without making it long or complicated. For plus size beginners, circuits are useful because they mix cardio and strength in one place, which is great on days when a big plan feels like too much to carry.
Try this:
- 1 minute of walking in place or step-touches
- 8 chair squats
- 8 wall push-ups
- 10 resistance band rows
- 30 seconds of shadow boxing
- 1 minute of rest
Repeat that circuit 2 to 4 times. If your legs are tired, cut the squats to 5. If your shoulders are tired, swap wall push-ups for seated marches. The session should feel doable enough that you can picture doing it again next week.
A few good rules keep it sane:
- Add one round before you add speed
- Keep the rest periods generous at first
- Stop one rep before form gets sloppy
- Finish feeling used, not wrecked
Boring is your friend here. Repeatable is your friend too. If a workout feels almost too plain, that usually means it’s setting you up to come back tomorrow, which is where real progress starts to show its face.
