



Most people breathe too high in the chest after a hard set, a tense meeting, or five minutes on a yoga mat that should have felt easier than it did. The shoulders rise. The neck helps out. The ribs stay locked.
Diaphragmatic breathing drills are the fix I reach for when that pattern shows up. Not because belly breathing is trendy — it isn’t — but because the diaphragm, lower ribs, belly, and back are supposed to work together, and most people have stopped letting that happen.
The nice part is that these drills do not need fancy gear or a perfect setup. A floor, a wall, a chair, sometimes a strap, and a few honest breaths are enough. The floor is honest. The wall is honest too.
If your first few breaths feel awkward, good. Awkward is a sign you are noticing something useful. Shorten the inhale if you get light-headed, let the exhale get longer than the inhale, and keep the jaw loose; none of this is supposed to become a competition. Start on the floor, where cheating gets hard.
1. Crocodile Breathing on the Floor
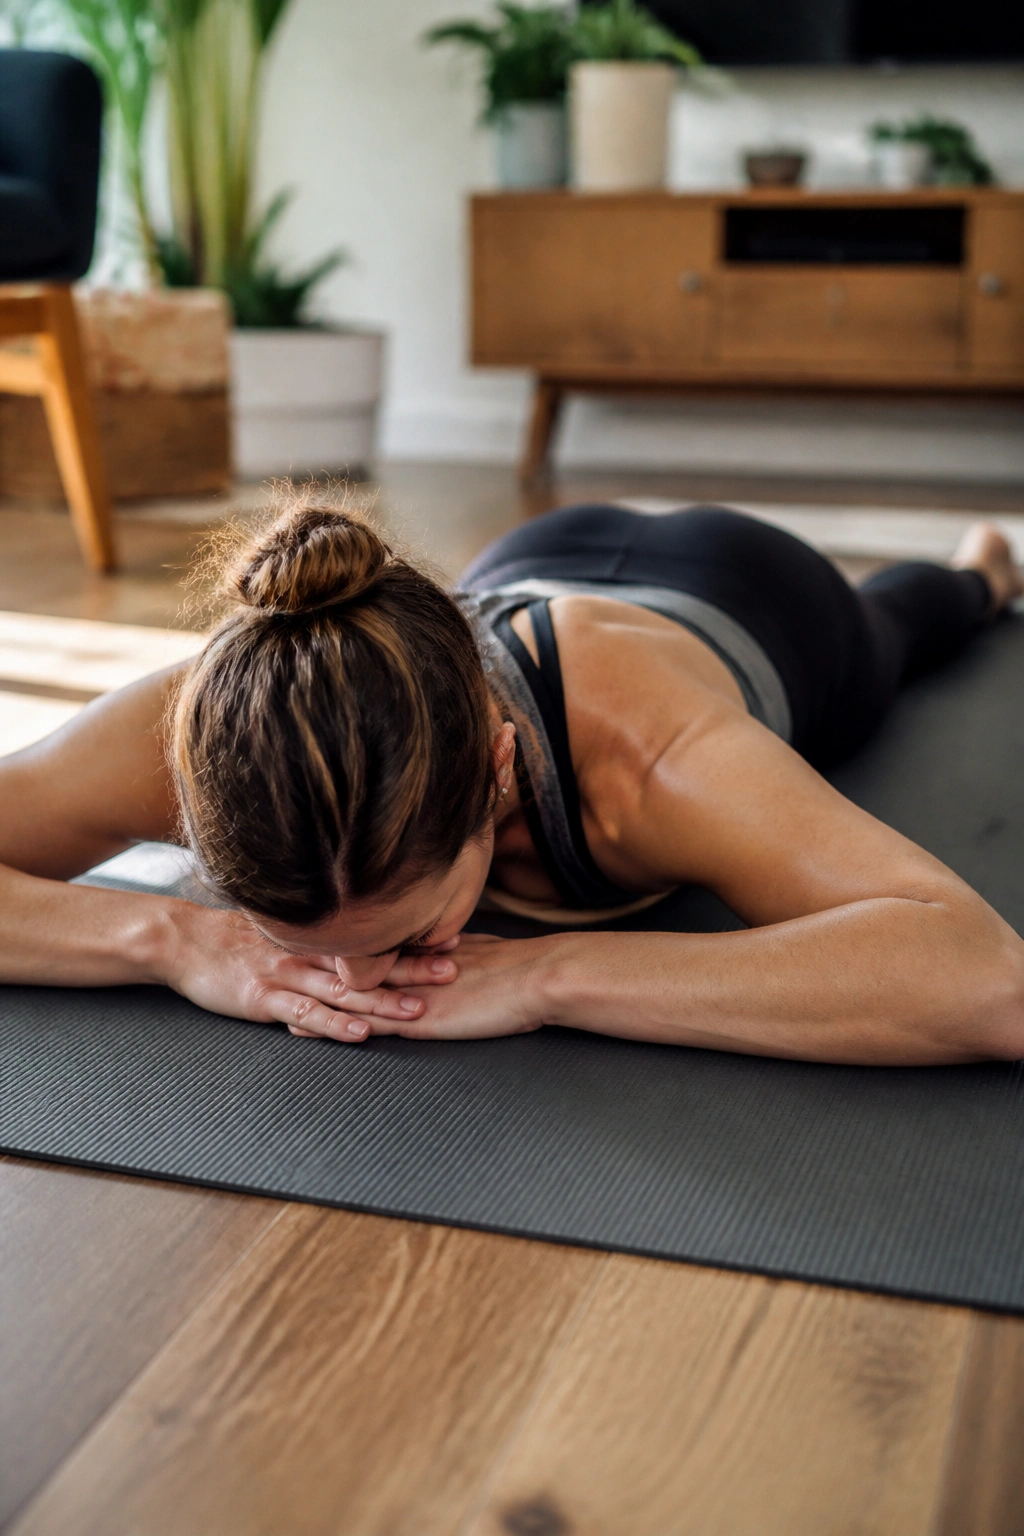
Crocodile breathing is the simplest drill here, and that is exactly why it works. Lie face down with your forehead on stacked hands, legs relaxed, and toes turned out just a touch.
The floor does not lie. If you try to lift your chest or shrug your shoulders, you will feel it immediately.
Why It Works
With your ribs pressed toward the floor, you stop defaulting to high chest breathing. The inhale has to travel into the belly, the sides of the ribs, and the lower back space that usually gets ignored.
That feedback is gold after lifting, hiking, or a day spent hunched over a desk. It gives you a clear answer to a simple question: are you breathing down and wide, or are you still living in the upper chest?
How to Feel It
- Lie flat on your stomach for 5 to 8 breaths.
- Inhale through your nose and feel the belly gently press into the floor.
- Exhale slowly through the nose or mouth until the belly softens.
- Keep the shoulders heavy and the neck loose.
- If your lower back pinches, widen the knees a little.
Best tip: do not chase a huge breath. A small, quiet breath that spreads into the floor beats a big noisy one every time.
2. Hook-Lying 360-Degree Diaphragmatic Breathing
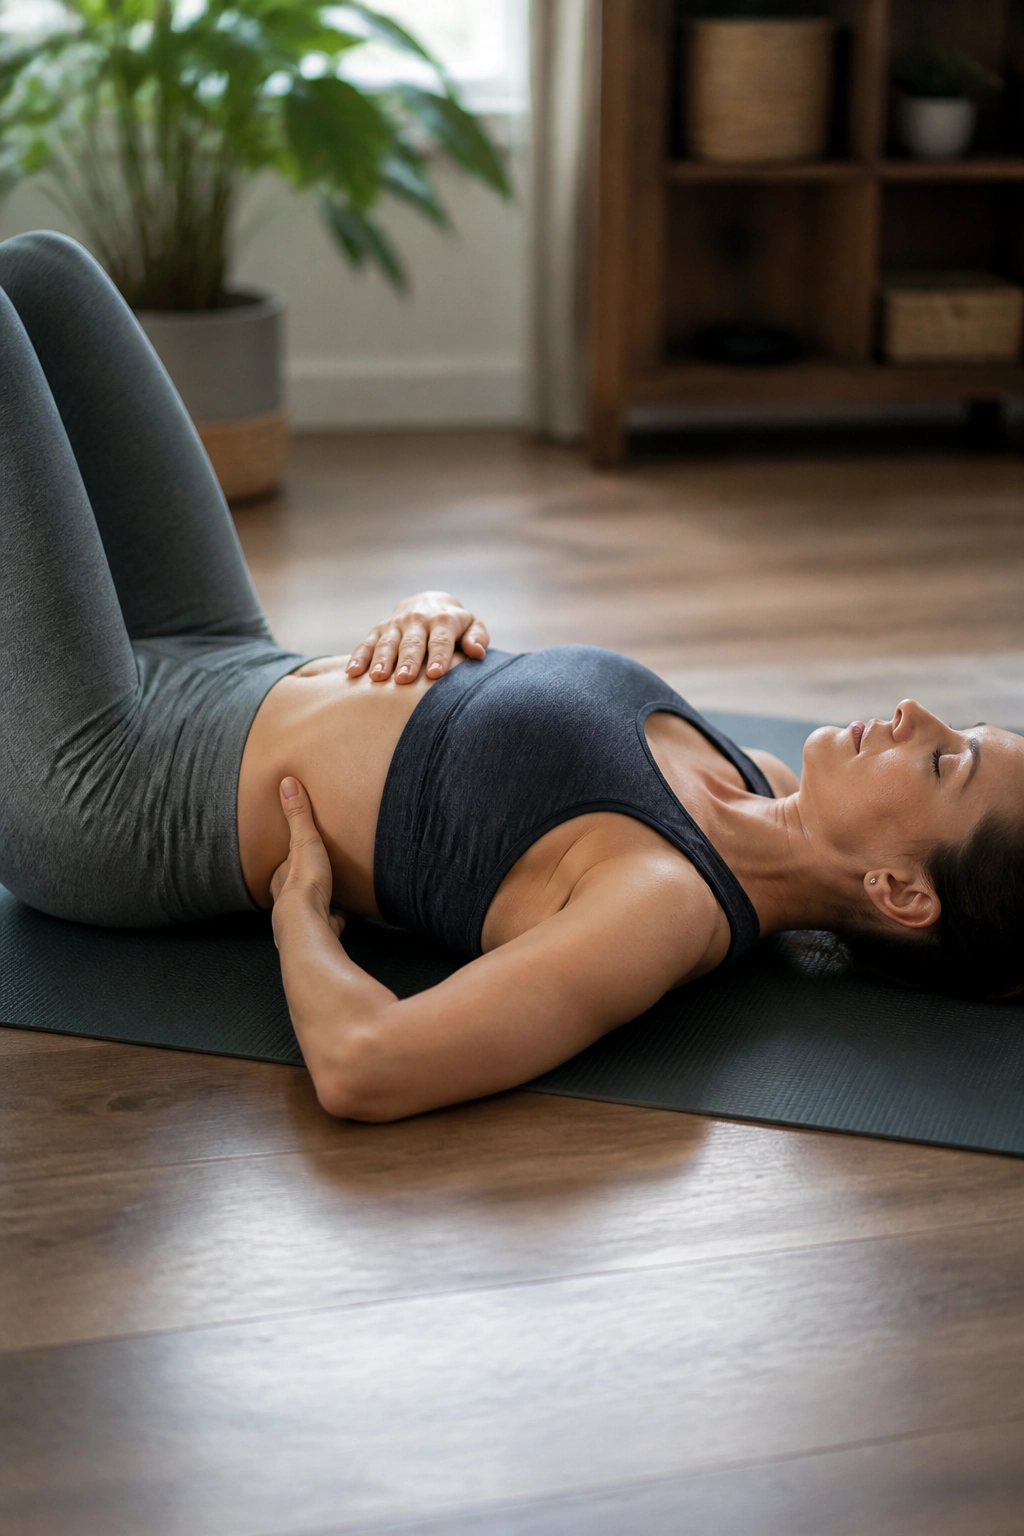
Flat on your back is where sloppy breathing gets exposed. Bend your knees, plant your feet, and place one hand on your lower ribs and the other on your belly.
The goal is not to push the stomach out like a balloon. The goal is to let the lower ribs widen to the sides and slightly into the floor on the inhale, then settle on the exhale.
No, your chest does not need to rise first.
That single change matters more than people expect. When the ribs expand in all directions, the diaphragm gets room to move, and the neck stops acting like a backup singer. I like this drill after a heavy lower-body session because it feels plain and almost boring, which is usually a good sign. Boring breathing often means the body is doing less compensating.
Try 5 slow breaths, resting for a few seconds between rounds. If the inhale feels cramped, let the exhale be longer and softer before you try again.
3. 90/90 Diaphragmatic Breathing With Feet on the Wall
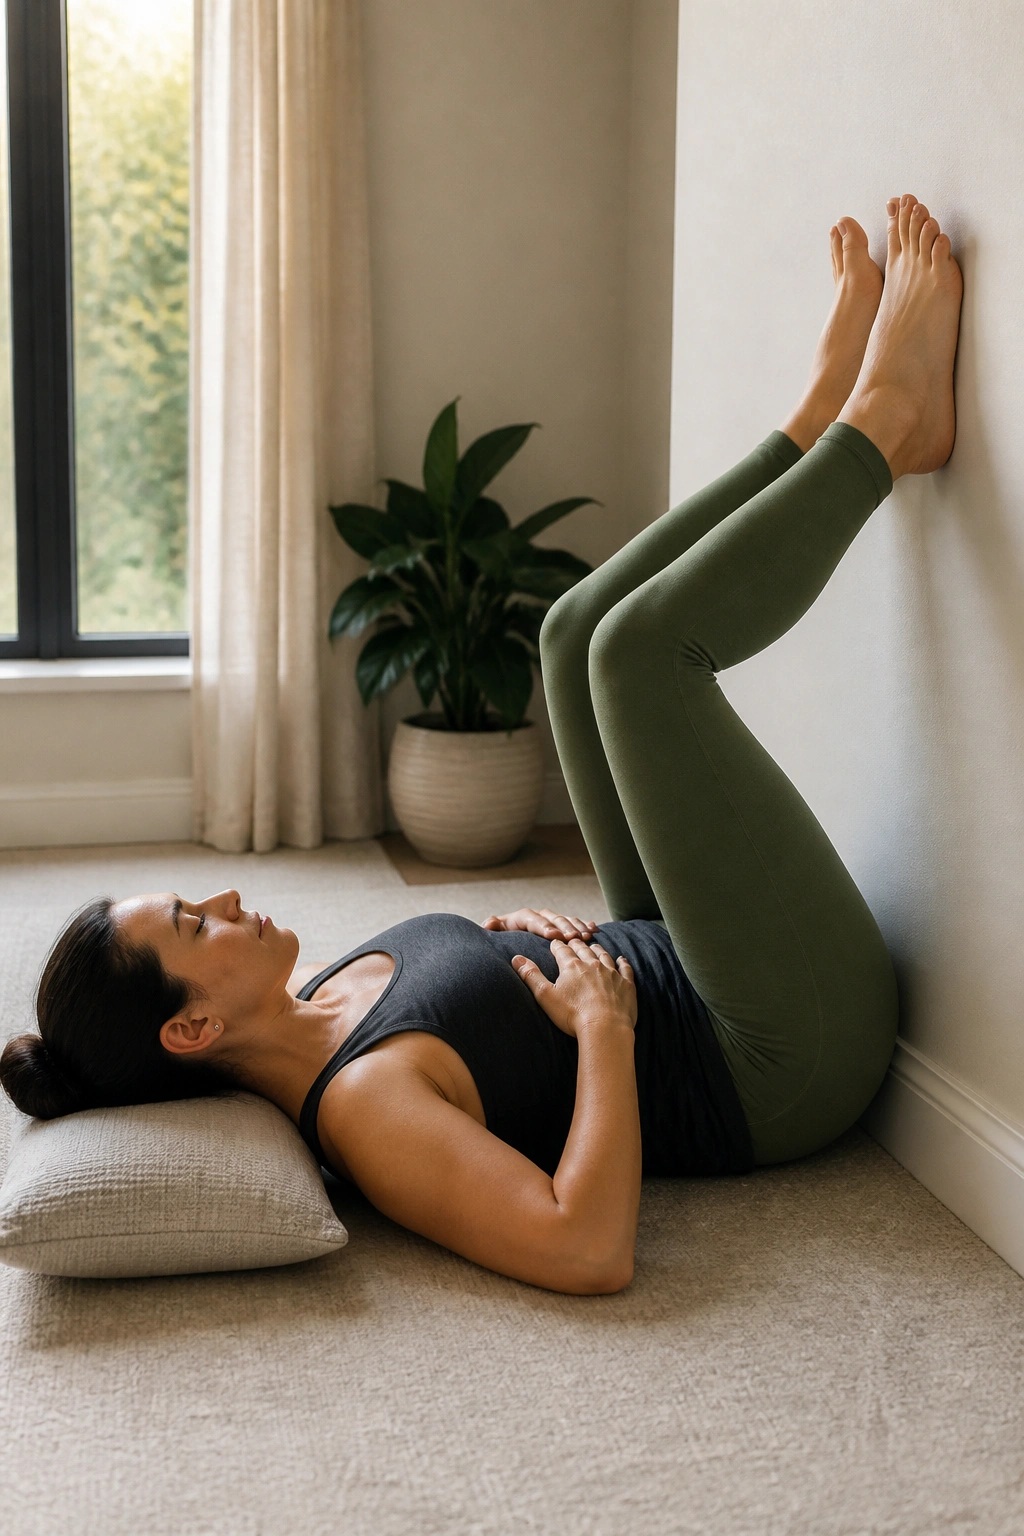
Why do feet-on-wall breaths settle the ribs so fast? Because this position gives your pelvis a clean place to rest, which makes it easier to stop over-arching the low back and flaring the ribs.
Lie on your back with your feet on a wall, hips and knees bent at about 90 degrees, and your tailbone a few inches away from the baseboard. A small pillow under the head can help if your neck tends to crank upward.
How to Use It
- Exhale first and feel the ribs drop down and in.
- Inhale through the nose into the sides and back of the rib cage.
- Keep the feet light on the wall, not braced hard.
- Do 4 to 6 breaths, then rest for 20 to 30 seconds.
- Repeat for 2 rounds if you want a fuller reset.
This drill is one of my favorites for people who feel stuck in the low back after standing too long. It also works when the hips feel noisy and the torso wants to help too much. If your hamstrings cramp, slide a few inches farther from the wall.
4. Side-Lying Book-Open Breathing
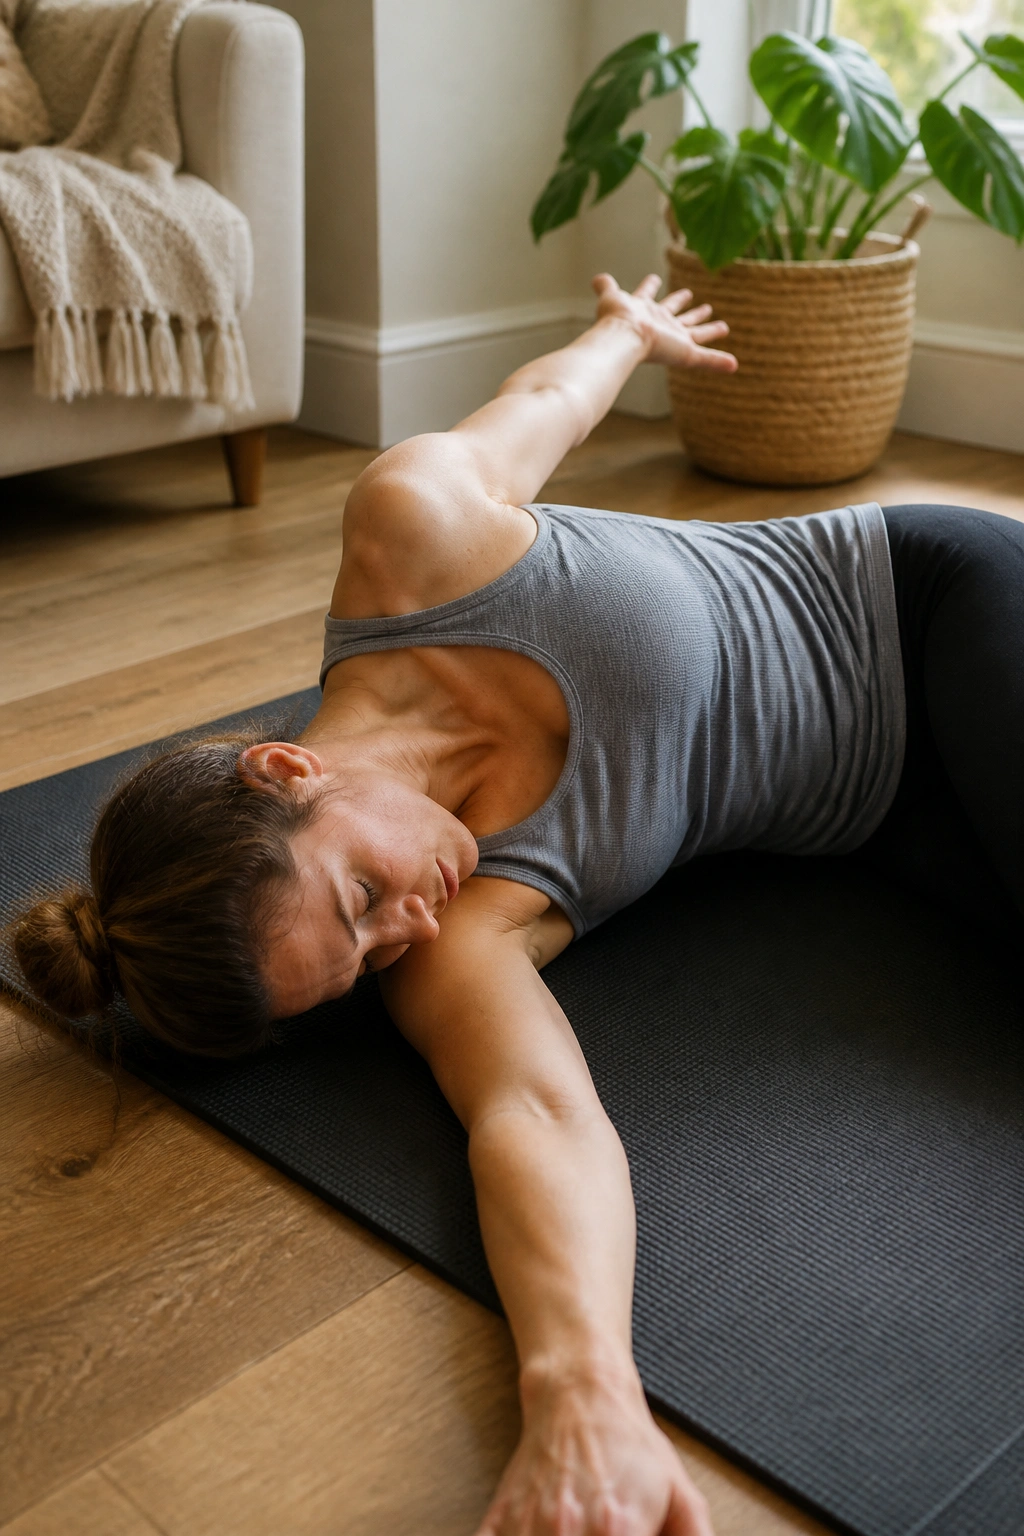
If one side of your rib cage feels frozen, this is the drill I hand you first. Lie on your side with your knees bent, stack the hips, and extend the top arm in front of you like the cover of a book.
Then open that arm across the body and slightly behind you while the top ribs rotate. The breath follows the movement.
What to Watch For
- Keep the knees together so the pelvis does not roll around.
- Inhale into the top side of the rib cage.
- Exhale and let the ribs soften back toward the floor.
- Use 4 to 5 slow breaths per side.
- Do not yank the top arm back. Gentle range beats a big twist.
This drill is sneaky. It looks like a simple upper-back opener, but it also teaches the rib cage to move without the neck grabbing the job. That matters if one side of your body always feels tighter during stretches, or if you sit with a mouse hand reaching forward for hours. The side that feels stiff is usually the side that needs to learn how to expand without force.
5. Child’s Pose Breathing With Wide Knees
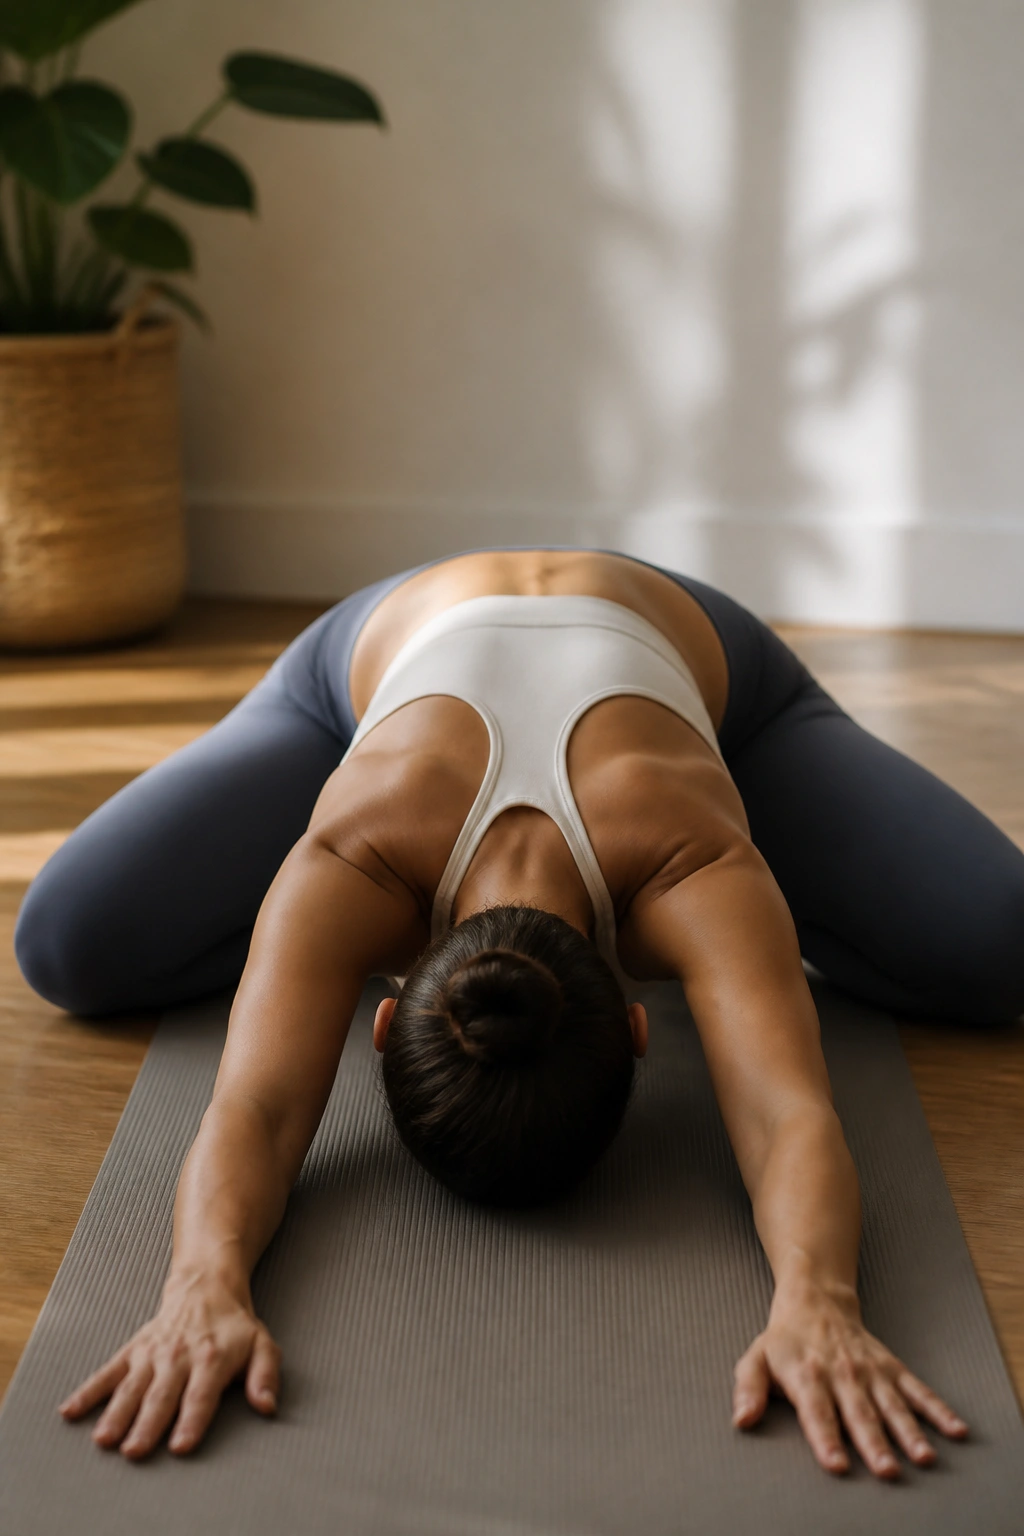
Child’s pose changes completely when you stop treating it like a hamstring stretch and start using it as a breathing position. Take the knees wide, sit the hips back toward the heels, and let the forehead rest on the floor or a block.
The breath should go into the back ribs, the sides of the waist, and the outer belly. If your arms are stretched forward, you’ll feel more length through the upper back. If the arms rest by your sides, the whole thing gets a little calmer and less aggressive.
That’s the version I like after a day of sitting or after any session that left the low back feeling busy. It is not glamorous. It is effective.
Chase the back ribs instead.
A lot of people force this pose by folding deeper at the hips, which turns it into a hip stretch and misses the point. Keep the exhale long, let the shoulder blades spread, and wait for the breath to reach the broad parts of the back that usually get skipped. Five breaths may feel like nothing. That is fine. Nothing can be useful when the body is wound up.
6. Seated Rib-Cage Expansion With a Strap
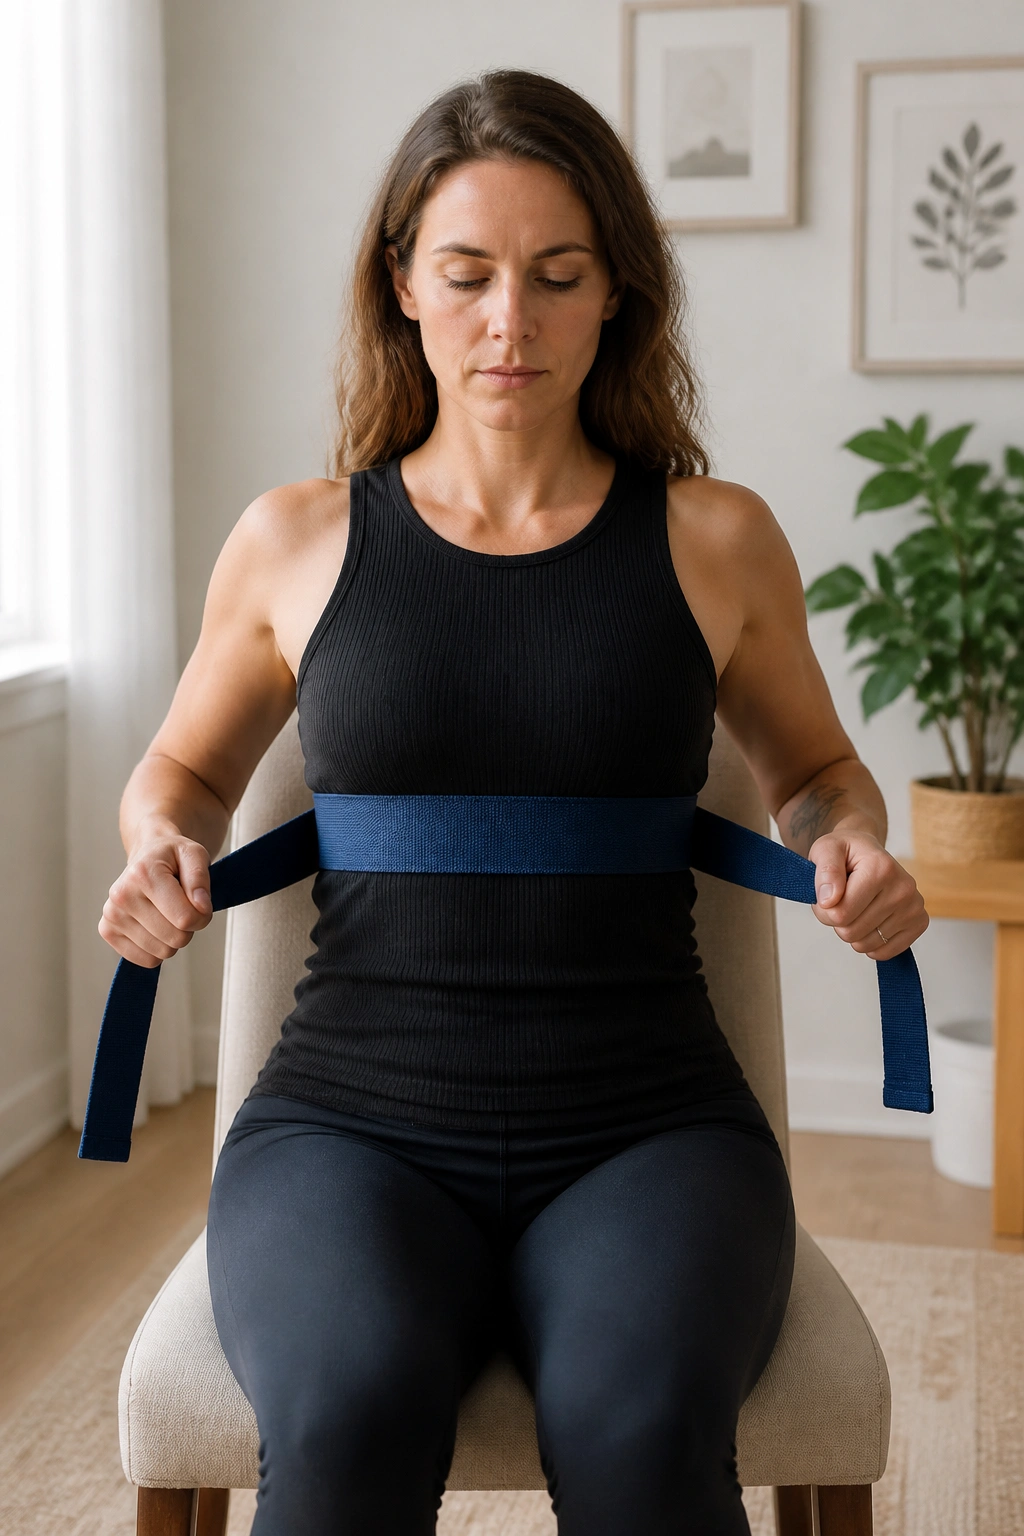
Unlike belly-only breathing, a strap around the rib cage gives you a target you can actually feel. Sit tall on a chair, wrap a yoga strap or towel around the lowest ribs, and hold the ends so it stays snug but not crushing.
The strap should give the ribs something to push against on the inhale. You are trying to widen into it, not power through it.
When the Strap Helps
It helps when you need a quick desk-side reset, when the floor feels like too much work, or when you keep breathing high into the chest without noticing it. The tactile feedback is the whole point. If the strap loosens evenly as you exhale, you know the ribs are settling. If it hikes up toward the armpits, you are sneaking back into chest breathing.
When It Gets in the Way
If the strap is too tight, you will brace against it and miss the exercise entirely. Loose enough to feel, firm enough to notice. That is the sweet spot.
I also like this one for people who hate lying down after eating or who need a breathing drill they can do between meetings without sprawling on the floor. Two minutes is enough.
7. Quadruped Breathing With Hands Under Shoulders
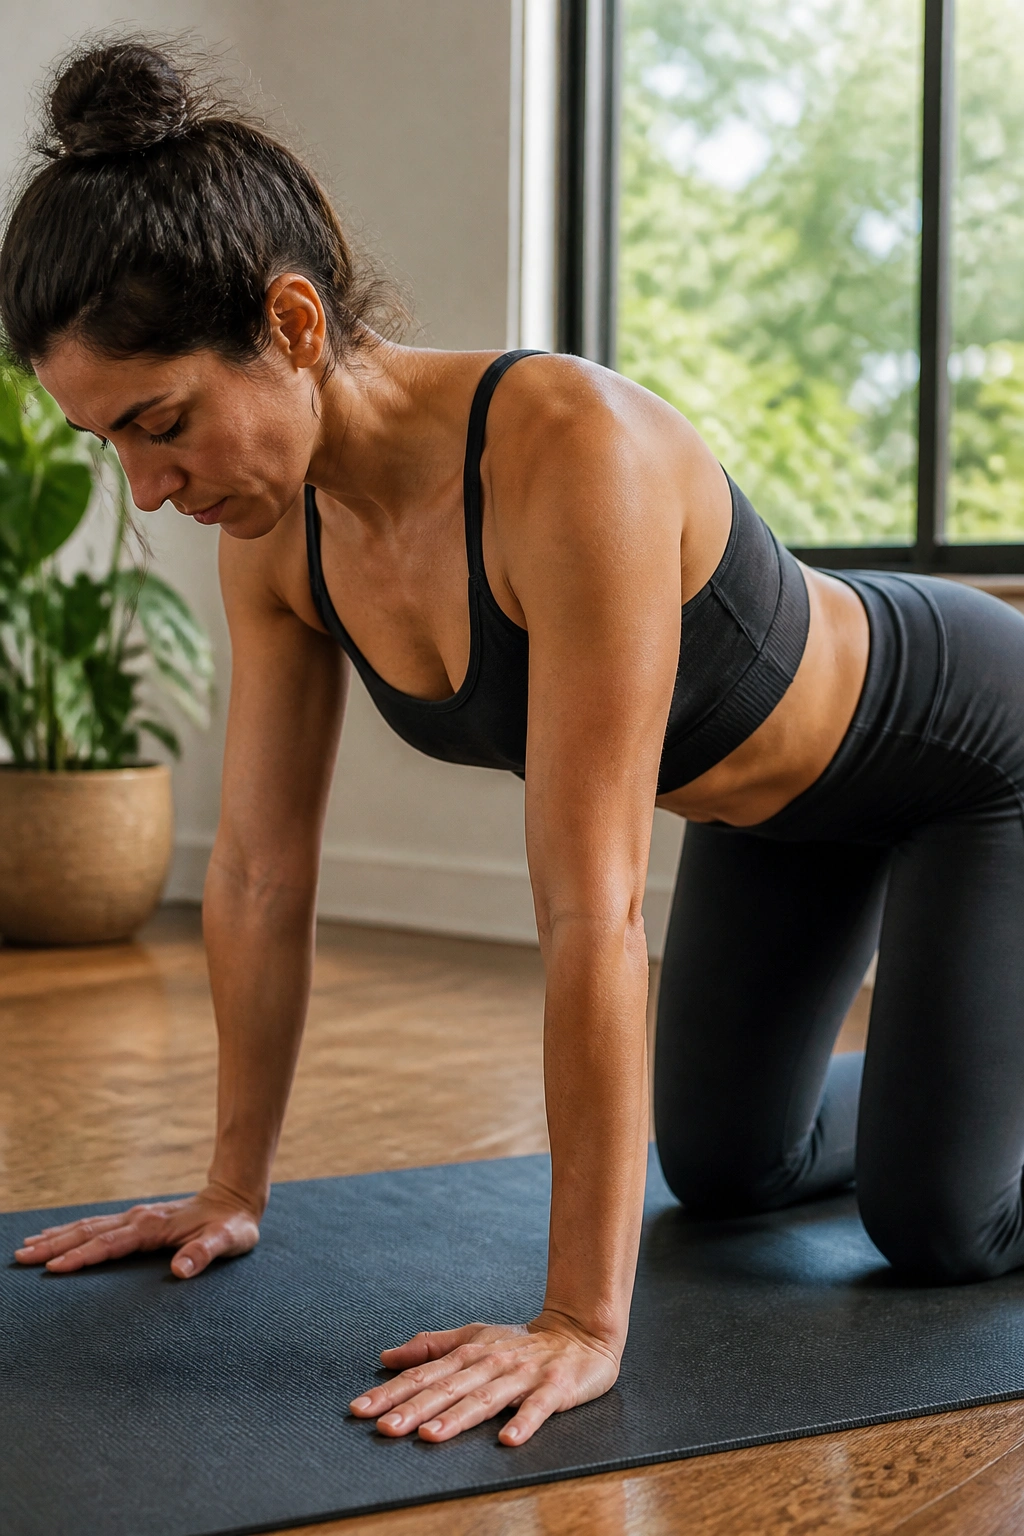
Hands-and-knees breathing is the best drill for people who hate lying still. Get into a tabletop position with hands under shoulders, knees under hips, and fingers spread wide.
The point is to let the belly soften toward the floor on the inhale without dumping all your weight forward. On the exhale, the lower ribs should knit together a little, and the spine should feel longer.
Why It Feels Different
Your rib cage has to work against gravity in a new way here. That makes it easier to notice what the diaphragm is doing and harder to fake a breath with the upper chest alone.
What to Watch For
- Keep the elbows soft, not locked.
- Try 4 slow breaths, then pause and sit back for a moment.
- If the wrists complain, make fists or place the hands on yoga blocks.
- If the lower back sags, shorten the inhale.
- Aim for a quiet torso, not a dramatic stretch.
There’s a nice honesty to this drill. The position makes it obvious when you’re helping too much with the shoulders, which is half the battle in breathing work anyway.
8. Wall Press Breathing for Core Reset
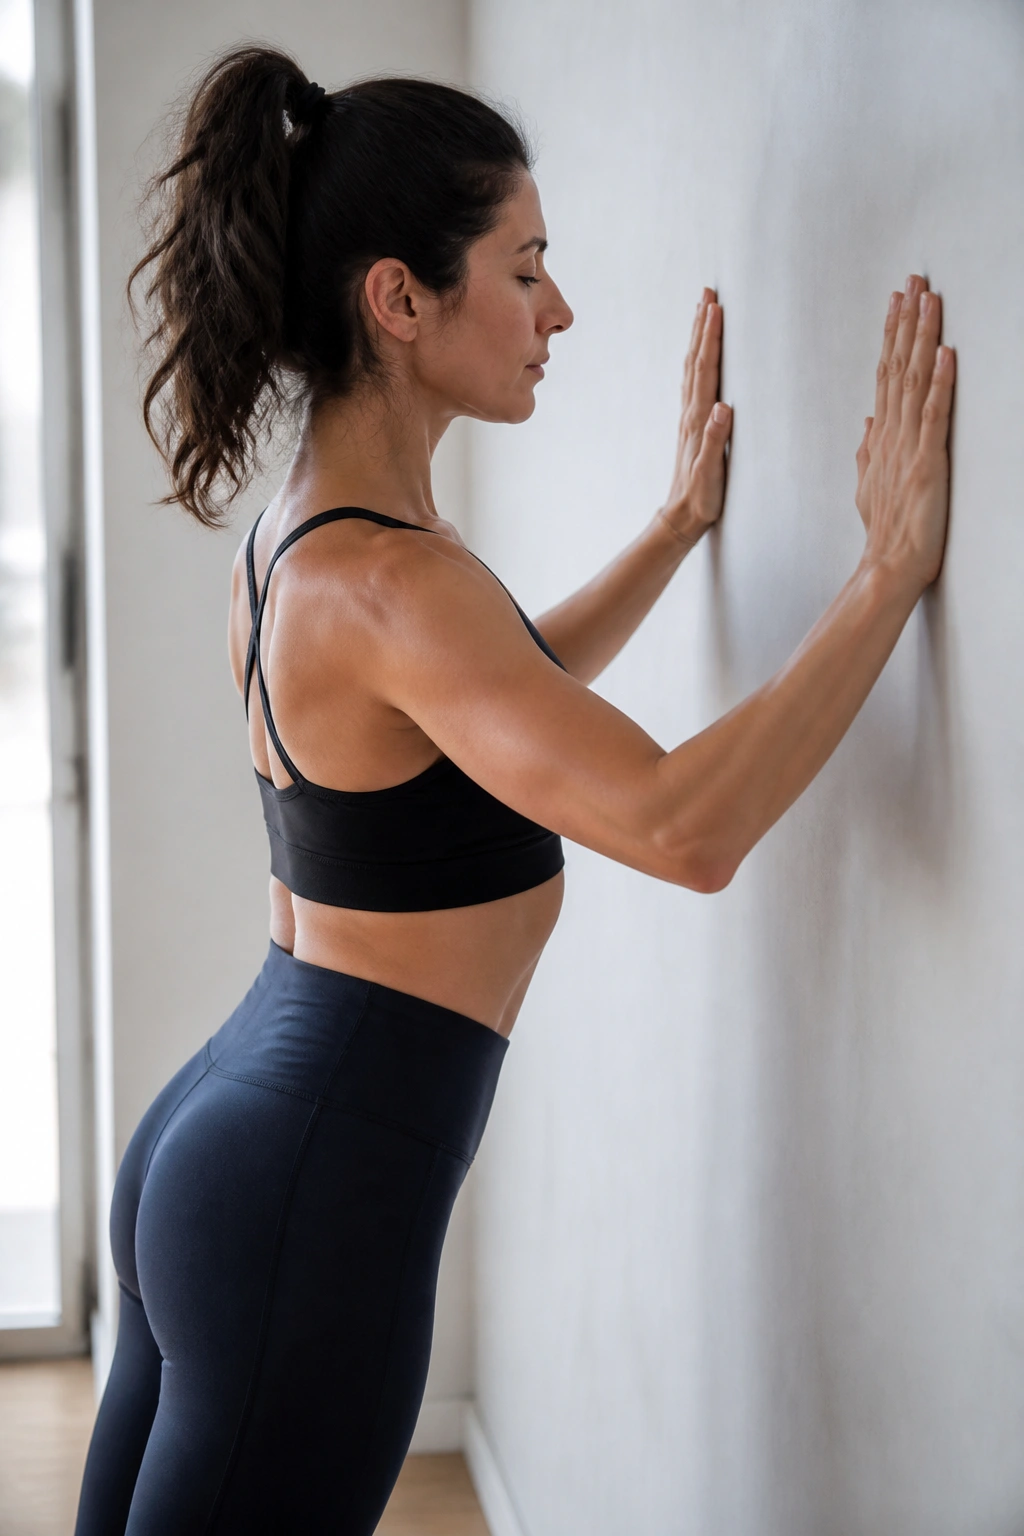
Pressing into a wall changes the whole conversation. Stand facing a wall, place the forearms flat against it at shoulder height, and step your feet back just enough to create a little lean.
The forearm pressure should be light. This is not a push-up.
On the exhale, feel the front ribs come down and the sides of the torso tighten in a tidy way. On the inhale, let the back ribs fill out without shrugging the shoulders. That little wall contact gives the serratus and the deep trunk muscles something to organize around, which is useful when the torso feels loose in the wrong way.
I like this after overhead lifting, carrying, or anything that leaves the upper body feeling flared and slightly untidy. It also helps when you want a standing drill and don’t feel like getting on the floor. Three to five breaths is enough to make the pattern obvious.
If your neck starts working hard, you’ve gone too far. Back up, soften the jaw, and make the breath smaller.
9. Humming Exhale Drill

If a quiet exhale feels too abstract, hum. The vibration gives you feedback, and that feedback makes it easier to keep the breath smooth.
Sit or lie down, inhale through the nose, then hum on the exhale for as long as it feels easy. The note does not need to be pretty. It just needs to be steady.
Quick Details That Matter
- Start with a comfortable low note.
- Keep the lips gently closed, not jammed shut.
- Let the exhale last 4 to 8 seconds.
- Do 5 rounds, then pause and breathe normally.
- Stop if the hum turns into a strain in the throat.
The nice thing about humming is that it tends to soften the jaw, throat, and upper chest at the same time. That matters because those areas love to hijack breathing work. A good hum feels like the face gets a little warmer and the ribs get quieter. If the sound is choppy, slow down. If you feel a pinch behind the eyes or in the head, shorten the set.
Simple. Slightly strange. Worth keeping.
10. Long Exhale Pursed-Lip Breathing
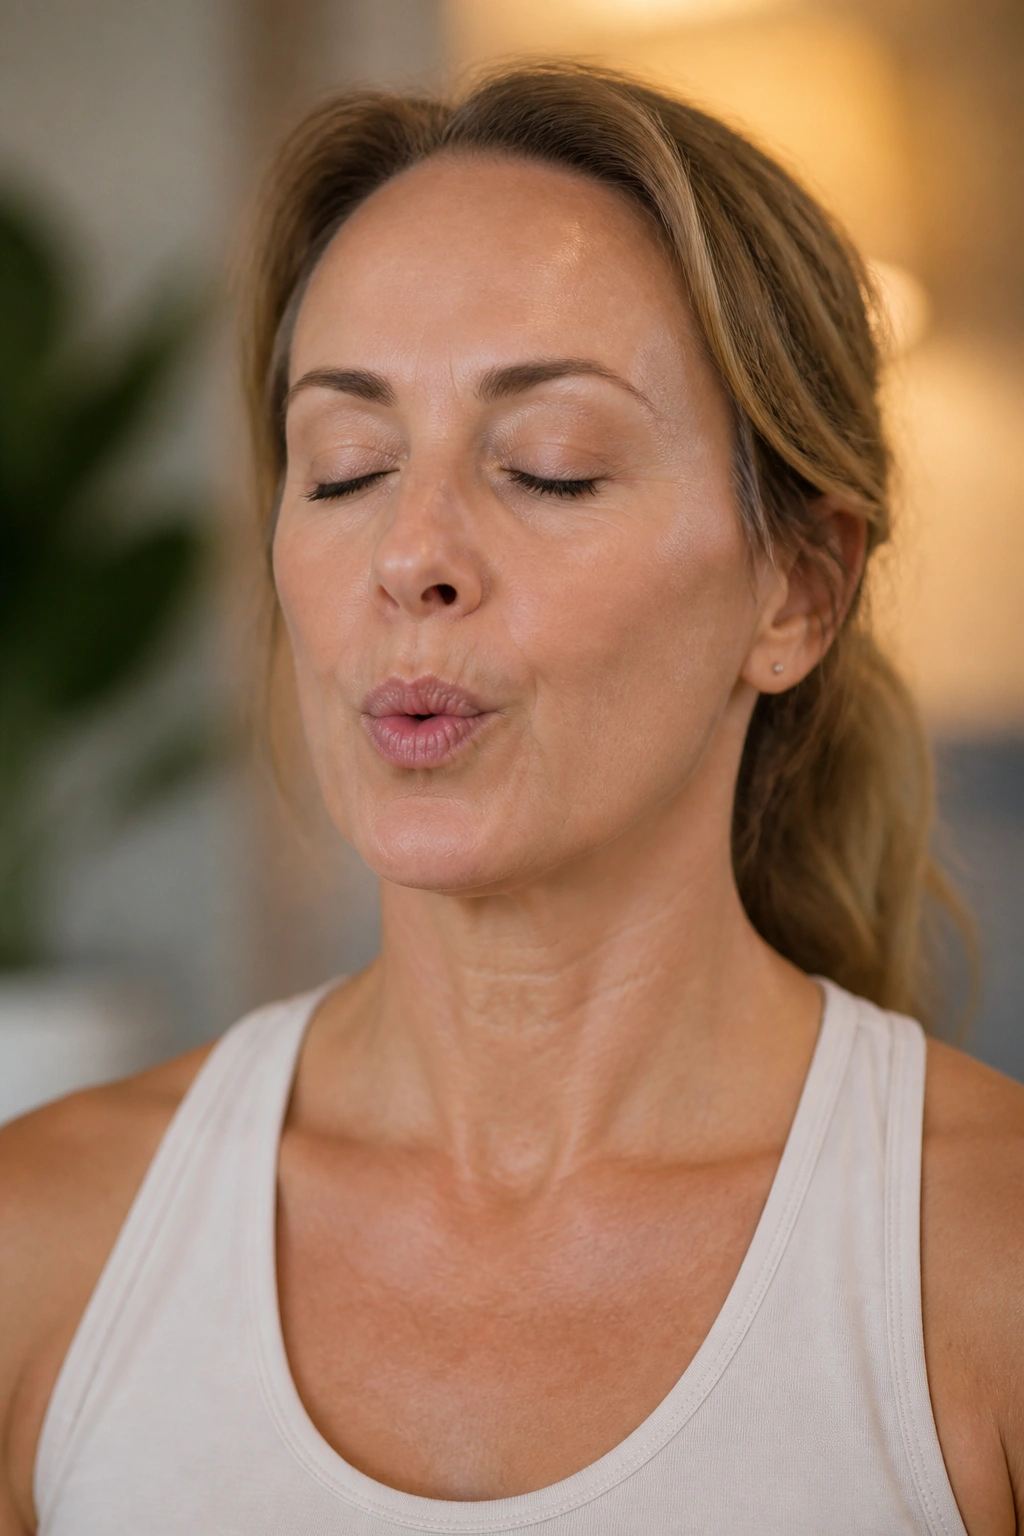
What if the exhale is the whole drill? Then pursed-lip breathing is your move.
Breathe in through the nose for a count of 3 or 4, then exhale through lips that are gently pursed, as if you were cooling hot soup, for a count of 6 or 8. The slow leak of air keeps the ribs from snapping back up too fast.
How to Use It
Use this when you feel keyed up after a workout, after stretching, or before you try to sleep. It’s also useful when your breathing has gone shallow from talking a lot or carrying tension in the shoulders.
A good version feels quiet and controlled. The face stays soft. The jaw stays loose. If you find yourself blowing out hard, the exhale is too forceful and you’re turning a recovery drill into a strain drill. That happens more often than people admit.
Long exhale, soft face.
Try 6 to 10 breaths and notice whether the chest settles before the belly does. That little timing change tells you a lot about where the body is hanging on. And if you need a break midway through, take one. There is no prize for racing the count.
11. Bear Position Breathing
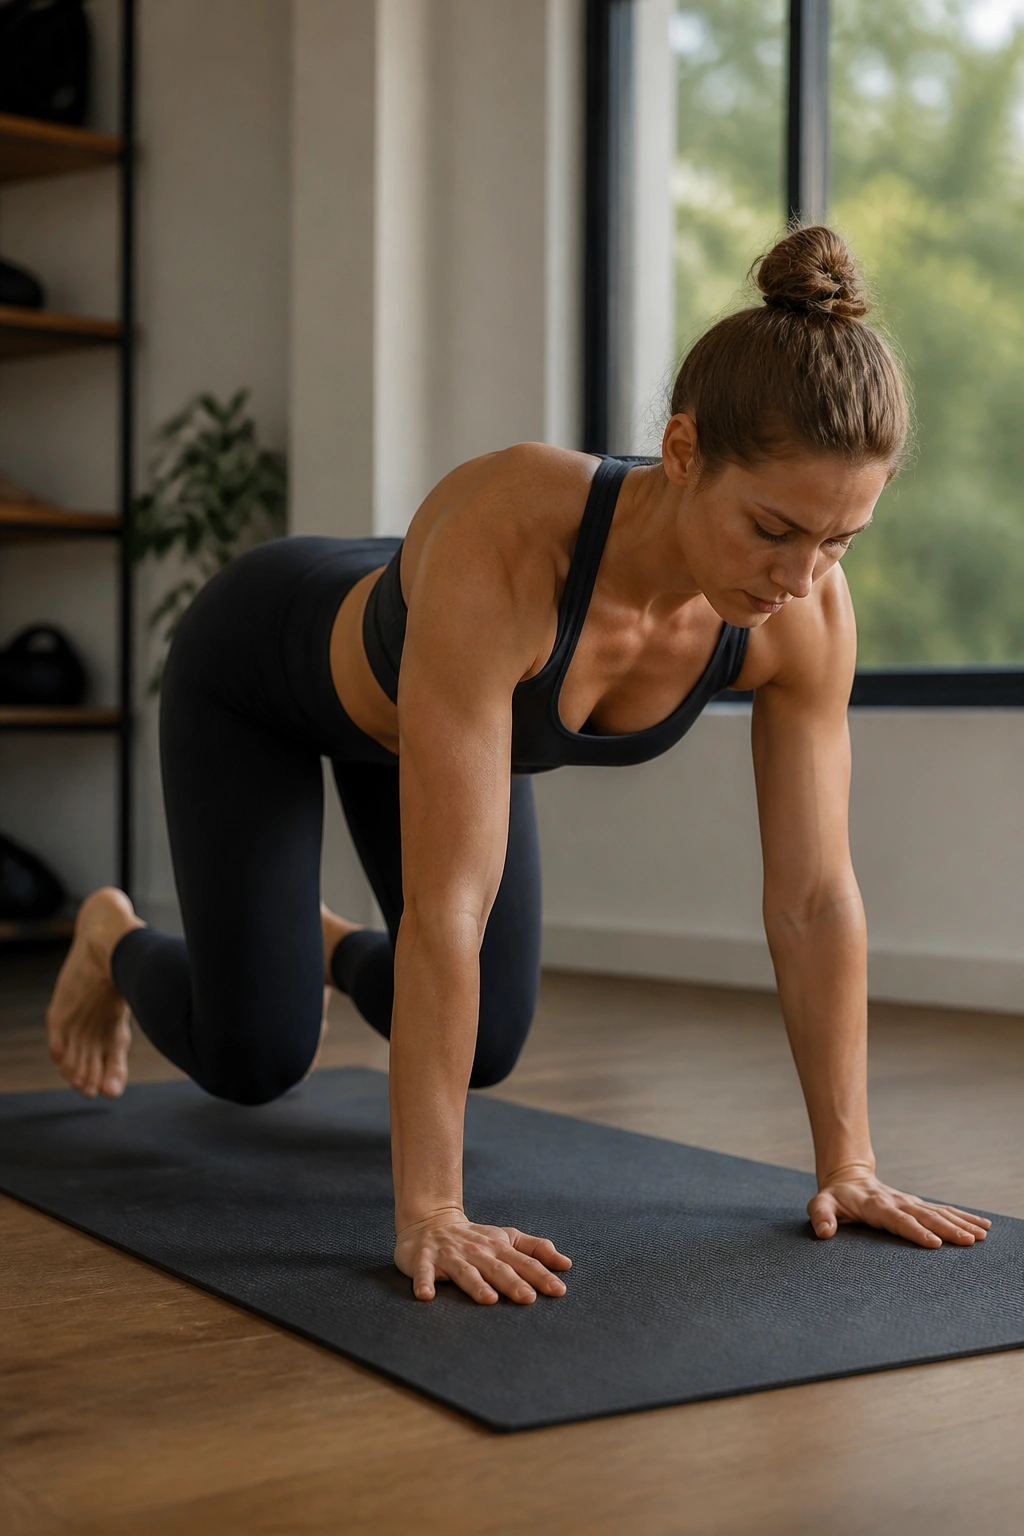
Bear breathing looks small and feels honest. Start on hands and knees, tuck the toes, and lift the knees just 1 or 2 inches off the floor so the shins hover.
Now take tiny breaths.
That is the whole trick. The body has to stay quiet while the diaphragm and the trunk muscles share the work, which makes this drill useful for recovery and core control at the same time. If you breathe too big, the torso wobbles. If the torso wobbles, the drill is over.
I like 3 breaths, a rest, then 3 more. That is plenty. If your wrists hate the position, shorten the hold or switch to forearms on the floor with the knees still hovering slightly. The goal is not to prove anything. The goal is to keep the ribs from popping and the low back from sagging while the breath stays smooth.
Tiny breaths. Big control.
Once you get the feel, this drill becomes a clean reset between more aggressive mobility work. It is one of those positions that looks almost too simple and then surprises you by being the hardest thing in the room.
12. Walking Nasal Breathing With a Cadence

Still drills teach the pattern; walking teaches you to keep it. That’s why cadence breathing on a recovery walk earns a place here.
Start with an easy walk and breathe only through the nose if possible. Try an inhale for 3 steps and an exhale for 4 or 5 steps. If that feels too tight, shorten the count. If it feels too easy, lengthen the exhale before touching the inhale.
Best Uses
- Cooling down after a run or strength session.
- Resetting after a long bout of sitting.
- Calming the body without stopping all movement.
- Practicing breath control in a low-stress setting.
What to Avoid
Do not force a walking count that makes you gasp. The point is not to turn a casual walk into a test. If the pace is too fast for the rhythm, slow the pace. If the breath gets choppy, stop counting and return to easy nasal breathing.
I prefer this over aggressive breath holds for most people because it teaches the diaphragm to keep doing its job while the body moves. That carries over better than a drill that only works on a mat. Quiet steps. Quiet breath. That’s the win.
13. Crook-Lying 4-2-6 Breathing
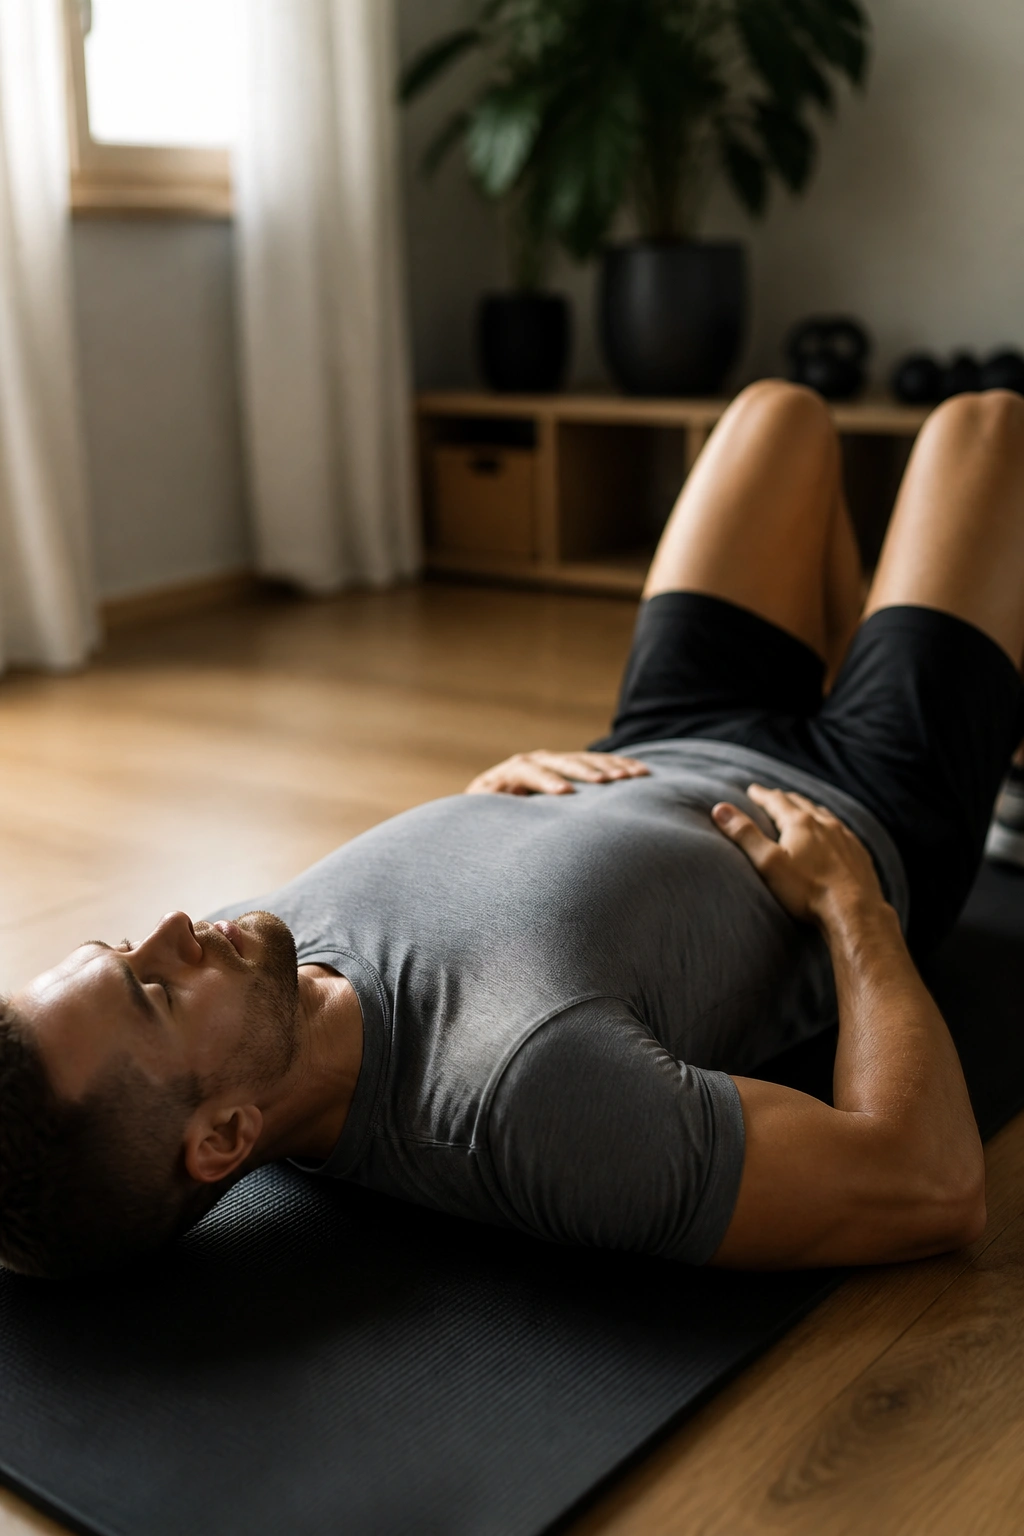
The count matters here more than the pose. Lie on your back with your knees bent and feet flat, then breathe in for 4 counts, hold for 2, and exhale for 6.
The little pause after the inhale is not there to make you tough. It is there to keep you from rushing straight back into the next breath. That tiny gap gives the ribs a moment to settle and makes the exhale feel longer without needing force.
Why the Pause Helps
A lot of breathing drills fail because people inhale again too quickly. The 2-count hold slows that reflex down and lets the diaphragm finish the last part of its movement before the next breath begins.
How to Set the Tempo
- Inhale through the nose for 4.
- Hold gently for 2, without clamping the throat.
- Exhale for 6 through the nose or softly through the mouth.
- Repeat for 5 rounds.
- If the hold makes you tense, skip it.
I like this drill when the body feels restless but not panicked. It has a clear rhythm without being fussy, and it works well right after stretching when you want a little structure without a complicated routine.
14. Side-Lying Reach Breathing for the Upper Back
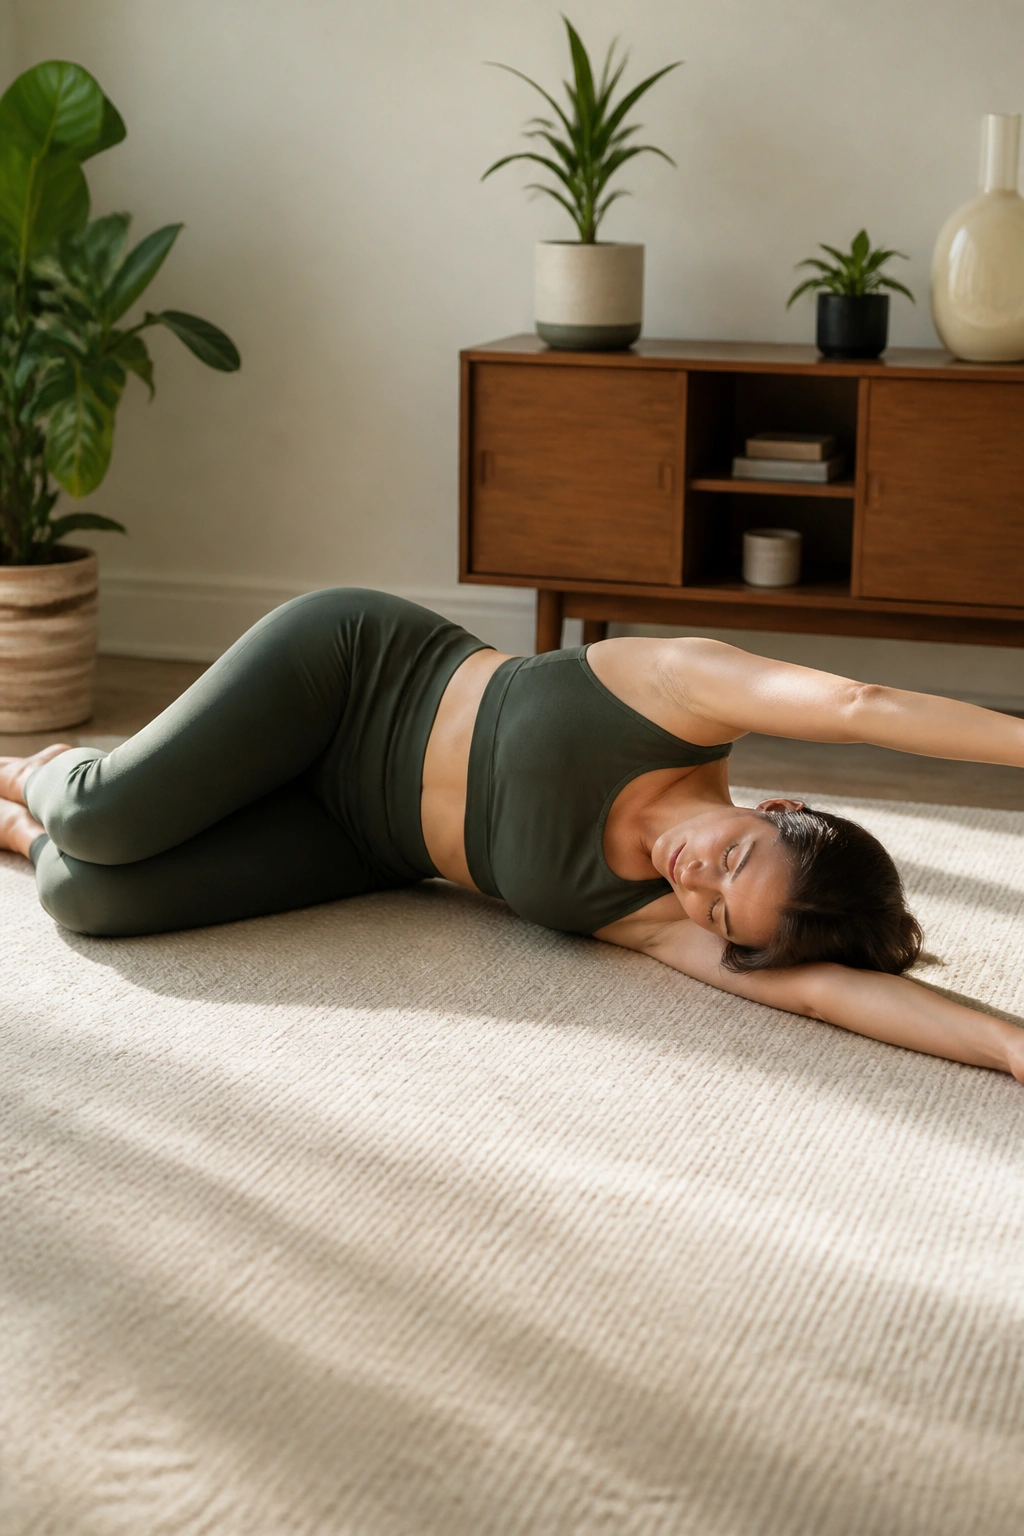
When the upper back feels glued shut, this side-lying reach opens the space that sitting steals. Lie on one side, stack the knees, and extend the top arm overhead with the palm facing down or slightly in front of you.
The reach lengthens the line from the ribs to the fingertips, which gives the side body a clear path to expand. Inhale into the top ribs. Exhale and let the ribs soften back toward the floor.
What Changes
The shoulder blade can move a little more freely here, and the upper ribs get a chance to widen without the neck lifting the load. That makes this drill useful after carrying bags, typing, or any work that leaves the upper back feeling short and tight.
What Not to Do
- Don’t force the top arm too far overhead.
- Don’t roll the pelvis back.
- Don’t turn the inhale into a chest pop.
- Keep the lower knee bent if that helps anchor you.
Three to five breaths are enough. If you feel the breath reach into the side waist and under the armpit, you’re close. If the neck starts to help, shorten the range and keep it smaller. Smaller usually works better here.
15. Quick Reset Breathing
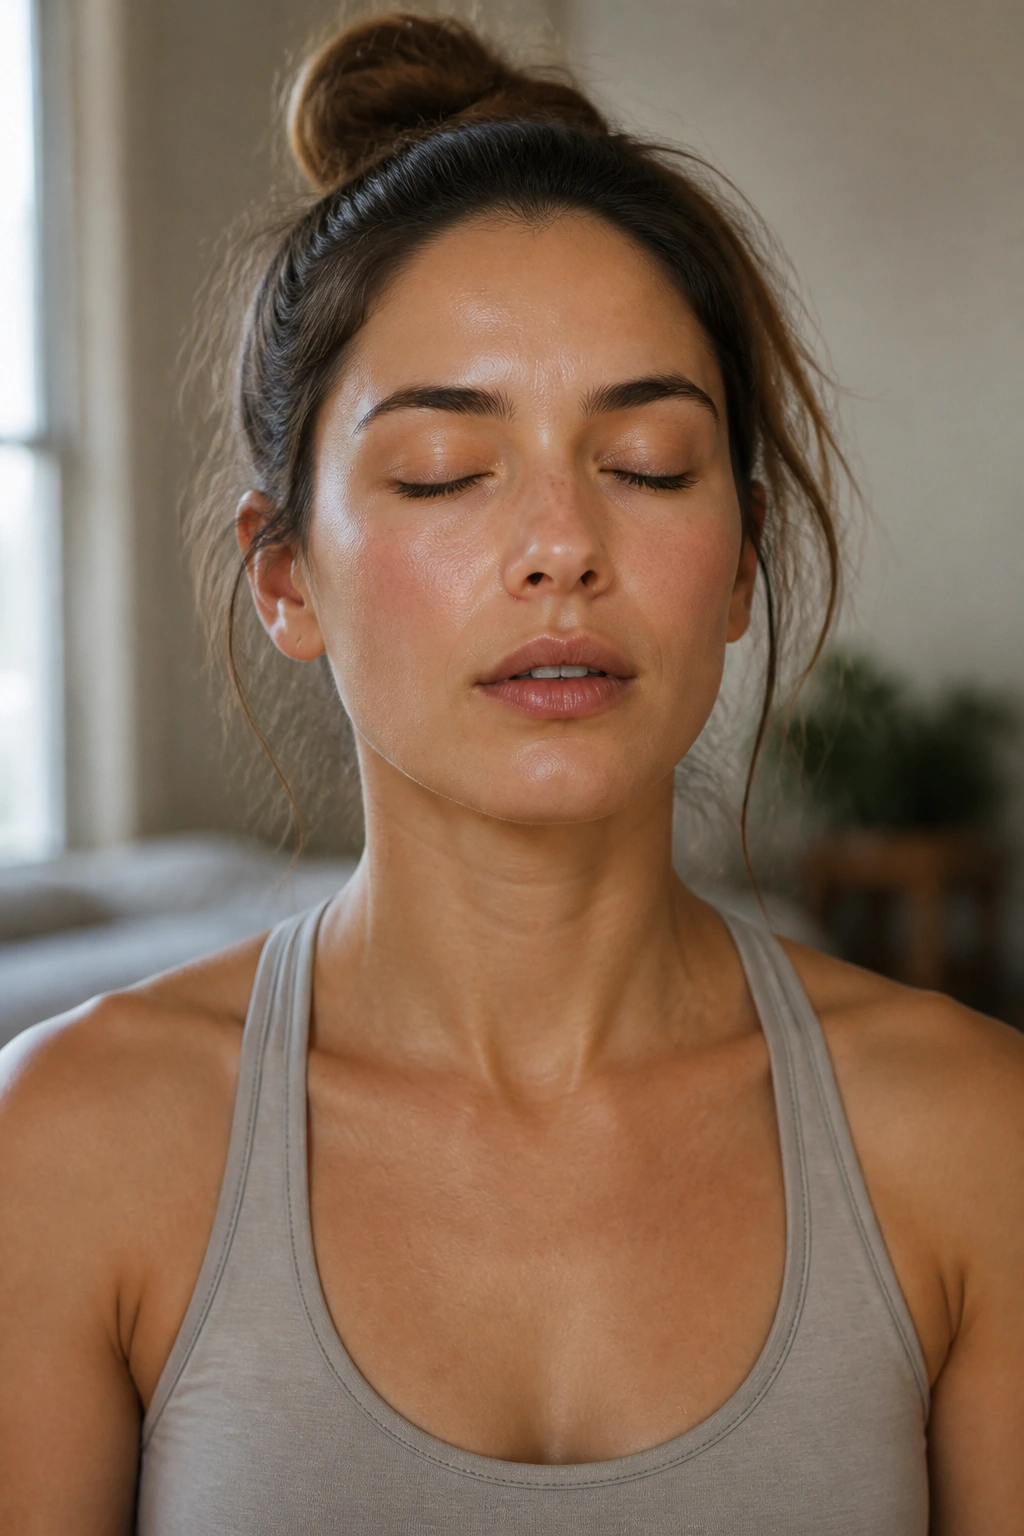
Two short inhales and one long exhale can change the tone of an entire recovery session. That’s the appeal of the quick reset.
Take a quick inhale through the nose, then top it off with a second short inhale, and let everything go on a long, slow exhale through the mouth or nose. One round is one clean downshift.
It works well when you feel wired after training, stiff after stretching, or a little scattered and you want to begin the next drill without carrying that noise into it. I like 3 to 5 rounds, then a pause. More is not better if you start to feel light-headed. In that case, back off and return to regular nasal breathing for a minute.
If you want the most practical way to use the whole set, think of the drills this way: floor work for awareness, wall work for feedback, side-lying work for rotation, and walking for carryover. Pick the place that feels stuck and start there. The body usually tells you where to begin. You just have to stop ignoring the signal.
