



The morning after a high-intensity interval training session or a heavy leg day is rarely graceful. You slide out of bed, your quadriceps screaming, lower back tight, and shoulders carrying the phantom weight of yesterday’s overhead presses. That specific, deep-seated ache—the one that reminds you exactly which muscle groups you demolished—is a badge of honor for the effort, but it is also an invitation to move intentionally. Stagnation is the enemy of recovery. If you sit still, the muscle fibers that micro-tore during your training session will stiffen as they knit back together, leaving you feeling like a rusty hinge for days.
The solution isn’t another high-intensity workout. It is about blood flow, lymphatic drainage, and gentle nervous system regulation. When you practice yoga for recovery, you aren’t trying to burn calories or build peak power. You are physically wringing out the fascia, encouraging fresh, oxygenated blood to flush through fatigued tissues, and coaxing your nervous system out of “fight or flight” and into “rest and digest.”
This isn’t about touching your toes or bending into a pretzel. It is about finding the edges of your resistance and breathing through them until the tissue yields. Whether you are dealing with tight hamstrings from running, stiff shoulders from climbing, or a locked-up back from deadlifting, there is a shape here that will help.
1. Standing Forward Fold (Uttanasana)
This is the gold standard for immediate hamstring relief. When you have spent the last hour running or squatting, your hamstrings and calves are often in a state of high-alert contraction. This pose forces them to release. Stand with your feet hip-width apart and keep a generous, soft bend in your knees. The goal here is not to lock your legs; it is to drape your torso over your thighs.
Why It Works for Recovery
By allowing your head to hang heavy, you release the tension in your neck and upper traps that often accompanies intense effort. The gentle traction of your upper body weight creates space in your spinal vertebrae, which is vital if your training involved heavy spinal loading.
Pro tip: Grab opposite elbows with your hands to create a little extra weight for your torso. This adds a slight amount of gravity-assisted lengthening to your spine. Gently sway from side to side to catch those tight spots in the lower back.
2. Downward Facing Dog (Adho Mukha Svanasana)
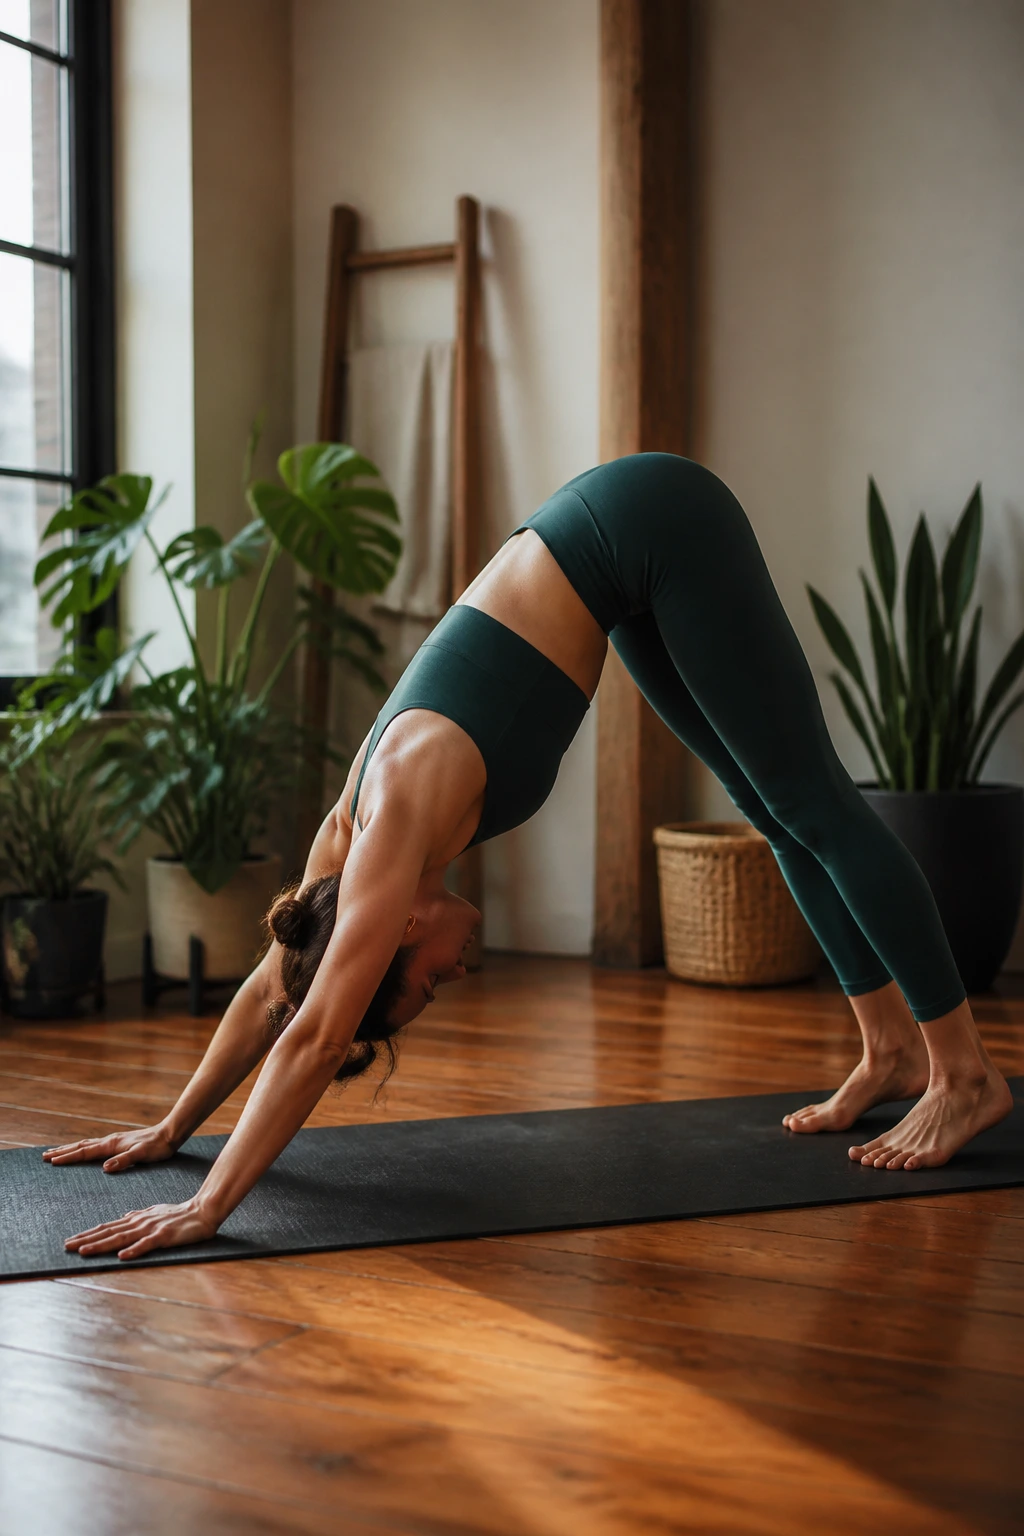
You have seen this pose in every studio, but for muscle recovery, you should approach it differently. Forget about getting your heels to the floor if it means rounding your back. Instead, focus on the length of your spine and the stretch in your posterior chain. This move provides a full-body reset, stretching the calves, hamstrings, glutes, and shoulders simultaneously.
The Mechanics of the Stretch
- Shoulders: Press firmly into your knuckles, not just your wrists, to engage your lats.
- Legs: Pedal your feet one at a time, bending one knee deeply while pressing the other heel toward the mat. This dynamic movement helps loosen the fascia around the Achilles and calves.
- Spine: If your hamstrings are screaming, bend your knees deeply. A long, flat spine is more beneficial than straight legs and a rounded back.
3. Child’s Pose (Balasana)
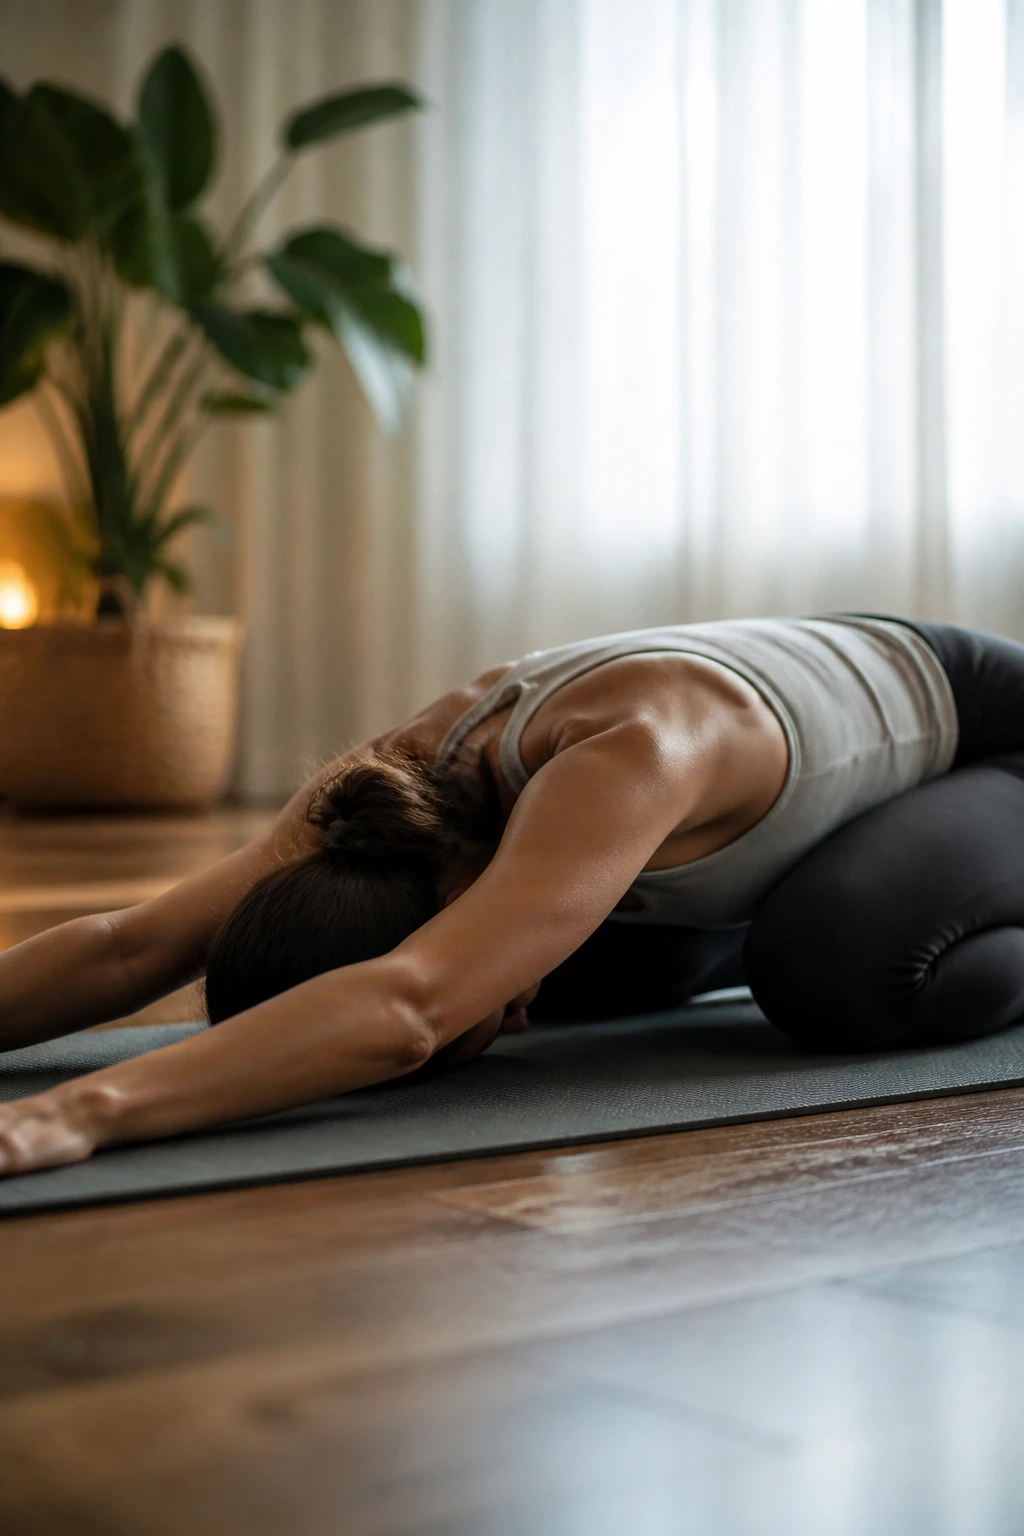
When the nervous system is fried from an exhaustive workout, Child’s Pose acts as a reset button. It is a gentle forward fold that compresses the hips while lengthening the lumbar spine. It is impossible to overstate the value of this shape for calming your heart rate after an intense session.
How to Get the Most Out of It
Take your knees wider than your ribcage. This allows your belly to rest between your thighs, providing a deeper release for the lower back. Reach your arms forward as far as you can, tenting your fingers, and feel the stretch radiate from your lats down through your triceps. Hold this for at least two minutes. Don’t rush to move; let your forehead rest on the mat, which sends a calming signal to your brain.
4. Low Lunge (Anjaneyasana)
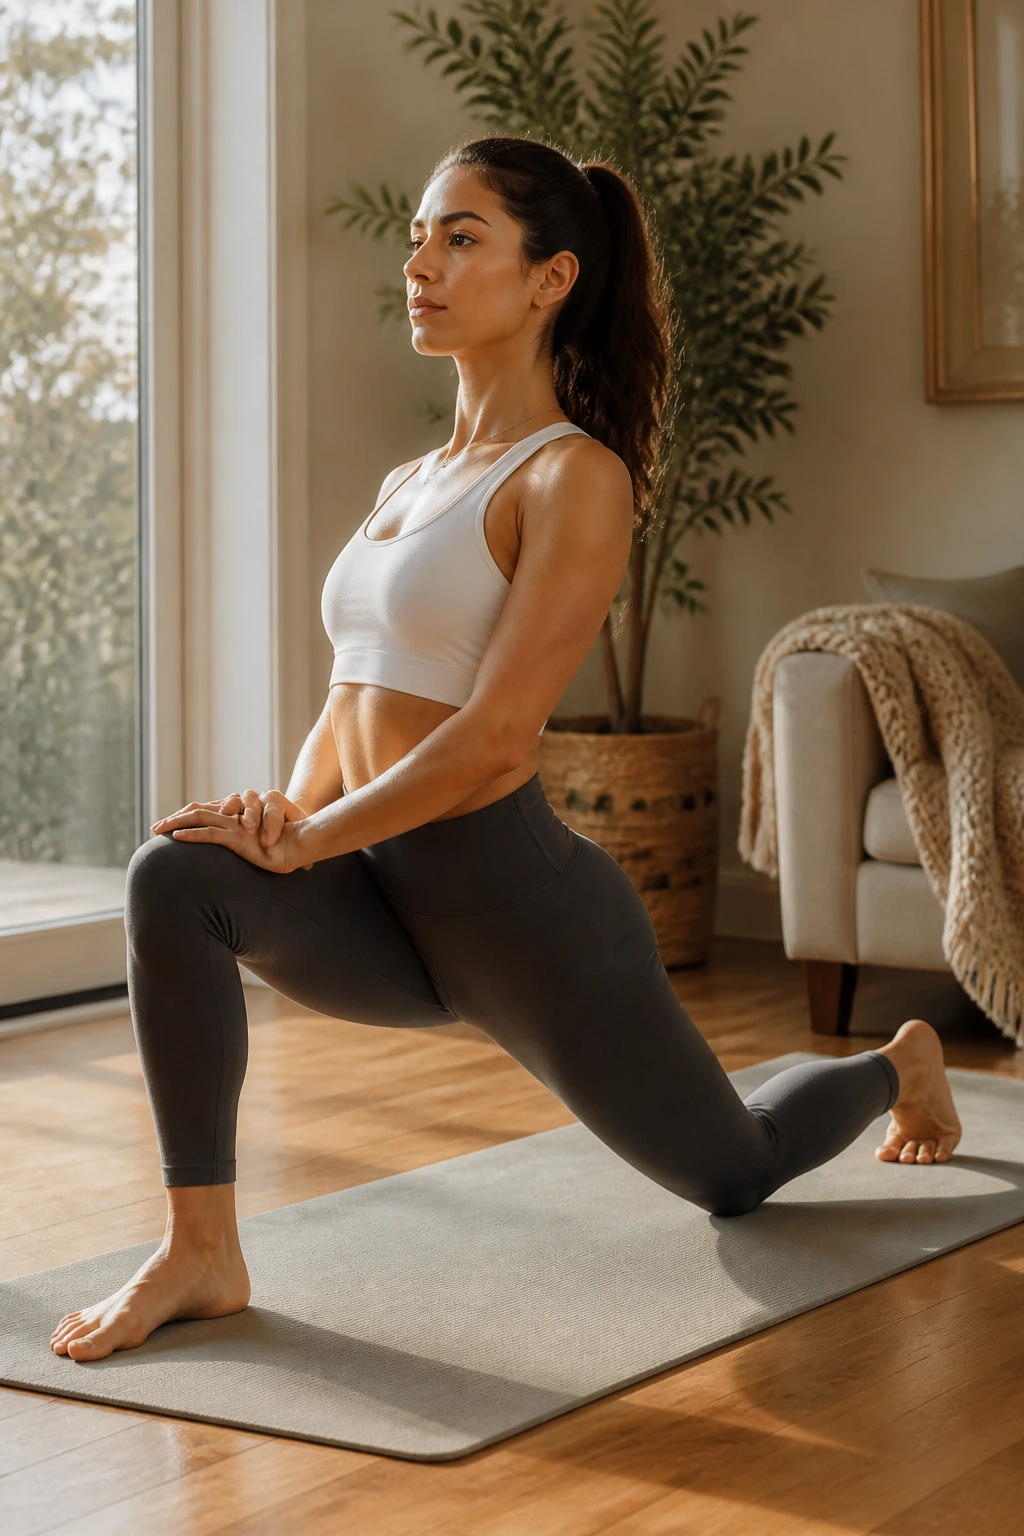
If your training involves running, cycling, or squatting, your hip flexors are likely tight. A chronically tight psoas (a primary hip flexor) pulls on your lower back, often causing discomfort in the lumbar spine. The Low Lunge is the antidote to the “seated” posture of modern life and the repetitive contraction of leg training.
Precision Matters Here
Drop your back knee to the floor. Ensure your front knee is stacked directly over your front ankle. Instead of just leaning forward, think about tucking your tailbone slightly. This small adjustment moves the stretch from your lower back into the belly of your hip flexor muscle. You will feel a significant difference in intensity with just that one-inch change in your pelvis.
5. Pigeon Pose (Eka Pada Rajakapotasana)
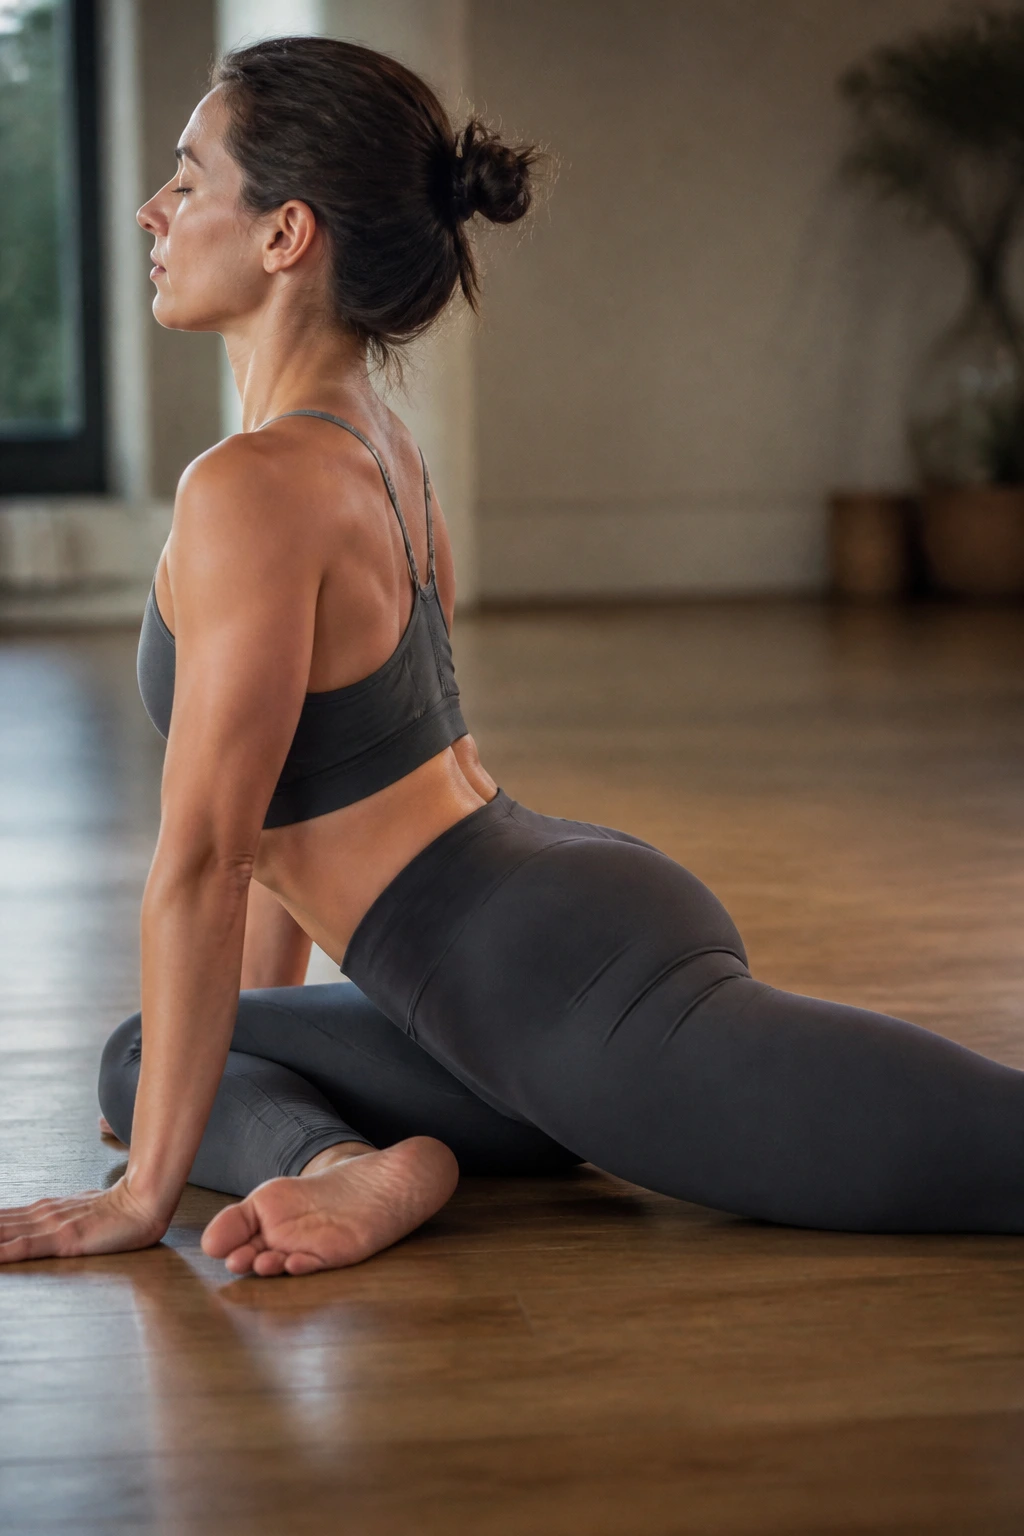
This is the king of glute releases. If you do any form of heavy lifting, your piriformis and glute medius are likely holding onto significant tension. Pigeon Pose targets the deep rotators of the hip.
Avoiding Knee Pain
Knee safety is critical here. If your front knee is uncomfortable, do not force it. Instead, bring your front heel closer to your groin. If that still hurts, skip it and perform the “Figure-Four” stretch on your back. To deepen the stretch safely, keep your hips level—don’t let the hip of the bent leg roll toward the floor. Keep your pelvis square to the front of the mat to ensure the work happens in the glute, not the knee joint.
6. Thread the Needle (Parsva Balasana)
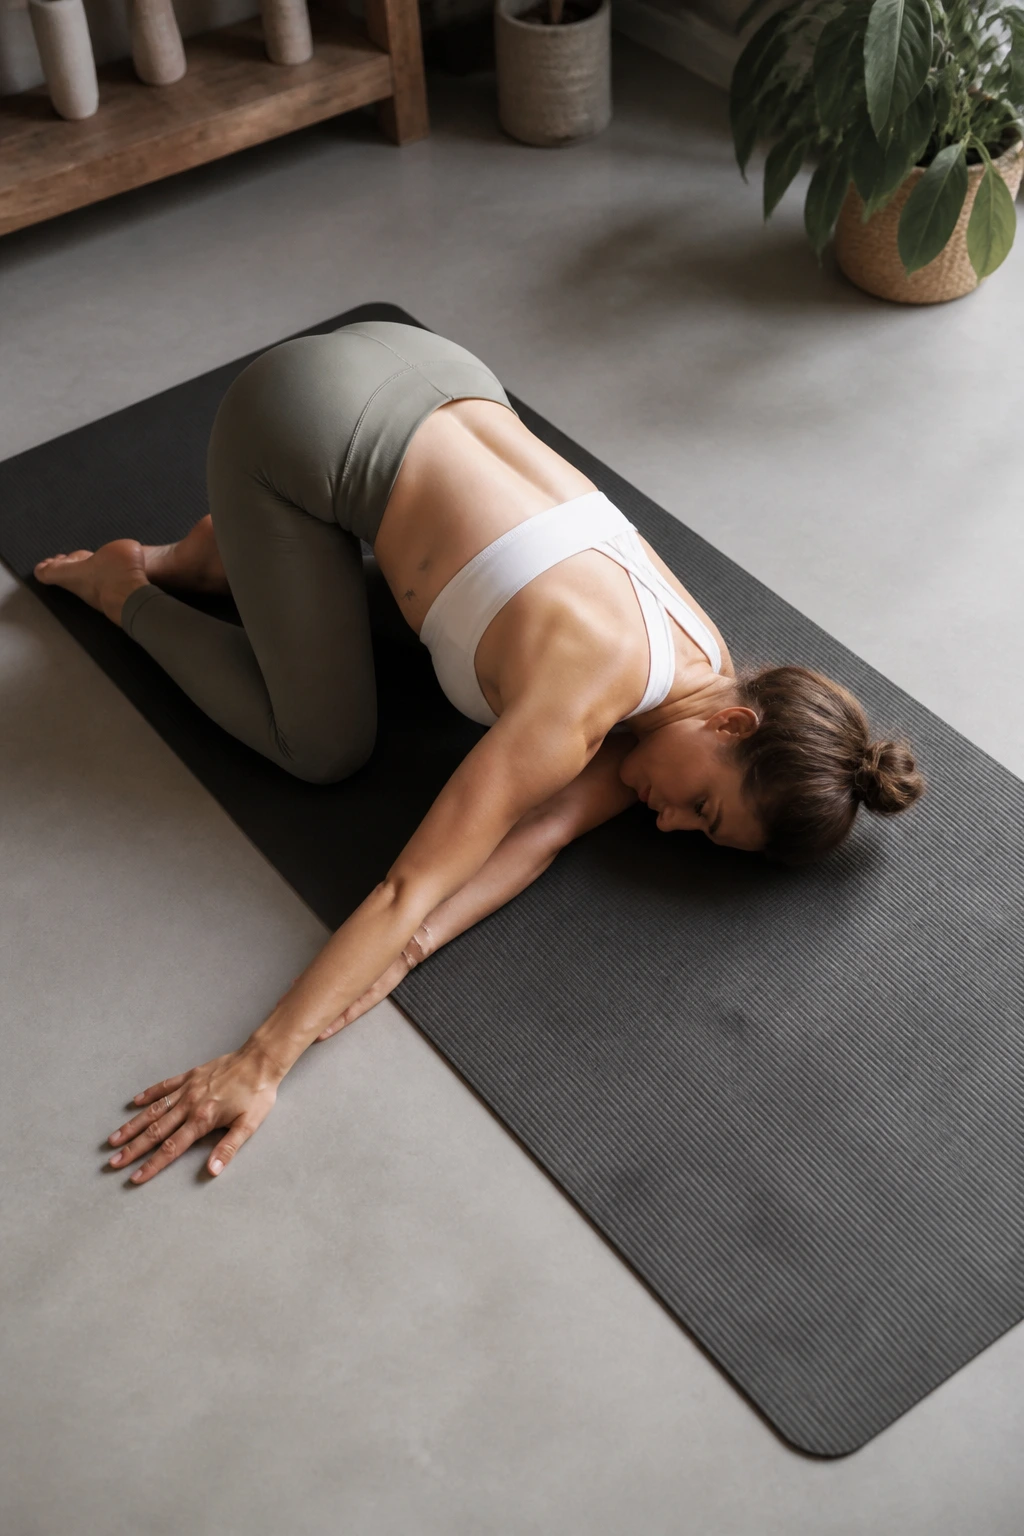
This pose is incredible for the space between your shoulder blades—the rhomboids and trapezius—which often take a beating during push-pull training days. It offers a gentle, controlled twist to the thoracic spine.
How to Execute
Start on all fours. Slide your right arm underneath your left arm, resting your right shoulder and ear on the mat. Use your left hand to press into the floor, gently twisting your chest toward the ceiling. The key is to keep your hips high, stacked over your knees. This separates the upper back from the lower body, allowing for a concentrated stretch in the thoracic region.
7. Cat-Cow Stretch (Marjaryasana-Bitilasana)
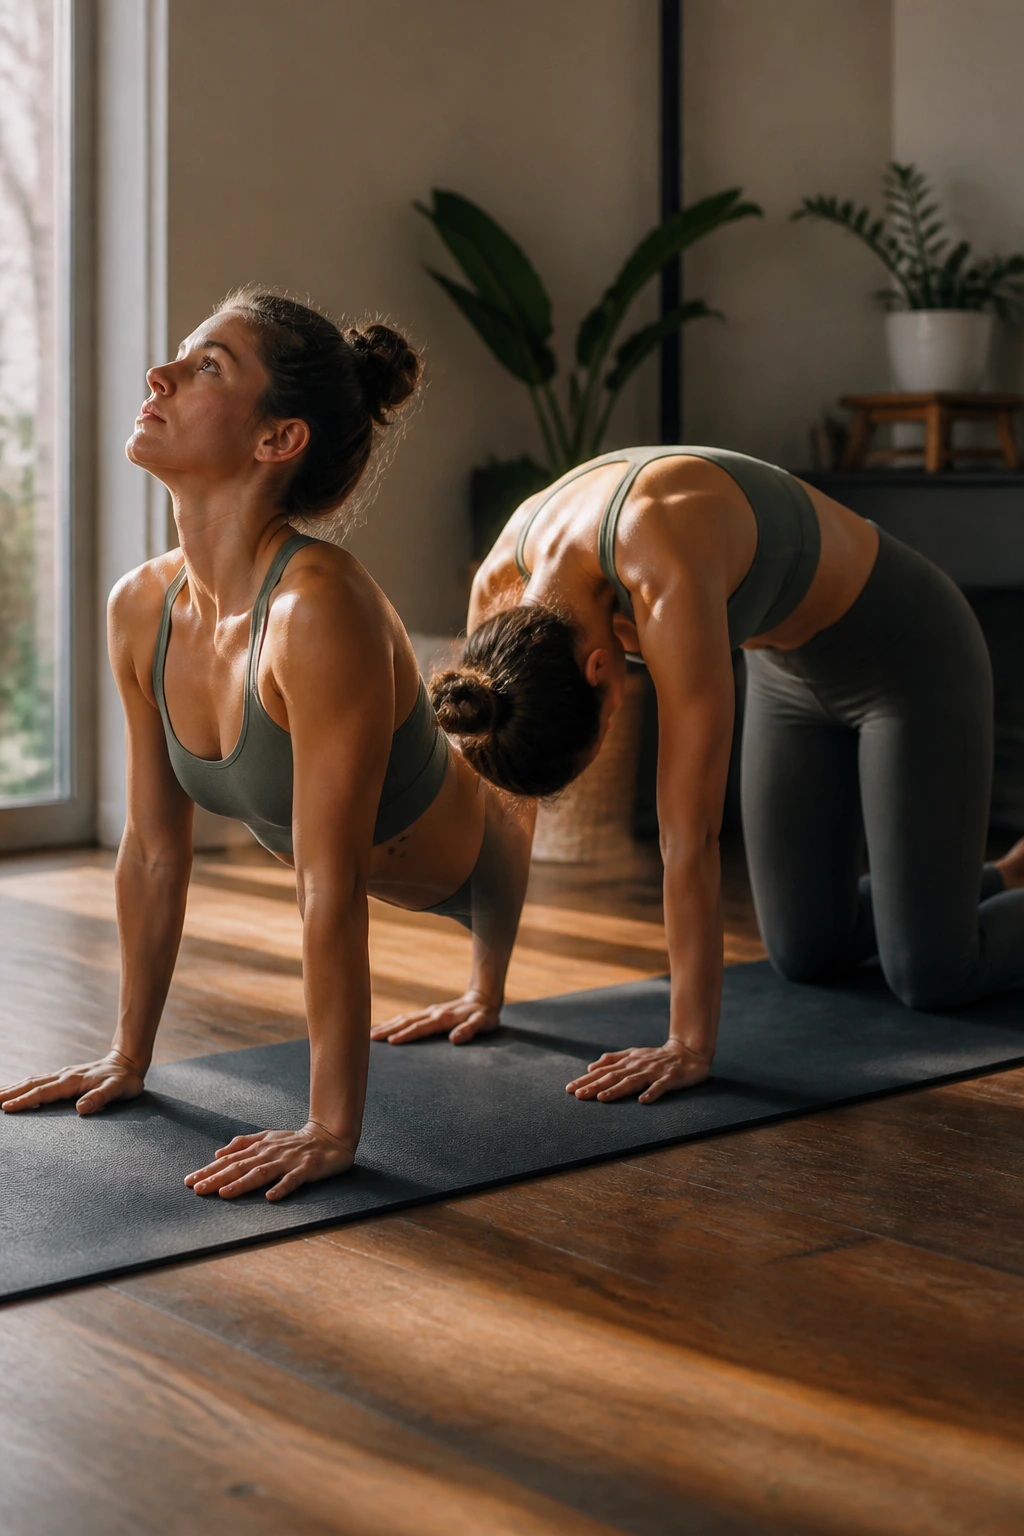
This isn’t just a warm-up move; it is a vital mobility tool for spine health. After a workout, your spine can feel compressed, especially if you have been doing heavy overhead work or squats.
The Flow
- Inhale into Cow: Drop your belly, lift your chest, and look up. Feel your shoulders slide down your back.
- Exhale into Cat: Round your spine toward the ceiling, tucking your chin to your chest. Imagine pushing the floor away with your hands.
- Focus: Move slowly. This is not about speed; it is about articulating every single vertebra. If you find a stiff spot, linger there and breathe into it.
8. Supine Twist (Supta Matsyendrasana)
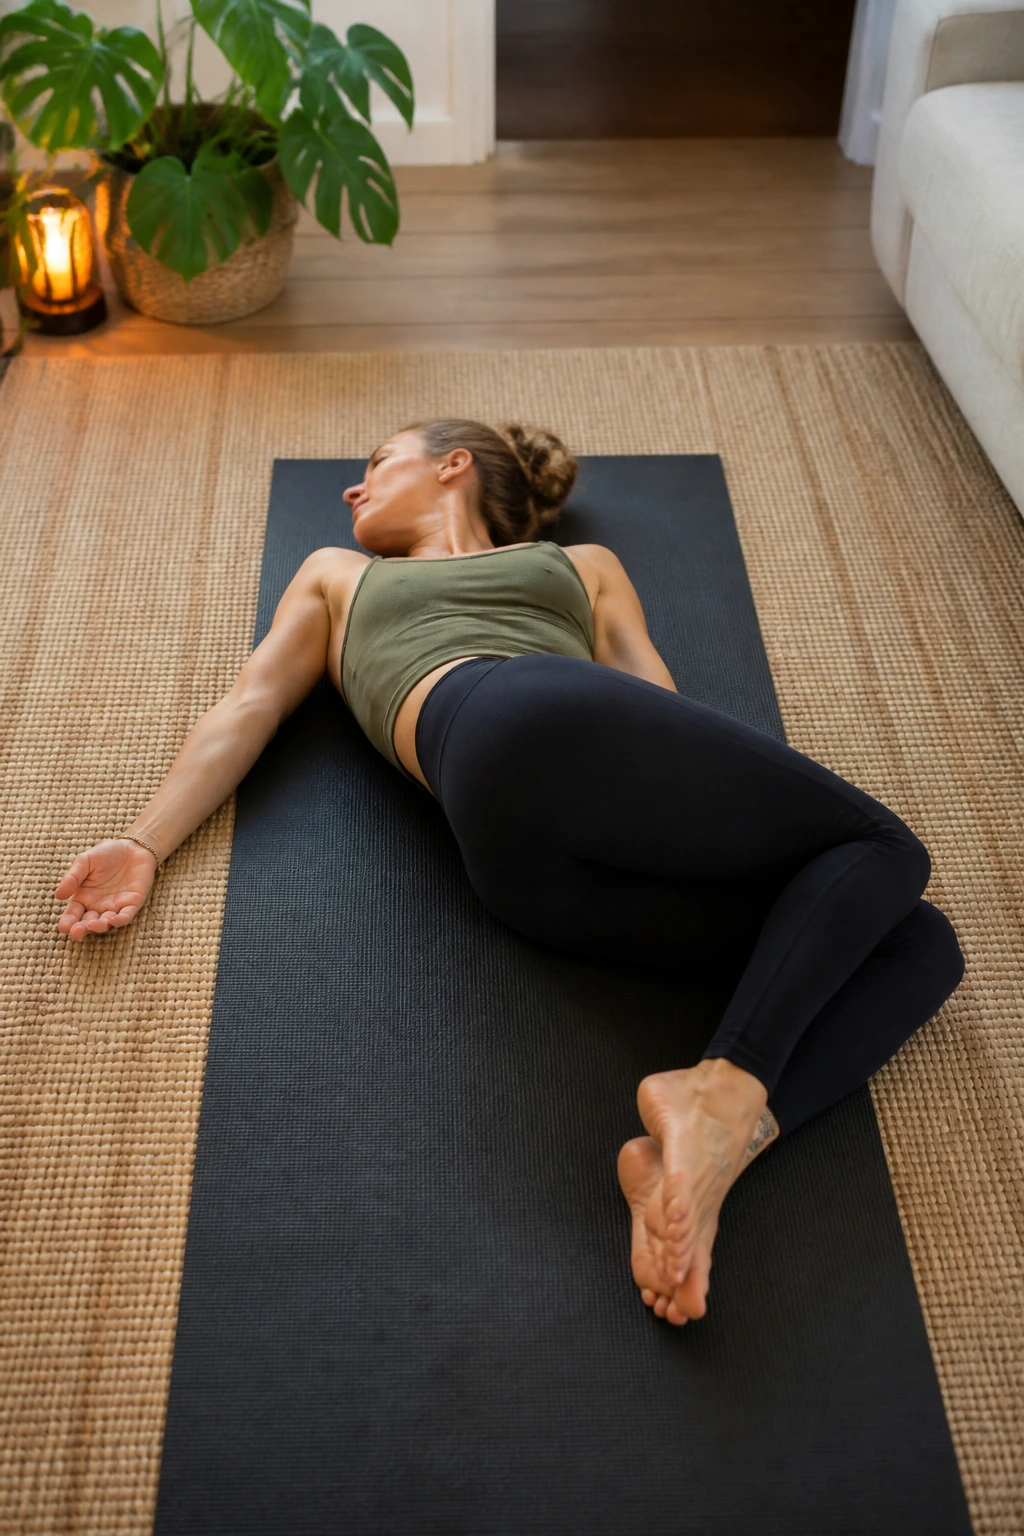
Twists are fantastic for “wringing out” the spine and releasing tension in the obliques and lower back. Because you are lying on your back, your spine is fully supported by the floor, which allows your muscles to relax fully without the need to fight gravity.
The Setup
Lie on your back, pull your knees into your chest, and then let them fall to the right while you look over your left shoulder. Keep both shoulders pinned to the mat. If your knees don’t reach the floor, place a block or a thick book under them. The goal is the rotation of the spine, not the contact of the knees with the ground.
9. Happy Baby (Ananda Balasana)
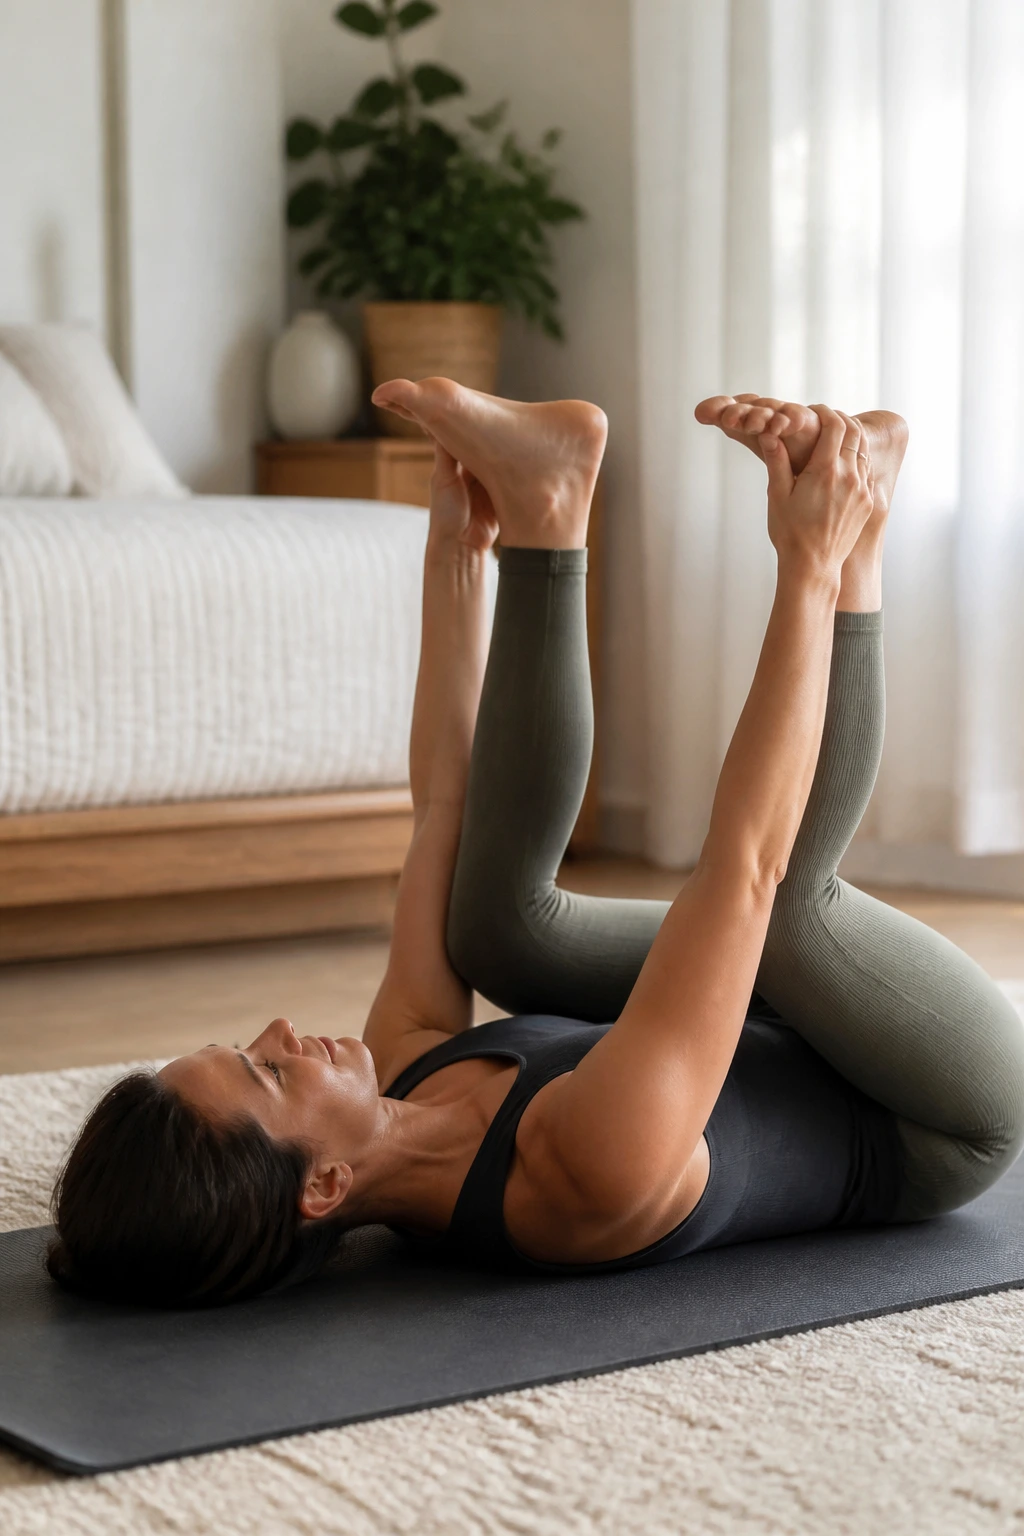
This pose feels slightly ridiculous, but the physiological benefits are serious. It is an excellent way to open the hips and release the lower back simultaneously. By grabbing the outside of your feet and pulling your knees toward your armpits, you are putting your hips into a deep, external rotation.
Why it works: It forces the sacrum—the triangular bone at the base of your spine—to flatten against the floor. This provides a deep, grounding release for the muscles surrounding the tailbone that are often ignored during standard leg stretches.
10. Legs Up The Wall (Viparita Karani)
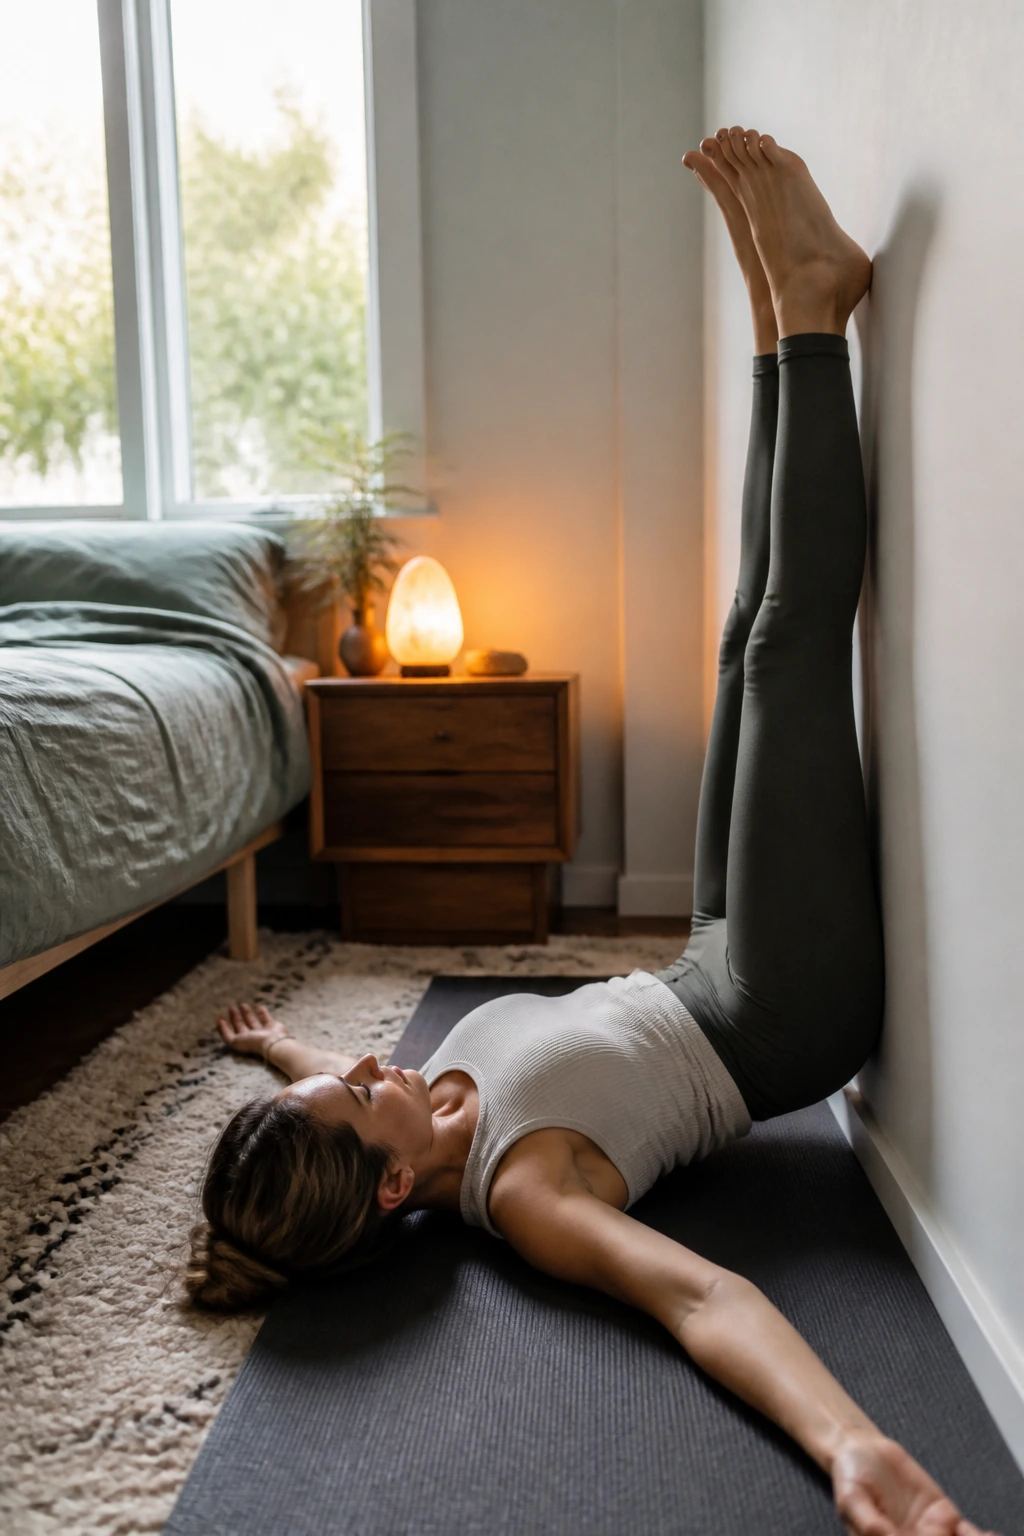
When your legs feel like lead pipes after a long run or a heavy leg workout, this is the pose you need. It is a passive inversion, which means it aids in lymphatic drainage and venous return.
The Recovery Secret
Scoot your hips as close to the wall as possible and swing your legs up. Let your arms rest out to the sides, palms up. Stay here for five to ten minutes. You will feel a tingling sensation as blood drains away from your feet and back toward your heart. This is incredibly effective for reducing inflammation and swelling in the ankles and lower legs after a day on your feet.
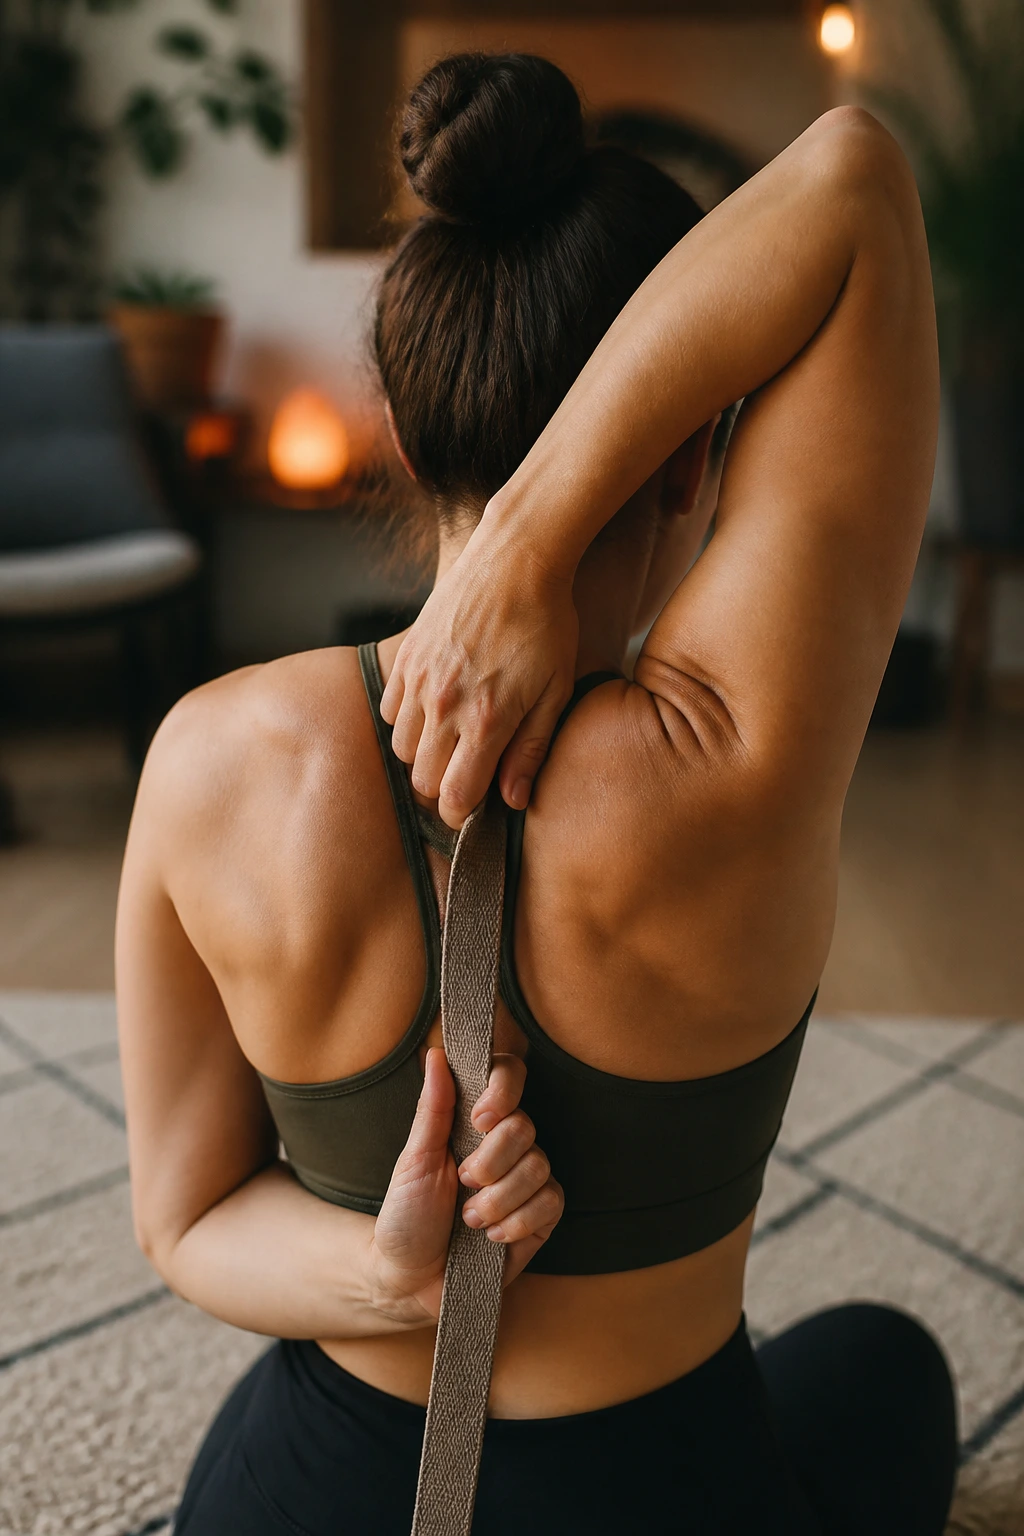
11. Cow Face Arms (Gomukhasana Arms)
If you struggle with shoulder mobility, this is your go-to. It targets the lats, the triceps, and the chest—areas that get severely tight from bench presses, pull-ups, or any upper body training.
Dealing with Mobility Limits
Reach one arm up and bend your elbow, reaching down your back. Reach the other arm behind you, bending the elbow and reaching up your back. If your fingers don’t touch, grab a towel or a strap. This allows you to hold the stretch without straining your rotator cuffs. The resistance of the towel provides the leverage you need to stretch the tight muscles without compensation.
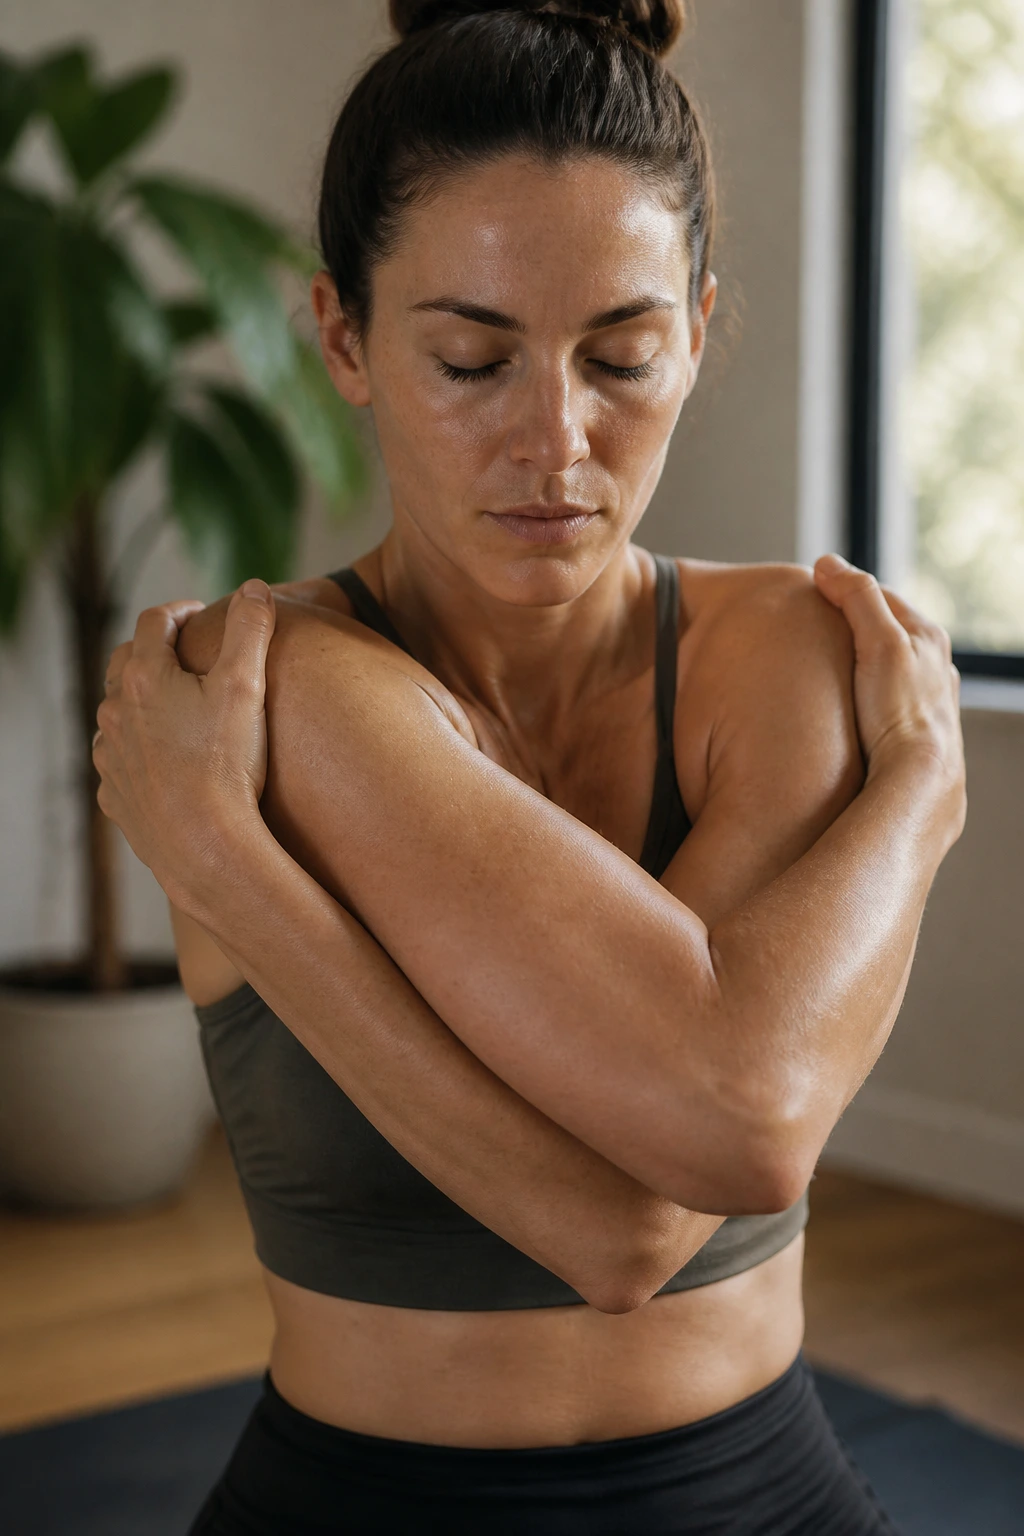
12. Eagle Arms (Garudasana Arms)
This provides a specific, intense stretch for the upper back, particularly between the scapulae. It is the perfect antidote to the hunched-over posture that often results from heavy lifting or computer work.
Execution
Extend both arms in front of you. Cross the right arm under the left, then wrap your forearms around each other until your palms touch. Lift your elbows to shoulder height and press your hands away from your face. You will instantly feel the space between your shoulder blades broaden. If the palms don’t touch, just press the backs of your hands together or grab your opposite shoulders.
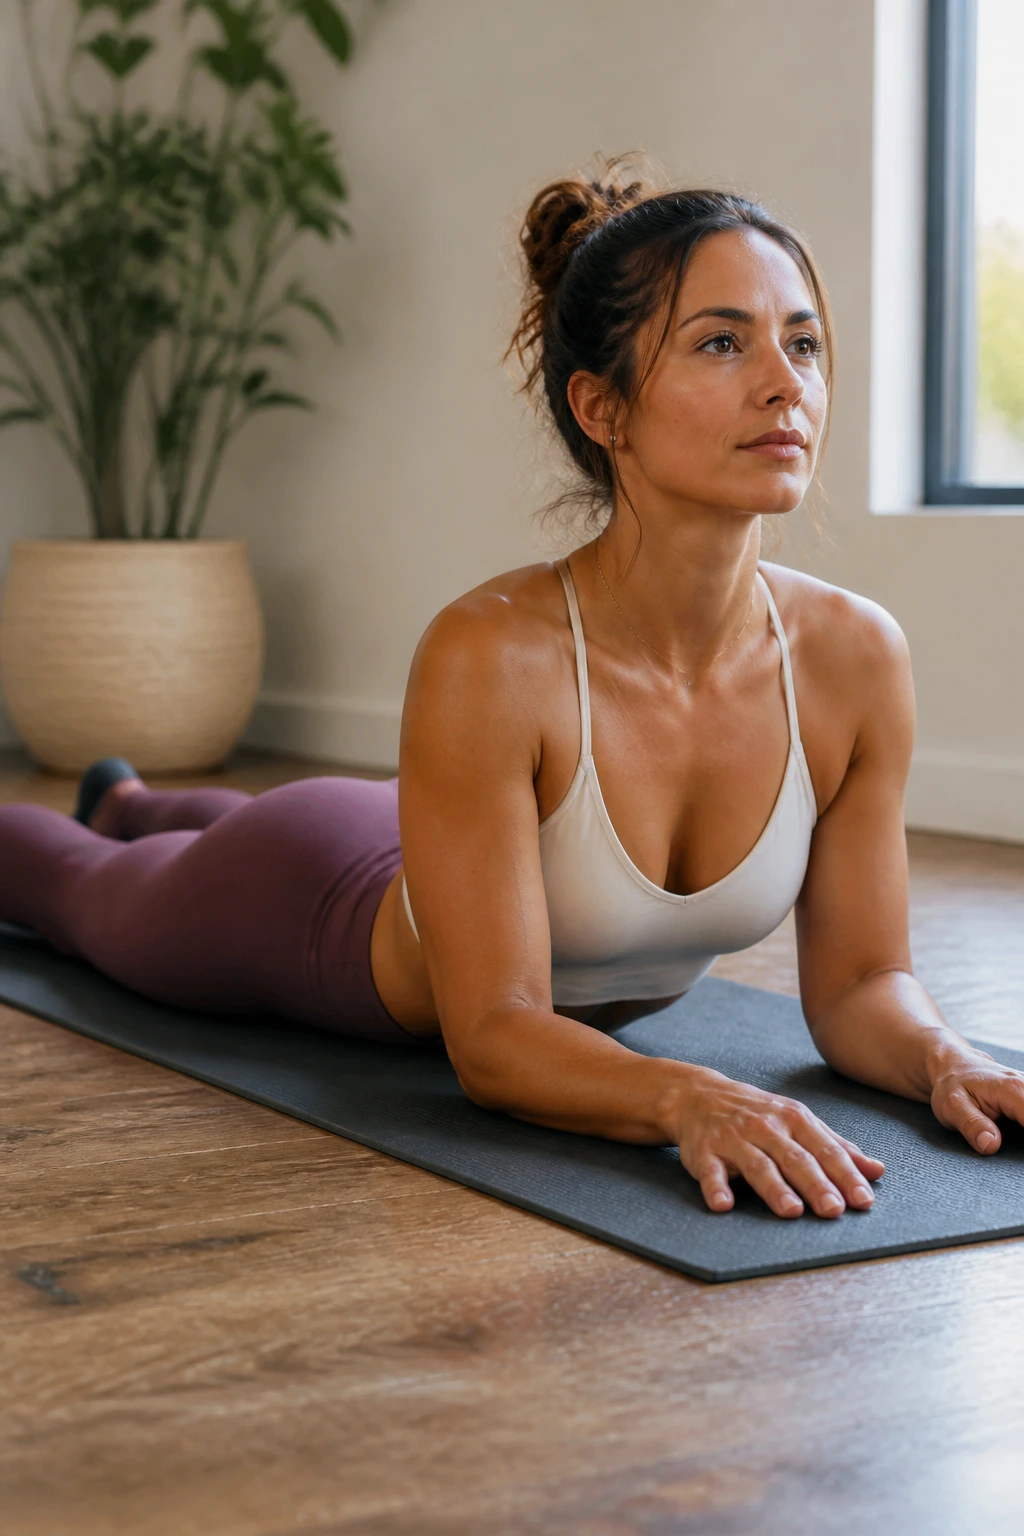
13. Sphinx Pose
This is a gentle backbend that helps counteract the forward-rounded posture we adopt during many exercises. It is much more accessible and restorative than Cobra or Upward Dog, making it ideal for when your muscles are already tender and you don’t want to overextend.
Technique
Lie on your stomach. Prop yourself up on your forearms, elbows directly under your shoulders. Keep your legs active, pressing the tops of your feet into the mat, but don’t clench your glutes. The goal is to lengthen your belly, not to pinch your lower back. If you feel any sharp pain, slide your elbows further forward to reduce the angle of the bend.
14. Bridge Pose (Setu Bandha Sarvangasana)
Bridge pose strengthens the glutes while stretching the front of the body—the hip flexors, chest, and abdominals. It is a fantastic “counter-pose” for anyone who spends their training day in a hinge or squat position.
Fine-Tuning the Stretch
Lie on your back, knees bent, feet flat on the floor. Lift your hips toward the ceiling. Interlace your hands underneath your back and roll your shoulders underneath you. The key is to keep your knees tracking straight ahead—do not let them splay outward. Engaging your inner thighs to keep the knees aligned will actually increase the activation of the glutes and provide a more stable foundation for the stretch.
15. Lizard Pose (Utthan Pristhasana)
Lizard pose is an intense hip opener. It is essentially a low lunge with both hands on the inside of the front foot. It is deeply effective for releasing the hip flexors and the groin area.
How to Ease In
If you have tight hips, you might find it difficult to get your hands to the floor. Use blocks under your hands. Keep your chest lifted to lengthen the spine. Once you feel stable, you can try to lower down onto your forearms, but only if you can keep your front knee glued to your shoulder. If the knee falls out to the side, you are bypassing the psoas stretch you are trying to reach.
16. Butterfly Pose (Baddha Konasana)
This is one of the most classic seated hip openers. It is accessible, requires almost no equipment, and is extremely effective for relaxing the inner thighs (adductors), which can become very tight after explosive lateral movements or squats.
The Adjustment
Sit with the soles of your feet together, knees dropping out to the sides. Do not force your knees to the floor. Instead, hold onto your ankles and sit up tall. Imagine a string pulling the crown of your head toward the ceiling. As you inhale, lengthen. As you exhale, imagine your knees getting heavy, sinking toward the floor through gravity, not through force.
17. Wide-Legged Forward Fold (Prasarita Padottanasana)
This pose stretches the hamstrings, the groin, and the lower back all at once. It is a great alternative to a standard forward fold because the wide stance provides a more stable base, allowing you to relax into the stretch more deeply.
Why It’s Unique
The width of your legs allows for a different angle of stretch on the hamstrings compared to feet-together folds. It hits the inner hamstrings and the adductors more directly. Ensure your toes are turned slightly inward, like you are pigeon-toed. This creates a safer rotation for the hip joints and helps protect your knees.
18. Extended Puppy Pose (Uttana Shishosana)
Think of this as a cross between Child’s Pose and Downward Dog. It is incredible for stretching the shoulders, upper back, and chest without putting weight on the wrists.
Execution
Start on all fours. Walk your hands forward while keeping your hips stacked directly over your knees. Lower your chest toward the mat. If your chest touches, rest your chin on the floor; if it doesn’t, rest your forehead. This pose is particularly beneficial after upper-body pressing days, as it opens the chest and alleviates the tightness that restricts overhead range of motion.
19. Cobra Pose (Bhujangasana)
Cobra pose is a deeper backbend than Sphinx. It focuses on thoracic extension and opening the chest. It helps to reverse the “rounded shoulders” effect that comes from heavy pressing movements.
Key Cues
Keep your hands under your shoulders and your elbows tucked into your ribcage. Do not lock your arms out straight if it causes you to crunch your lower back. Focus on lifting the heart forward, not just up. If you feel like you are compressing your lumbar spine, lower down. You want to feel the stretch in your abdominal wall and the upper chest, not a pinch in your lower back.
20. Garland Pose (Malasana)
Also known as a deep squat, this is perhaps the most functional pose for any athlete. It works on ankle mobility, knee health, and hip opening. After a workout, holding a deep squat for a minute can reveal exactly where your stiffness lies—whether it is in the ankles or the hips.
Troubleshooting
If your heels lift off the floor, place a rolled-up towel or mat under them for support. The goal is to keep the spine long. Use your elbows to gently press your knees open, which provides a deep stretch to the adductors. This is one of the best poses for restoring the range of motion required for proper squatting technique.
21. Half Splits (Ardha Hanumanasana)
If you are training for explosive speed or heavy leg days, your hamstrings often shorten. Half Splits is a targeted, safe way to lengthen the hamstring without the full-body complexity of a full split.
Precision Adjustment
From a kneeling lunge position, shift your hips back until your front leg is straight. Flex your front foot—pulling your toes back toward your shin—to engage the calf and deepen the stretch along the entire posterior chain. Keep your spine long; don’t round your back to reach your toes. It is far better to keep your hands on blocks with a straight spine than to hunch over and touch your toes with a rounded back.
22. Reclined Hand-to-Big-Toe (Supta Padangusthasana)
This is a fantastic, supported way to stretch the hamstrings. Because you are lying on your back, the strain on your lower back is eliminated, allowing for a much deeper release.
Utilizing a Strap
Lie on your back. Use a strap (or a belt or towel) around the arch of one foot. Extend that leg toward the ceiling, keeping it as straight as possible. Keep the other leg flat on the floor to stabilize your pelvis. Breathe deeply. You will feel a strong line of tension running from your heel to your glute. This is essentially a “static” version of a sprint stride, making it perfect for runners.
23. Cow Face Legs (Legs Variation)
While the full pose includes the arms, the leg variation is excellent for targeting the outer hips and glutes. It is a deep external rotation that can feel quite intense, so ease into it.
The Setup
Stack your knees on top of one another while seated, with your feet near your hips. If your hips are tight, your top knee will likely be hovering high. That is fine. Sit on a block or a folded blanket to elevate your hips; this often provides the necessary clearance to stack the knees more comfortably. Lean forward slightly to intensify the stretch in the outer hip and glute of the top leg.
24. Staff Pose (Dandasana)
This may look like you are just sitting on the floor, but it is an active pose that engages the core and lengthens the hamstrings. It acts as a grounding posture that forces you to sit with perfect posture, which is often lost after the fatigue of a workout settles in.
Why Do It
It teaches your spine to remain neutral. Sit with your legs straight out, feet flexed, palms pressed into the floor beside your hips. Engage your quads. This simple action of engaging the thighs creates space in the hamstrings and corrects the slouching that often occurs when we are tired post-workout.
25. Head-to-Knee Pose (Janu Sirsasana)
This pose combines a hip opener with a hamstring stretch. It is excellent for unilateral work, meaning you can focus on one side at a time if you have noticed an imbalance in your flexibility or muscle tightness.
Execution
Sit with one leg extended and the other foot pressed into the inner thigh of the extended leg. Square your torso toward the extended leg and fold forward. Keep the extended leg active by flexing the foot. This prevents the knee from locking in an unhealthy way and ensures the stretch stays in the belly of the muscle rather than behind the knee joint.
26. Locust Pose (Salabhasana)
Locust pose is a strengthening exercise masquerading as a stretch. It targets the posterior chain—the back of the legs, glutes, and lower back—which is essential for counteracting the forward-leaning posture of most workouts.
Why Include It in Recovery
After heavy lifting, your back muscles might be fatigued and tight. Locust pose uses active engagement to flush blood into these muscles, which can actually help with recovery more than a passive stretch. Lie on your stomach, lift your chest, arms, and legs off the floor simultaneously. Squeeze your shoulder blades together. It engages the muscles that keep your spine upright, helping to reset your posture.
27. Gate Pose (Parighasana)
This pose stretches the side body (obliques and intercostals), which is often ignored. If you perform any rotational training or heavy side-bending work, your obliques will be tight, potentially limiting your breathing capacity and spinal mobility.
How to Do It
Kneel on one knee, extending the other leg out to the side. Reach the arm on the side of the bent knee overhead and tilt toward the extended leg. You will feel an intense stretch running all the way from your hip to your armpit. Focus on keeping your chest open—don’t let your top shoulder rotate toward the floor.
28. Shoelace Pose
Similar to Cow Face legs, this is a deep hip opener that sits in the “Yin” style of yoga, meaning it is held for longer periods to target the deep connective tissues rather than just the muscles.
Why It’s Beneficial
It provides a sustained, gentle pressure that helps release fascia in the outer hips. Because it is held for three to five minutes, it helps the nervous system slow down, which is essential after the adrenaline spike of a high-intensity workout. Use a bolster or pillow between your chest and knees to make the forward fold comfortable.
29. Supported Fish Pose
This is a restorative chest opener. It is the ultimate recovery move for anyone who spends their days hunched over a barbell, a desk, or a steering wheel.
The Setup
Place a block or a rolled-up towel horizontally under your shoulder blades. Lie back so that your head rests on the floor (or another support if needed). Your chest will naturally open, and your shoulders will drop back. This passive stretch is incredibly relaxing for the intercostal muscles and the pectorals, allowing you to take deeper, fuller breaths—which in turn aids in oxygen delivery to recovering muscles.
30. Corpse Pose (Savasana)
It might be the last item on the list, but it is the most important. Savasana is where the work happens. After you have moved, twisted, and stretched, your body needs a period of complete, unadulterated stillness to process the benefits.
The Reality of Savasana
It is deceptively hard to lie perfectly still for five minutes. However, this is the only time your body can fully enter the parasympathetic nervous system state, where true tissue repair and inflammation reduction occur. Don’t skip it. Lie flat, let your feet flop outward, and just breathe. Your muscles, your nervous system, and your mind will thank you.
Final Thoughts
Recovery is not an accident; it is a discipline. When you choose to dedicate twenty minutes to these poses, you are making a deliberate decision to honor the work you put in during your training. It is easy to be motivated when you are in the gym, pushing weights or running intervals, but the real gains happen in the recovery window.
Consistency with these movements will do more for your long-term progress than any supplement or high-tech gadget. You will notice that your range of motion starts to open up, your stiffness decreases, and you feel more capable when you return to your next training session. Keep these movements in your back pocket, perform them with patience, and treat your body with the same intensity during recovery as you do during your most demanding workouts.
