



Nothing ruins a good training session faster than that sharp, nagging pinch in the patella. We have all been there—trying to push through a heavy squat set only to have our knees scream in protest, effectively ending the workout and leaving us wondering if we will be able to walk comfortably the next day. It is a frustrating reality for anyone who loves leg day but deals with chronic joint discomfort.
The good news is that you do not need to subject your joints to heavy barbell back squats to build a powerful, athletic lower body. The obsession with the squat as the “king of exercises” is often misplaced, especially when your anatomy is sending you clear warning signals. You can build significant size, strength, and stability by focusing on movements that emphasize the posterior chain or limit sheer force on the knee joint.
The key to training around bad knees is understanding leverage and joint angles. When you squat, you create a complex interplay of forces that puts the kneecap under significant compression. By shifting the movement pattern to a hip-dominant hinge or an isolated muscle contraction, you can bypass the joint stress while still delivering the necessary stimulus to the quads, glutes, and hamstrings. This is about working smarter, not just harder, and ensuring you can still lift five, ten, or twenty years from now.
1. Glute Bridges
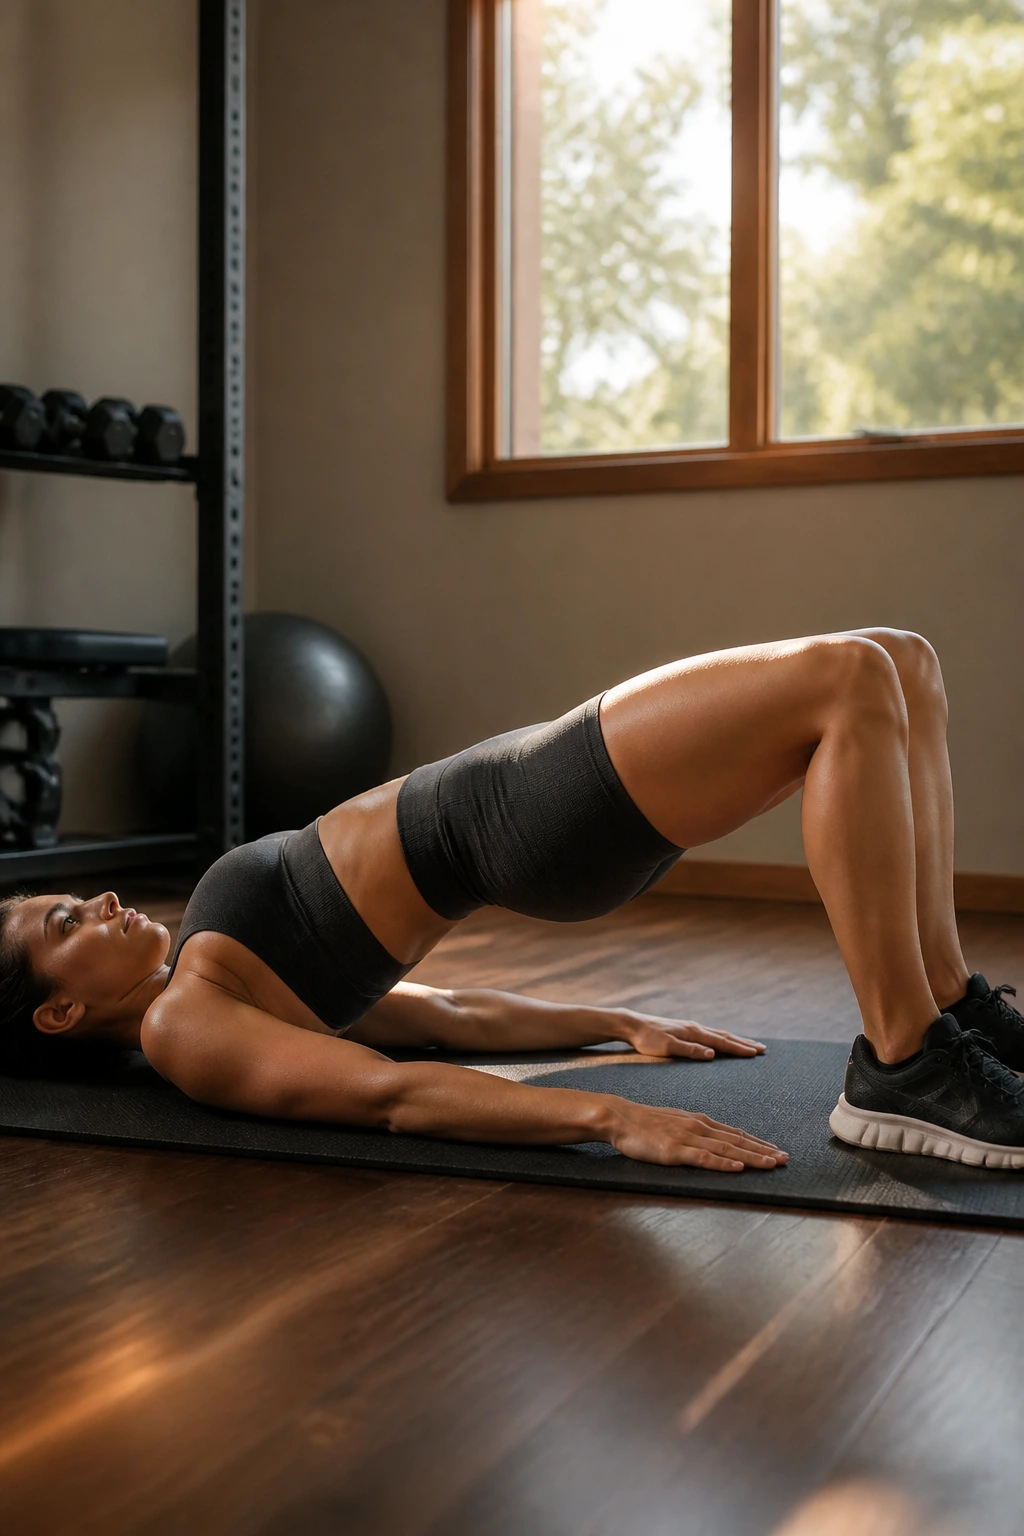
The glute bridge is arguably the most effective way to isolate the posterior chain without putting any vertical load on your knees. Unlike a squat, which forces the knee into a deep, weight-bearing flex, the bridge uses a stationary joint angle, keeping the pressure on the glutes where it belongs. You can perform this on the floor or with your shoulders elevated on a bench for a larger range of motion.
Why It Works
The mechanics here are simple: by keeping your knees bent at roughly 90 degrees throughout the movement, you remove the shear force that typically causes pain in the joint. It is a closed-chain movement, meaning your feet are planted and stable, which prevents the wobbly, unstable feeling that often exacerbates knee inflammation.
Making It Harder
If the basic version becomes too easy, you do not need to add weight to your back. Instead, try these variations:
- Single-Leg Bridge: Forces the glutes to stabilize and work twice as hard.
- Pause at the Top: Hold the squeeze for three seconds to increase time under tension.
- Band Resistance: Place a resistance band around your knees to force the glute medius to fire by resisting the knee-caving motion.
Pro tip: Do not hyperextend your lower back at the top of the movement. Focus on driving through your heels and tucking your pelvis to ensure the glutes are doing the lifting, not your lumbar spine.
2. Romanian Deadlifts
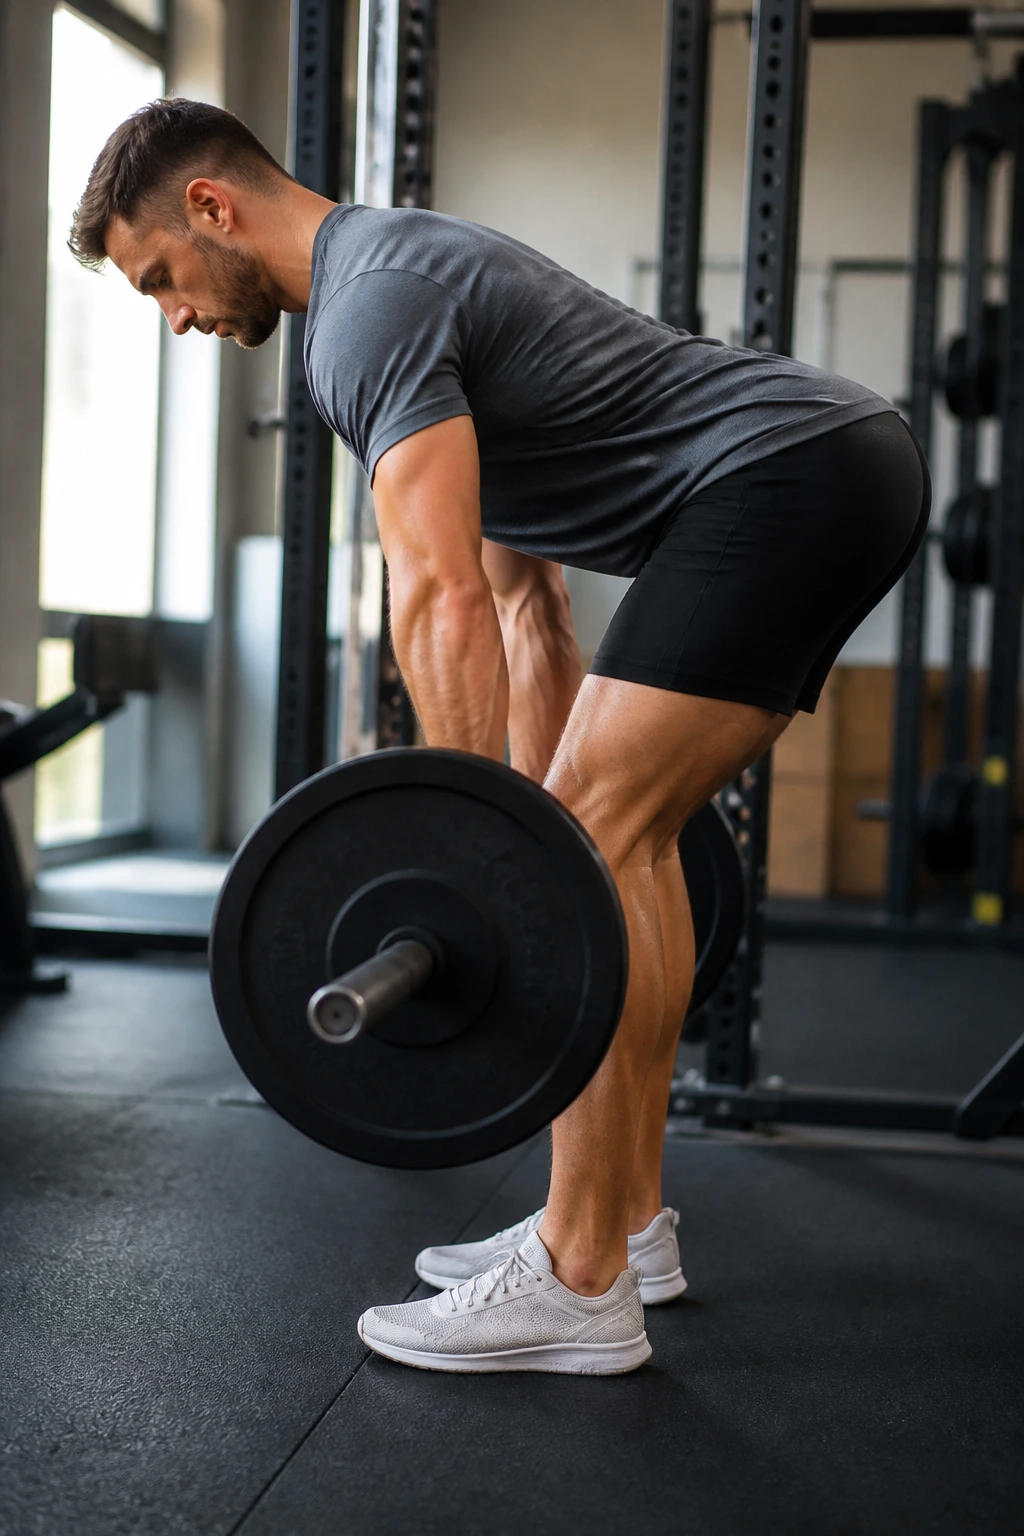
The Romanian Deadlift (RDL) is a masterpiece of a hinge pattern. While the squat is knee-dominant, the RDL is hip-dominant, shifting the workload almost entirely to the hamstrings and glutes. This movement requires you to push your hips back as far as possible, which naturally keeps your shins vertical and limits the degree of knee flexion.
Mastering the Hinge
The biggest mistake people make with RDLs is treating them like a squat. You should not be bending your knees significantly. Instead, think about closing a car door with your glutes—push your hips back toward the wall behind you. Your knees should have a soft, “unlocked” bend, but they should stay in that same position throughout the entire repetition.
Why This Spares the Joint
Because your knees do not travel forward over your toes, you eliminate the pressure on the patellar tendon. For anyone with chondromalacia or general tendonitis, this movement is usually a massive relief. It builds massive posterior chain strength, which actually helps support the knee joint long-term by balancing out the pull of the quads.
3. Reverse Lunges
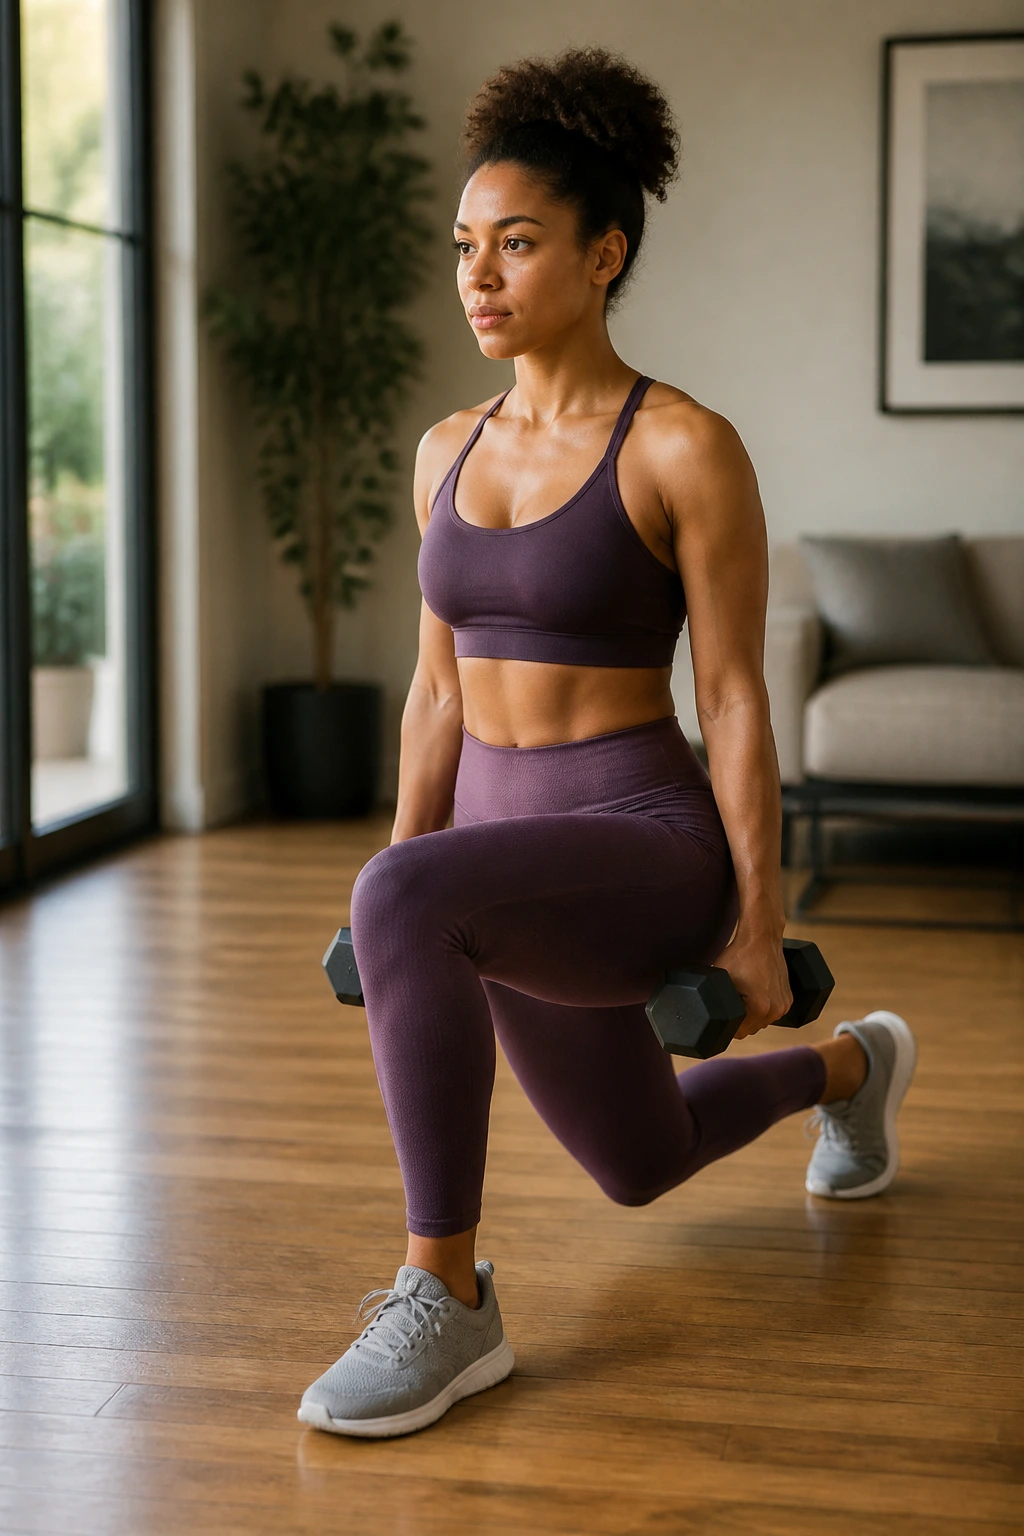
Forward lunges are notoriously hard on the knees because of the deceleration force required when you plant your foot. Reverse lunges, however, solve this by keeping the front foot anchored and stable. You step backward, lowering your hips into a controlled lunge without that jarring forward momentum.
The Mechanics of Safety
When you step backward, your center of gravity naturally shifts slightly, allowing you to maintain a vertical shin on the front leg. This position is significantly more knee-friendly than the forward lunge. You can hold dumbbells, a kettlebell in a goblet position, or just use your body weight to master the form before adding resistance.
Setup Tips
- Ensure your front foot is planted firmly—do not come up on your toes.
- Keep your torso upright; leaning forward excessively can shift weight onto the knee.
- If you still feel discomfort, shorten your step. You do not need to take a massive stride to get a great glute and quad workout.
4. Clamshells
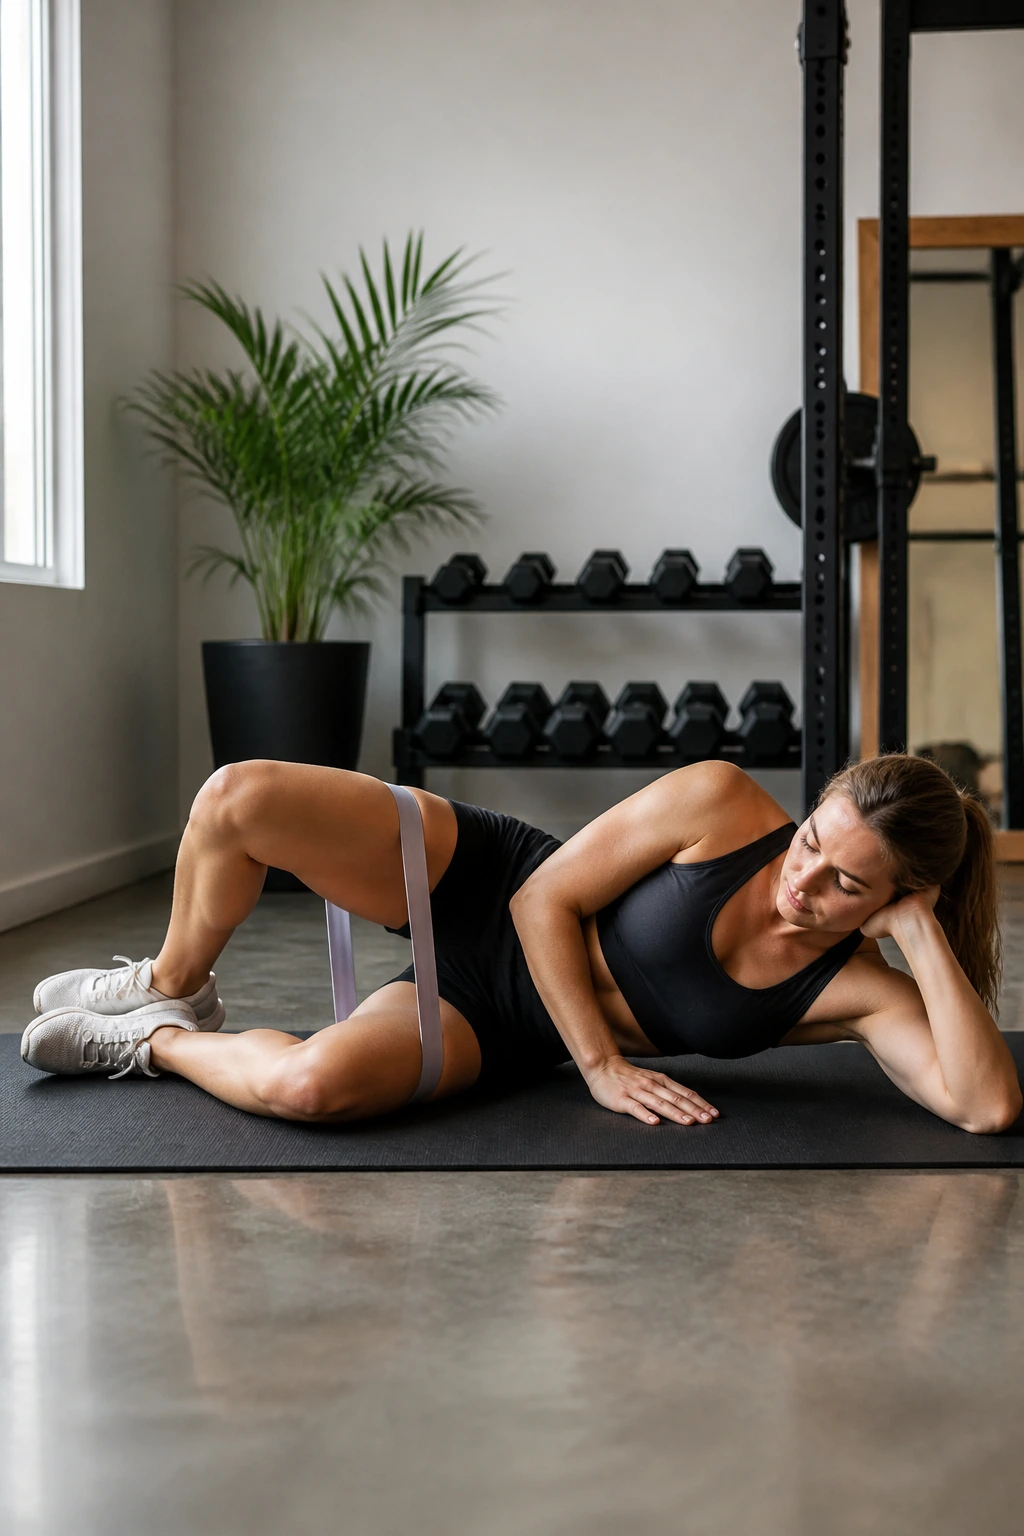
Often dismissed as a “physical therapy exercise,” the clamshell is one of the best ways to fire up the glute medius, a crucial muscle for knee stability. If your knees cave inward during movement, your glute medius is likely weak. This exercise fixes that structural imbalance at the root.
How to Execute
Lie on your side with your legs stacked and knees bent at a 45-degree angle. Keeping your feet touching, lift your top knee toward the ceiling, creating a clamshell motion. It sounds simple, but if you do it with control, you will feel a deep burn in the side of your hip within ten reps.
The Knee Connection
By strengthening the hip stabilizers, you prevent “valgus collapse”—the medical term for when the knee caves inward during squats or lunges. This instability is a major driver of knee pain. Think of this not as a leg day “filler,” but as a prerequisite for keeping your joints healthy.
5. Hamstring Curls
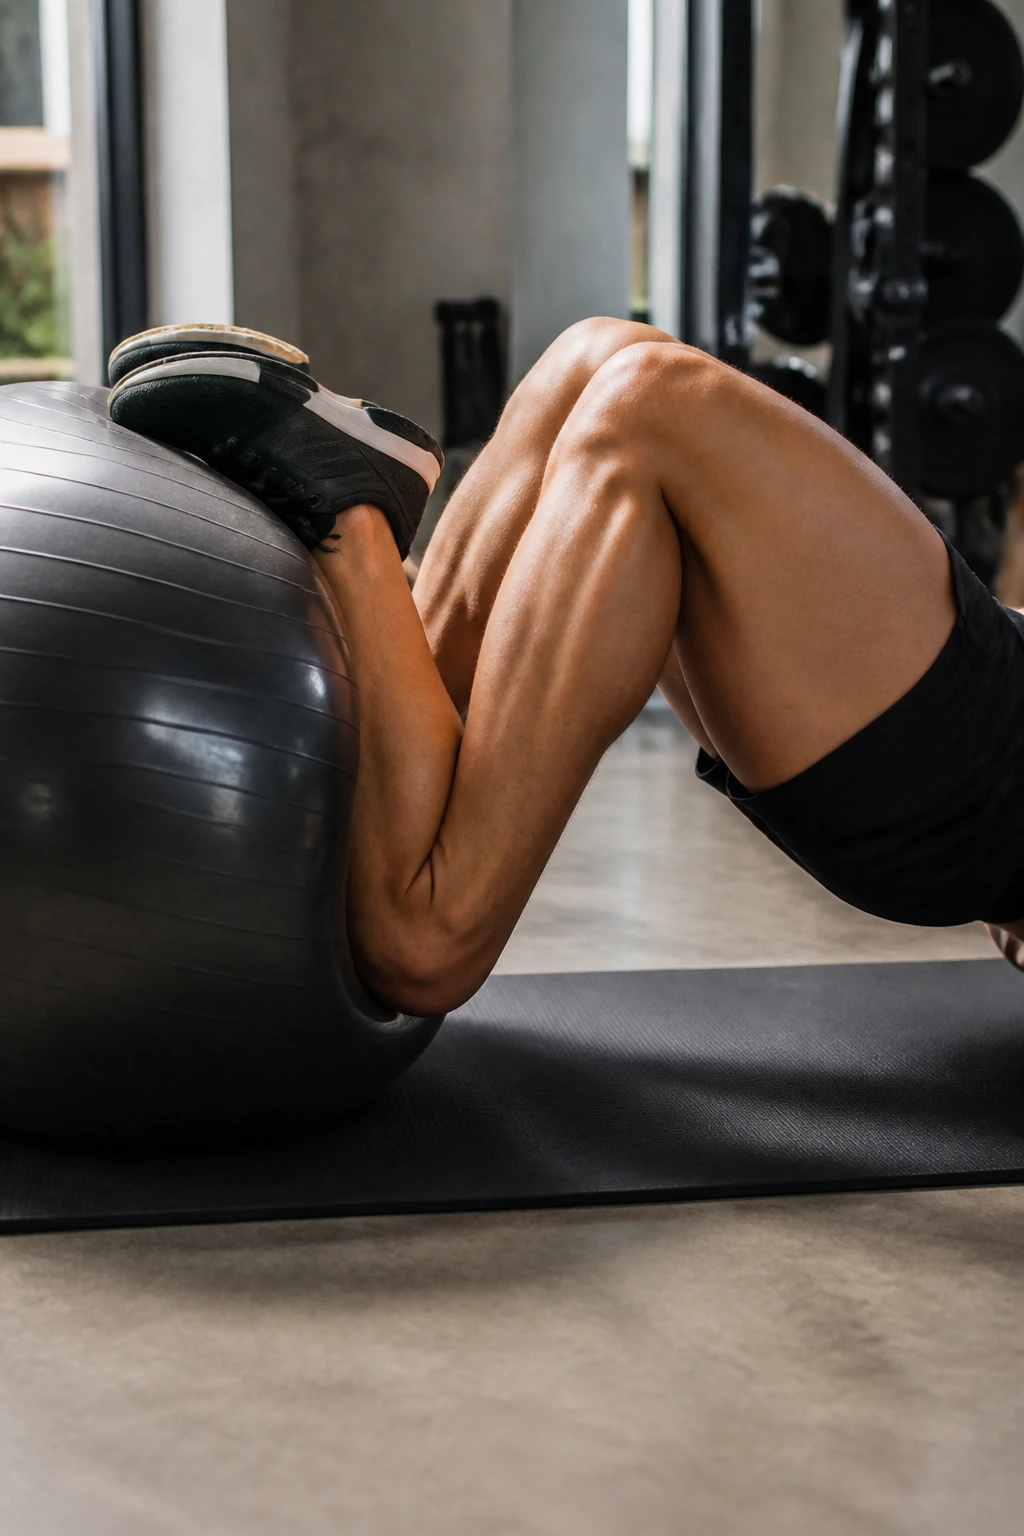
If you want to keep your quads strong but need to avoid the compression of squats, you must strengthen the opposing muscle group: the hamstrings. Hamstring curls, whether performed on a machine or using a stability ball, are perfect for this. They allow for heavy isolation without any load passing through the knee joint.
Stability Ball Variation
If you do not have a gym machine, use a stability ball. Lie on your back with your heels on the ball and lift your hips. Curl your heels toward your glutes, rolling the ball in, then extend back out. This requires serious core stability, which is a fantastic bonus.
Machine Curls
Use the seated or lying leg curl machine, but focus on the eccentric (lowering) phase. Take three seconds to lower the weight back to the start. The slowing down of the movement is where the muscle fibers get the most work, leading to better strength gains without the need to lift excessively heavy loads that might aggravate other issues.
6. Side-Lying Leg Raises
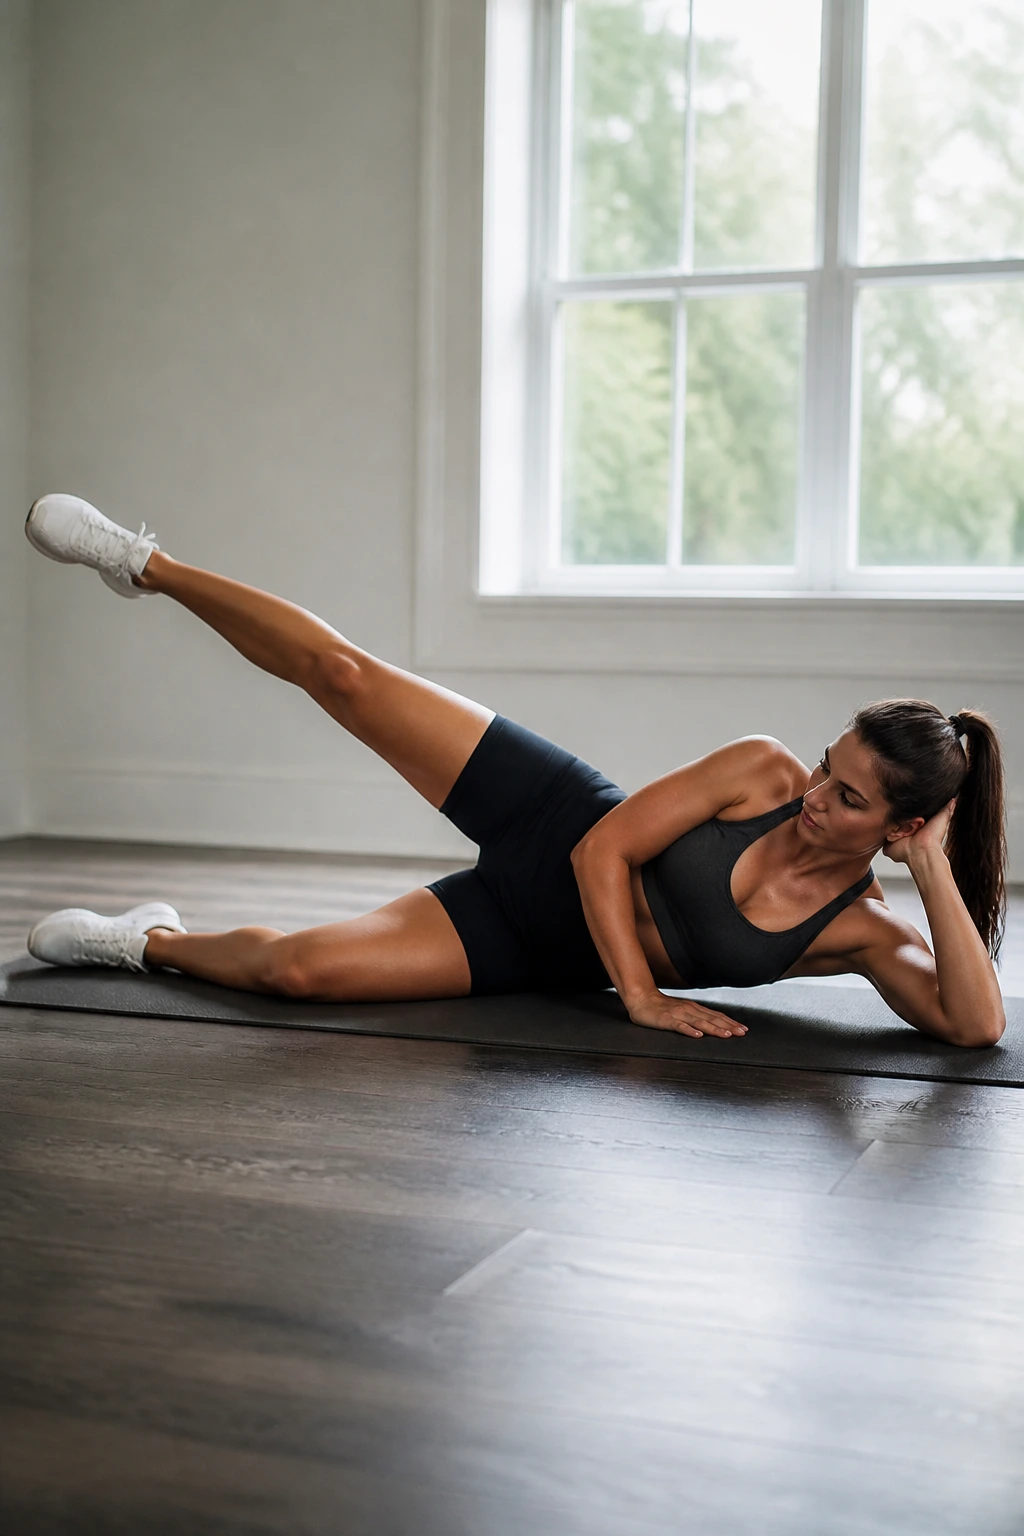
This exercise is all about hip abduction. It targets the muscles that control lateral stability, which are frequently neglected. By working the hip abductors, you take a significant amount of stress off the knee because your leg becomes better at tracking straight during other activities.
Performance Cues
Lie on your side with both legs straight. Lift your top leg toward the ceiling, keeping your toe pointed forward (or slightly down). If you point your toe up, you engage the hip flexors too much. Keep it neutral. You should feel this in the meaty part of your side hip.
Why It Matters
This is a low-impact exercise that you can do anywhere, even on bad pain days. It is not about building massive volume; it is about building the endurance of the small stabilizers around the hip. A stable hip equals a happy knee. It is as simple as that.
7. Kettlebell Swings
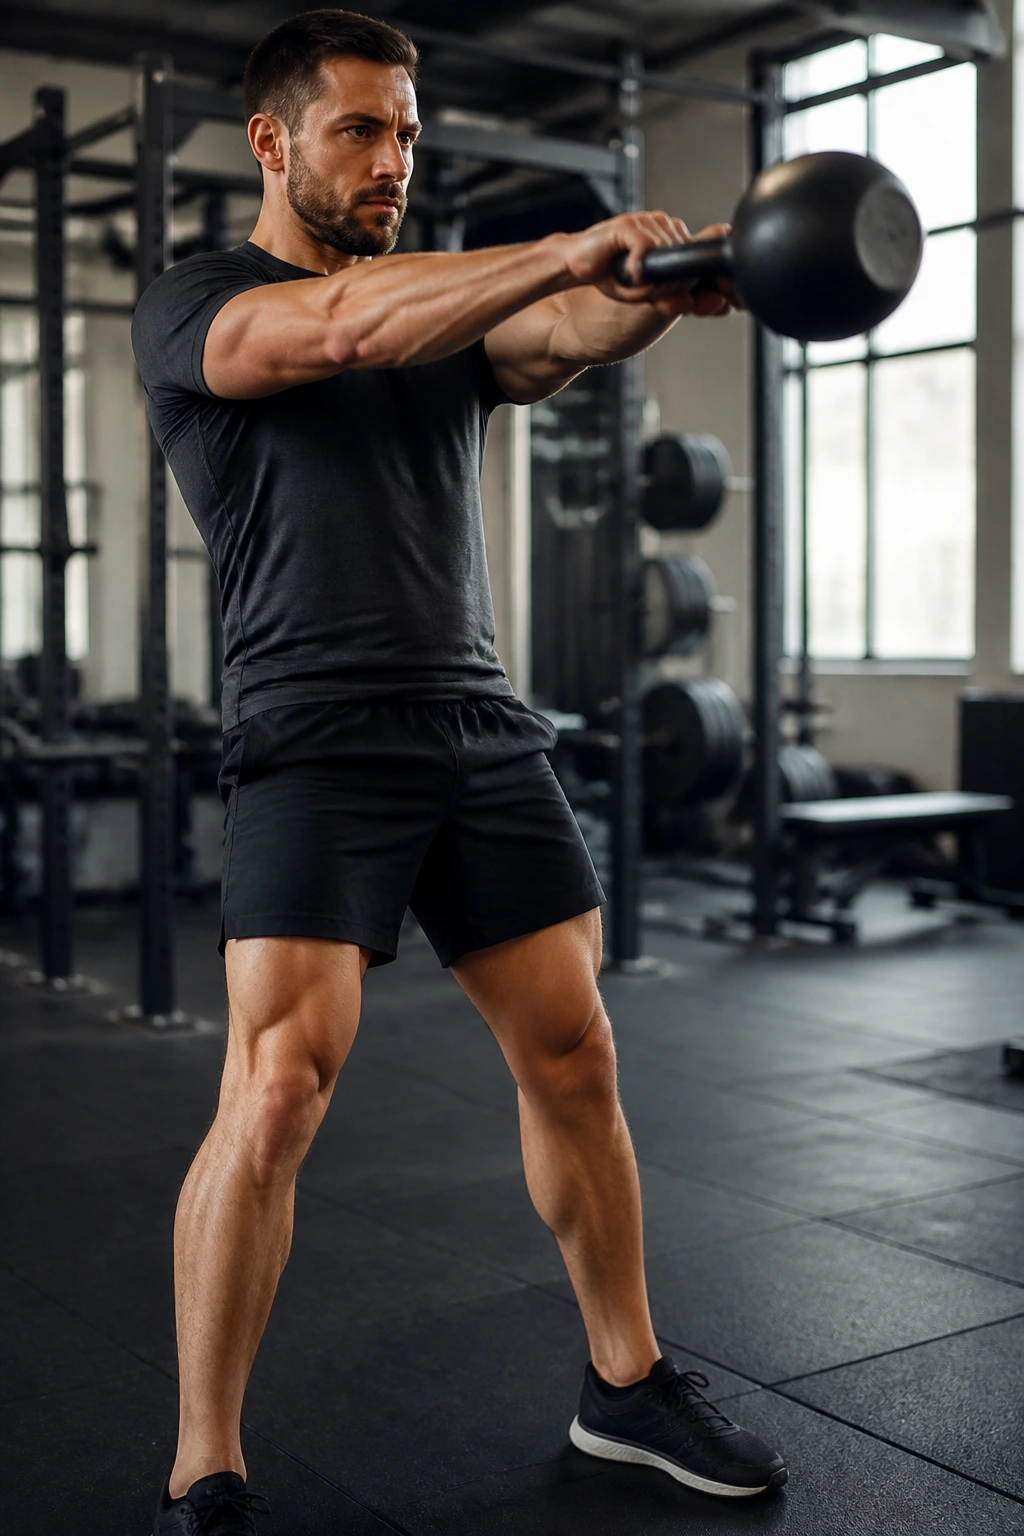
The kettlebell swing is a full-body ballistic movement that focuses on the posterior chain. It is essentially a high-speed hinge. Because you are propelling the bell with your hips and glutes, your legs provide the power, but your knees serve as a pivot point, not the primary load-bearing joint.
Managing the Arc
The key is to keep the arc of the swing tight and close to your body. Do not let the bell pull you forward. If you feel this in your lower back or your knees, you are likely squatting the swing rather than hinging it. Snap your hips forward aggressively to move the weight.
The Benefit
This movement builds explosive power and works the entire back of the legs. It effectively replaces the cardiovascular and muscular demand of heavy squats without the knee compression of a deep, slow descent. It is high intensity but relatively low joint impact when done with correct form.
8. Cable Pull-Throughs
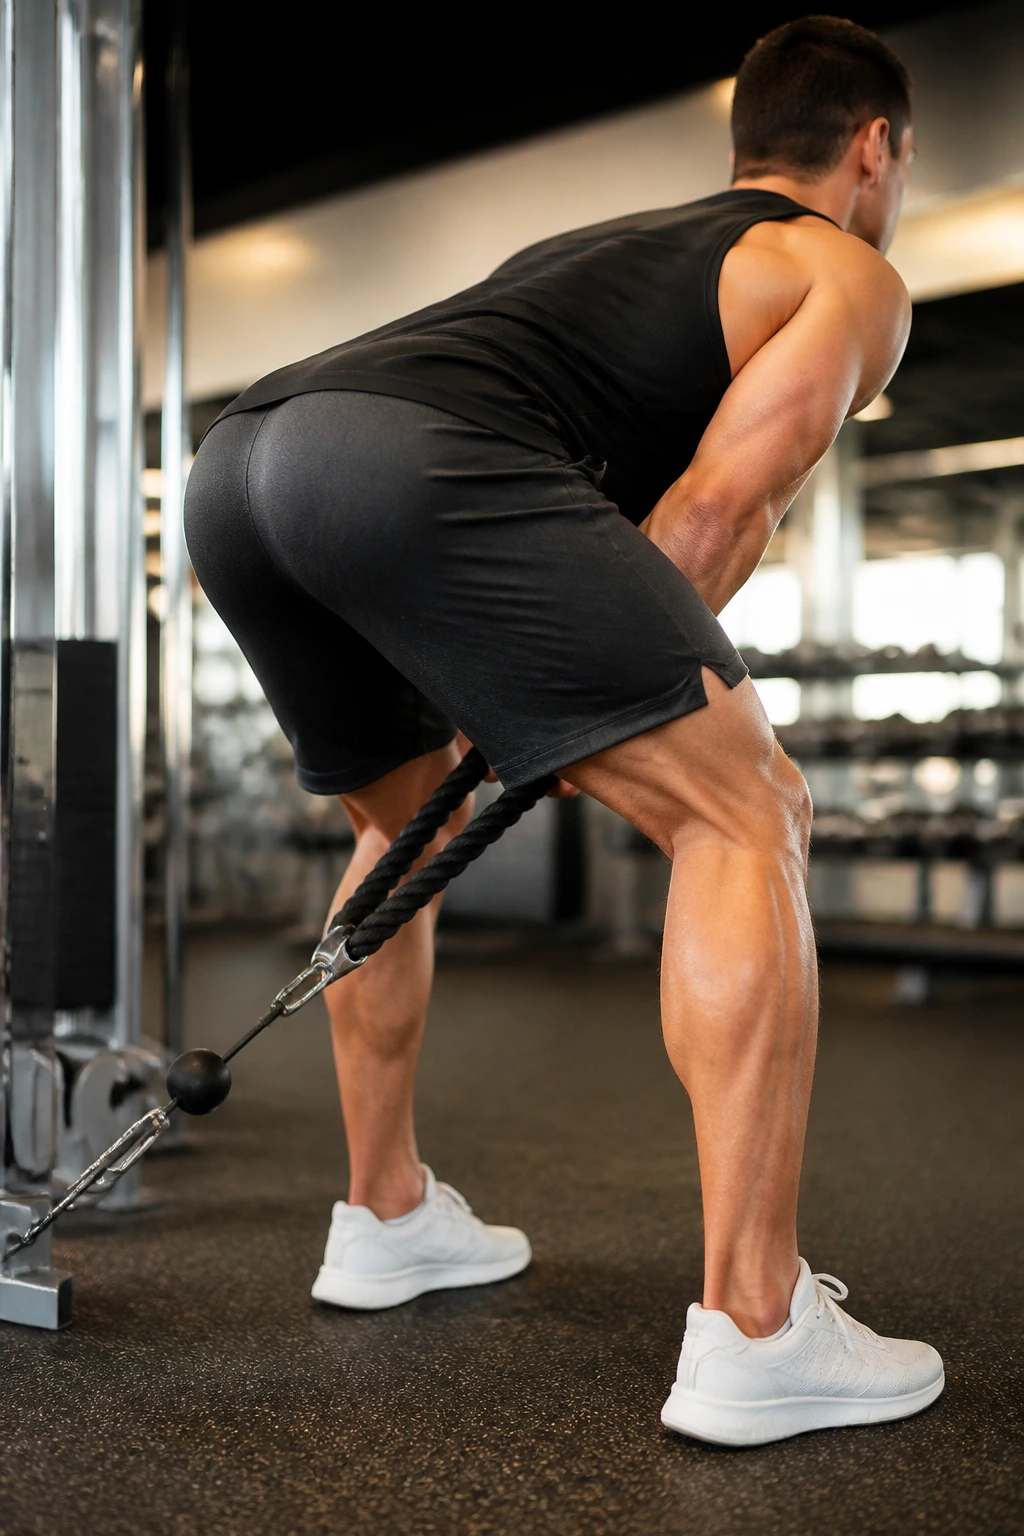
If you are intimidated by deadlifts or RDLs, the cable pull-through is your best friend. You stand facing away from a cable column, pull the rope attachment through your legs, and hinge forward. It forces you to push your hips back, perfectly mimicking the RDL pattern with constant, smooth tension.
Why It’s Unique
The constant tension from the cable machine is different from a dumbbell or barbell, which has a changing resistance curve. The cable maintains steady tension throughout the entire range of motion, which is excellent for hypertrophy (muscle growth) and safer for joints because there are no jerky transitions.
Setup
Set the pulley at the lowest position. Grab the rope, take a few steps forward, and hinge. If you lose your balance, just take a slightly wider stance. This exercise is one of the best for teaching the “hinge” movement pattern to beginners.
9. Bird-Dog
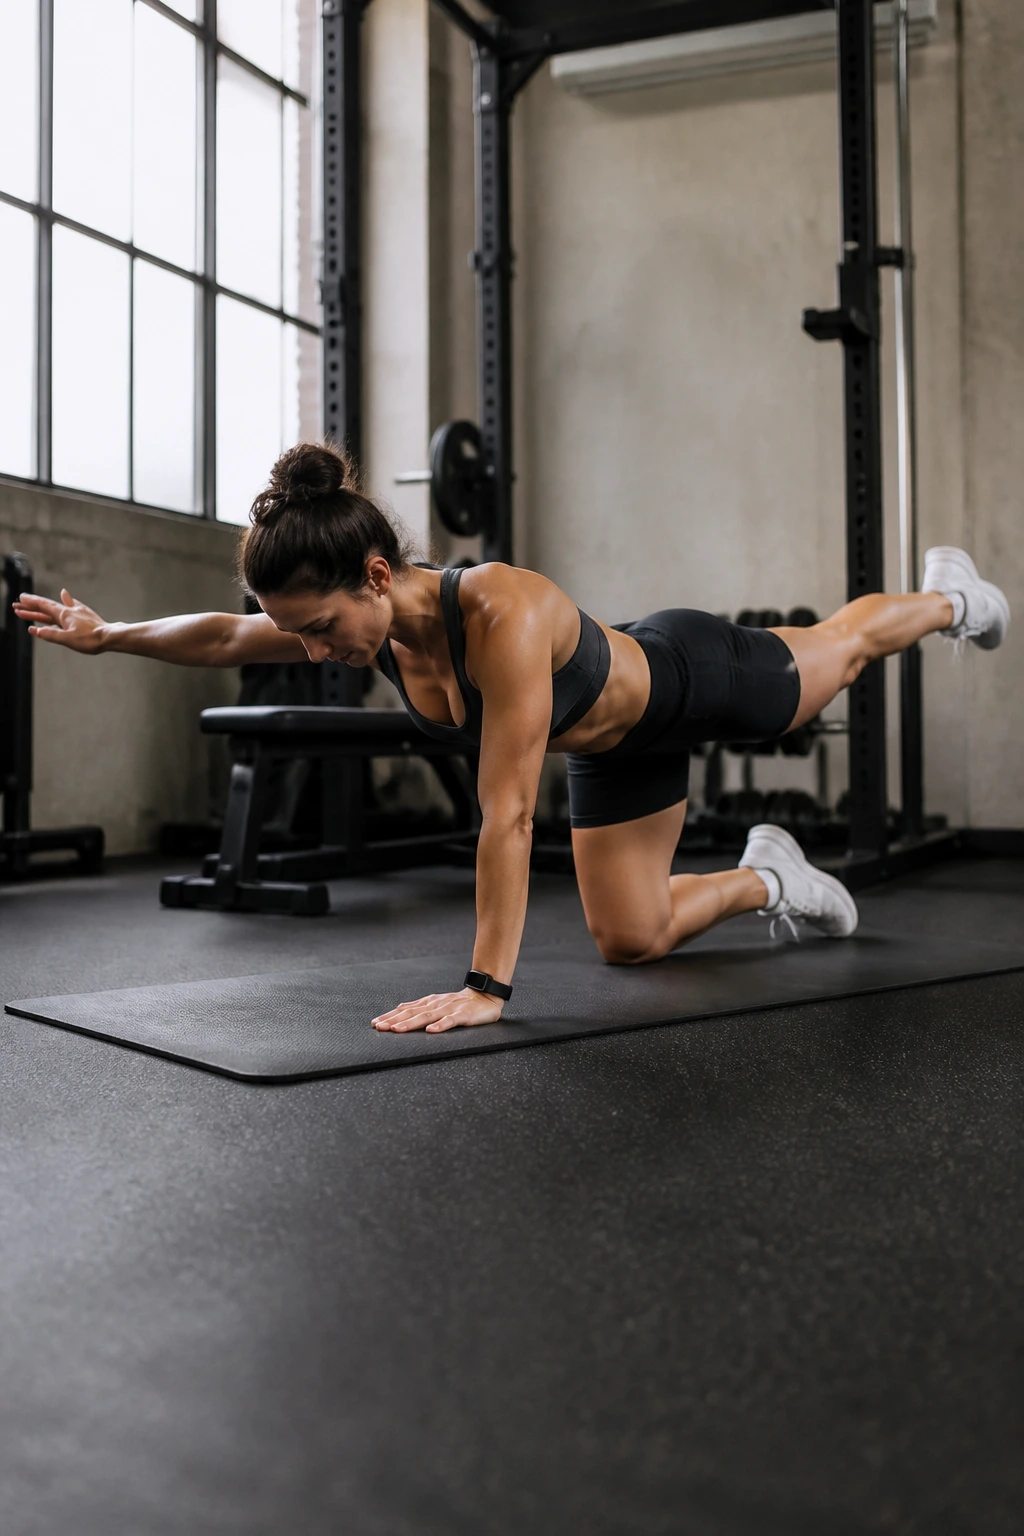
We often forget that knee stability relies on a strong core. The bird-dog is a foundational movement that teaches you how to extend your arm and leg while maintaining a neutral spine. It requires zero equipment and is incredibly safe for the knees.
Precision is Key
Get on all fours. Extend your opposite arm and opposite leg simultaneously. The goal is not to reach as high as possible—it is to reach as straight as possible without your hips tilting. If your hips tilt, your core has disengaged.
The Knee Benefit
By training your core to stabilize your pelvis, you improve the way you move during every other exercise. When your pelvis is stable, your femurs track better, which means your knees track better. It is a subtle fix, but it makes a massive difference in long-term joint health.
10. Donkey Kicks
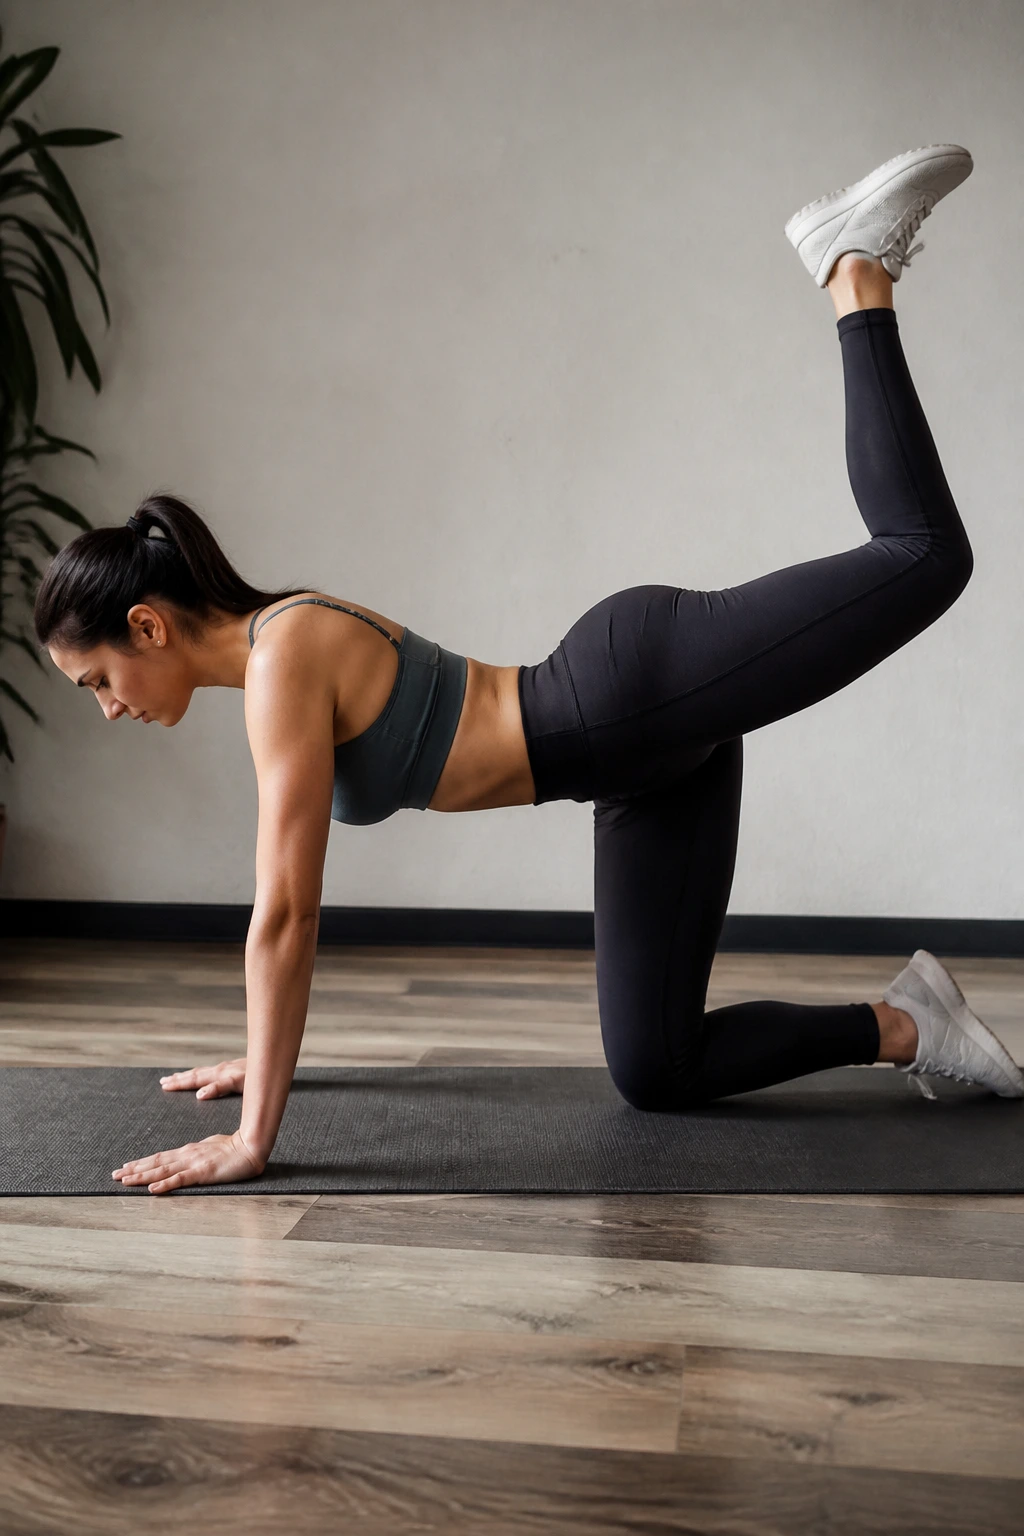
Donkey kicks are a direct, focused glute isolation movement. You start on all fours and kick one leg straight back toward the ceiling, keeping your knee bent at 90 degrees. It is essentially a glute bridge, but done from an all-fours position, which changes the angle of pull.
Squeeze at the Top
The magic of this exercise is the contraction at the peak. Pause for one second at the top of the movement and force your glute to squeeze. You do not need heavy weight to get a benefit; doing sets of 15 to 20 with a slow, controlled cadence will light your glutes on fire.
Versatility
You can easily add resistance by tucking a dumbbell behind your knee or using a cable attachment around your ankle. This flexibility allows you to progress the movement without ever having to put your knees under a barbell or a heavy squat rack.
11. Nordic Curls
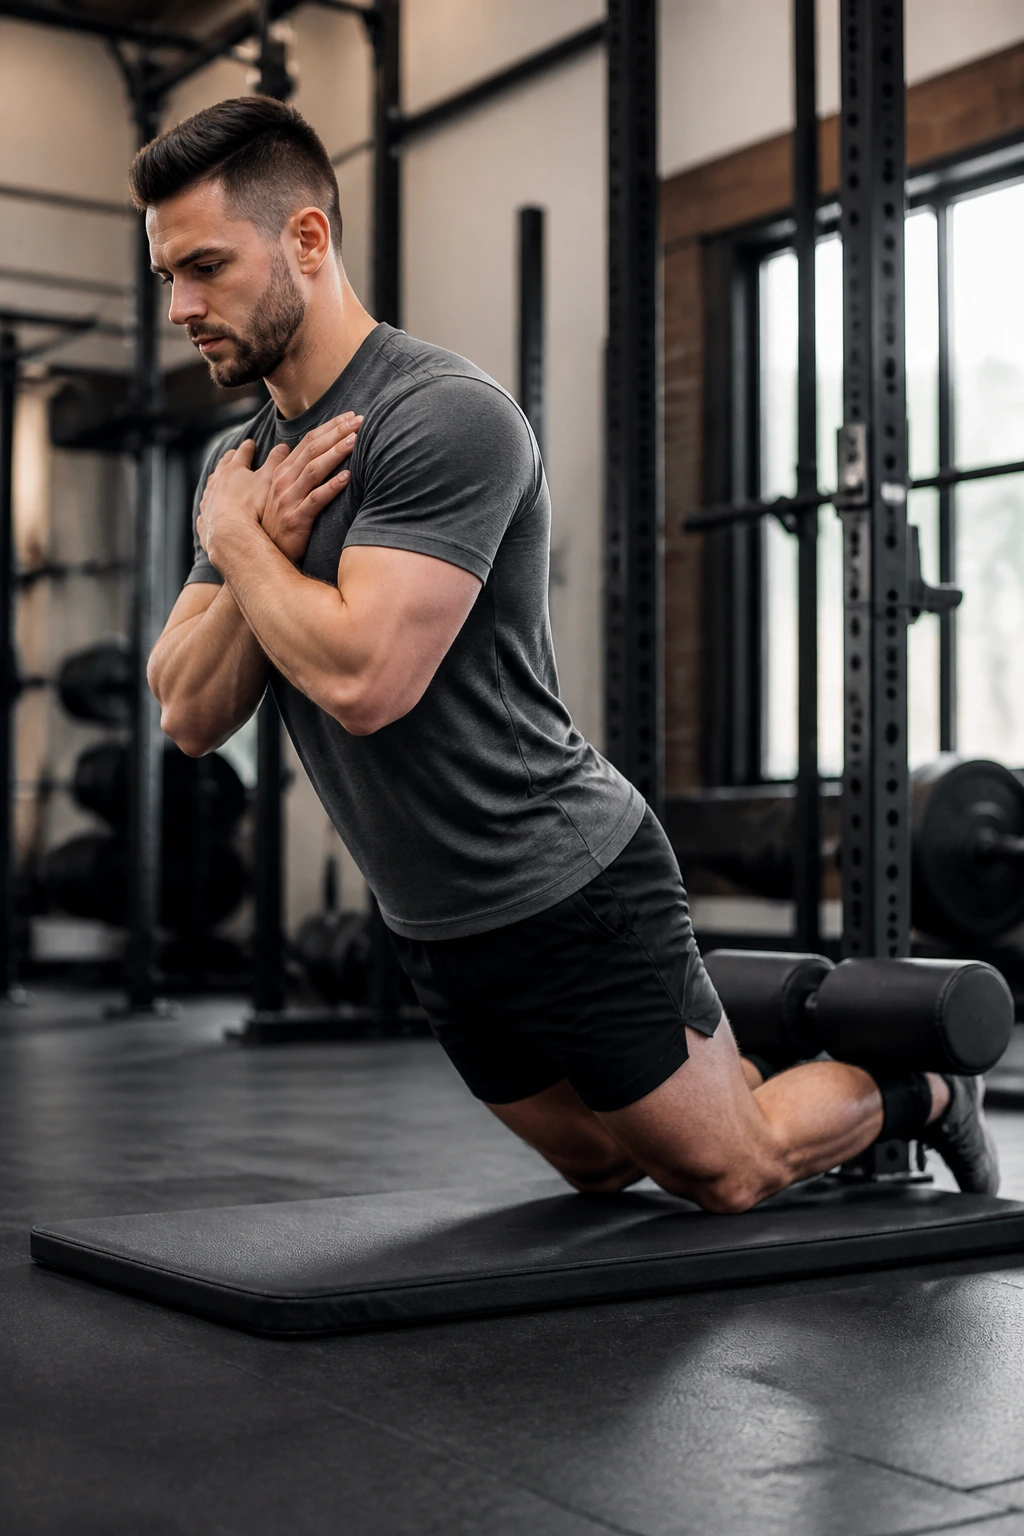
Nordic curls are the gold standard for hamstring strength. You kneel on a pad, anchor your feet, and lower your torso toward the ground using only your hamstrings to resist gravity. It is brutal, but it is one of the most effective ways to bulletproof the area around your knee.
The Eccentric Advantage
Most knee injuries happen during the eccentric phase of movement—the slowing down. Nordic curls build immense eccentric strength in the hamstrings, which acts as a protective shield for the knee joint. If you cannot do a full rep, just focus on lowering yourself as slowly as possible before using your hands to push back up.
Safety Note
Ensure your knees are well-padded. Because you are kneeling, the pressure on the patella can be intense if the floor is hard. Use a thick mat or a rolled-up towel to ensure you are focusing on the muscle burn, not the pain of the floor digging into your joints.
12. Stability Ball Wall Slides
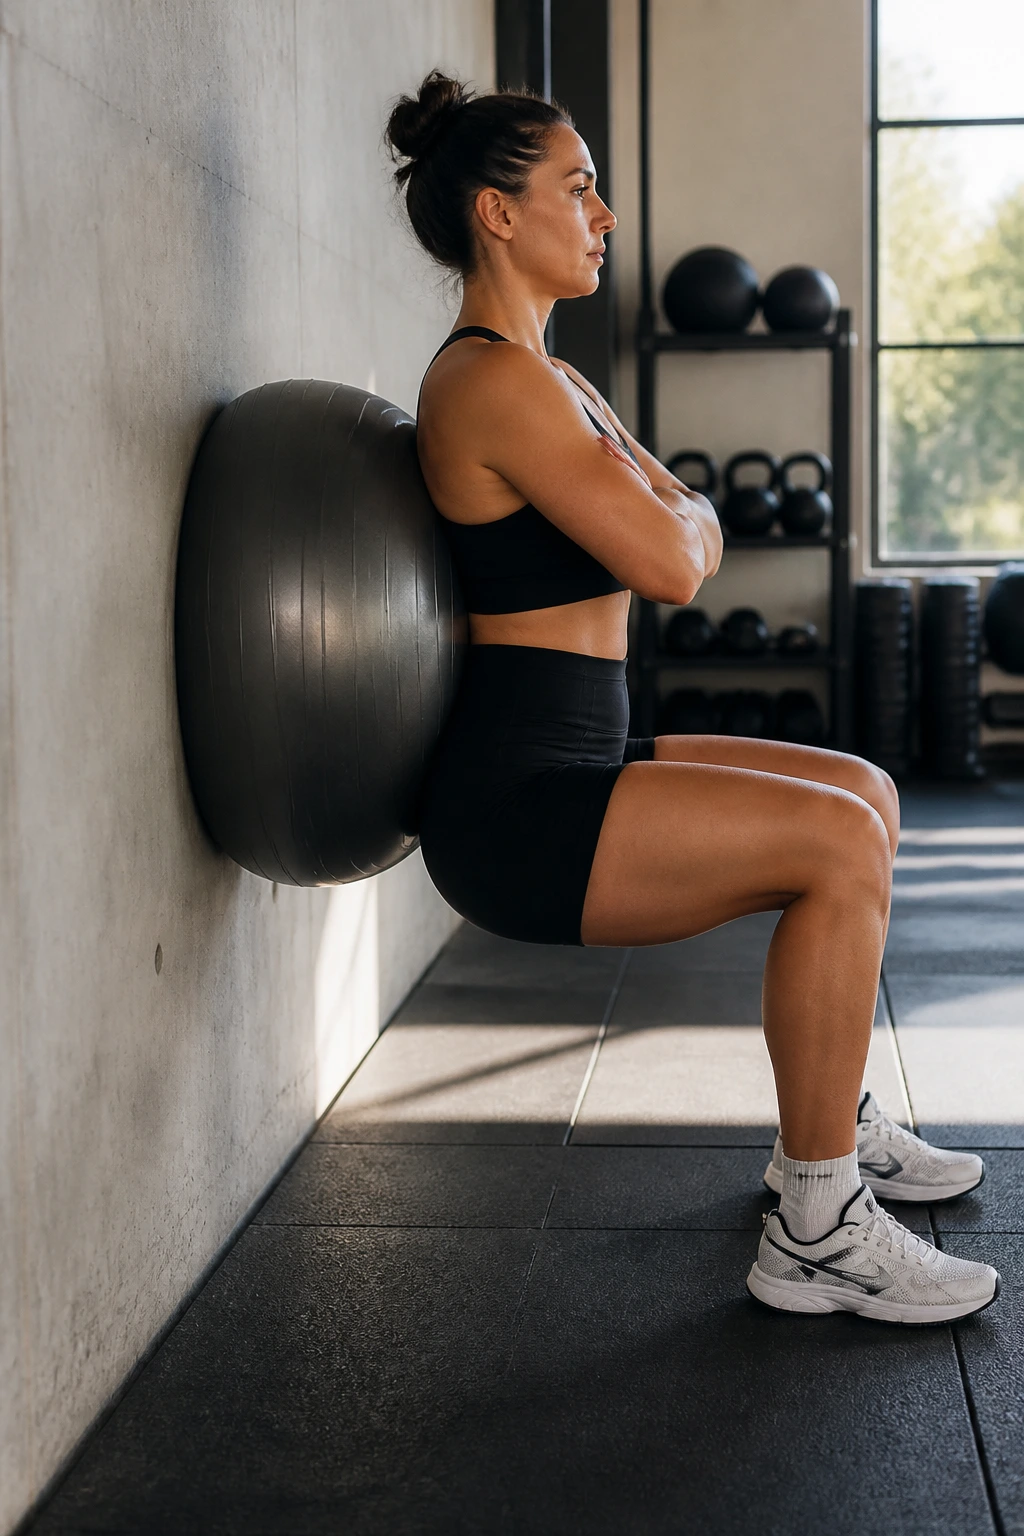
These look like squats, but they are not. You place a stability ball between your lower back and a wall, then perform a squatting motion while the ball rolls against the wall. The ball supports your back and dictates the path of movement, which takes almost all the guesswork out of the exercise.
Why They Feel Better
The ball essentially takes a portion of the load off your knees. Because the ball is pushing you forward slightly, your center of gravity changes, allowing your shins to stay more vertical than they would in a free-standing squat. It feels like a squat, but it is a “cheat” that spares your joints.
How to Progress
Start with a lighter range of motion. You do not need to go down until your thighs are parallel to the floor. Go as low as you can comfortably, pause, and return. Over time, you will find you can increase the depth as your tissues adapt to the movement.
13. Leg Press (With High Foot Placement)
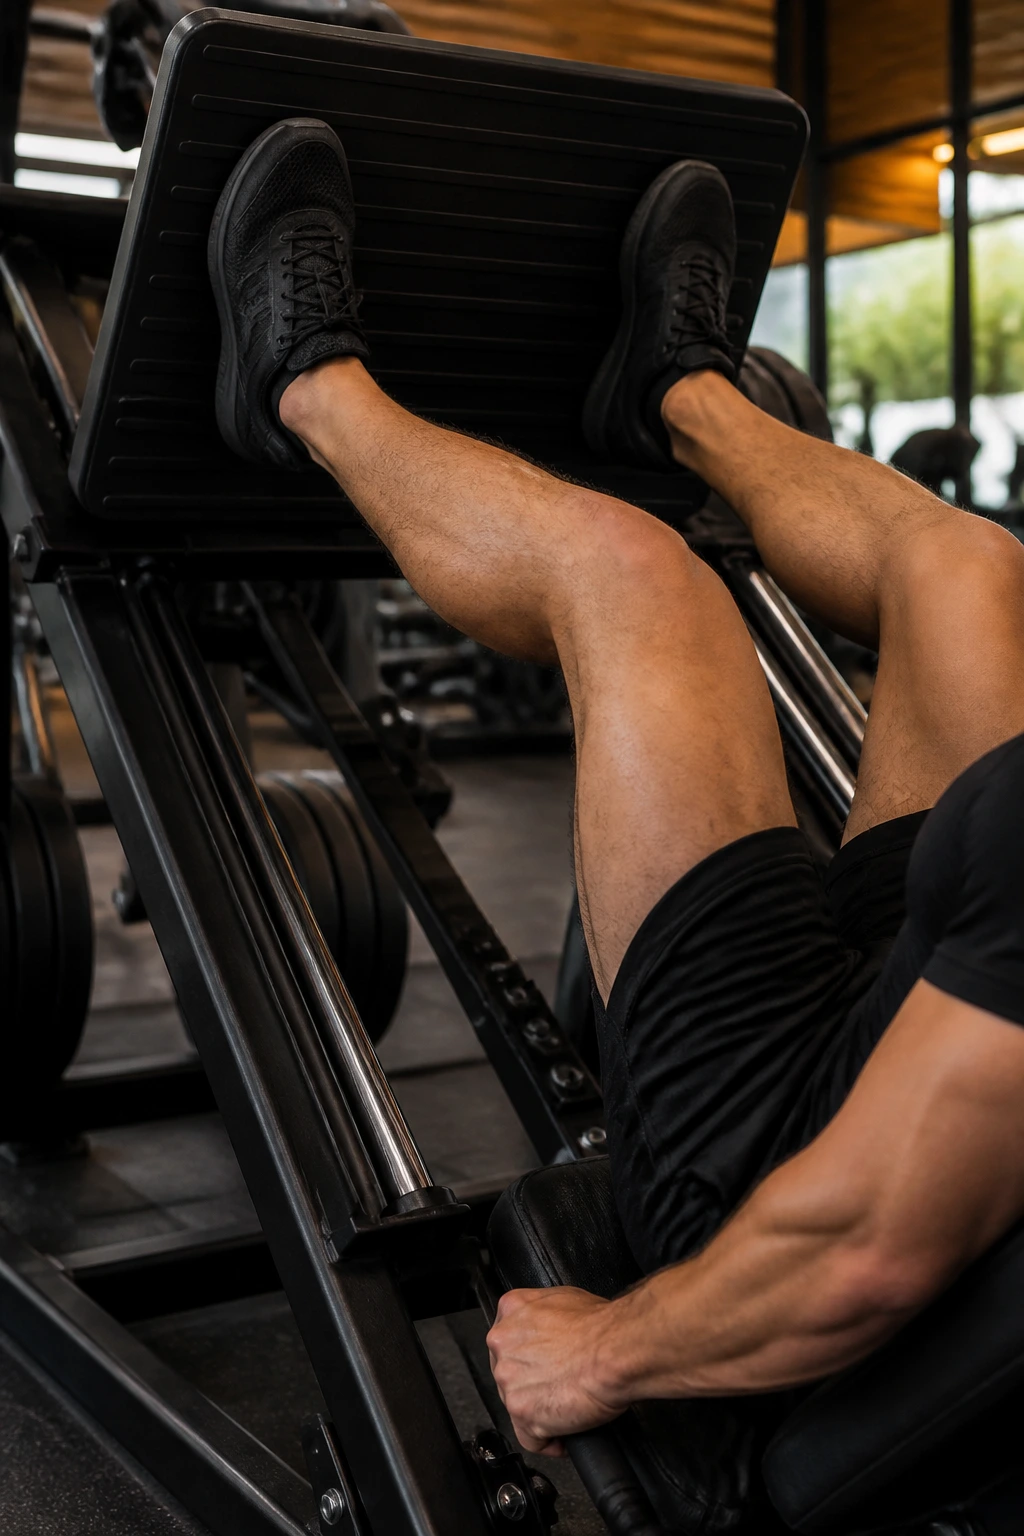
The leg press is often demonized, but it is a fantastic tool if you use it correctly. The mistake most people make is putting their feet too low on the platform, which forces the knees to travel way over the toes and increases shear force.
The Adjustment
Move your feet higher on the platform. This higher foot position forces more hip flexion and less knee flexion, shifting the emphasis from the quads to the glutes and hamstrings. It allows you to move significant weight without the joint pain of a traditional squat.
Warning
Do not lock your knees at the top. Stop just before full extension to keep the tension on the muscles and off the joint capsule. Control the descent—do not let the weight slam down. A slow 3-second negative is where the muscle growth happens.
14. Single-Leg RDLs
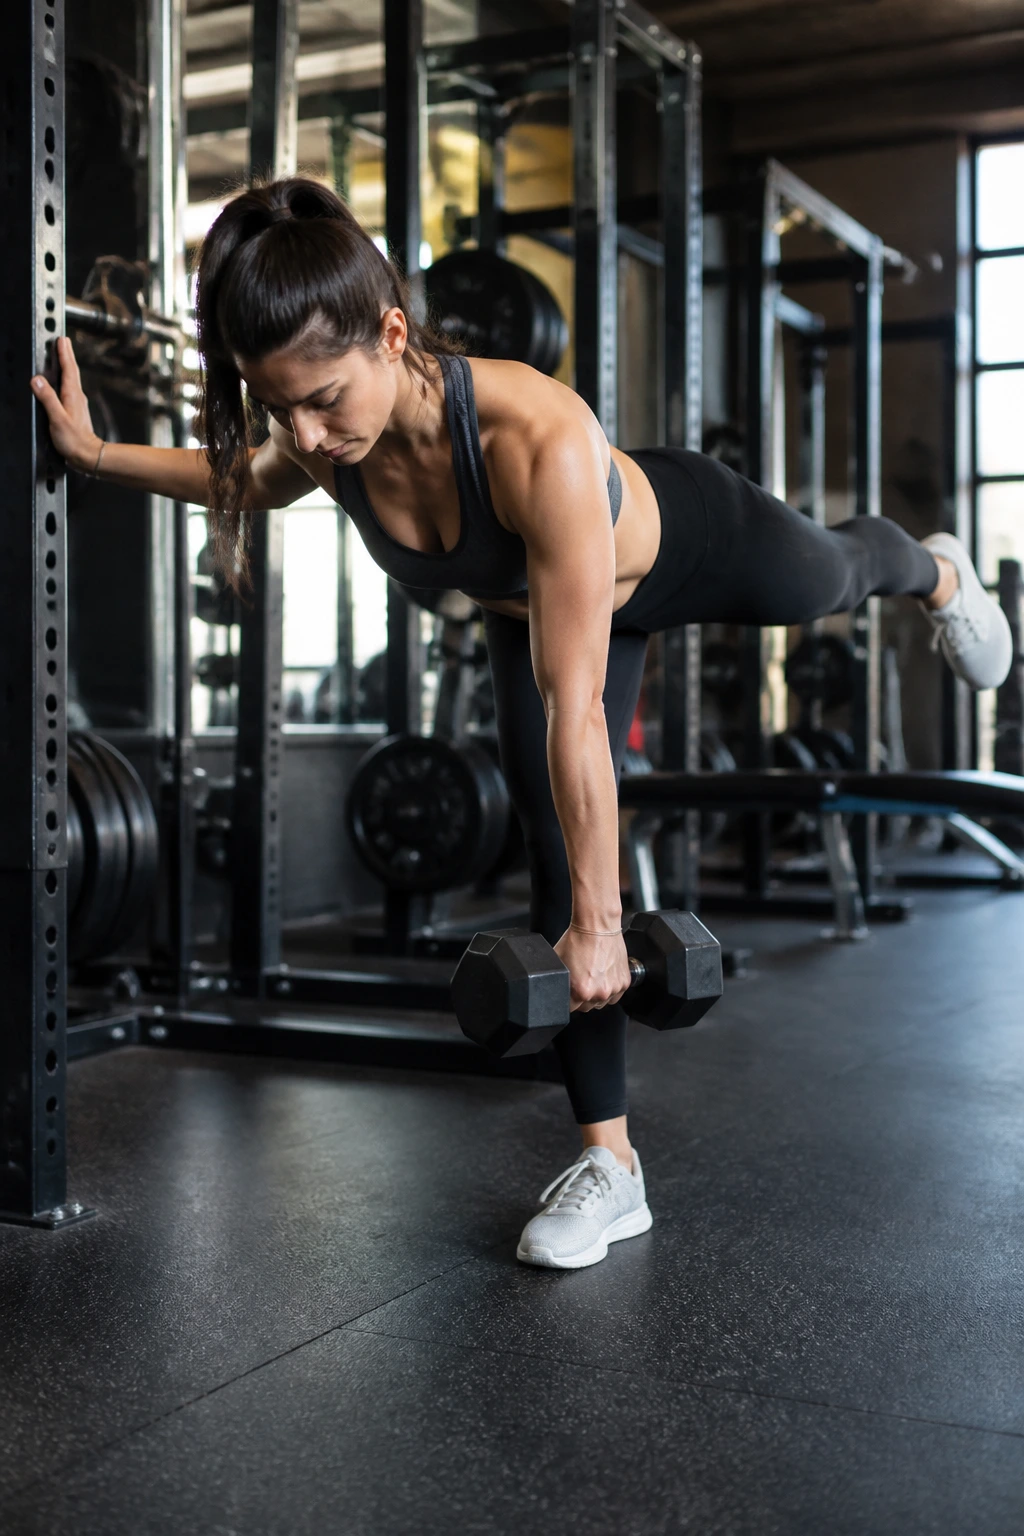
If you want to test your balance and build unilateral strength, the single-leg RDL is the answer. By lifting one leg, you force the stabilizing leg to work harder to maintain balance, while simultaneously building massive strength in the posterior chain.
Why It’s Safer
Because the load is lighter (you are balancing, so you cannot use massive weight), the total force through the knee joint is significantly lower than a heavy barbell squat. It is a self-limiting exercise—if your form breaks down, you will lose your balance, which forces you to stop and correct before you get injured.
Balance Hack
If you struggle with balance, perform this while holding onto a rack or a wall with one hand. You still get the full hip-hinge benefit without the frustration of falling over every two seconds. Use the wall for stability, not for leaning.
15. Sumo Deadlifts
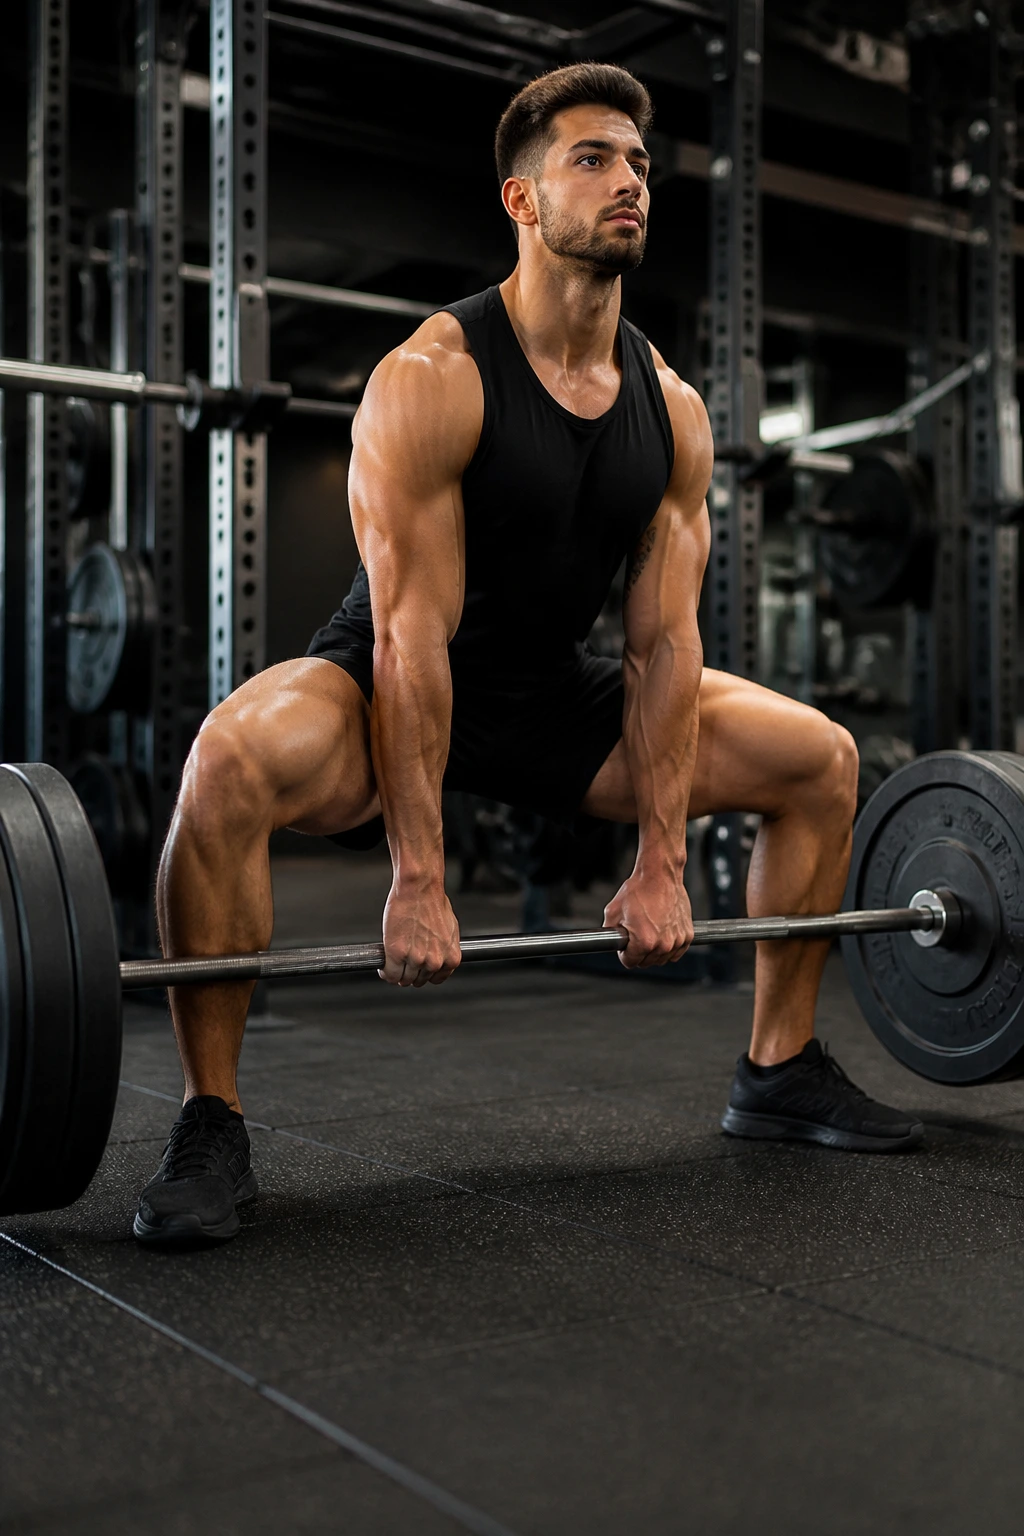
The sumo stance involves a much wider foot placement and a more upright torso than a conventional deadlift. This width allows you to sit your hips lower and keep your shins more vertical, which effectively shortens the lever arm on the knee.
The Mechanics
Because your hips are closer to the bar, you are lifting with more leg drive and less lower back engagement. The wide stance recruits the adductors (inner thighs) and glutes more heavily. This is the preferred style for many lifters with long femurs who find traditional squats or deadlifts mechanically punishing.
Pro Tip
Focus on “spreading the floor” with your feet. Imagine you are trying to rip the floor apart between your heels. This cue engages the glutes immediately and prevents the knees from drifting inward, which is the most common error in a wide-stance lift.
16. Donkey Calf Raises
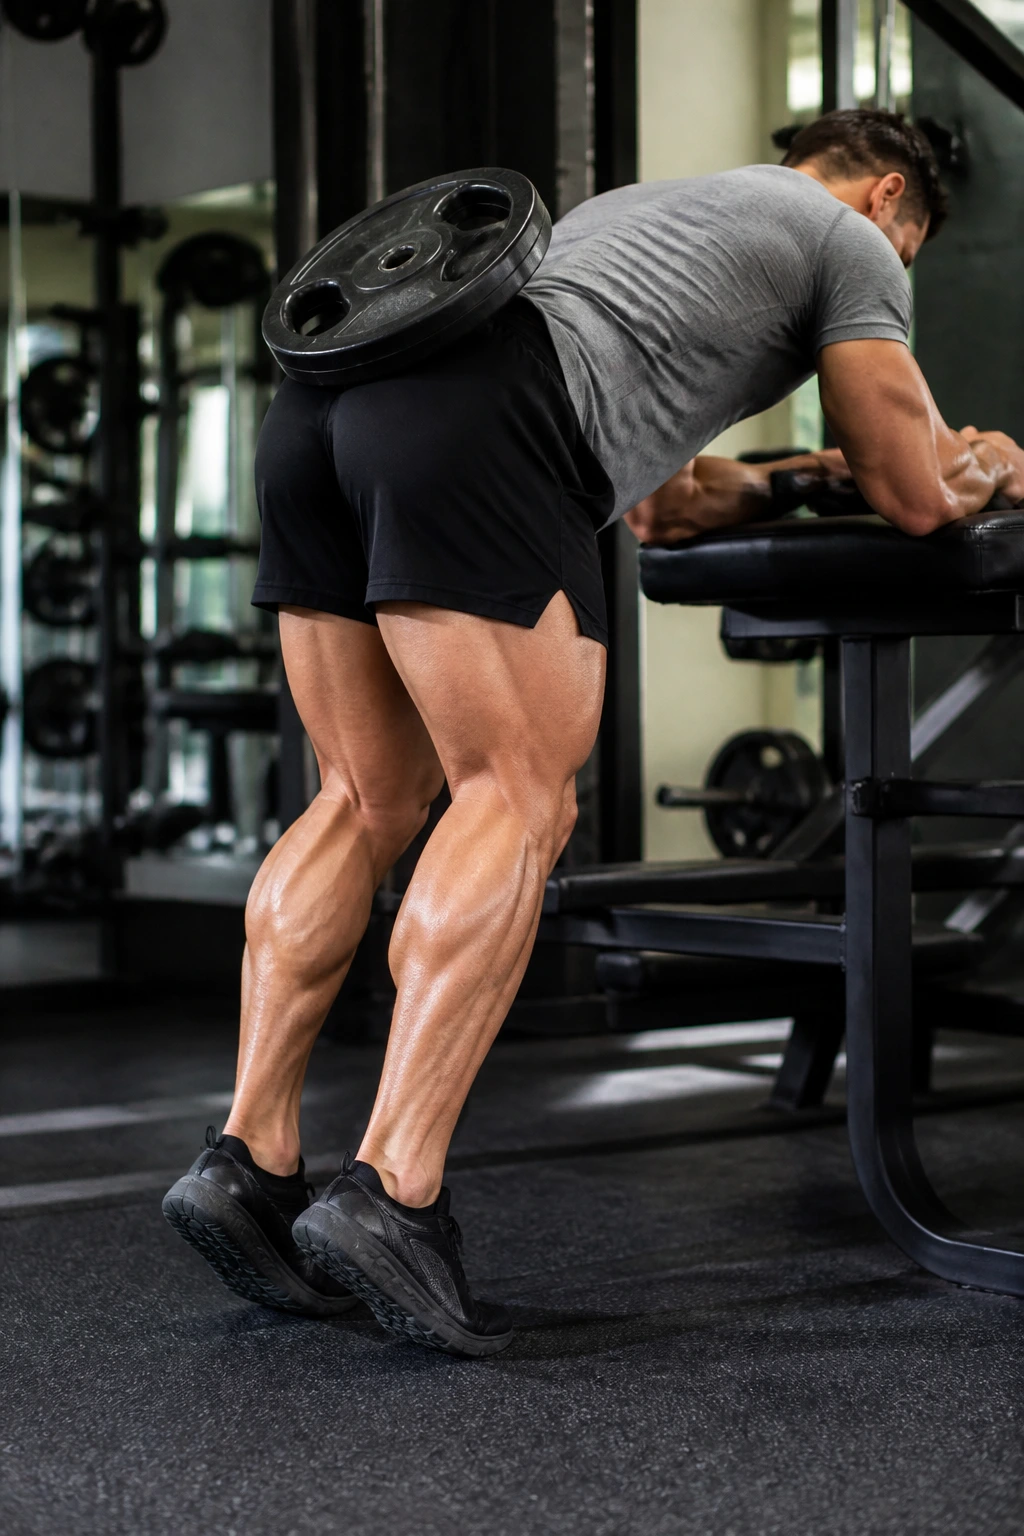
Lower leg training is often ignored, but strong calves and ankles contribute to overall leg stability. The donkey calf raise is a classic, old-school move that hits the gastrocnemius (the upper calf muscle) without requiring you to stand under a heavy load.
Why Not Standing Raises?
Standing calf raises require you to bear weight on your knees for the entire duration of the set. Donkey calf raises are typically done leaning over a bench or a machine, so the weight is pulling on your hips/back, not compressing your spine and knees.
Technique
Keep your legs straight (not locked) throughout the movement. Focus on the stretch at the bottom and the squeeze at the top. Because this targets the upper calf, it helps with knee stability and athletic explosive power.
17. Fire Hydrants
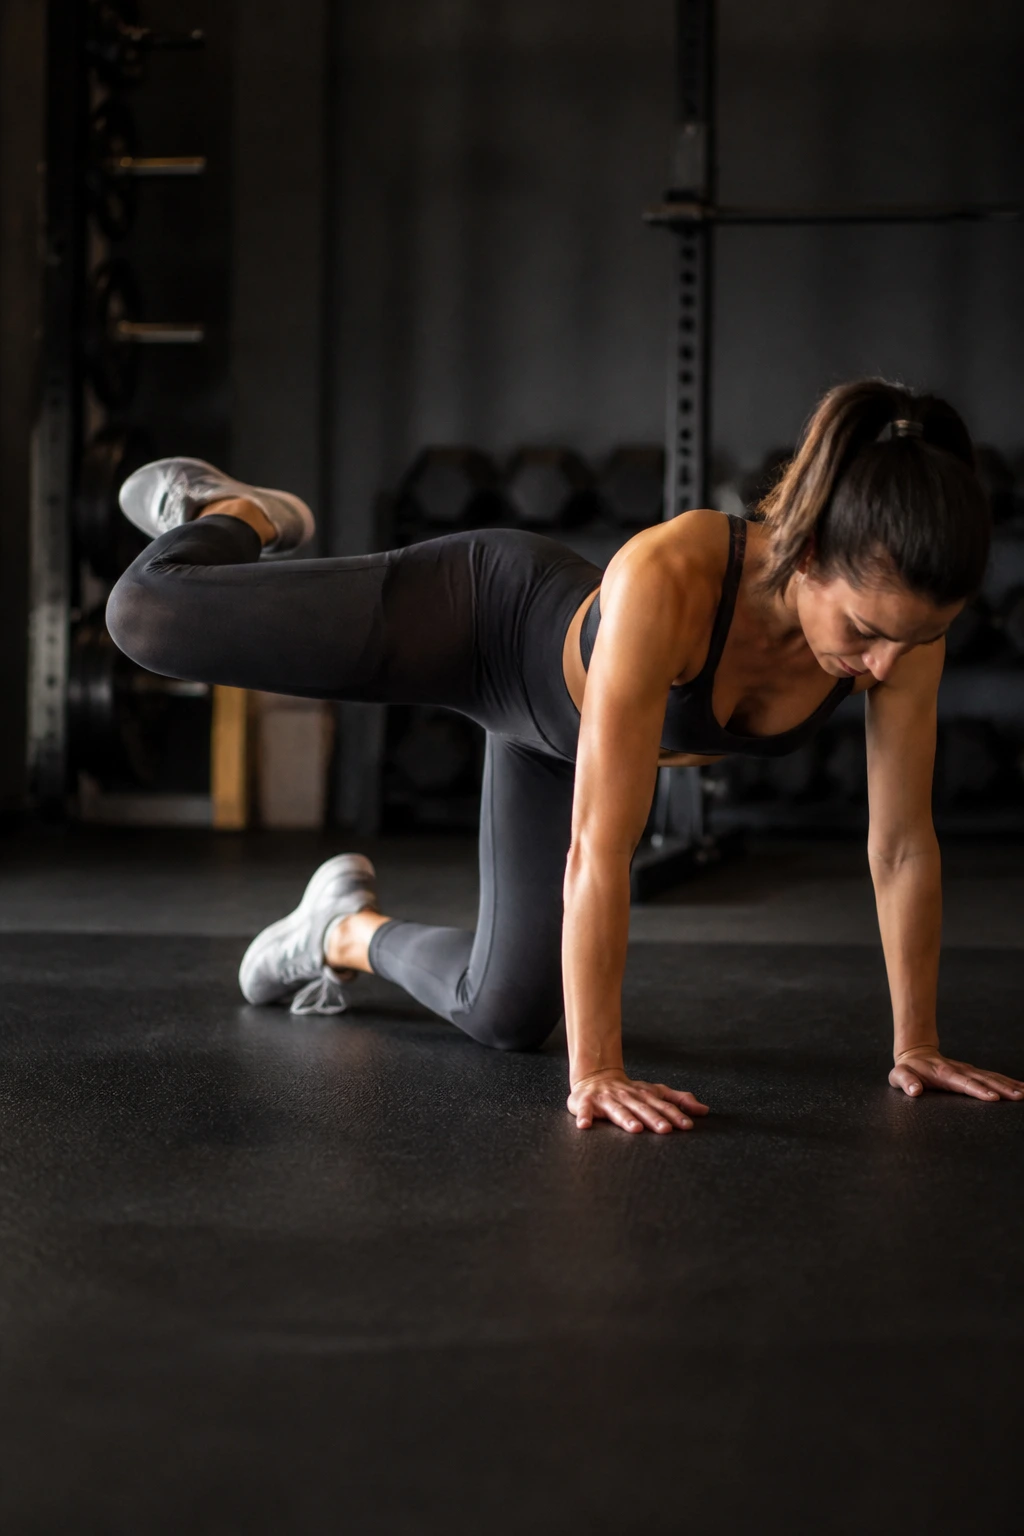
This is a small-range, high-burn movement that hits the hip abductors and rotators. It looks like a dog at a fire hydrant—hence the name—but do not let the name fool you. It is highly effective for building the side of the glute, which is essential for preventing the knees from collapsing.
The Movement
Start on all fours. Keeping your knee bent at 90 degrees, lift your leg out to the side like you are opening a gate. Do not rotate your torso to get the leg higher; the movement should come strictly from the hip joint.
Why it Works
Most knee issues are actually hip issues. If the hip muscles are weak, the femur rotates internally, which puts torque on the knee. Fire hydrants force the hip to rotate externally and stay strong. It is simple, targeted rehab for the entire lower body.
18. Step-Ups (Low Box)
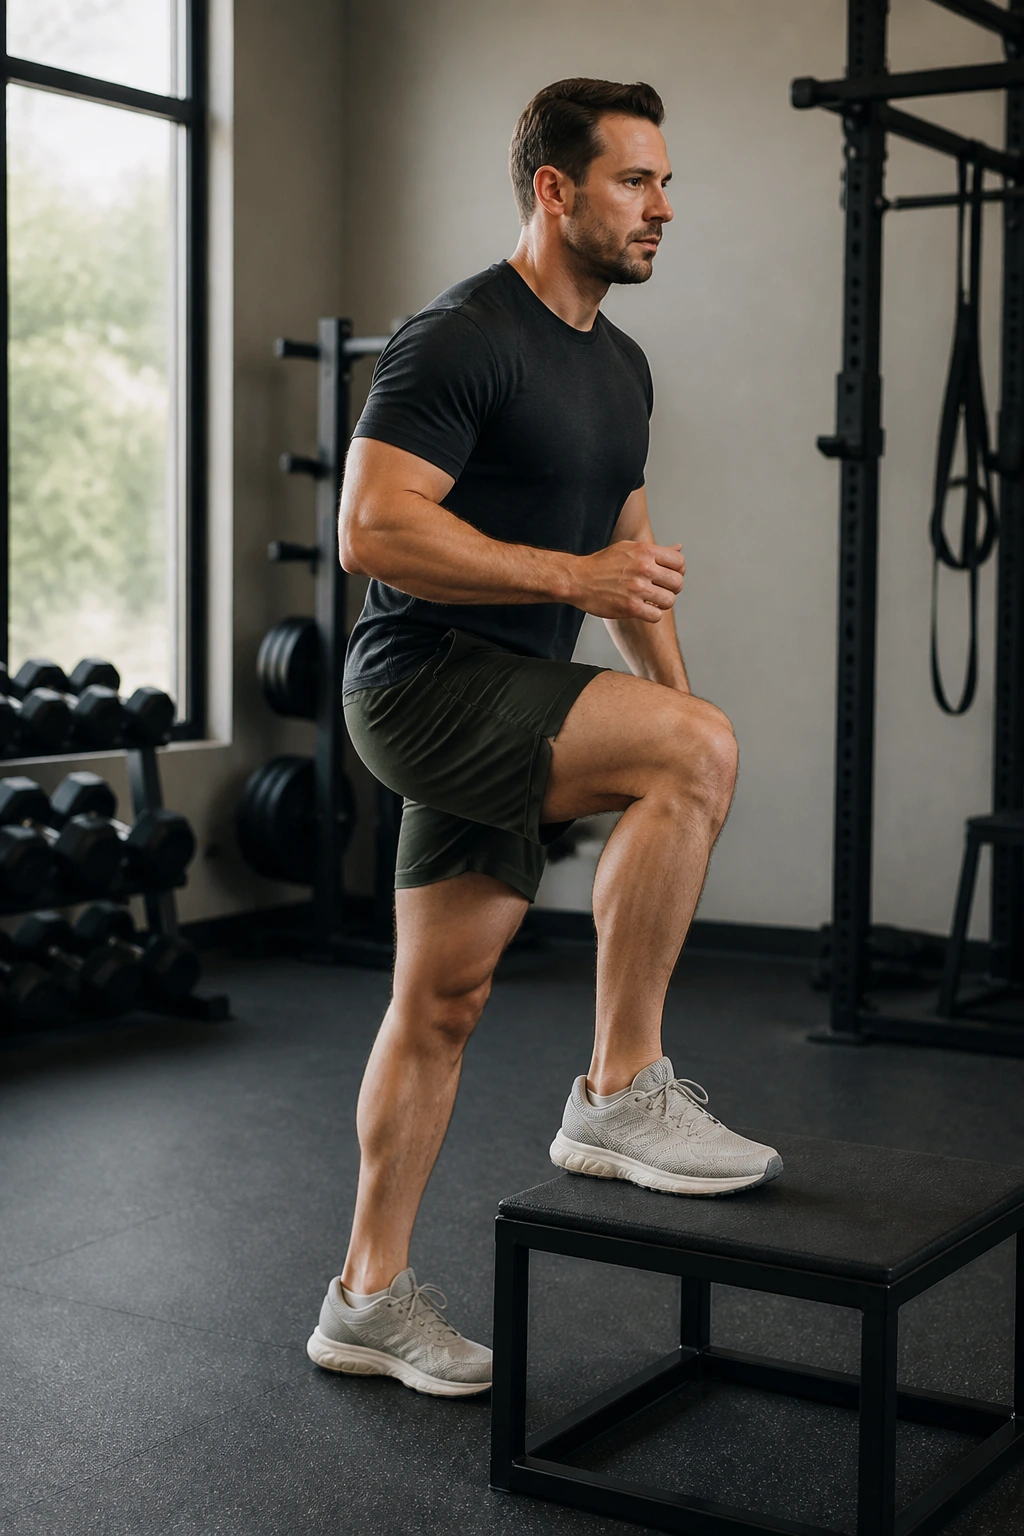
Step-ups are a great unilateral movement, but the box height matters. If you use a high box, you end up doing a deep, single-leg squat that can be torture for a bad knee. Use a low box—think mid-calf height or lower.
The Logic of the Low Box
A lower box keeps the knee angle more open, which reduces the sheer force on the joint. It is still a challenging movement, especially if you hold a light dumbbell, but it removes the knee-crunching depth of a high-step.
Control is Everything
Do not bounce. Press through the heel of the stepping leg, stand up, and control your descent back down. The lowering phase is where you build the stability. If you cannot do it without losing your balance or having your knee wobble, lower the box height even further.
19. Supine Leg Lifts
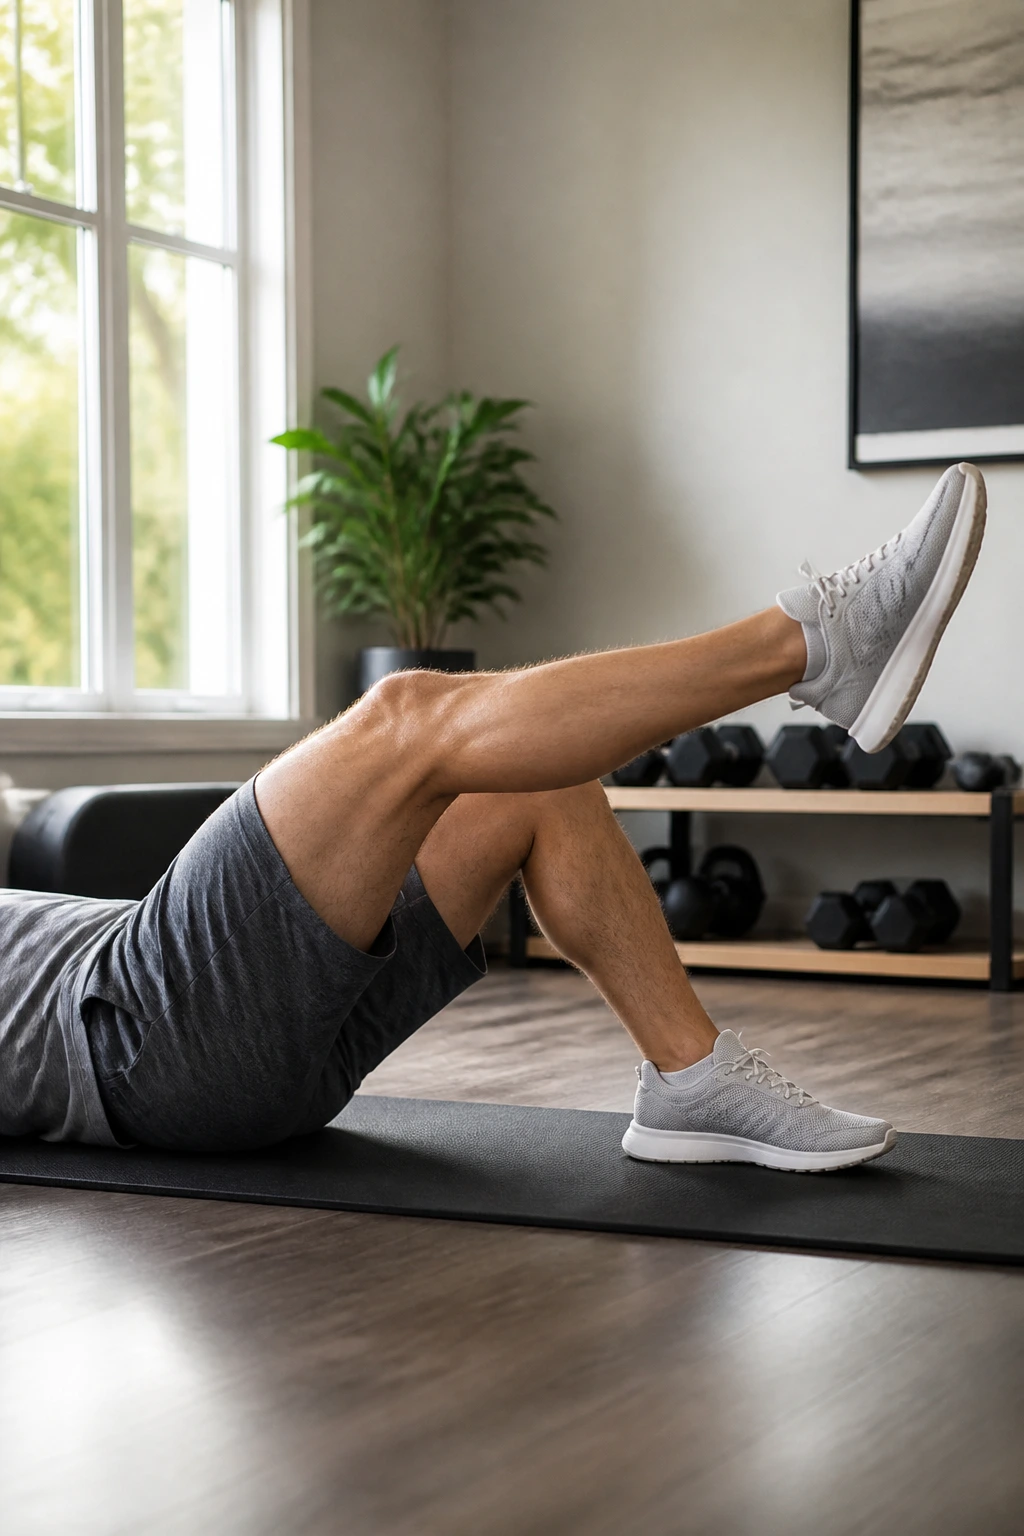
This is a straightforward, no-nonsense quad isolation exercise. Lie on your back, keep one leg bent (foot flat), and extend the other leg straight. Lift the straight leg up to the level of the bent knee, hold, and lower.
Why This is “Hidden” Gold
It is one of the safest ways to strengthen the quads. Because the leg is fully extended, the quadriceps are contracting isometrically or through a shortened range, but the joint is not under compression from body weight or external load. It is a staple in physical therapy for knee recovery.
Add Resistance Later
Once this becomes easy, strap on an ankle weight. Do not add massive weight here—this is a high-repetition endurance movement. You want to feel the burn in the quad muscle, not struggle with heavy iron.
20. Monster Walks
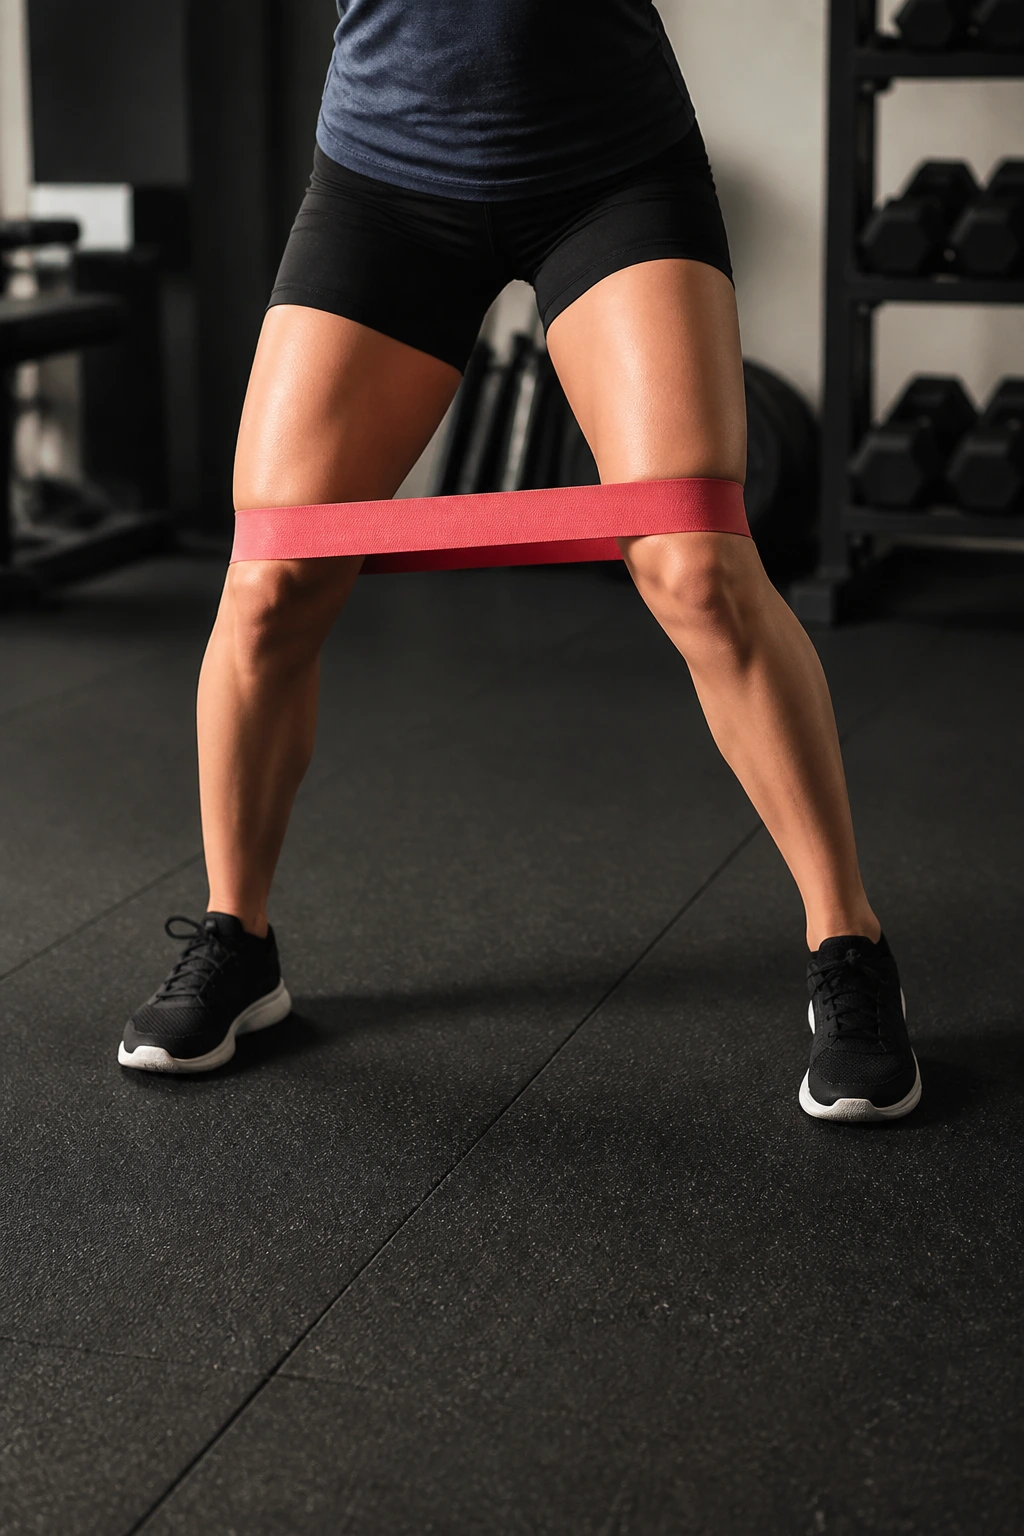
Monster walks involve placing a resistance band around your ankles or just above your knees and walking laterally or diagonally. It is a foundational movement for firing up the glutes and hips, which keeps the knees tracking correctly.
The “Monster” Tension
Keep tension on the band the entire time. Do not let your feet come together. If you take a step and the band goes slack, you are not getting the benefit. Take small, controlled steps, keeping your knees slightly bent.
The Payoff
Your glutes will burn, but your knees will feel more stable because the muscles around them are activated and ready to work. Doing a few sets of monster walks before your leg workout acts as an excellent “warm-up” that tells your hips to wake up and support the rest of your leg day.
The Bottom Line
Knee pain does not mean you have to give up on leg strength. It just means you have to change the tools in your toolbox. The squat is a fantastic movement, but it is not the only path to strong, muscular legs. By mixing and matching these twenty alternatives, you can build a lower body that is not only powerful and athletic but also resilient and healthy for the long haul.
Always prioritize control over weight. If an exercise causes sharp pain—not just muscle soreness, but joint pain—stop immediately. Modify the range of motion, reduce the weight, or switch to a different movement from this list. Your joints do not know how much weight you are lifting; they only know the stress you are putting on them. Listen to that feedback, adjust, and keep training.
