



The lower belly is stubborn.
You can train hard, eat well, and still notice that soft pocket below the navel hanging on longer than the rest. That’s not laziness. It’s a mix of body-fat distribution, posture, core control, and, for a lot of people, a pelvis that tilts forward just enough to make the stomach look fuller than it really is.
The smartest lower belly fat exercises do more than “hit abs.” They teach the ribs and pelvis to stack, they strengthen the deep core, and they raise your heart rate enough to help with fat loss across the whole body. A brisk walk, a sensible calorie deficit, and a decent amount of daily movement still matter more than any one crunch variation. No single exercise peels fat off one spot. That myth has wasted enough time already.
What works is a better mix. Some moves should curl the pelvis. Some should resist arching and twisting. Some should leave you breathing hard. If a workout makes your lower back do all the work, or your neck starts yanking on every rep, you’re not training the right thing.
Start with the move that teaches the lower abs to do their actual job.
1. Reverse Crunches
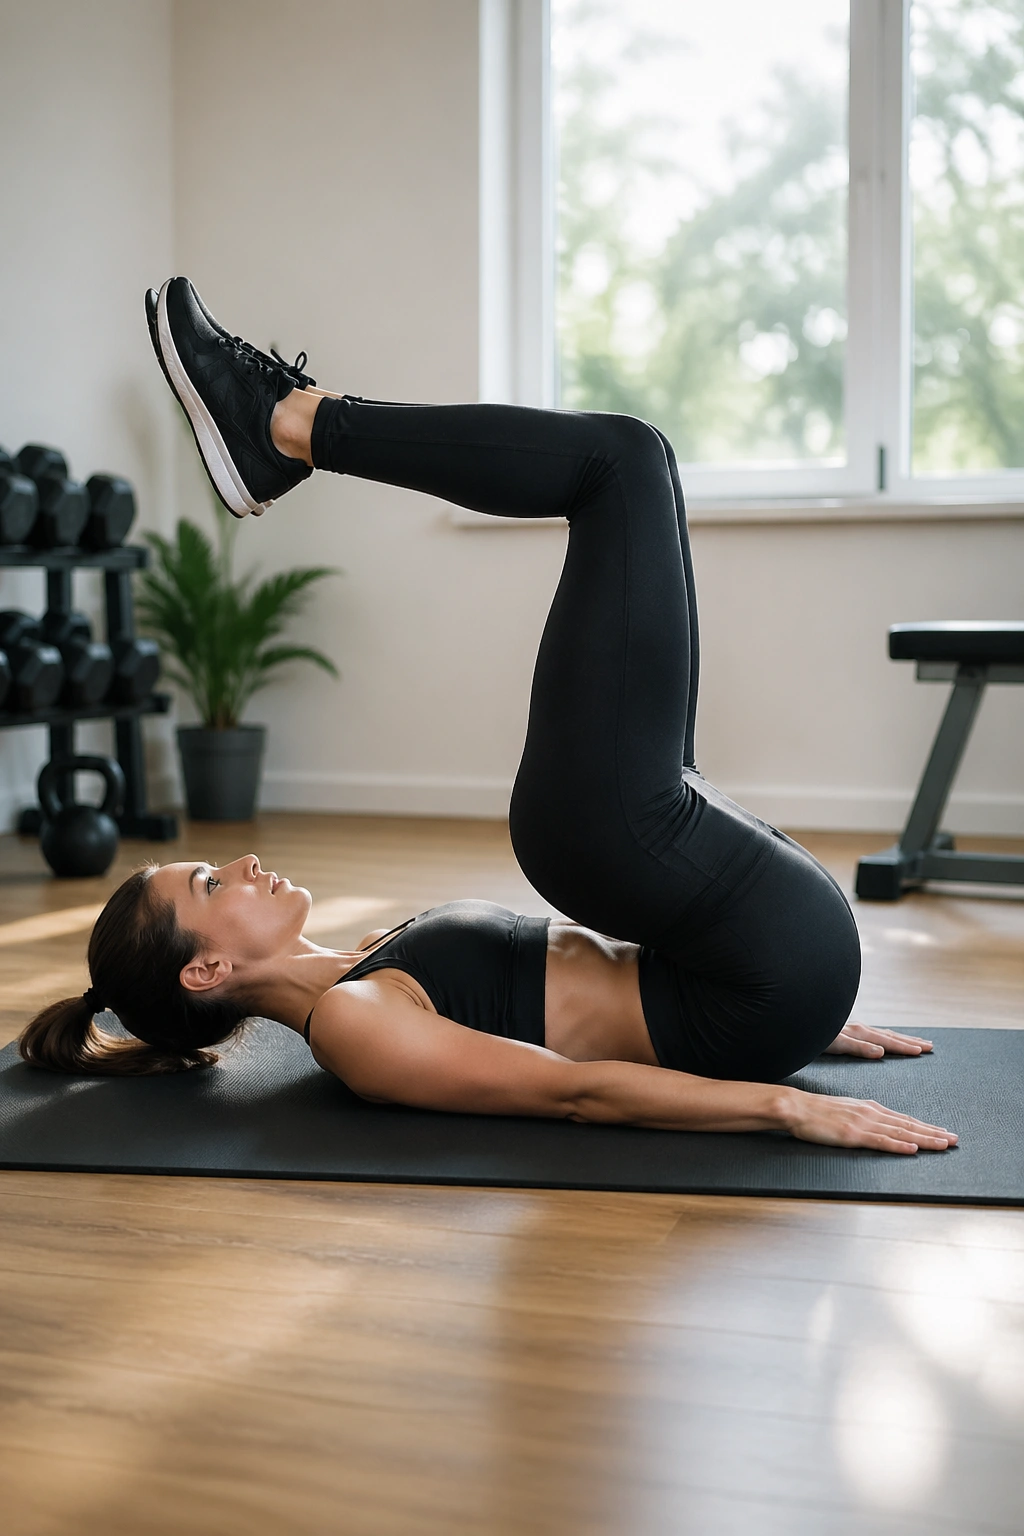
Reverse crunches are the cleanest place to begin because they teach the pelvis to curl instead of just yanking the knees in. That small motion matters more than people think. The lower abs tend to wake up when the tailbone lifts and the low back peels slightly off the floor, not when the legs are swinging around like pendulums.
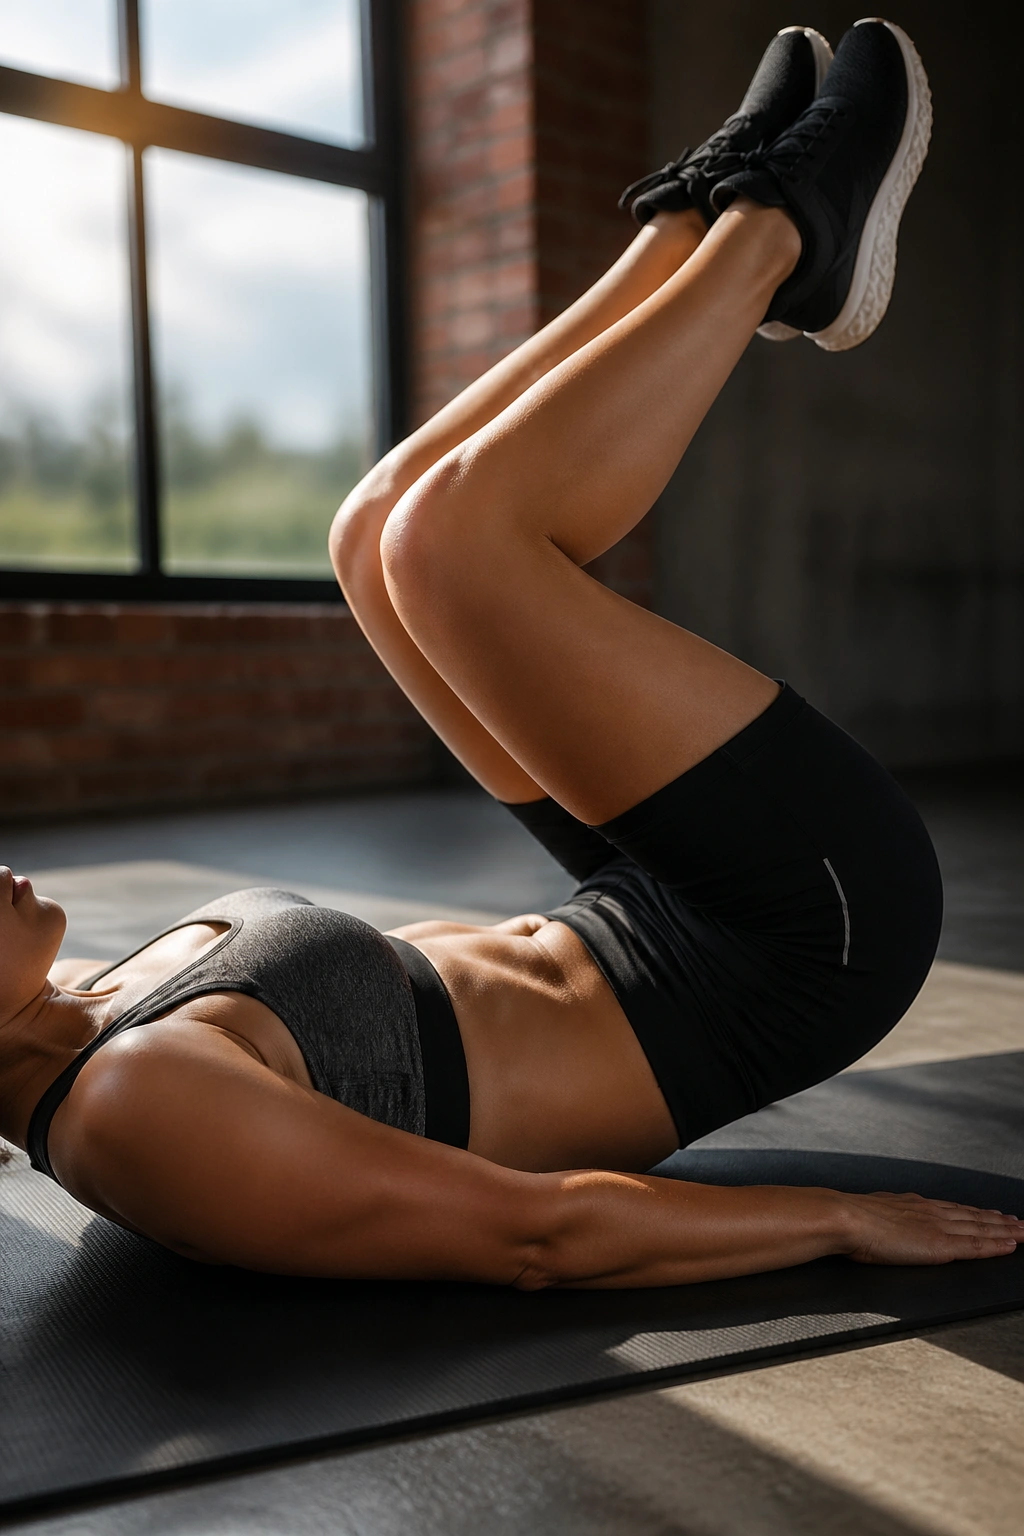
Lie on your back with your knees bent at 90 degrees and your feet off the floor. Exhale, brace, and roll your hips up a few inches. The movement should feel tight and controlled, not dramatic. If your knees travel toward your face and your back stays glued down the whole time, you’re doing less than you think.
The mistake to avoid: using momentum. That turns a good core drill into a sloppy leg toss. Keep the lift small and slow. 8 to 15 reps is enough for most people, and the lowering phase should take about 2 to 3 seconds.
2. Lying Leg Raises
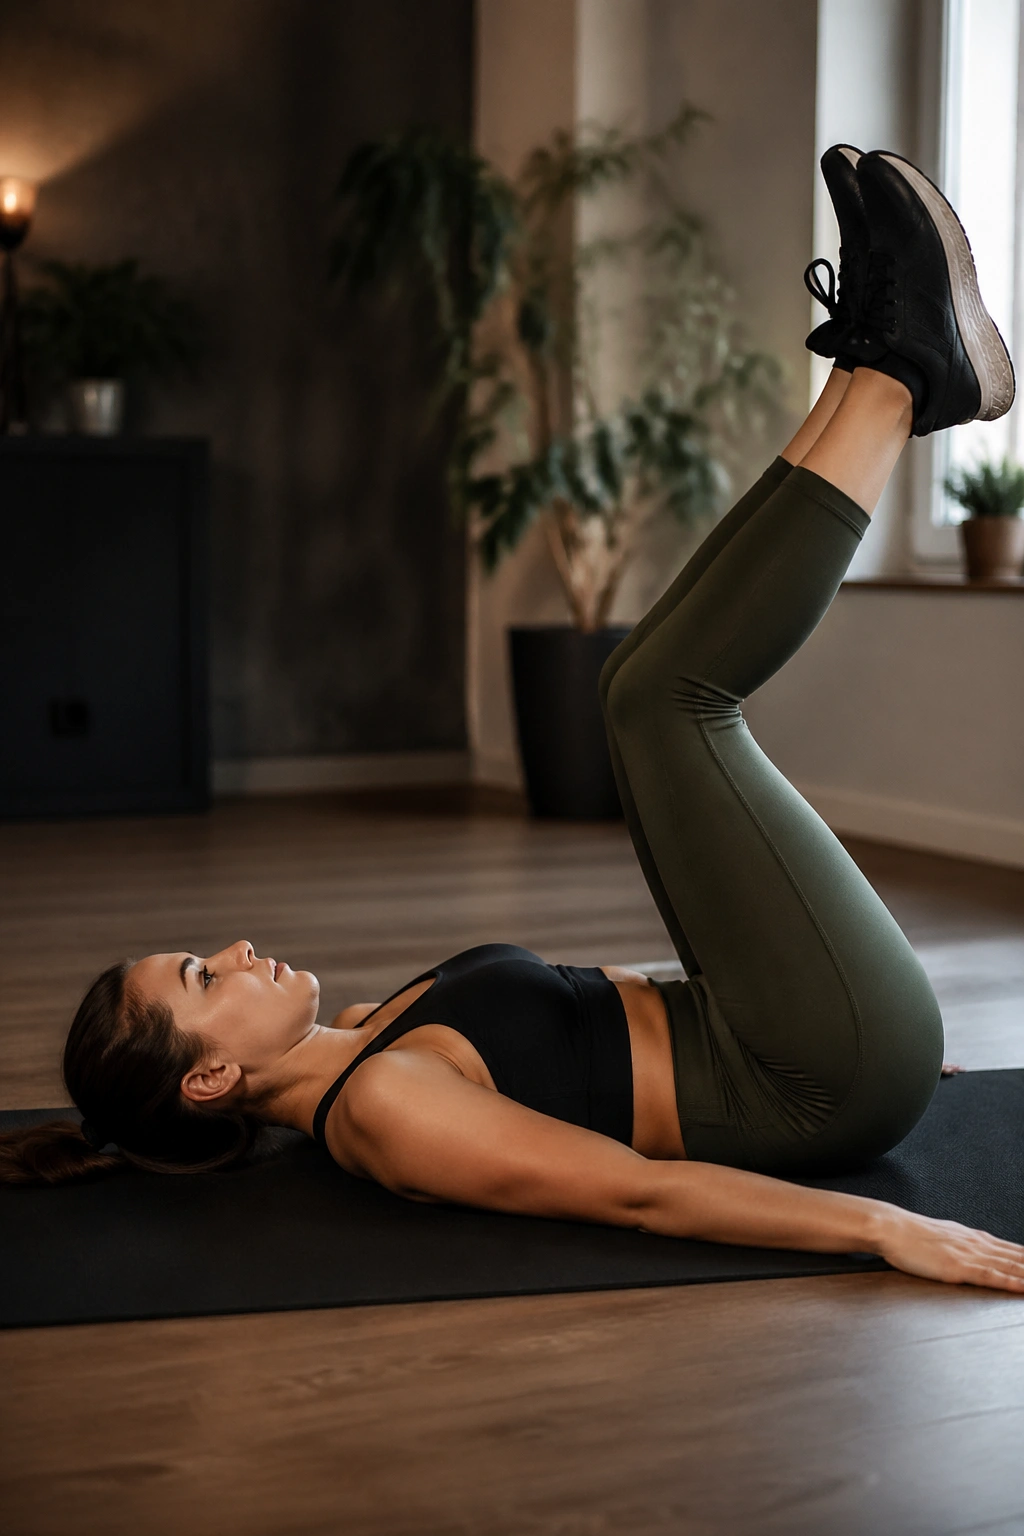
Why do lying leg raises show up in so many lower belly fat exercises? Because the long lever makes the abs fight hard to keep the pelvis from tipping. Straight legs are a lot more demanding than bent knees. That’s the whole trick. The move looks simple until your lower back starts complaining.
Set up flat on the floor with your hands under your hips if you need support. Press your lower back gently into the mat before you move. Lower your legs only as far as you can while keeping that back contact. The second your spine arches hard off the floor, the rep is too deep.
A clean version usually beats a bigger range. Slow lowering, no swinging, and a small pause at the top will do more for your midsection than racing through 30 sloppy reps. Try 6 to 12 controlled reps. If your hip flexors take over, bend the knees a little and shorten the lever.
Quick form cues
- Keep the ribs heavy.
- Exhale as the legs lift.
- Stop the descent before the low back lifts.
- Use a slow 3-second lower if you want more tension.
That last cue makes a difference.
3. Bent-Knee Leg Raises
If straight-leg raises make your back complain, bend the knees. That’s not a downgrade; it’s a smarter version. The shortened lever gives your core a fighting chance to stay honest, which is exactly what beginners need.
Lie on the floor and bring both knees up so the thighs point toward the ceiling. Lower the legs a few inches while keeping the pelvis tucked and the back flat, then draw them back up. The movement is smaller, but the control is better. Honestly, that’s the version I’d rather see most people do.
This variation is useful when your abs are still learning how to brace without the help of your hip flexors. It also works well in higher-rep circuits, because you can keep form clean for longer. Try 10 to 15 reps with a brief pause at the bottom. If you feel it in the front of the hip more than the stomach, shorten the range again.
4. Dead Bugs
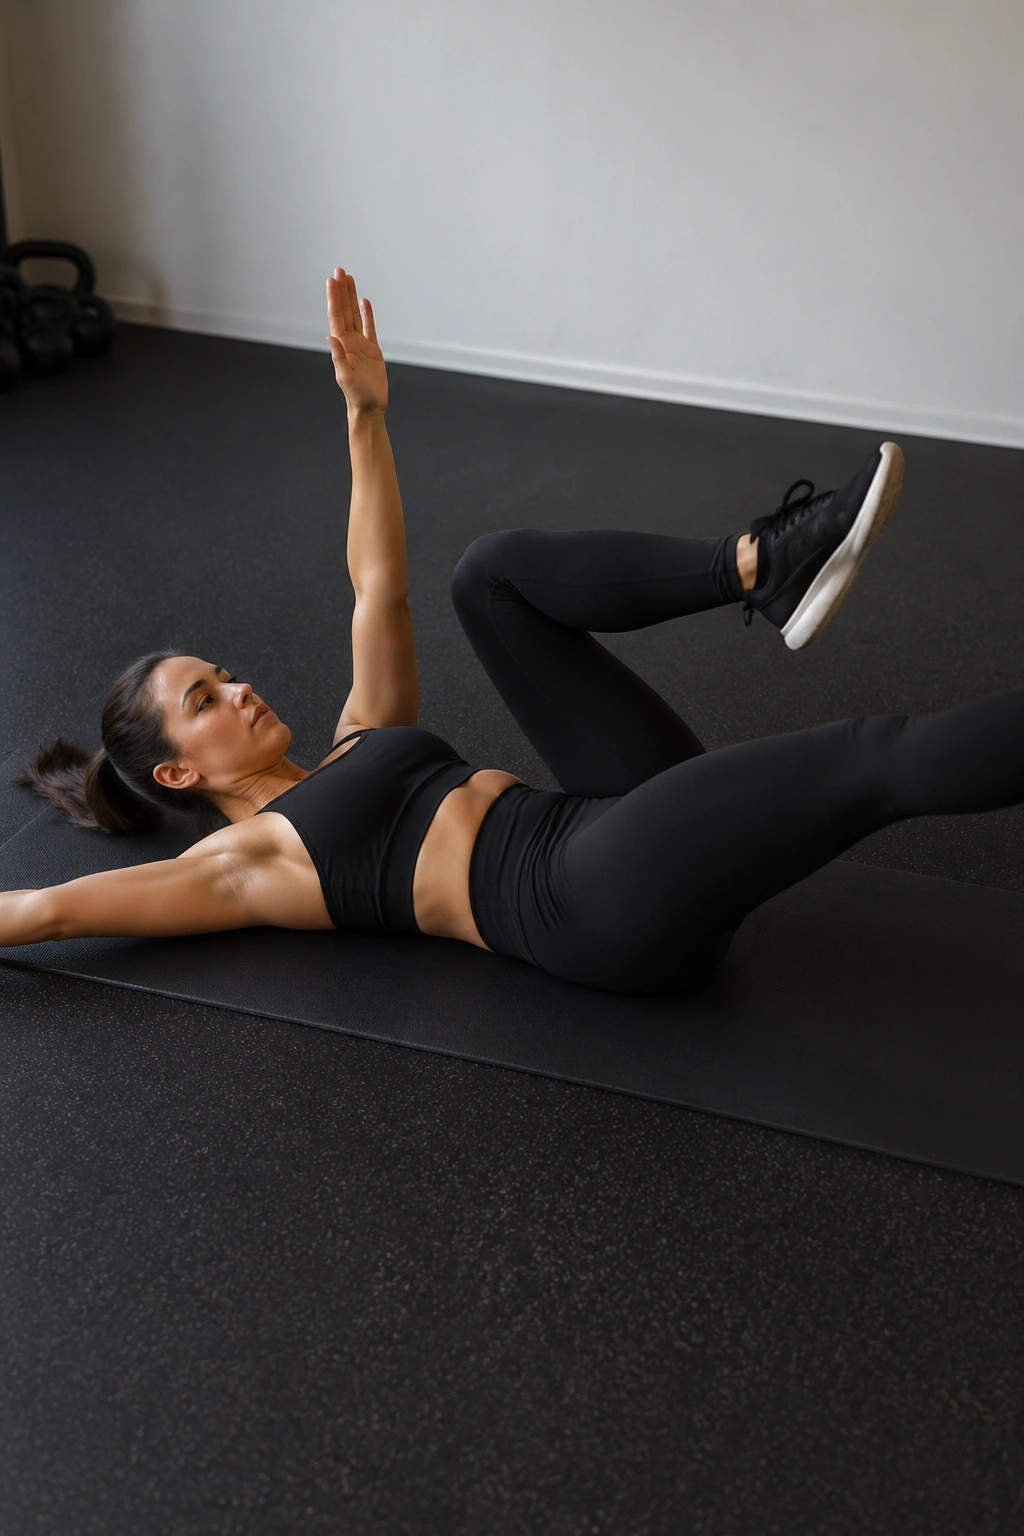
What makes dead bugs so useful is that they look easy and feel annoyingly precise. One arm and the opposite leg move while the core refuses to let the back pop off the floor. That anti-extension work is gold for a flatter midsection, because it teaches the trunk to stay quiet while the limbs move.
Start on your back with knees bent, shins parallel to the floor, and arms pointing straight up. Slowly extend one leg and the opposite arm away from you, then come back to center and switch sides. The lower back should stay in contact with the floor the whole time. If it arches, the range is too big.
Keep the back pinned down
- Exhale before the extension.
- Reach long, not fast.
- Move only as far as your back stays flat.
- Reset after every rep if needed.
Dead bugs are one of those exercises that look almost boring until you do them right. Then they light up. 6 to 10 reps per side is plenty to start.
5. Forearm Planks
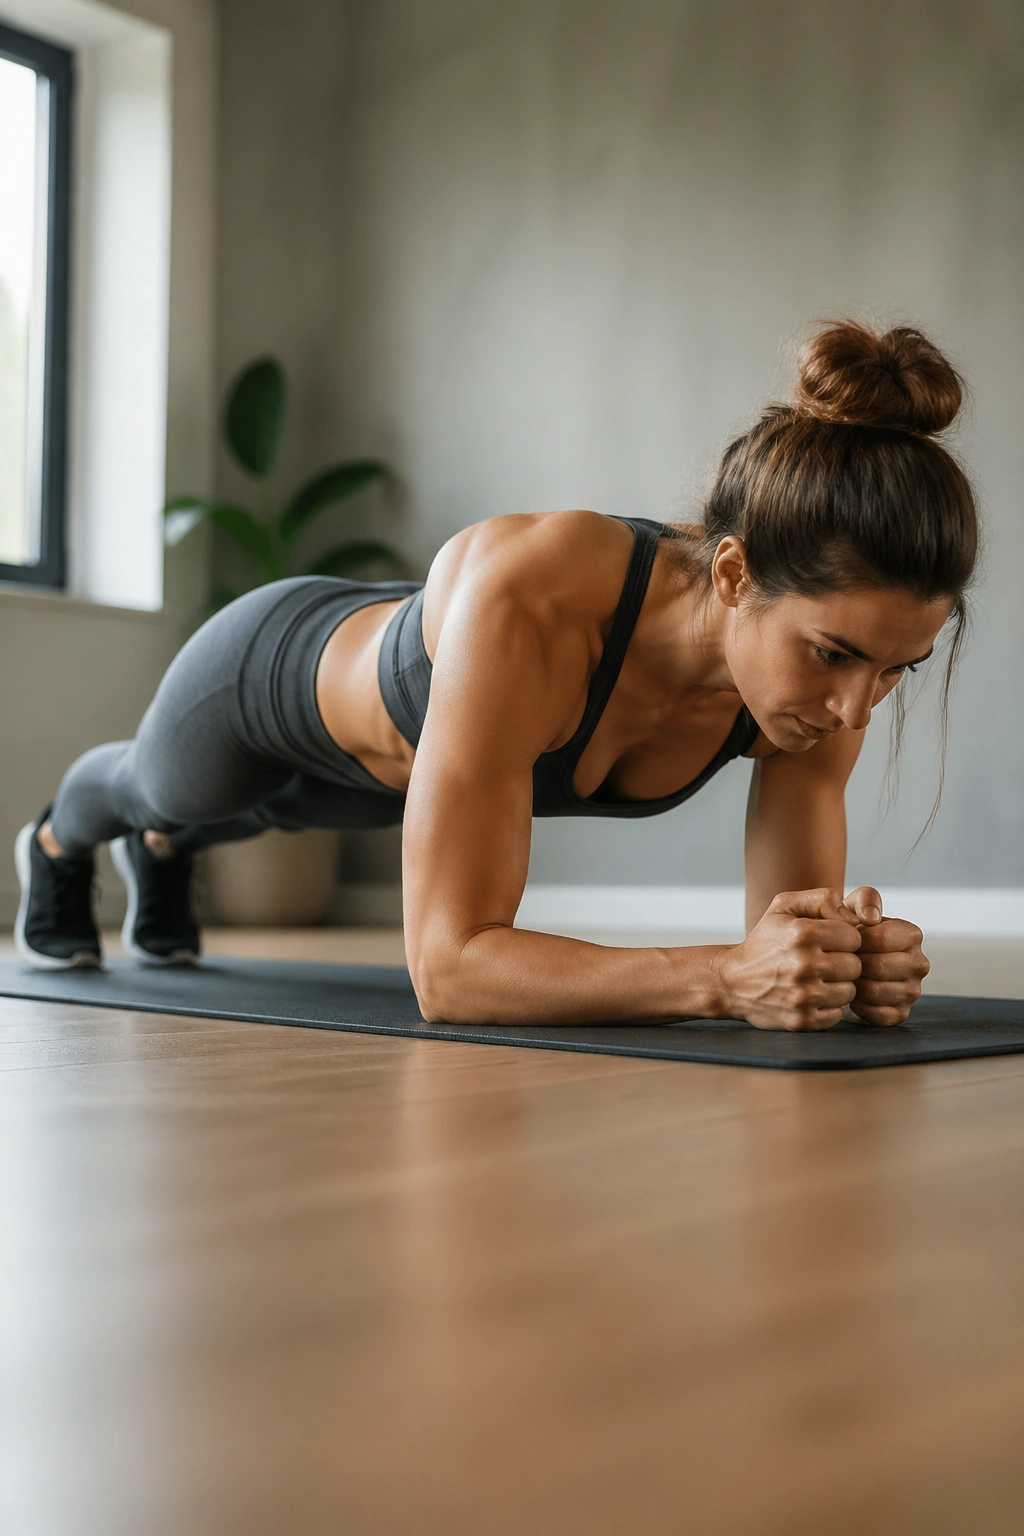
A forearm plank is boring in the best possible way. It doesn’t chase you around with fancy motion. It just asks whether your core can hold shape under load. For lower belly work, that matters because the real job is resisting sag, not cranking out endless movement.
Set your elbows under your shoulders, squeeze your glutes, and pull your ribs down. The body should form one long line from head to heels. If your lower back dips, the plank is too long or too hard. Drop to your knees, shorten the hold, and keep the position honest.
The best planks feel like full-body tension, not a back bend. You’ll notice your thighs, glutes, and deep stomach muscles all wake up at once. That is a good sign. Start with 20 to 40 seconds, rest, then repeat for 3 rounds. A clean 20-second plank beats a sloppy minute every time.
6. Mountain Climbers
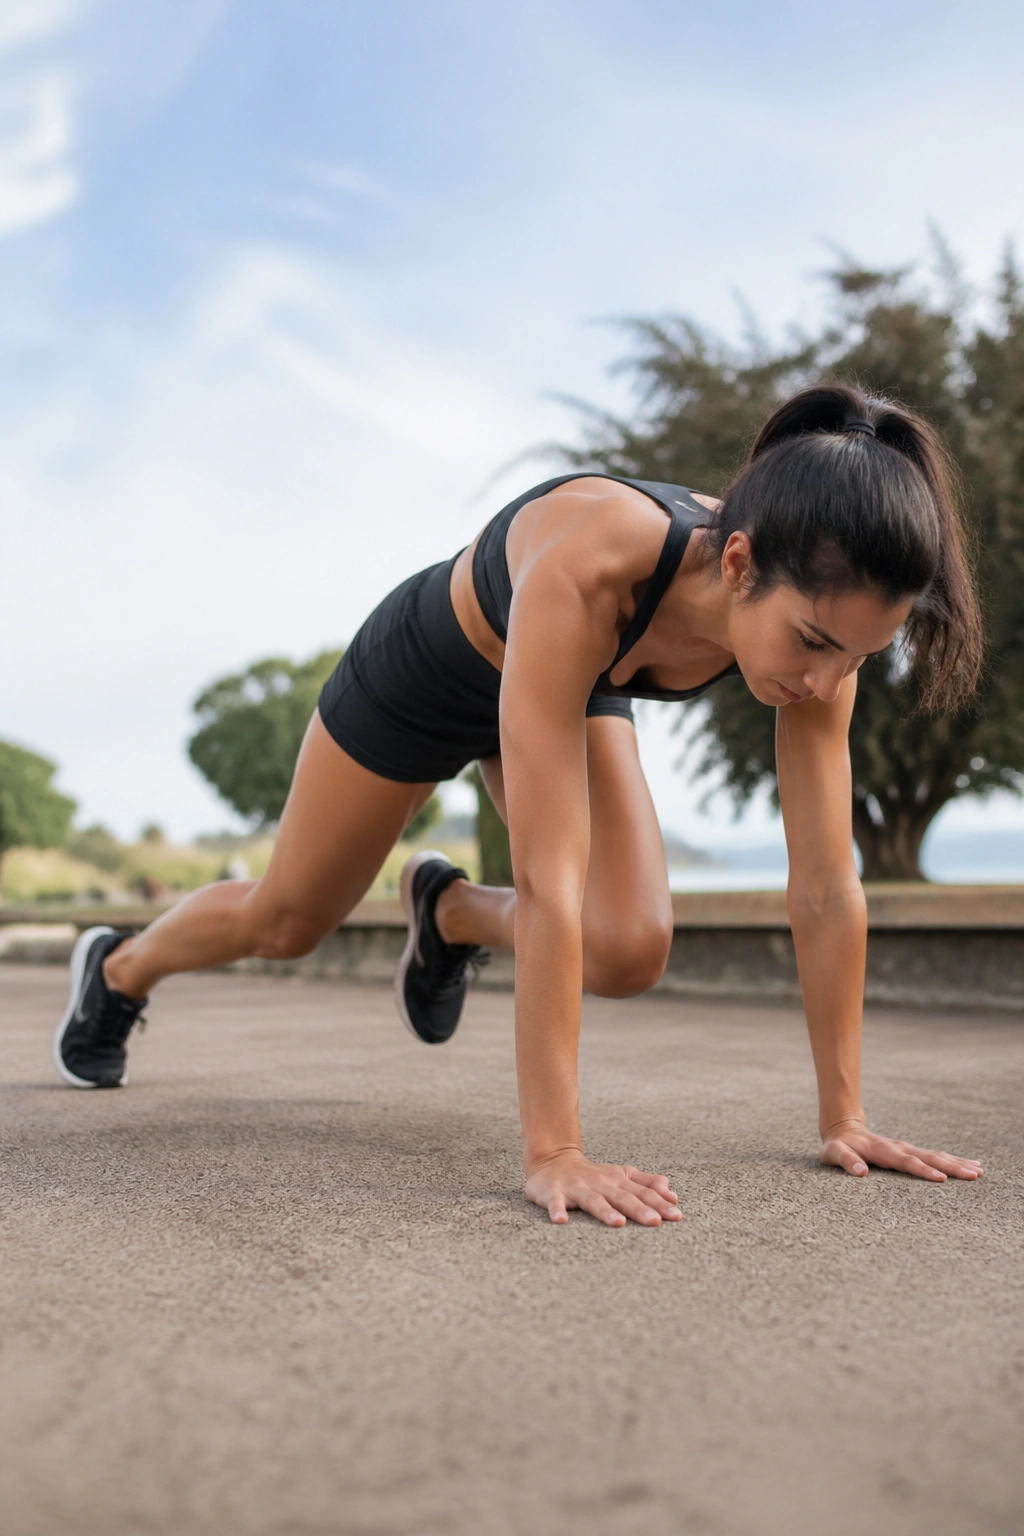
When you want a lower-belly finisher that also leaves you breathing hard, mountain climbers earn their keep. They are a hybrid move: part core brace, part cardio spike, part shoulder stability drill. That combination is why they show up in so many fat-loss workouts.
Get into a high plank with your hands under your shoulders. Drive one knee toward your chest, then switch legs in a steady rhythm. The faster version raises the heart rate, but the hips should not bounce all over the place. If your backside is waving in the air, slow down.
What to watch for
- Keep shoulders stacked over wrists.
- Drive the knees forward, not straight down.
- Hold the torso steady.
- Land softly if you speed up.
A controlled pace for 20 to 30 seconds is better than frantic scrambling. If you want more burn, work in 3 to 5 rounds with short rests. That’s enough to get sweaty without turning the drill into chaos.
7. Bicycle Crunches
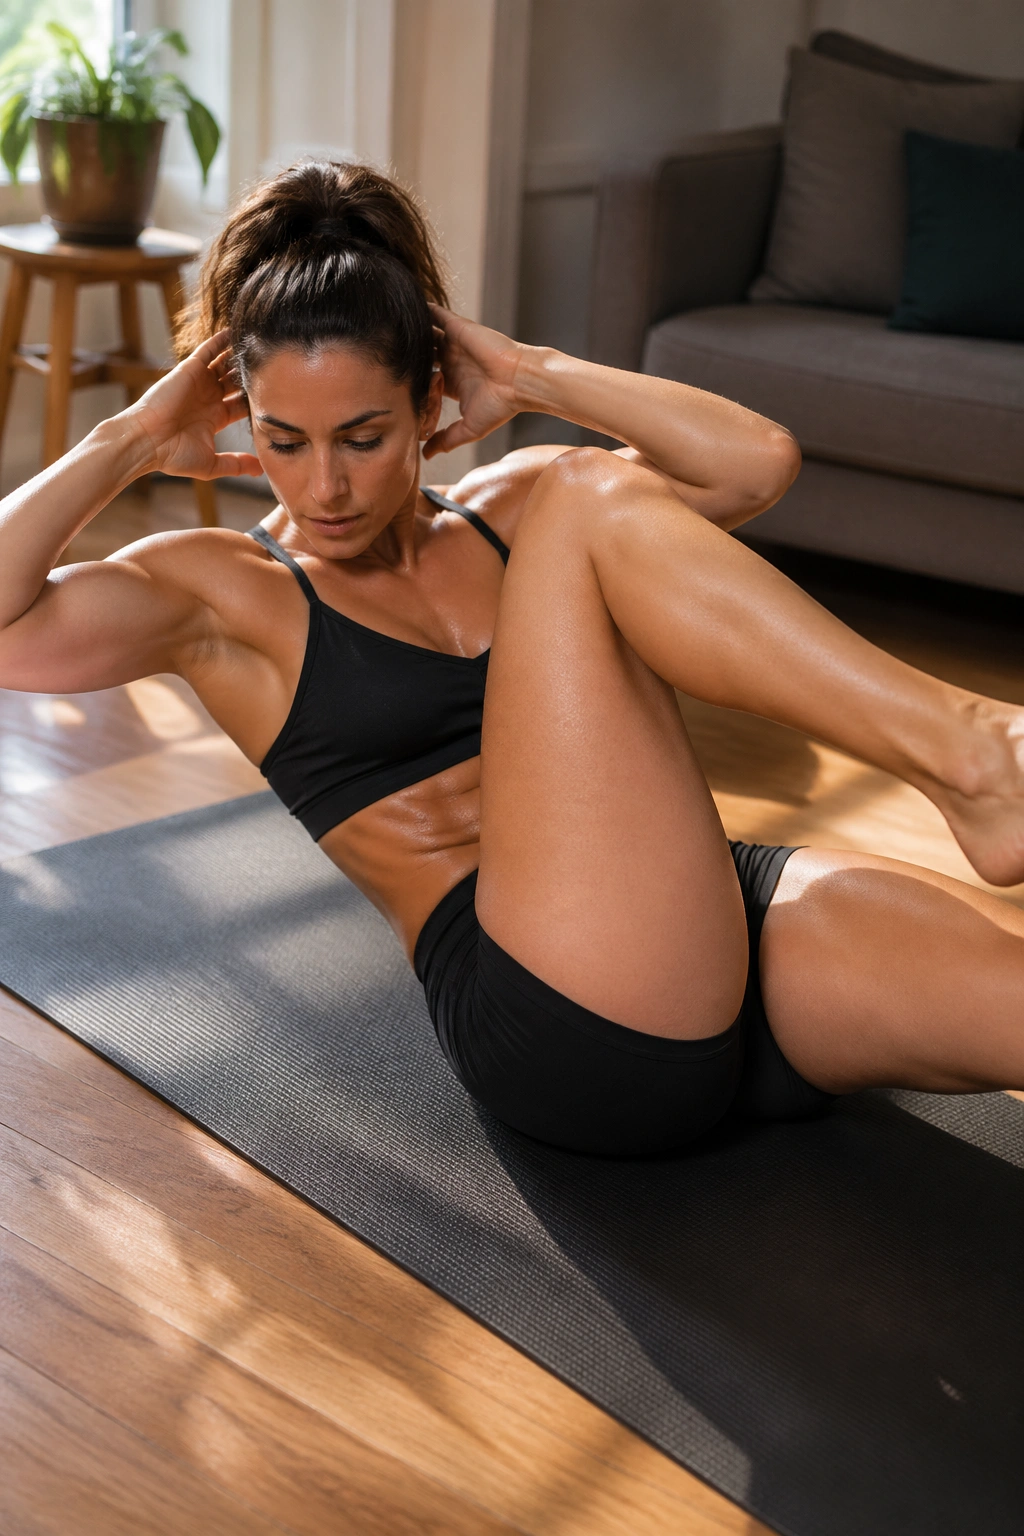
Speed ruins bicycle crunches. Slow them down, and they become a much better lower belly and oblique exercise. The whole point is cross-body control: one shoulder lifts, one elbow travels toward the opposite knee, and the other leg extends without the low back flaring up.
Lie on your back, hands lightly behind your head, and bring the knees into tabletop. Rotate from the ribs, not the neck. The elbow does not need to slam into the knee. In fact, it probably shouldn’t. A smaller, cleaner rotation beats a big sloppy twist.
A lot of people rush these because they feel the burn faster. That burn is fine, but form still wins. Keep the lower back down, exhale on every twist, and think about length through the extended leg. 10 to 16 reps per side is a solid starting point.
8. Flutter Kicks
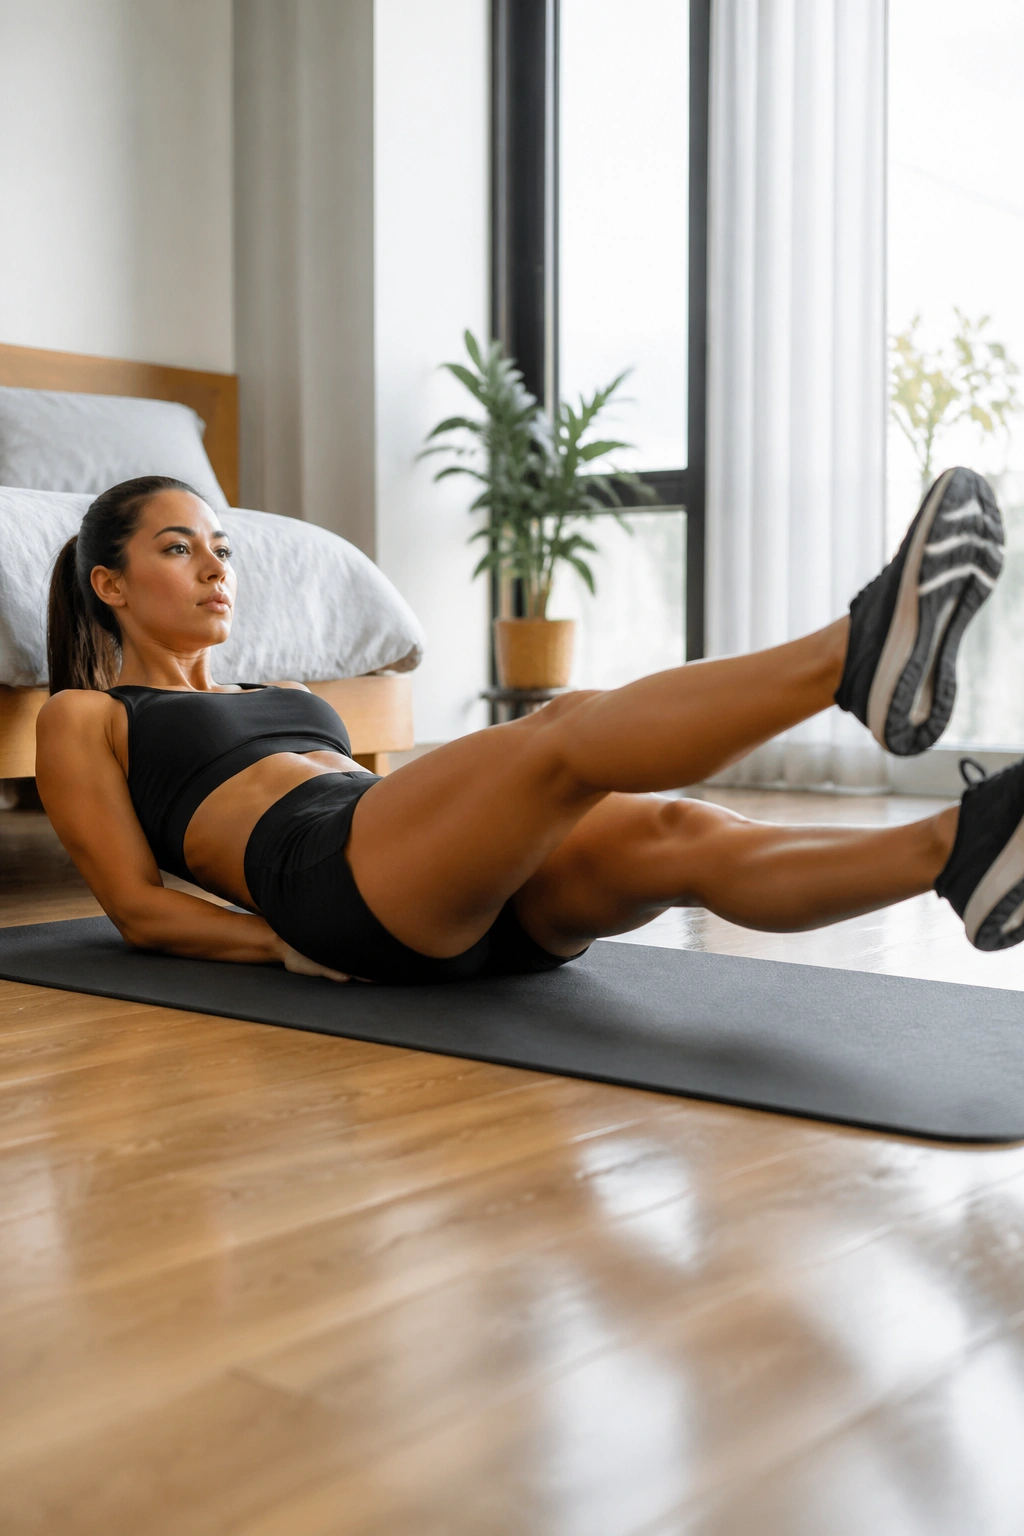
Your hip flexors will notice first. That’s normal. Flutter kicks ask the lower abs to hold the pelvis still while the legs make small, quick alternations just above the floor. The move is simple, but it turns mean fast if you lose control.
Lie on your back, hands under your hips if needed, and lift both legs a few inches off the floor. Kick one leg up slightly while the other lowers, then switch. Keep the motion small. Big kicks look flashy and do less for the core. A low, tight flutter is the point.
Make the abs do the work
- Keep the chin tucked.
- Press the low back down.
- Move the legs in short strokes.
- Stop if the back starts to arch.
Try 20 to 30 seconds at first. If your neck gets tired, rest your head on the floor and focus on the pelvis. That alone cleans up the movement.
9. Hollow Body Hold
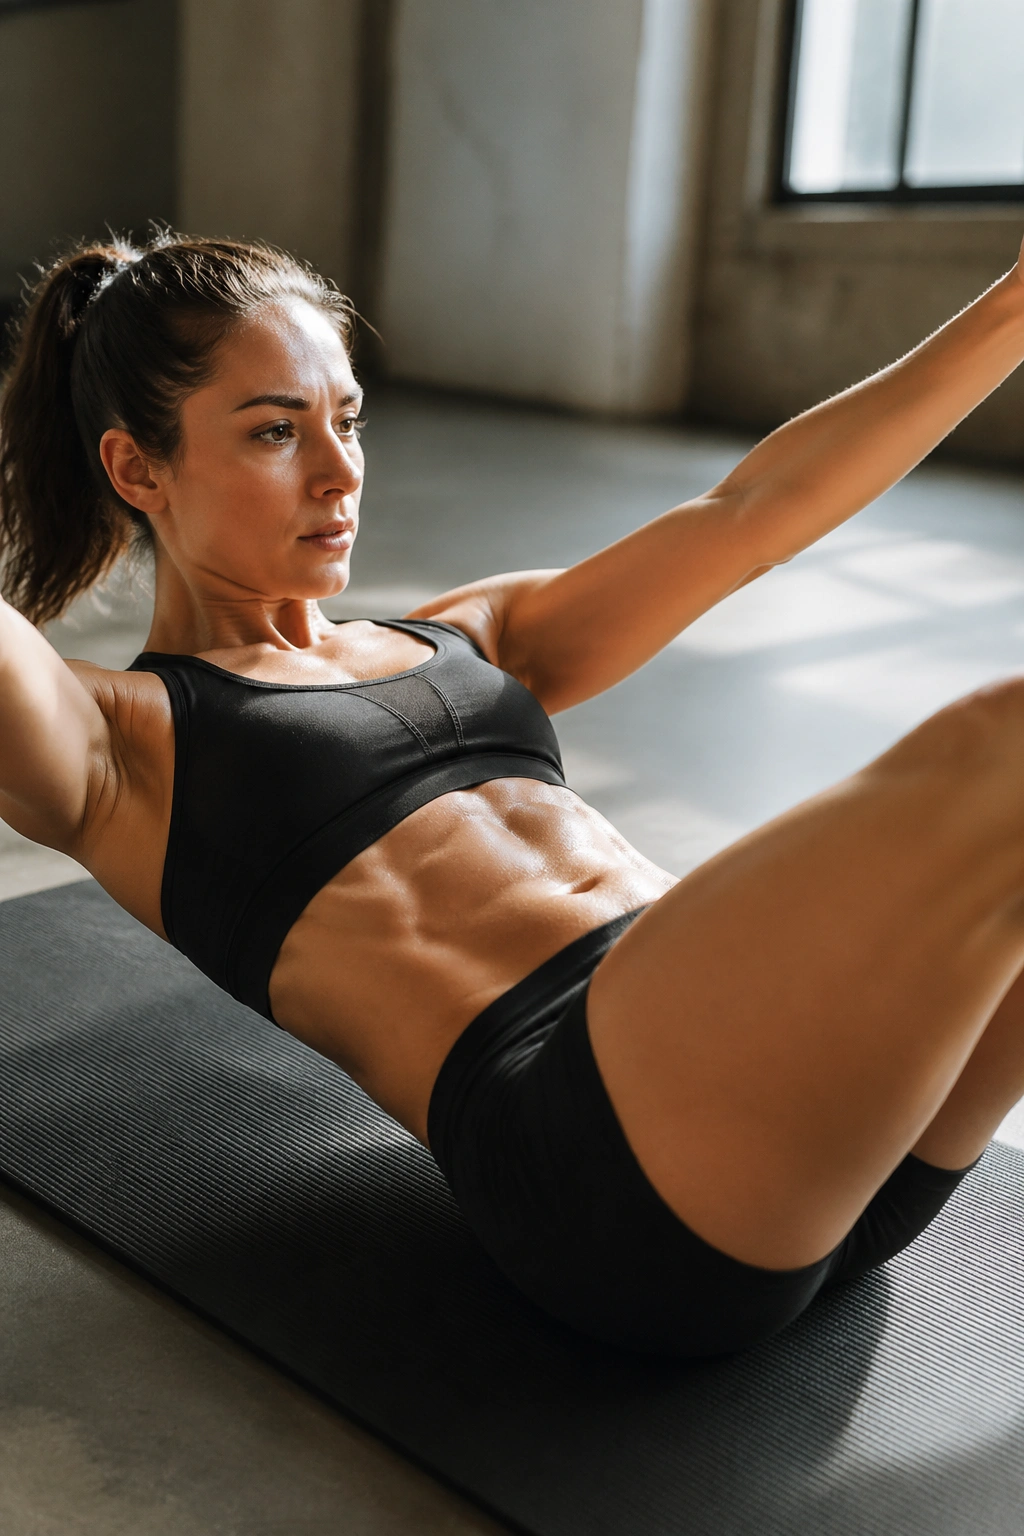
The hollow hold looks like a yoga pose until your abs start shaking. Then it feels a lot less graceful. This is one of the best core drills for a flatter-looking stomach because it teaches the front of the body to stay braced while the limbs reach away from center.
Lie on your back, press the low back into the floor, and lift your shoulders and legs slightly off the ground. Arms can stay overhead or reach forward. The key is the same: posterior pelvic tilt, which means the pelvis curls so the lower back doesn’t arch. That tiny detail is the whole exercise.
If full extension is too much, bend the knees and keep the shoulders lifted. That version still works. Hold for 10 to 20 seconds, rest, and repeat. Hollow holds are hard in a clean, honest way, and that makes them worth keeping.
10. Toe Taps
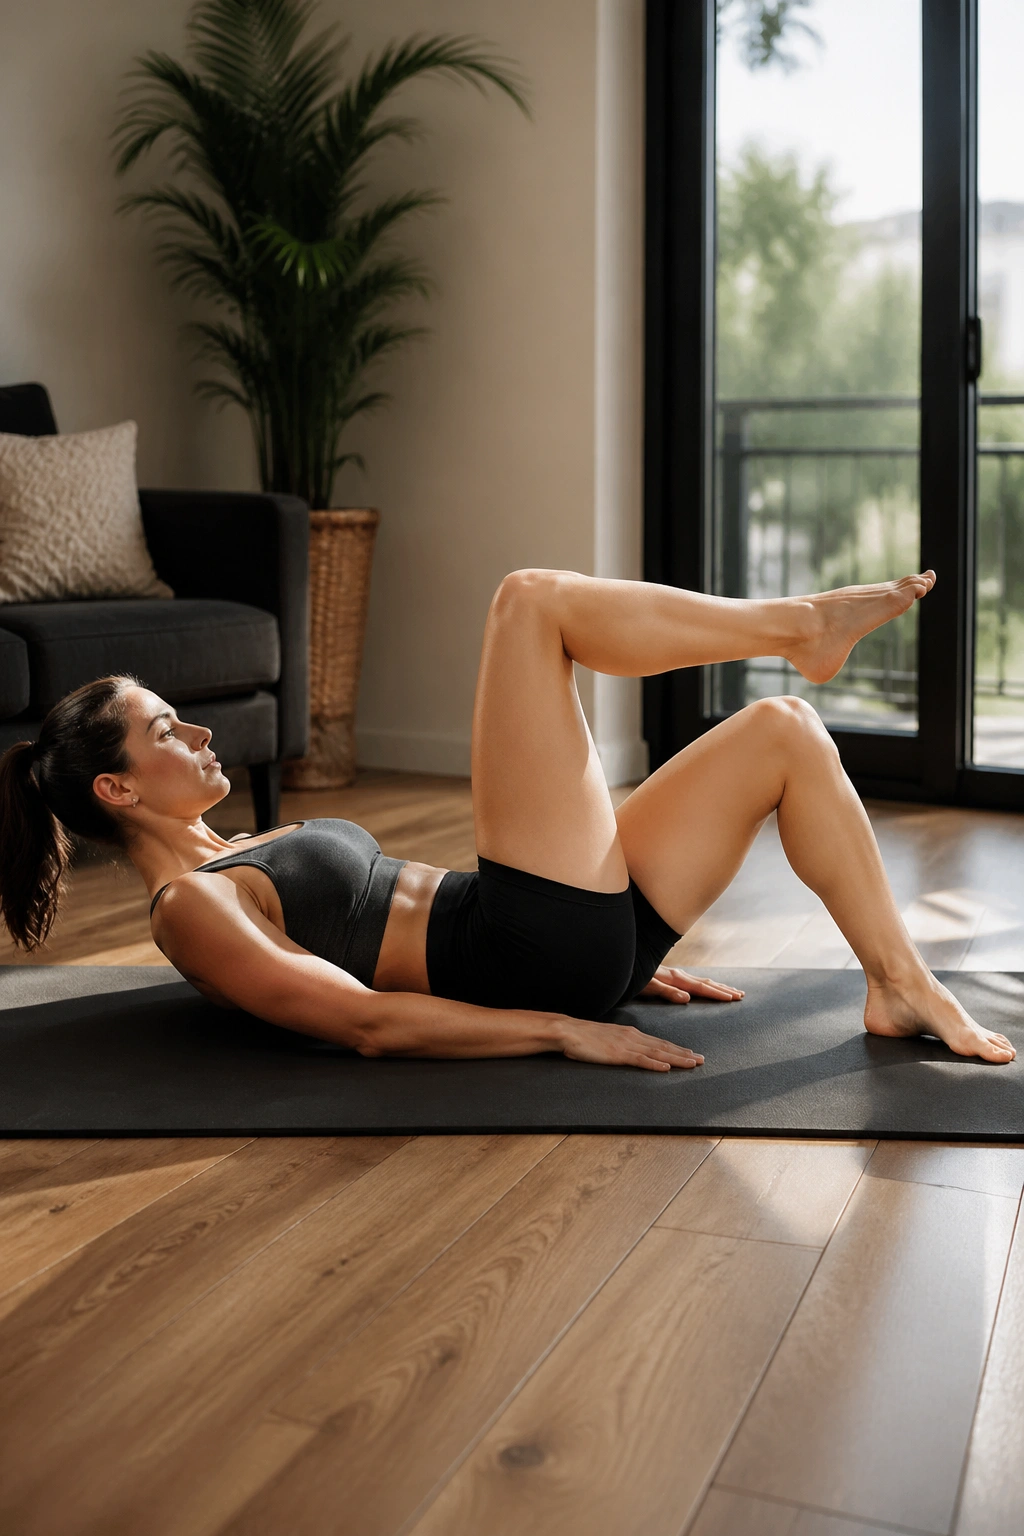
Want a floor move that beginners can actually control? Toe taps are a smart pick. They train the lower abs to keep the pelvis steady while the legs move, and they do it without forcing a ton of spinal flexion.
Start with your legs in tabletop, knees over hips. Lower one foot to tap the floor, bring it back, then switch sides. The lower back should stay glued down. If it lifts, shorten the range or keep the foot hovering a little higher. There’s no prize for reaching the floor.
The rib cage should stay heavy
- Exhale as the foot lowers.
- Keep the movement slow.
- Tap lightly, don’t slam.
- Stop the rep if the back arches.
Toe taps work well in circuits because they’re easy to scale. Try 10 to 20 total taps or 30 seconds at a steady pace. Clean reps will do more for your core than chasing speed.
11. Scissor Kicks
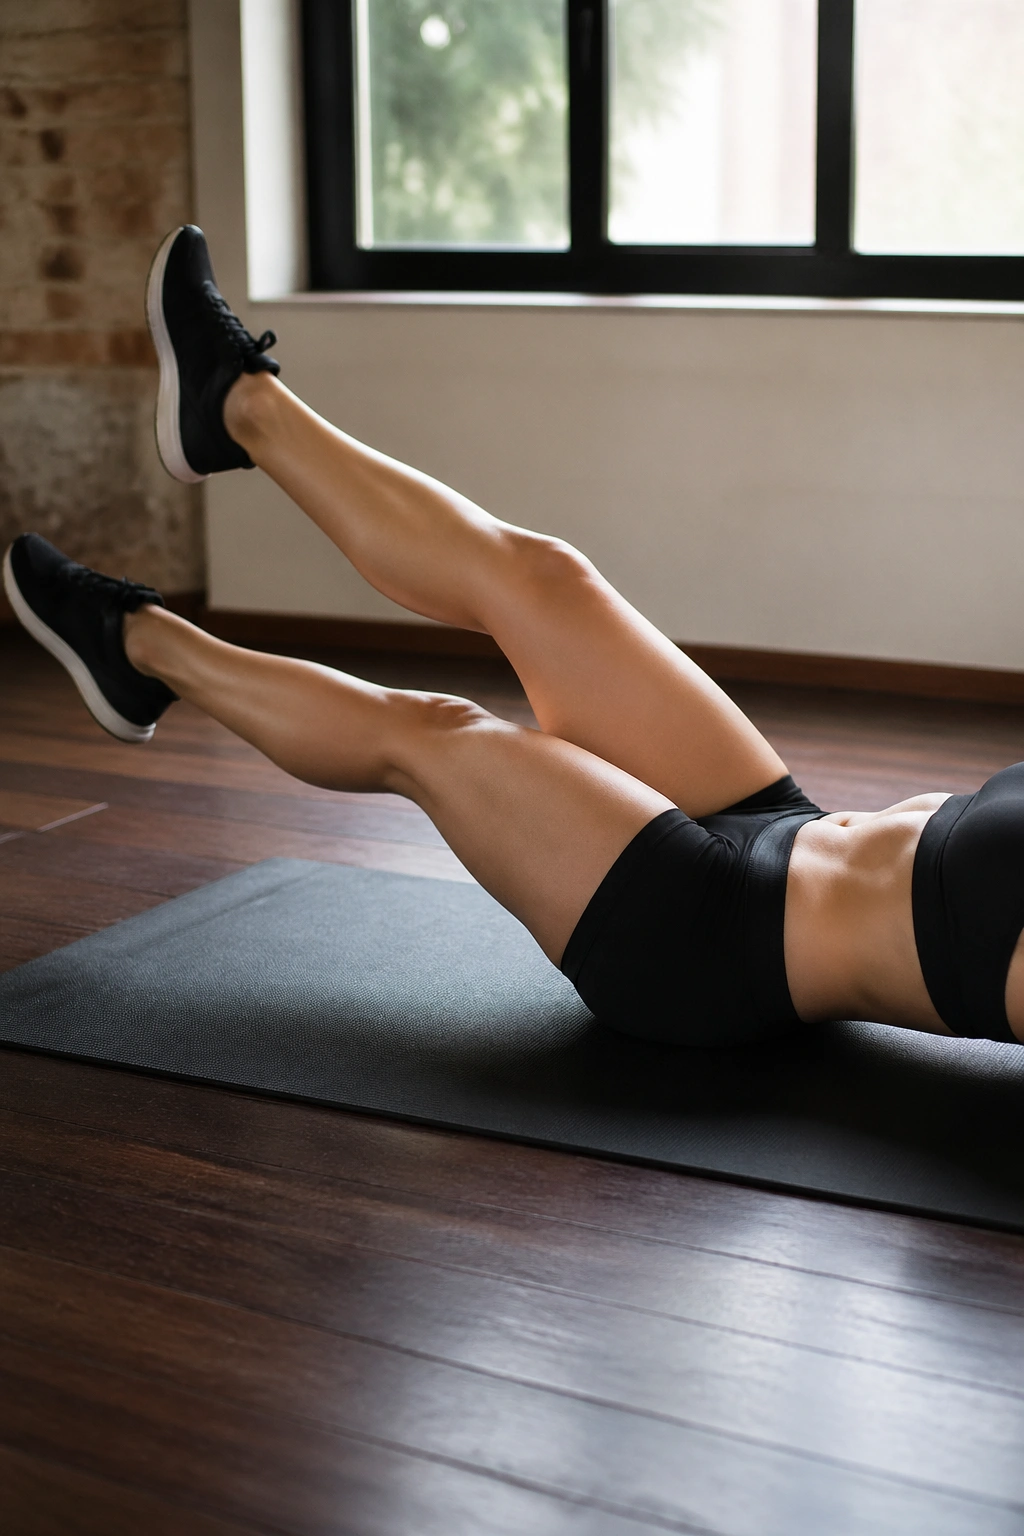
If flutter kicks feel too tiny and boring, scissor kicks give the same area a different kind of sting. The legs cross over one another with a slightly bigger sweep, which makes the lower abs fight to keep the torso still while the hips keep moving.
Set up the same way you would for flutter kicks: back flat, shoulders relaxed, legs low. One leg lifts as the other lowers, then they switch like scissors opening and closing. The range does not need to be large. A modest crossing pattern is enough if the core stays locked.
This is one of those moves where the burn shows up fast, then the form starts to wobble. Keep the sets short and the reps crisp. 15 to 25 seconds is plenty to begin with. If the low back arches, raise the legs a few inches and try again.
12. V-Ups
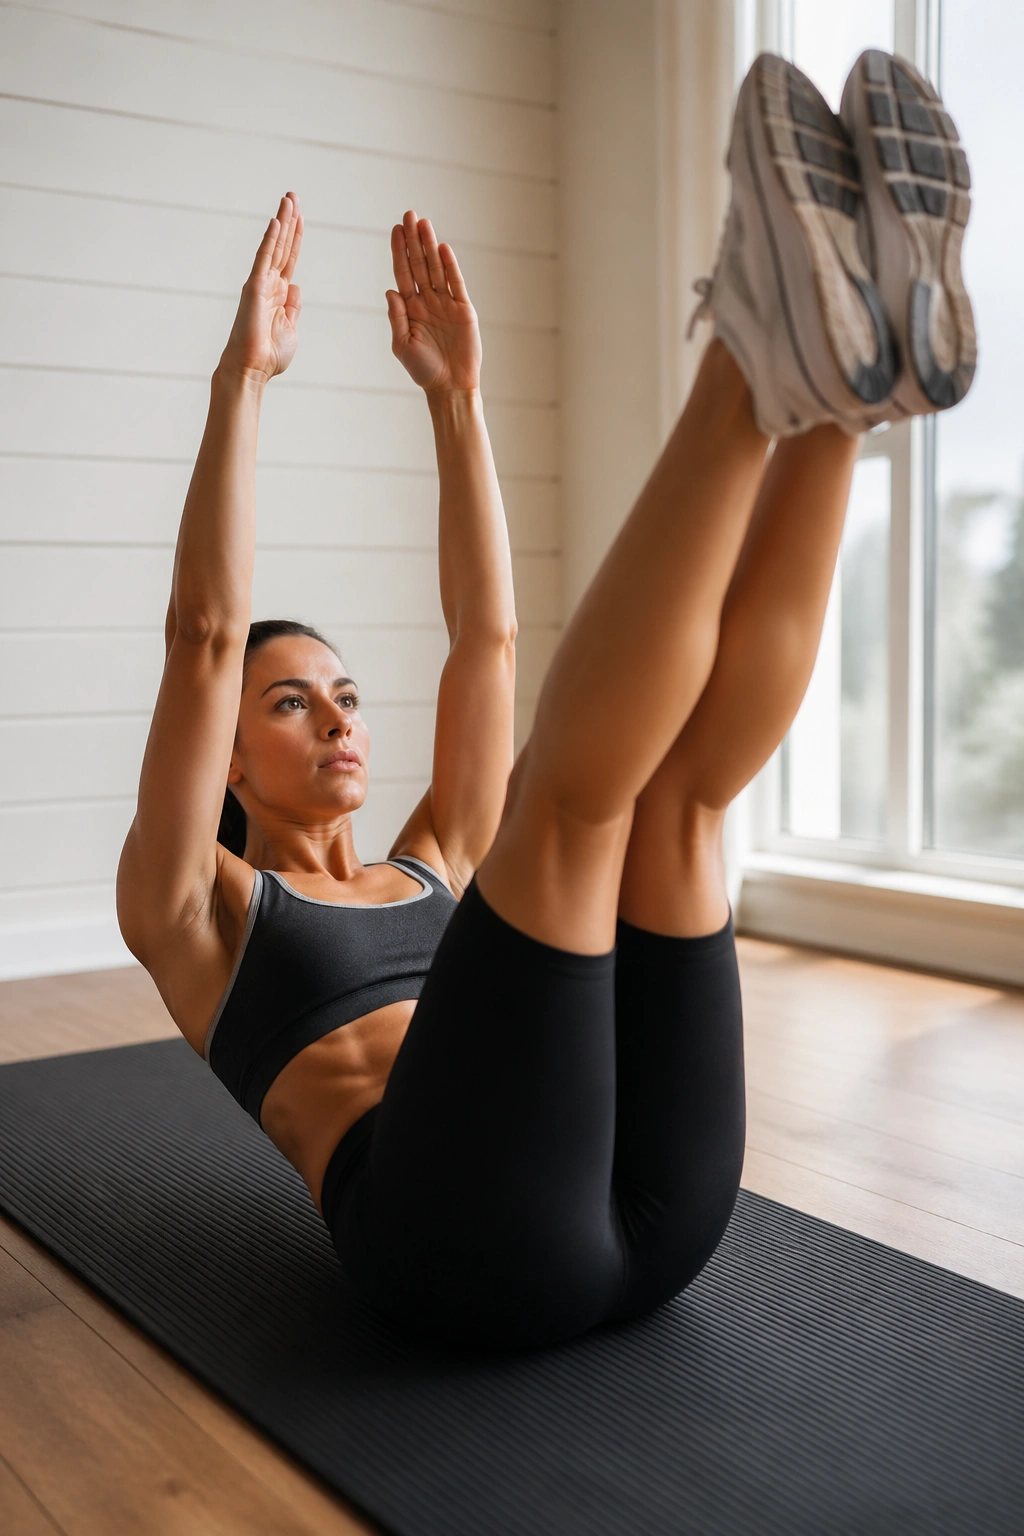
Unlike crunches, V-ups ask the whole front of the body to fold at once. That means the lower abs, upper abs, and hip flexors all have to work together, which is why the move feels so direct. It’s also why it’s not the best place to start if your core is still learning the basics.
Lie flat, extend your arms overhead, and lift your legs and torso at the same time so they meet near the middle. Then lower under control. The rep should feel like a sharp fold, not a snap. If you can’t keep the low back from arching on the way down, the exercise is too hard right now.
A tucked version is fair game. Bend the knees slightly and reach toward the shins instead of the toes. That keeps the movement useful without turning it into a back strain. Try 5 to 10 reps with deliberate control.
13. Bird Dogs
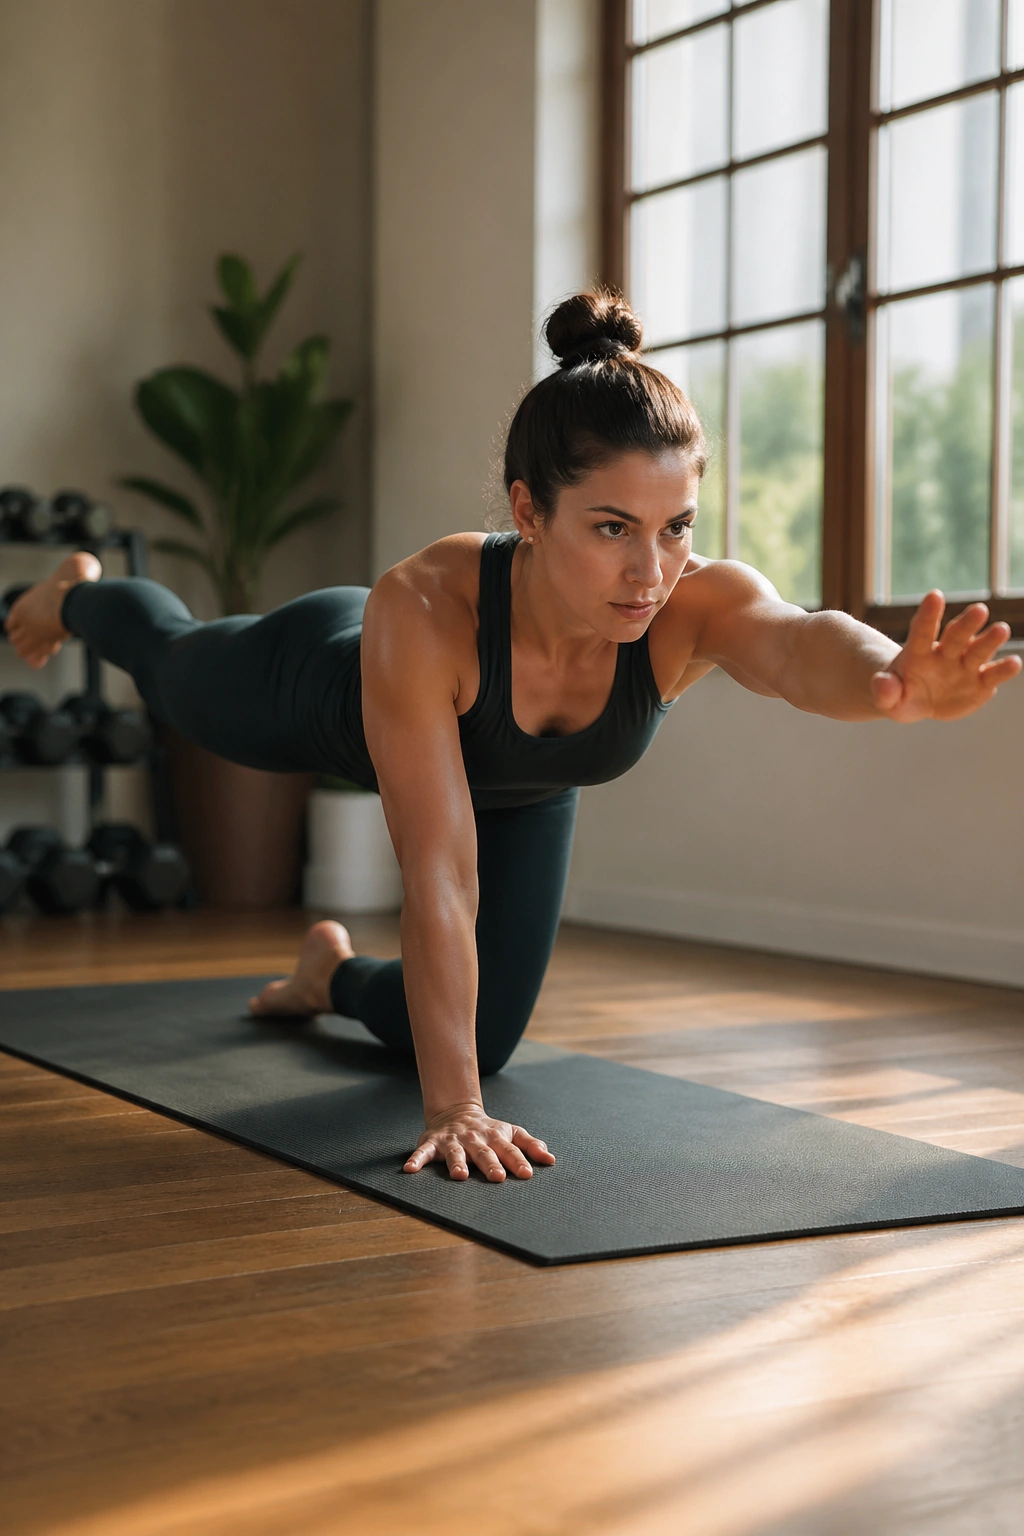
Bird dogs do not burn like burpees, but they clean up the way your torso holds itself. That matters more than people think. A core that can stay still while opposite limbs move is a core that looks tighter and works better in everything else you do.
Start on hands and knees. Reach one arm forward while the opposite leg extends back, then return to center and switch. Hips stay level. The lower back doesn’t sag. The goal is a long, quiet line from fingertips to heel.
This drill is especially helpful if your lower back tends to take over during abs work. It teaches balance, control, and a little bit of patience. Nothing fancy. Just honest work. Hold each rep for 2 to 3 seconds and aim for 6 to 10 reps per side.
14. Side Plank Hip Dips
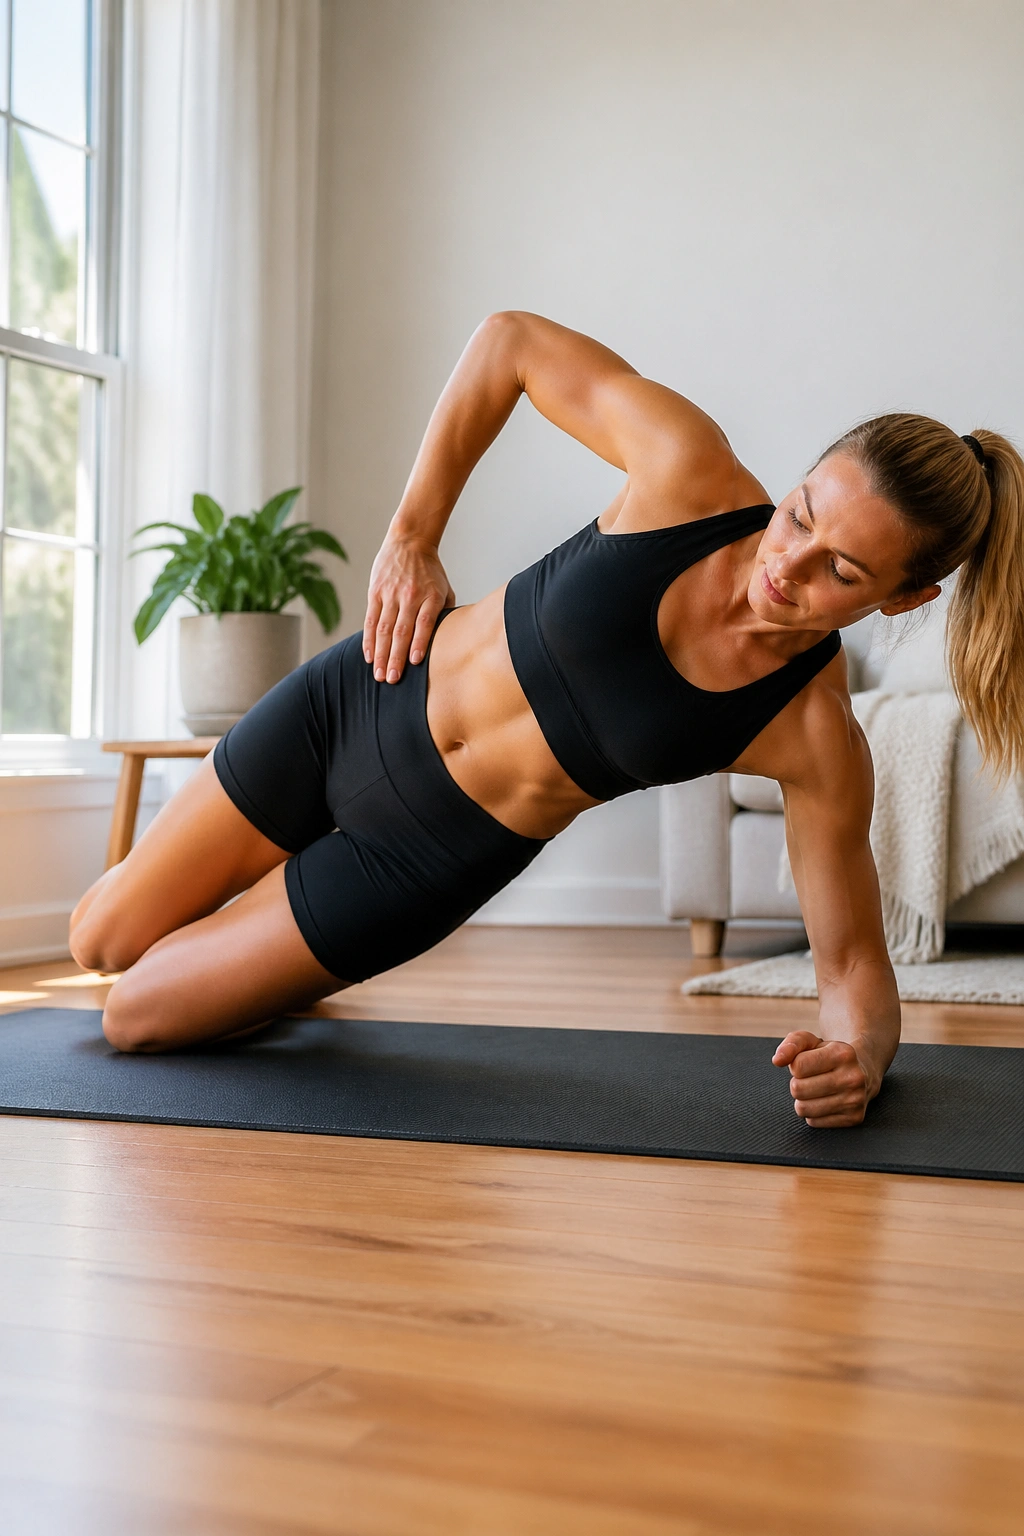
Side plank hip dips bring the obliques into the conversation, and that helps the waist look tighter from the side as well as the front. The move is simple: hold a side plank, then lower and lift the hips a few inches. Small range. Big demand.
Stack your shoulders, keep the body in one line, and let the hips move under control. Don’t collapse into the shoulder. Don’t twist open and call it a rep. The work comes from the side of the trunk keeping you steady while the pelvis shifts up and down.
How to make it easier
- Drop the bottom knee to the floor.
- Shorten the dip.
- Keep the top hand on the hip for feedback.
- Breathe out on the lift.
That knee-down version is not a cheat. It’s a smart bridge to the full movement. 8 to 12 dips per side is a good target.
15. Standing Knee Drives
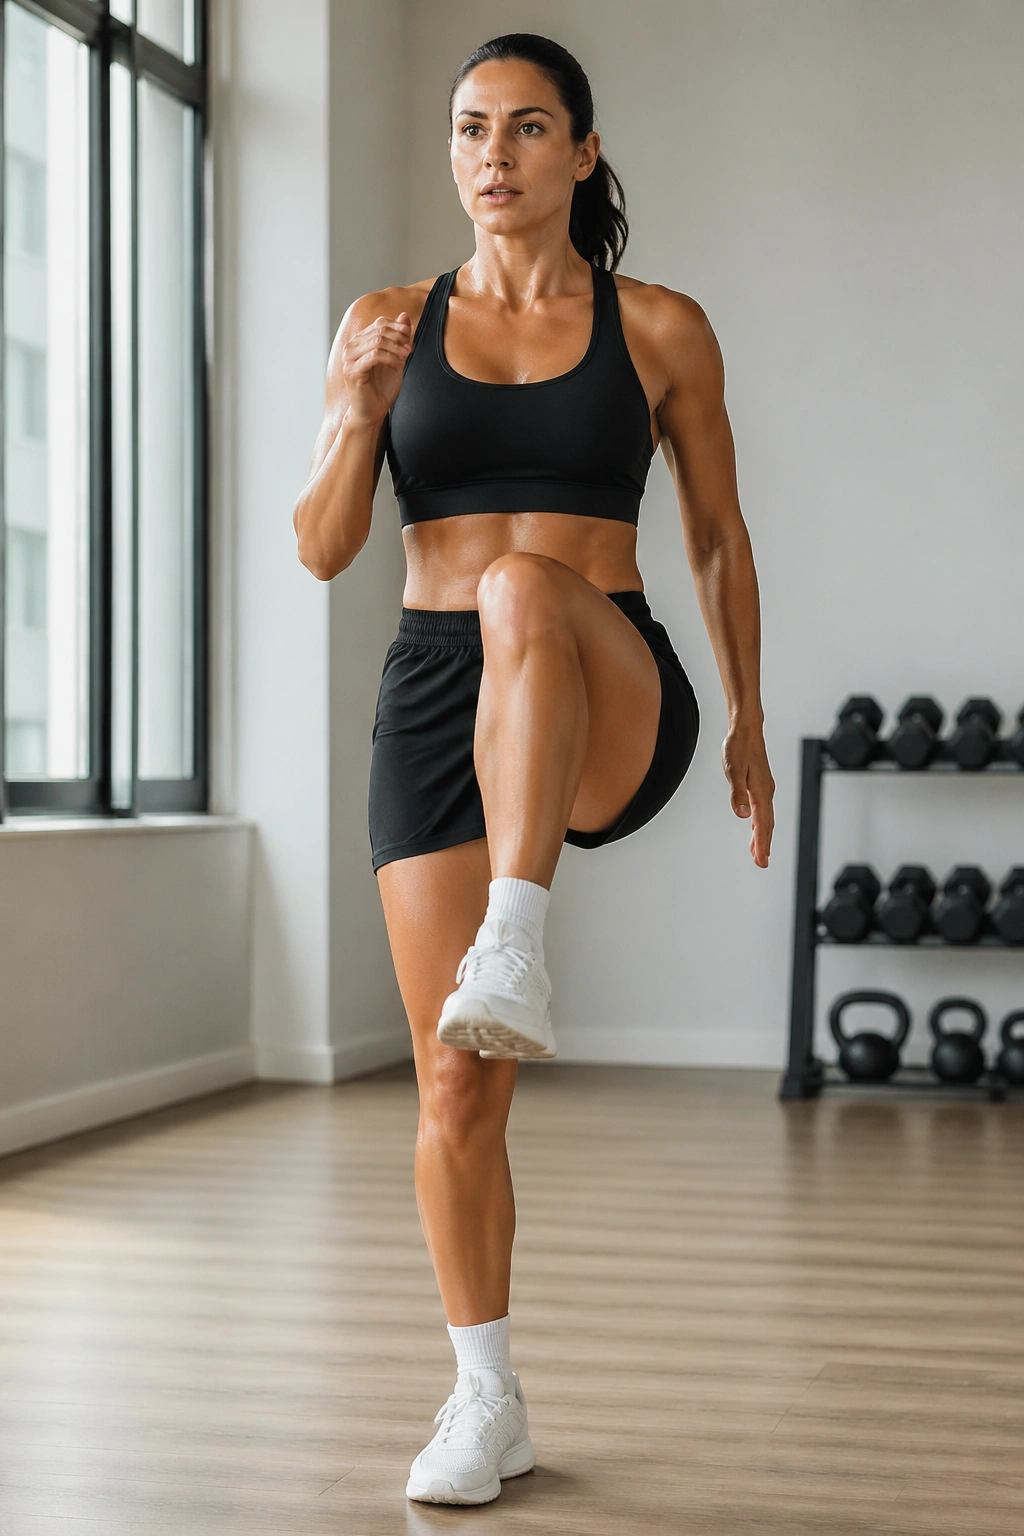
Not every lower-belly move belongs on the floor. Standing knee drives are useful because they train the core in a more real-world position, and they’re kinder to wrists, necks, and cranky backs. They also fit nicely into a cardio circuit.
Stand tall, brace, and drive one knee up as if you’re trying to touch your elbow. Add a small crunch through the torso if you can keep the spine long. Then lower with control and switch sides. The key is not the height of the knee; it’s the control through the middle.
A lot of people lean back here and turn the move into a weird balance act. Don’t. Keep the ribs over the hips and exhale on the drive. Try 30 seconds per side or 12 to 15 reps if you’re counting. If you want more challenge, move faster without losing shape.
16. Burpees
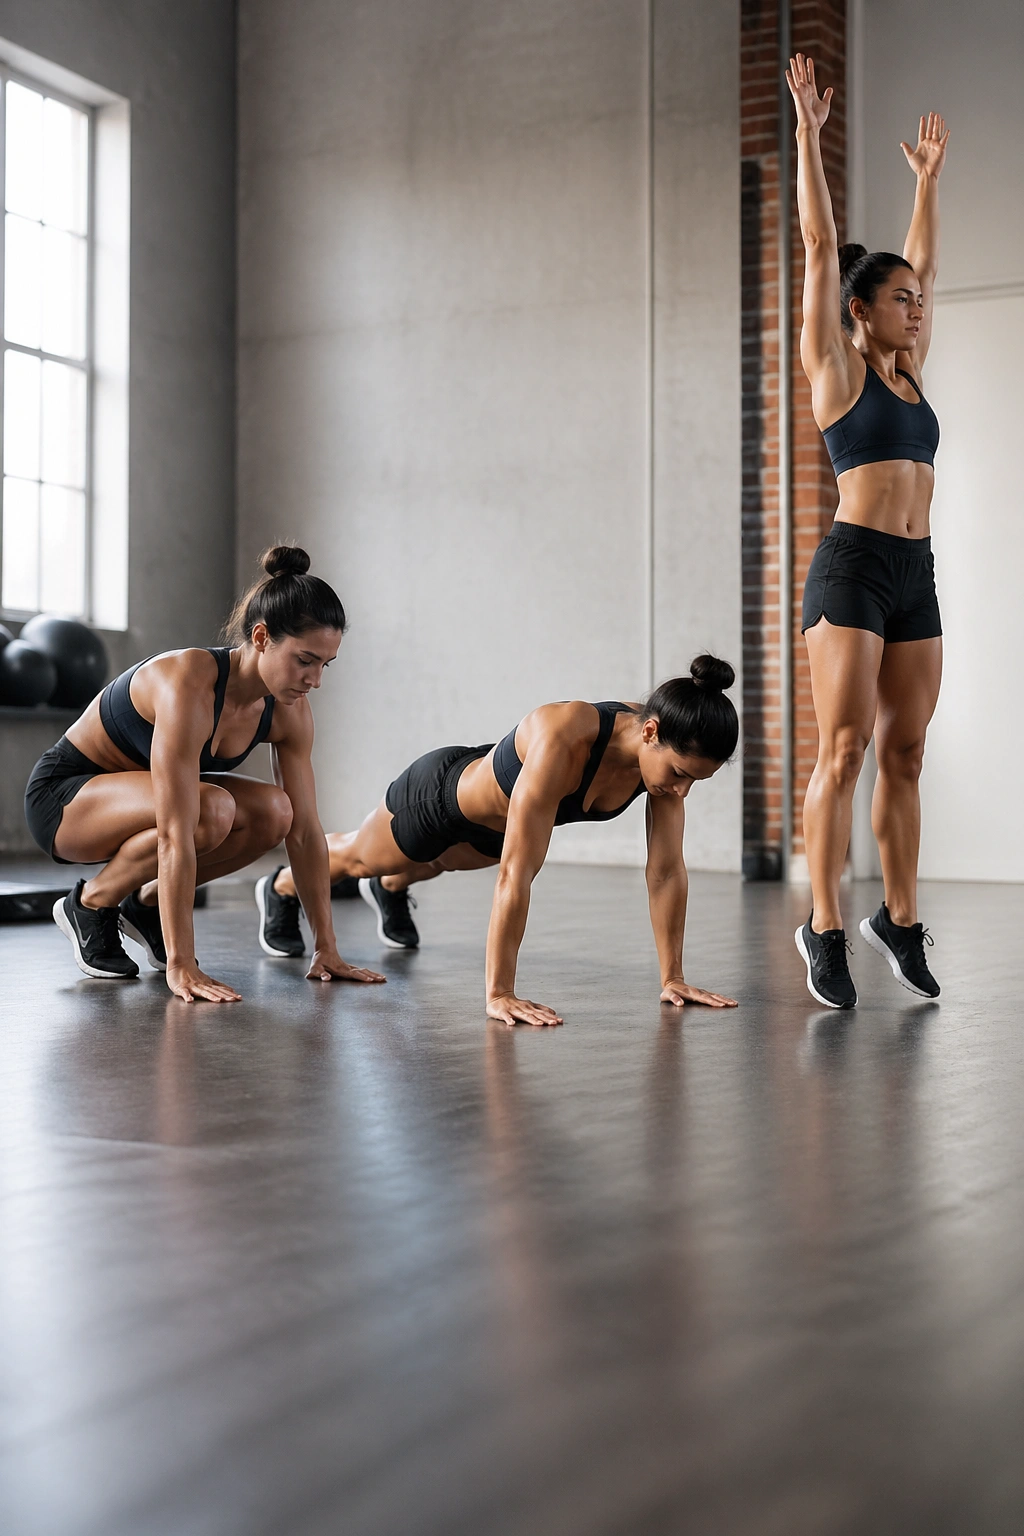
Burpees are not polite, which is part of the reason they work. They raise the heart rate fast, use a lot of muscle at once, and force the core to brace through a stand-plank-jump pattern. That’s not a direct lower-ab isolation move, but it helps with the fat-loss side of the equation.
Drop into a squat, place the hands down, step or jump back into a plank, then return and stand. Add the jump at the top if your joints are happy with it. If not, skip the jump. The workout still counts. A burpee with good control is far better than a fast one that turns into a mess on the floor.
Use burpees as a finisher, not as the centerpiece of every session. 6 to 12 reps or 20 seconds on, 40 seconds off works well. Keep the core tight through the plank phase, or the whole thing gets sloppy fast.
17. High Knees
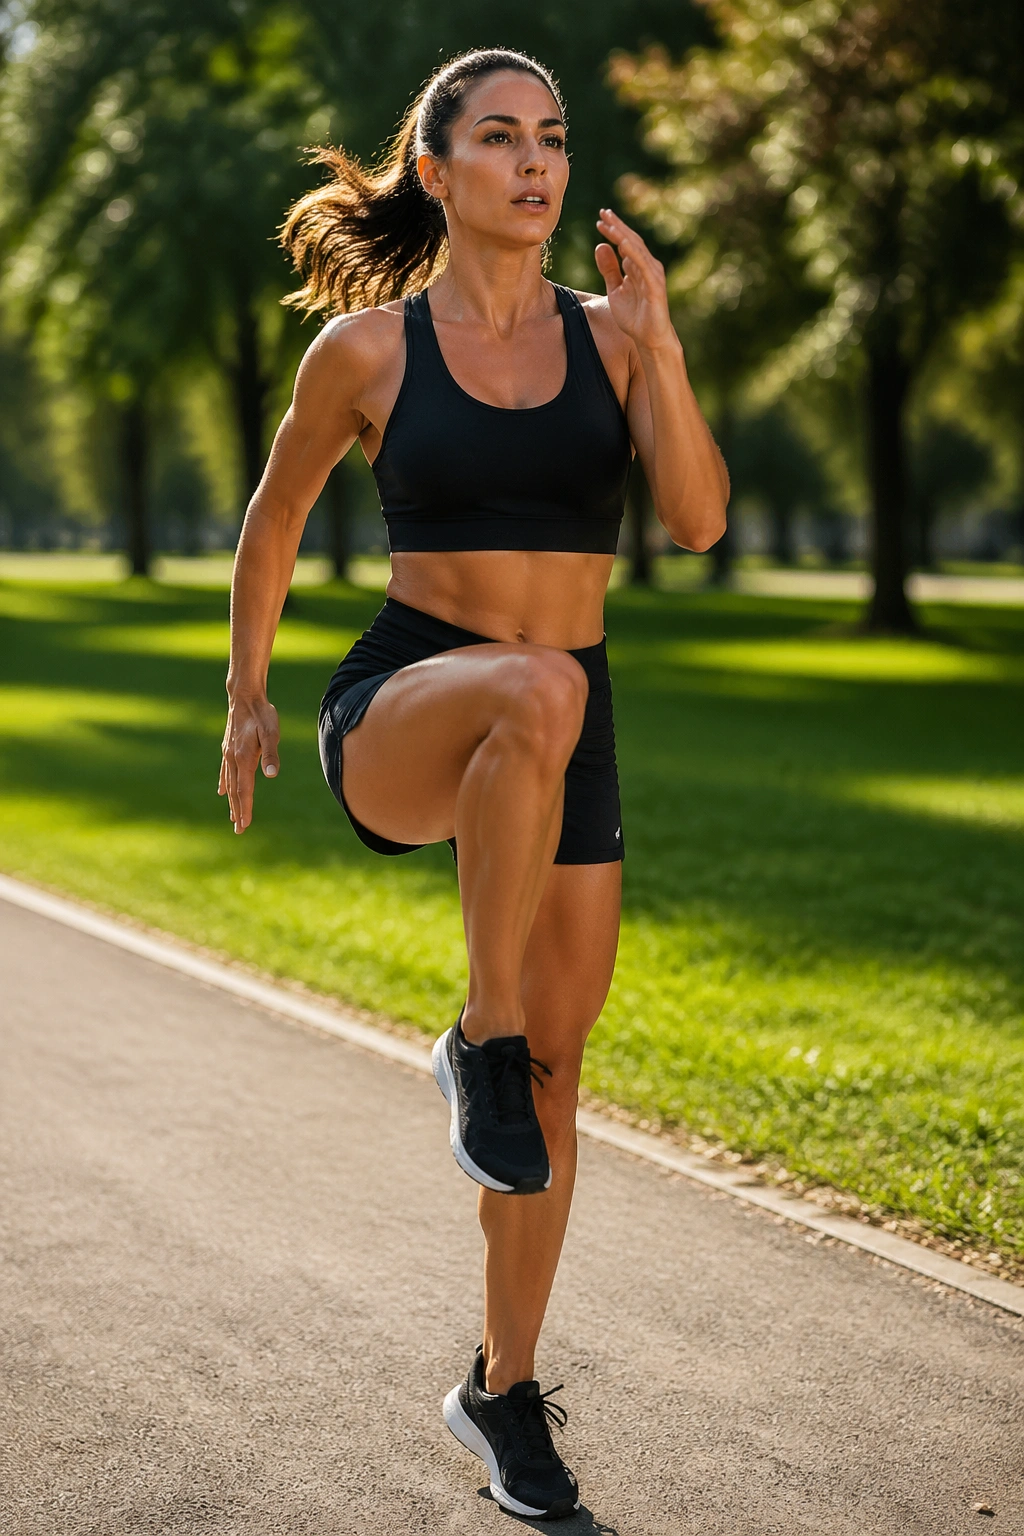
Why do high knees show up in fat-loss workouts so often? Because they spike the heart rate without needing equipment, and they make the trunk brace against rapid leg movement. That combination is useful when the goal is a leaner midsection, not just a tired pair of thighs.
Stand tall, drive one knee up, then switch quickly while pumping the arms. The torso should stay proud and stacked, not thrown backward. Land softly. If the feet are slamming the floor, you’re spending too much energy on impact and not enough on rhythm.
The pace can be steady or aggressive. Both work. A 20- to 30-second interval is enough to get the point across. If you want a simpler version, march the knees high instead of bouncing. That still trains posture, balance, and core control.
18. Squat to Knee Drive
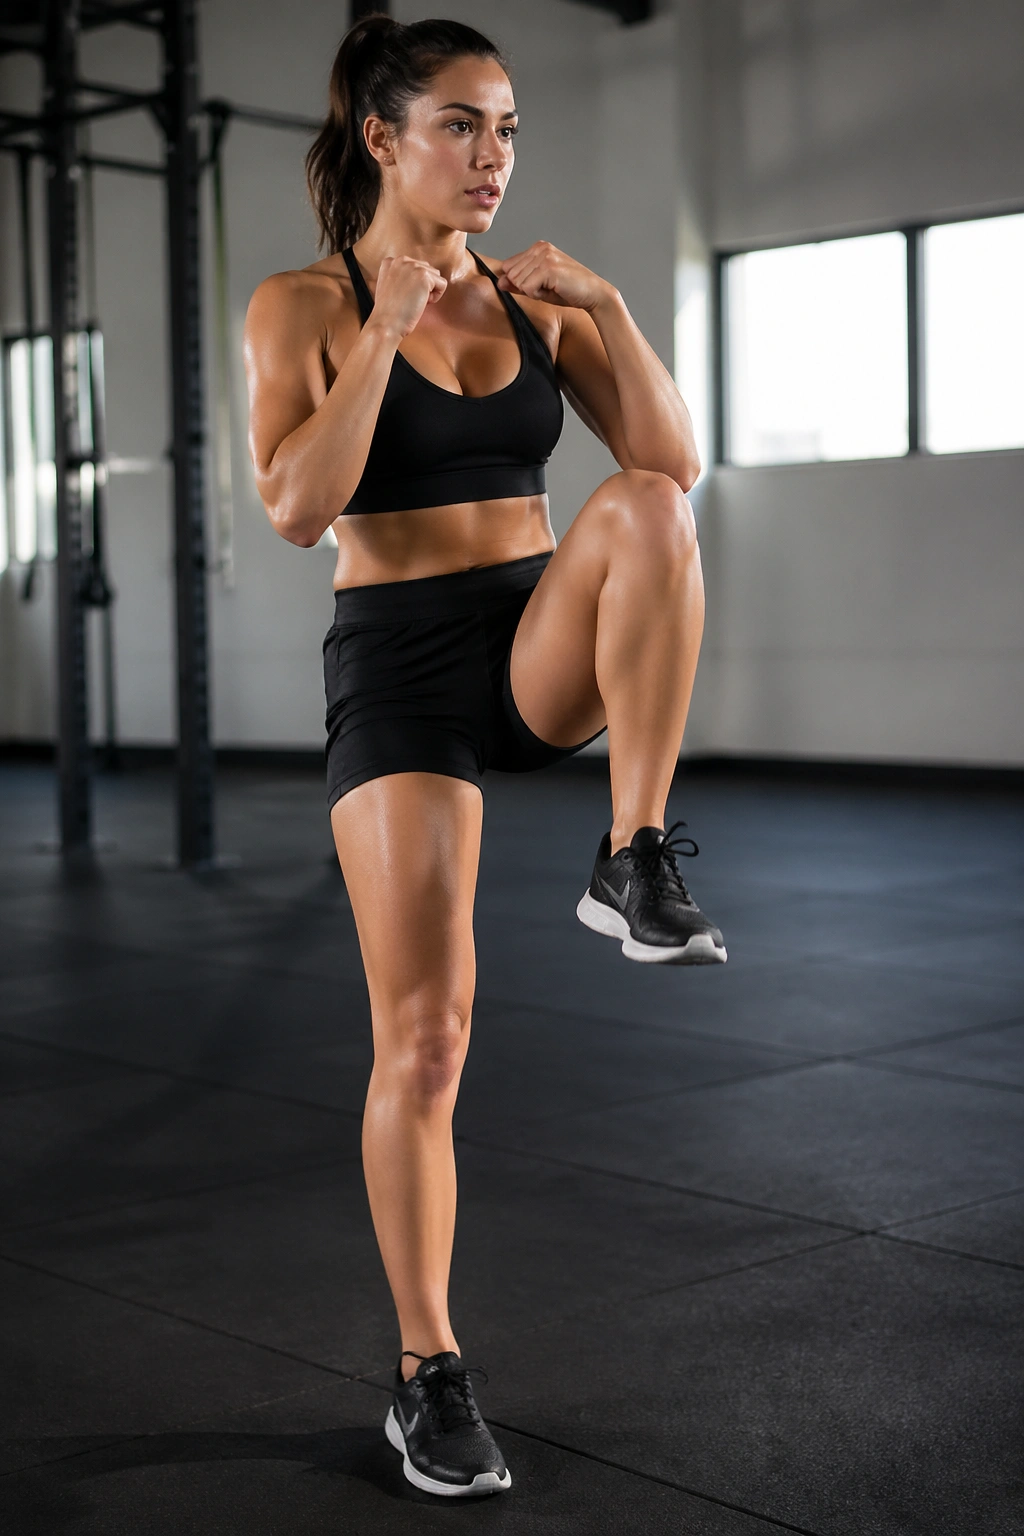
A plain squat is fine. A squat to knee drive gives you more. It combines lower-body work, balance, and trunk control in one motion, which is a handy mix if you’re trying to trim body fat and tighten the middle at the same time.
Lower into a squat, stand up, then drive one knee up before resetting. Alternate sides. The standing leg does the work, but the center of the body has to stay steady so you don’t wobble all over the place. If you throw the torso back on the knee drive, the core stops doing its job.
This move works well in circuits because it keeps you moving without needing much setup. It also feels more athletic than static ab drills, which helps if you get bored easily. Try 8 to 12 reps per side and keep the transitions smooth.
19. Jump Rope
Jump rope is one of the simplest fat-loss tools around. It doesn’t look fancy. It doesn’t need a machine. It just asks for rhythm, light feet, and a core that can stay stacked while the body repeats the same pattern over and over.
Use small jumps, soft knees, and elbows tucked near the ribs. The wrists do the turning. The body should stay tall instead of folding forward at the waist. If you start hunching, slow down and reset. Sloppy rope work is noisy and useless. Clean rope work is a solid calorie burner.
If you haven’t jumped rope in a while, start with 20 to 30 seconds and rest before the calves turn to stone. Shadow jumping works too if you don’t have a rope handy. The movement still raises the heart rate and keeps the trunk honest.
20. Plank Jacks
Plank jacks are a plank with a pulse. You stay in the braced position, then jump or step the feet out and in while trying not to let the hips bounce around. That demand for stability is what makes the exercise useful for the lower belly and the rest of the core.
Set up in a strong forearm or high plank. Jump the feet wide, then bring them back together. If jumping feels rough, step the feet out one at a time. The goal is not speed at any cost. The goal is a quiet torso while the lower body keeps moving.
Keep the plank shape clean
- Ribs stay down.
- Glutes stay tight.
- Hips stay level.
- Breathe through the effort.
That last point matters more than people admit. When the breathing gets messy, the plank usually does too. Work for 20 to 30 seconds and use the move as a finisher after slower, more controlled core exercises.
The Bottom Line
A flatter midsection usually comes from a mix of things, not a single magic move. Reverse crunches, dead bugs, planks, and leg raises train the deep core. Mountain climbers, burpees, jump rope, and high knees help with the calorie-burning side. Put them together and you’ve got a much better shot than endless crunches on their own.
The cleanest way to use these lower belly fat exercises is to build a small circuit: one floor move, one standing move, and one faster move. Do 3 to 4 rounds, keep the rest short, and stay honest about form. If your lower back arches or your neck takes over, scale the exercise down instead of pushing through bad reps.
And keep the boring part in the picture, because it matters. Walking, food choices, sleep, and stress all shape how your stomach looks. The exercises sharpen the work; they don’t do all of it.
