



If you’re hunting for apron belly workouts, you’re probably not looking for magic. You’re looking for movements that fit a body with a lower abdominal overhang—moves that do not pinch, do not need a gym, and do not leave your lower back barking the next morning.
That matters more than a lot of workout plans admit. An apron belly can show up after weight gain, pregnancy, major weight loss, abdominal surgery, or a mix of hormones, posture, genetics, and plain old time. The shape changes how certain exercises feel. Crunches may bunch up your middle. Fast burpees may feel clumsy. Floor transitions can be the hardest part, not the exercise itself.
Here is the part that deserves honesty: no workout melts fat from one exact spot. Your body does not work that way. What home exercise can do is help you burn more energy, keep muscle while you lose fat, strengthen your core, improve posture, and make walking, stairs, and daily movement feel easier. And yes, those changes can shrink your waist and lower belly over time.
I like routines that respect real life. A sturdy chair, a wall, a folded towel, maybe a staircase, and fifteen to thirty minutes are enough to make progress. Start with movements you can repeat three times a week without dreading them, and the results tend to follow.
What People Mean by an Apron Belly
First, the term itself.
When people say apron belly, they usually mean a lower abdominal fold that hangs over the waistband or upper pelvis. In medical settings, you may hear the word pannus. Same area. Different language. The body shape is common, and it is not a sign that you have “failed” at fitness.
Size, skin, scars, and muscle tone all change how that area moves. Someone who has had a C-section may feel pulling along the scar line. Someone with diastasis recti may notice a ridge or bulge down the center of the belly when bracing hard. Someone carrying more body fat around the middle may feel bouncing or skin irritation during cardio. Those details change exercise choice more than most generic workout lists bother to say.
A few cases need extra care before you start pushing hard.
- Sharp pain, not mild muscle work
- A suspected hernia, especially a bulge near the belly button or an old incision
- Pelvic heaviness or leaking during exercise
- Recent abdominal surgery
- Open skin irritation or rash under the fold
If one of those sounds familiar, get medical clearance first. A pelvic floor physical therapist, sports medicine clinician, or your regular doctor can help you sort out what is safe and what needs a different plan.
What Apron Belly Workouts Can Actually Change
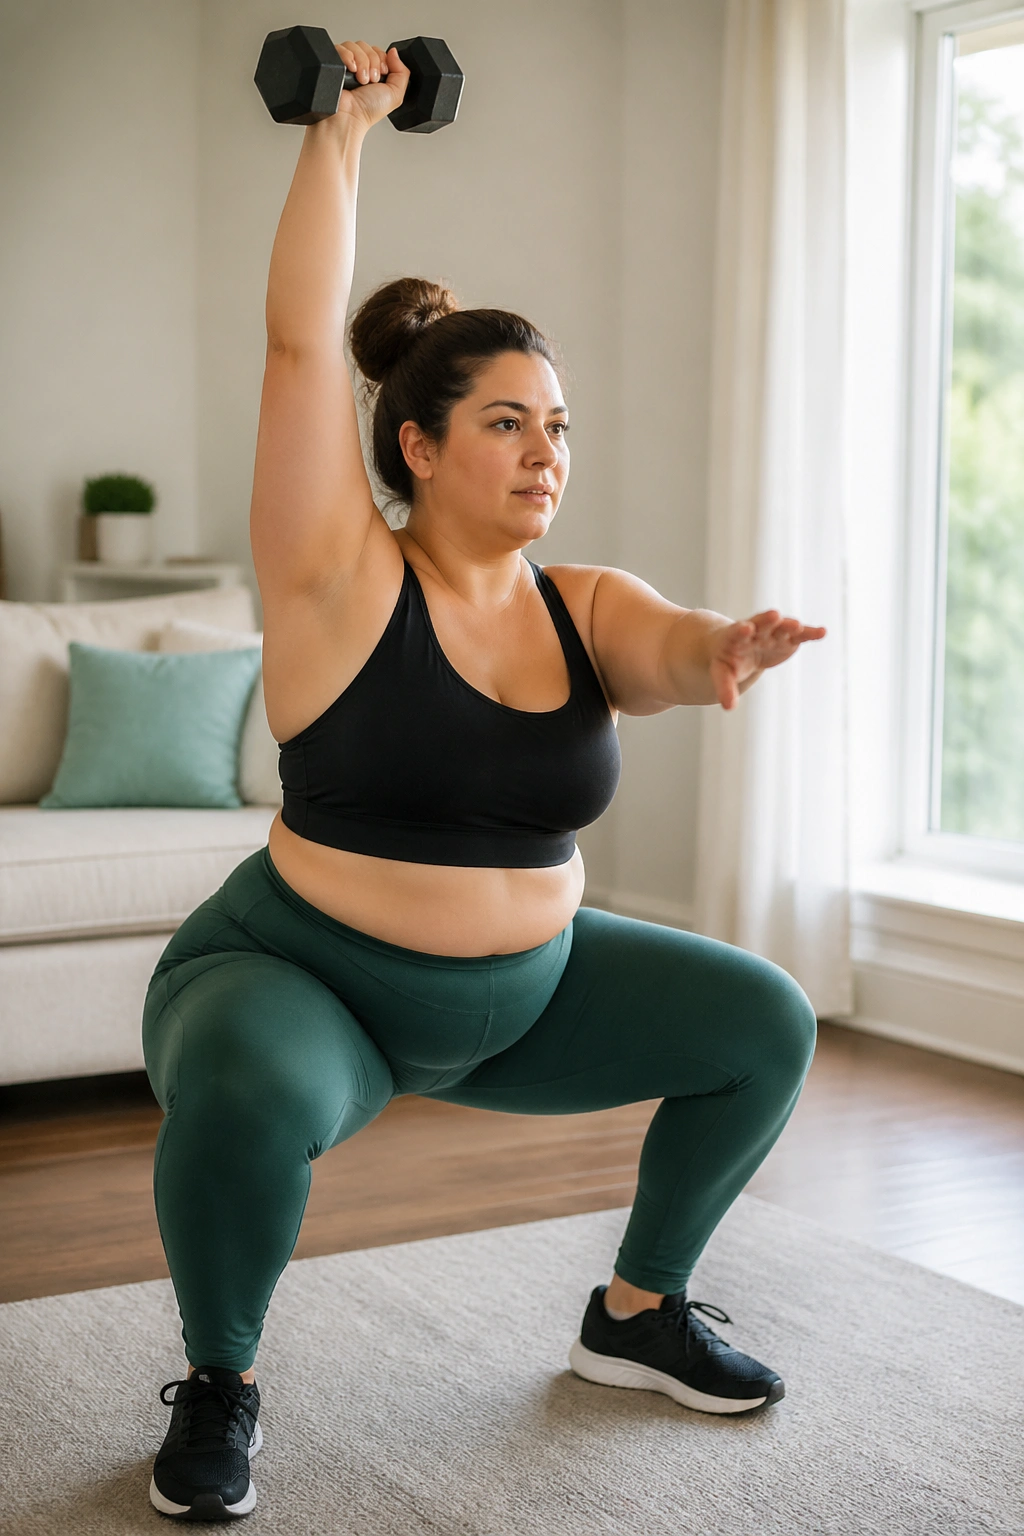
Whole-body training beats endless ab moves.
That is the short version, and it has been backed up by exercise guidance for a long time. Public-health recommendations have long pointed people toward 150 minutes of moderate movement per week plus strength training on at least 2 days. Not because those numbers are magical, but because that mix tends to improve body composition, blood sugar control, stamina, and waist measurements better than “ab day” on repeat.
Apron belly workouts help in three ways. Cardio-style moves raise your heart rate and burn energy. Strength work for your legs, hips, back, and chest keeps muscle on your frame, which matters if fat loss is one of your goals. Core training teaches your trunk to brace, resist twisting, and support your spine so daily movement feels steadier.
Some changes show up before the scale budges.
You may notice that you can stand from a low couch without pushing off your thighs. Your walks get faster. Your lower back complains less while you wash dishes. Clothes sit better at the waist. Those are not small wins. They are the signs that your plan is working in the real world, not only on paper.
A Five-Minute Warm-Up Before Apron Belly Workouts
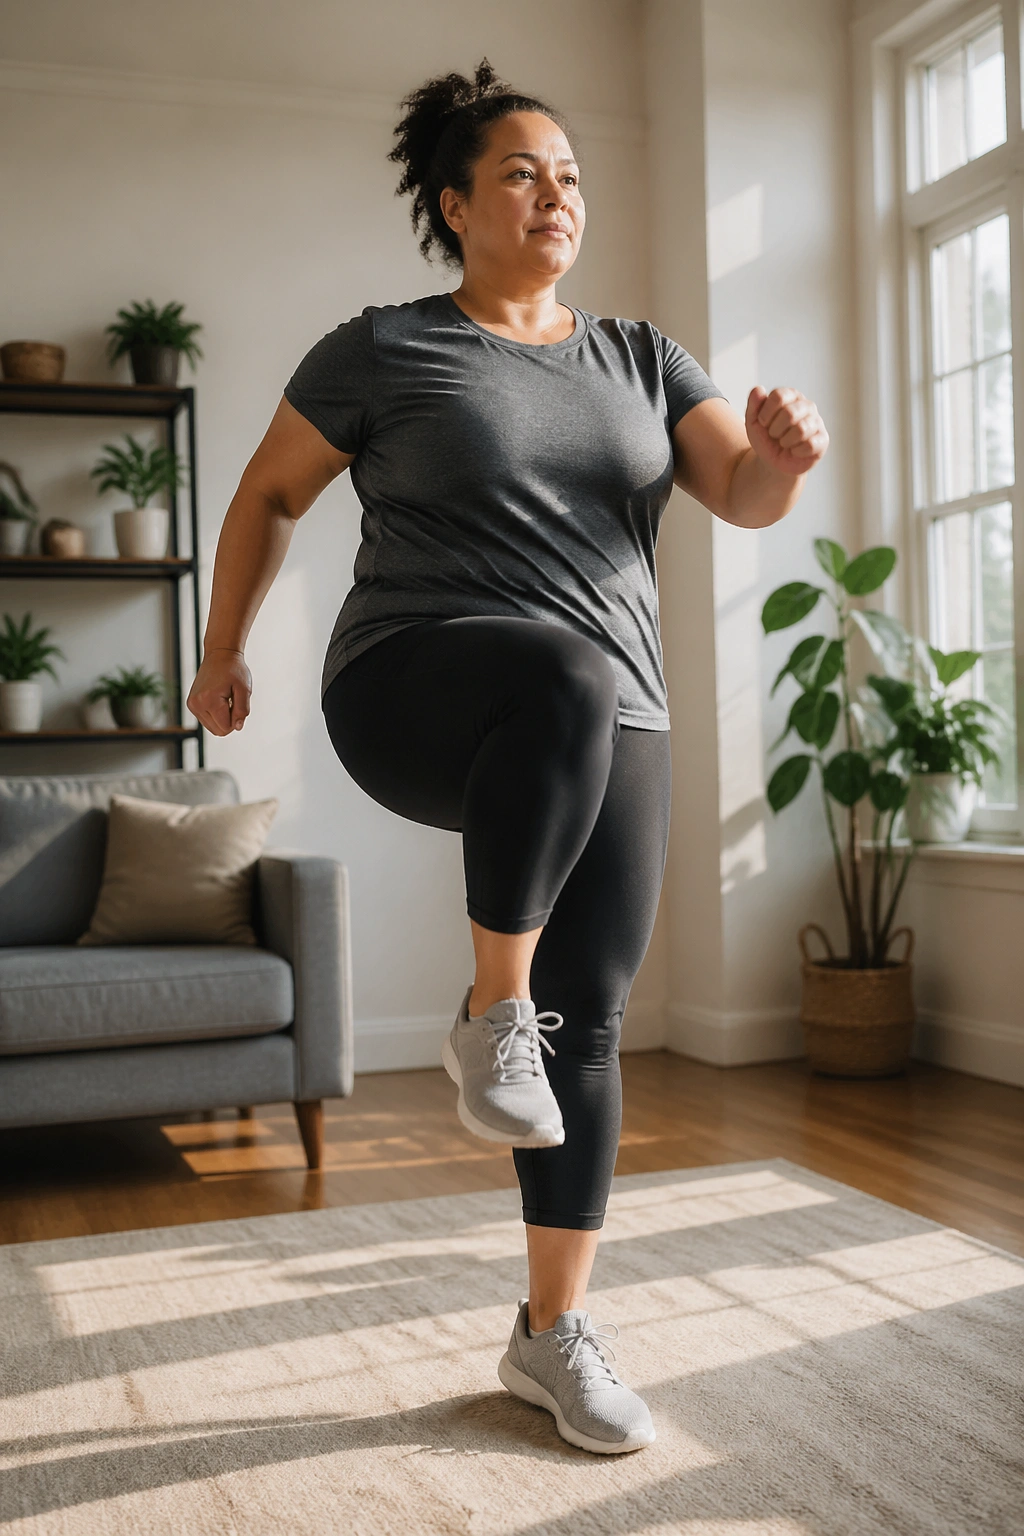
Skip the dramatic stretching routine. You need five minutes, not twenty.
If the first few reps of a workout feel stiff, awkward, or weirdly heavy, a warm-up usually fixes half of that. The goal is simple: raise your body temperature a little, wake up your hips and shoulders, and practice bracing before the harder work starts.
Try this sequence in order:
- March in place for 60 seconds, arms swinging naturally.
- Roll your shoulders backward 10 times, then forward 10 times.
- Do 8 hip circles each direction, slow and controlled.
- Place your hands on a wall and do 8 standing cat-cow reps, rounding and arching gently through the upper back.
- Take 5 brace breaths: inhale through your nose, then exhale through your mouth as if fogging a mirror and tighten your midsection for 3 seconds.
- Sit and stand from a chair 5 times at an easy pace.
Floor mobility is not required. If getting down and up is a hassle, stay standing. You are warming up for your workout, not auditioning for a yoga class.
How to Rotate Apron Belly Workouts Through the Week
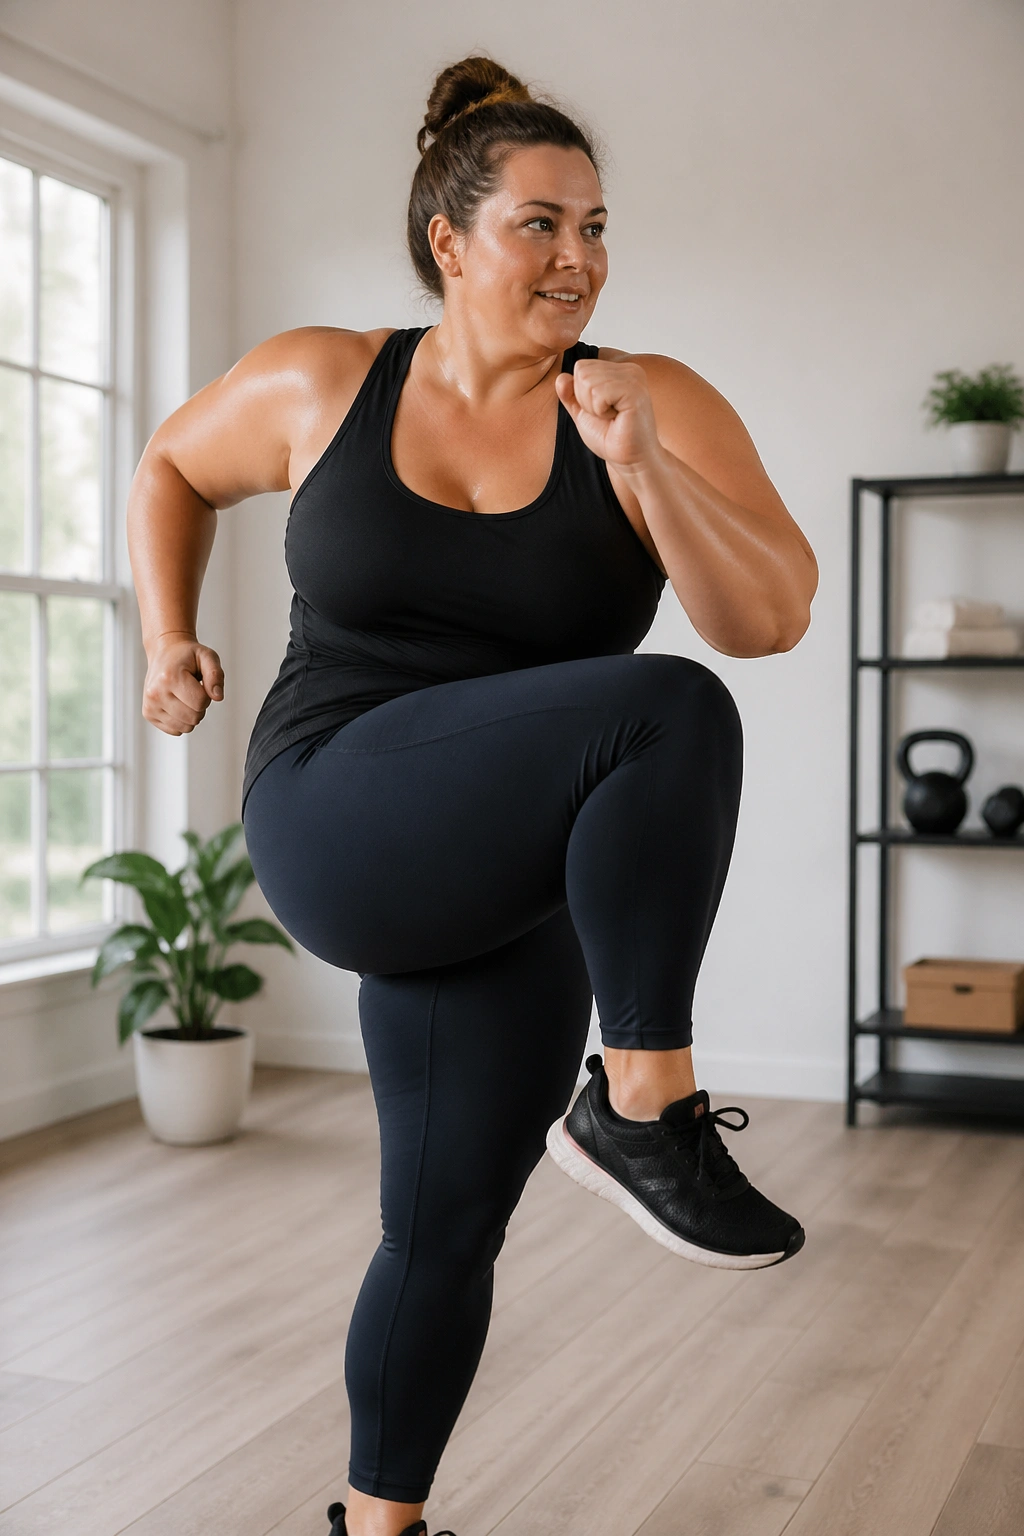
Three short sessions beat one heroic Saturday slog.
A smart home plan uses 3 strength-focused days, 2 walking or cardio days, and light recovery work in between. That can mean a brisk 20-minute walk on Tuesday and Thursday, then strength circuits on Monday, Wednesday, and Saturday. If your schedule is packed, do 15 minutes. Done consistently, 15 useful minutes beats the “I’ll start Monday” fantasy every time.
Here is a simple pattern I like:
- Day 1: 5 lower-body and core moves
- Day 2: 20 to 30 minutes of brisk walking
- Day 3: 5 upper-body, cardio, and core moves
- Day 4: Easy mobility or a slow walk
- Day 5: Full-body circuit
- Day 6: Longer walk, bike ride, or dance workout at home
- Day 7: Rest
Use 2 to 4 sets per move. Most beginners do well with 8 to 12 reps on strength exercises or 20 to 45 seconds on timed cardio drills. Rest long enough to breathe through your nose again. Then go.
1. Marching in Place With Arm Swings
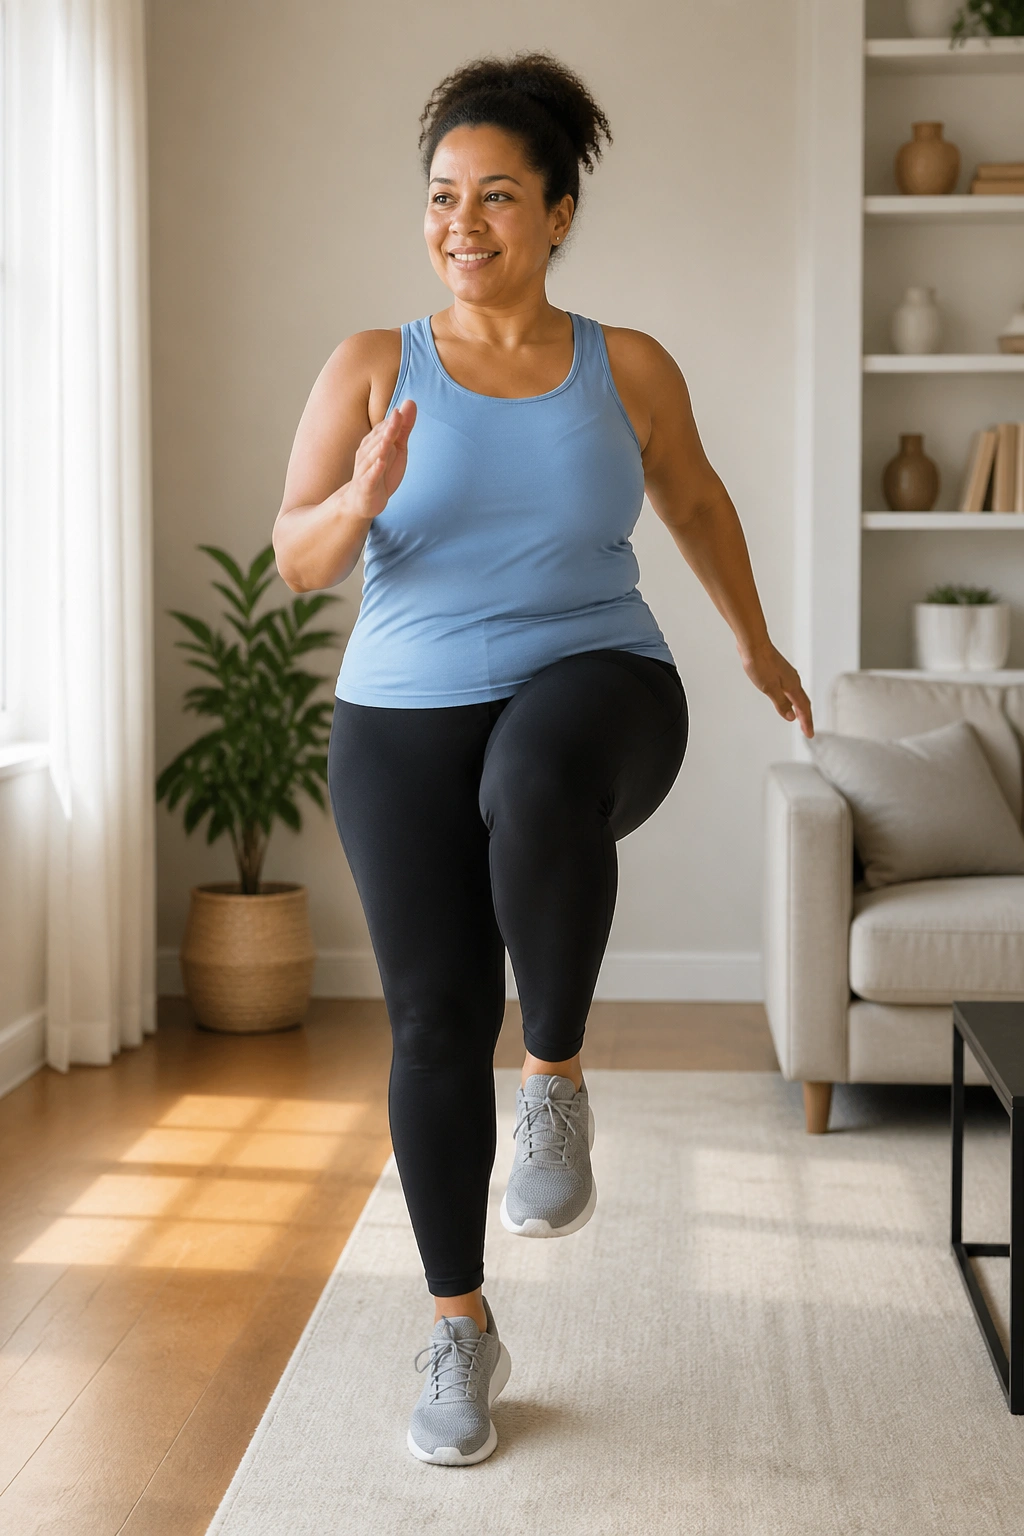
This is the move I start almost everyone with because it is low-drama and hard to mess up.
Marching in place gets your heart rate up, warms your hips, and teaches you to move your trunk without stiffening like a board. If your lower belly feels heavy or bouncy during exercise, start with a smaller knee lift and a firmer exhale. A supportive waistband or snug workout leggings can make this feel much better.
How to do it well
Stand with your feet hip-width apart. Lift one knee to a comfortable height, then switch sides in a steady rhythm. Swing your arms from the shoulders, not the elbows, and land softly through the middle of your foot.
Quick form checks
- Keep your chest tall instead of leaning back
- Breathe out every 2 to 4 steps
- Move your arms with some intent; lazy arms cut the training effect
- Stay light on your feet, not stompy
Starting point: 3 rounds of 45 seconds, with 15 to 20 seconds of rest between rounds.
2. Chair Squat to Stand
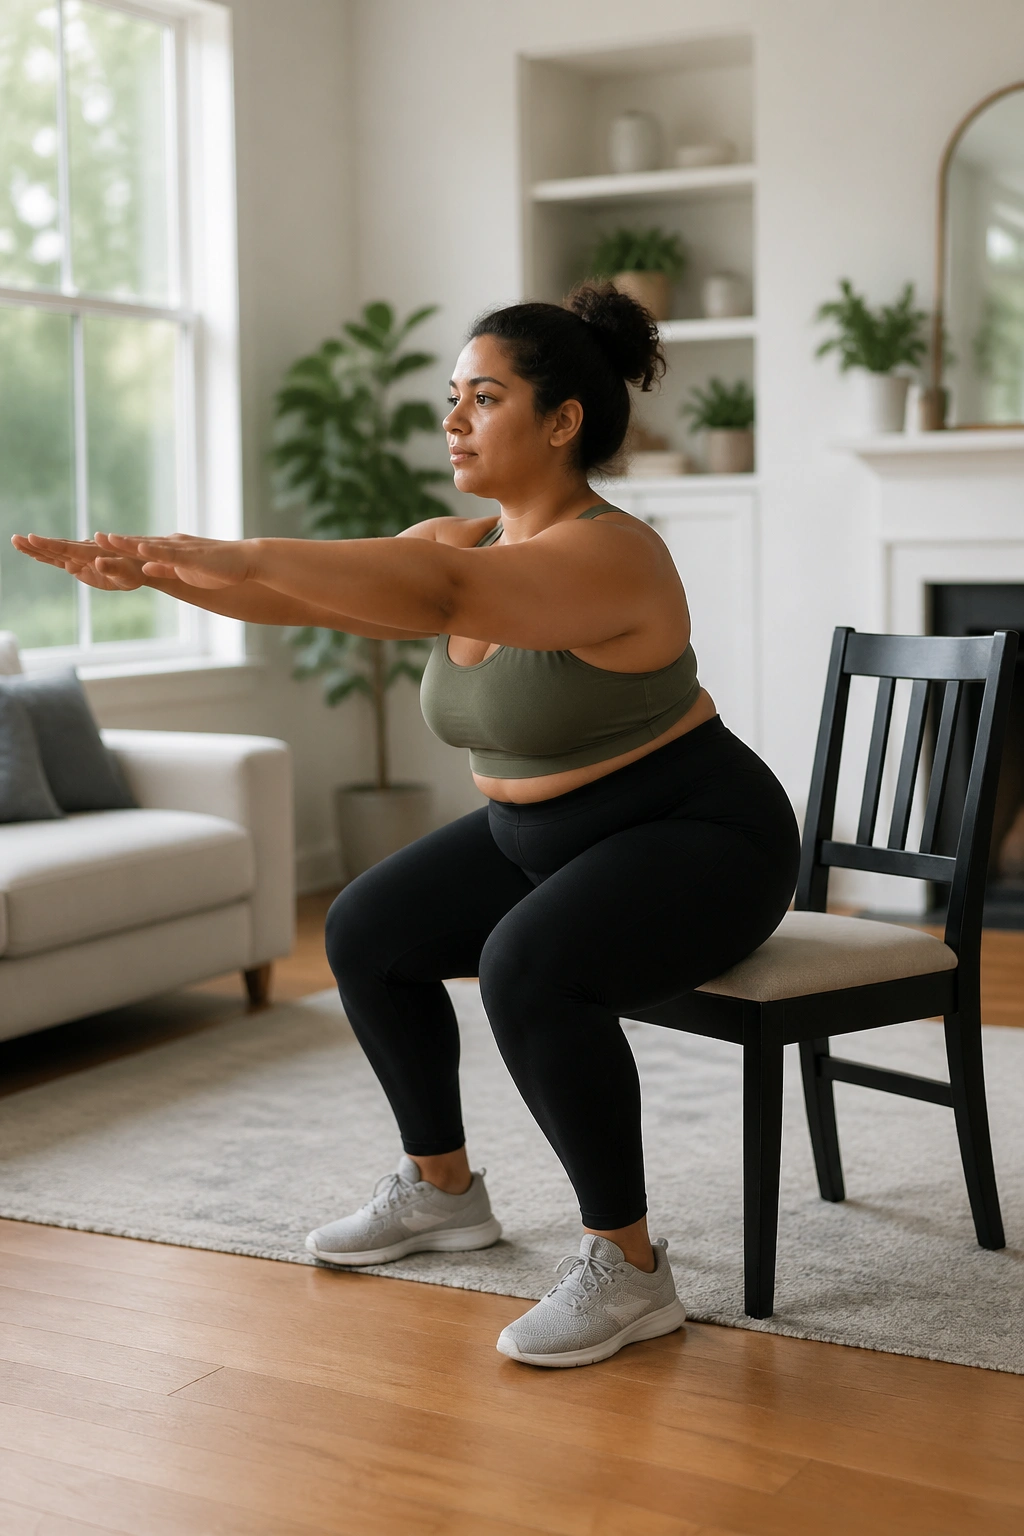
If you want one home exercise that pays off fast, pick this one.
Chair squats train your quads, glutes, and core—the big muscles that burn more energy than tiny isolation moves. They also mirror a daily task you do over and over: standing up. That sounds ordinary. It is not. Losing that strength is one reason people feel “out of shape” in a way that shows up all day long.
Use a sturdy chair that lets your knees sit a little below your hips. Sit near the front edge, place your feet about shoulder-width apart, lean your chest forward, and push through your midfoot to stand. Lower yourself back down with control rather than dropping the last few inches.
I like 8 to 12 reps for 2 to 4 sets here. If your knees complain, raise the chair height with a firm cushion or reduce the depth. If it feels too easy, slow the lowering phase to 3 seconds down. That small change bites.
3. Wall Push-Ups
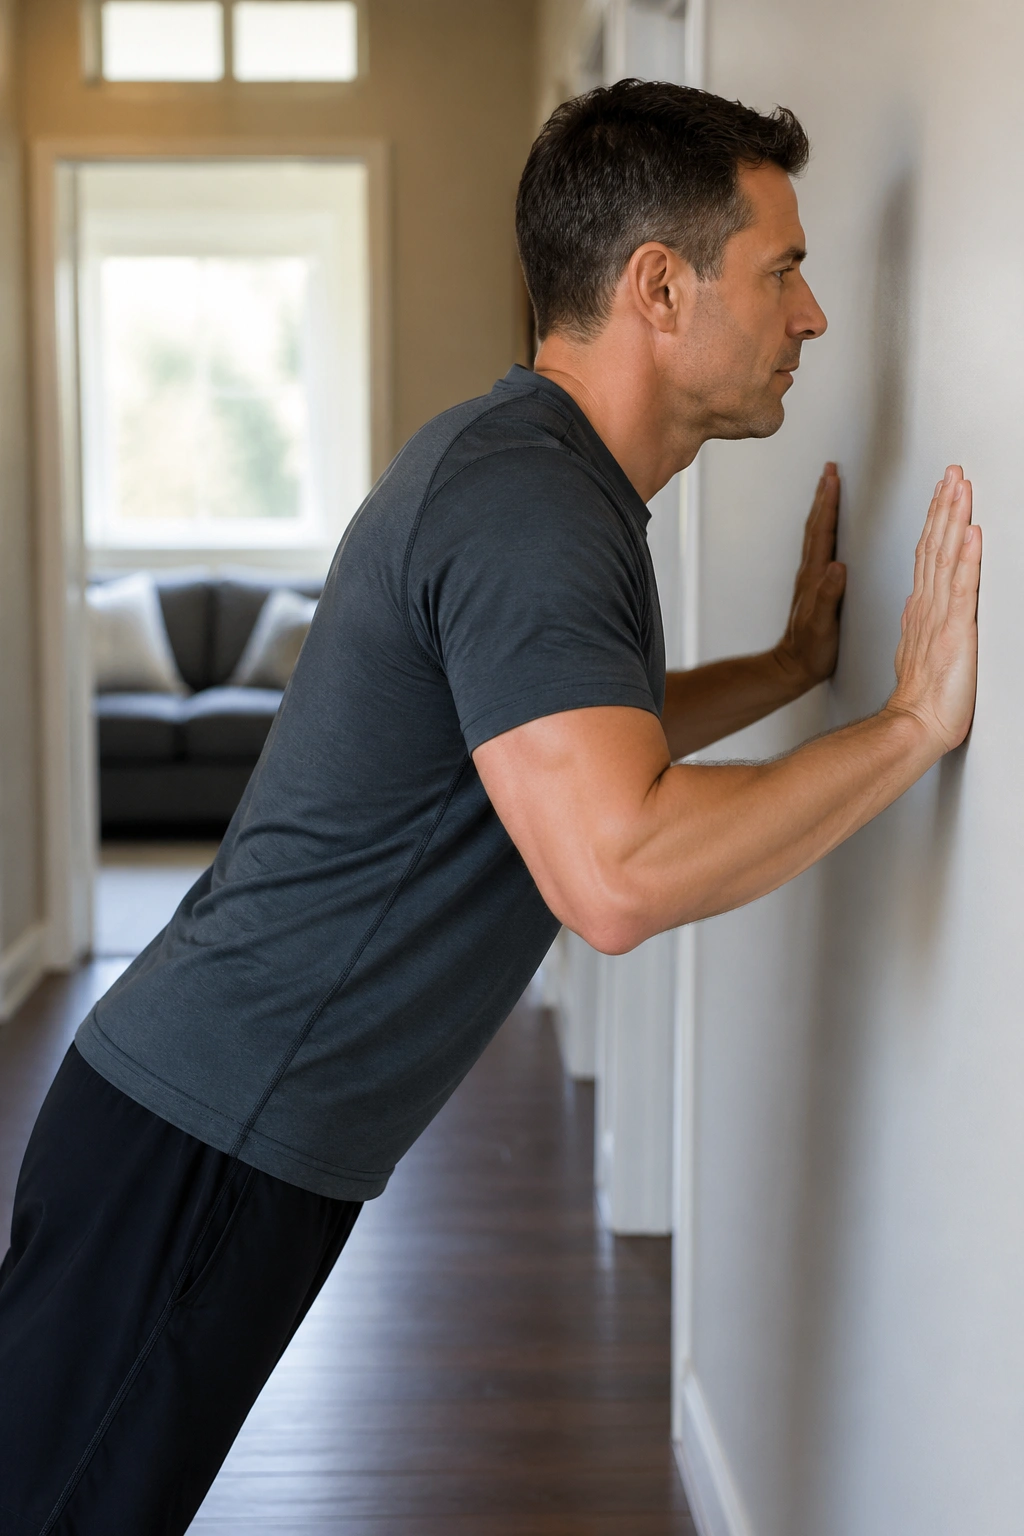
A lot of people chasing belly fat forget to train their upper body. Bad idea.
Wall push-ups work your chest, shoulders, triceps, and core without the wrist strain or belly pressure that floor push-ups can create early on. They also teach full-body tension. Your body should move as one line, not as a chest-first collapse toward the wall.
Set your hands on the wall at chest height, slightly wider than shoulder-width. Walk your feet back until your body forms a straight diagonal line. Bend your elbows, bring your chest toward the wall, then press away.
A few cues make a big difference:
- Keep your ribs down instead of flaring your chest
- Do not shrug your shoulders toward your ears
- Aim your elbows at a slight angle, not straight out to the sides
- Press the floor away through your feet as you push, which helps your core brace
Start with 10 to 15 reps. Move your feet farther back to make it harder. Use a countertop later if you want the next step up.
4. Glute Bridges
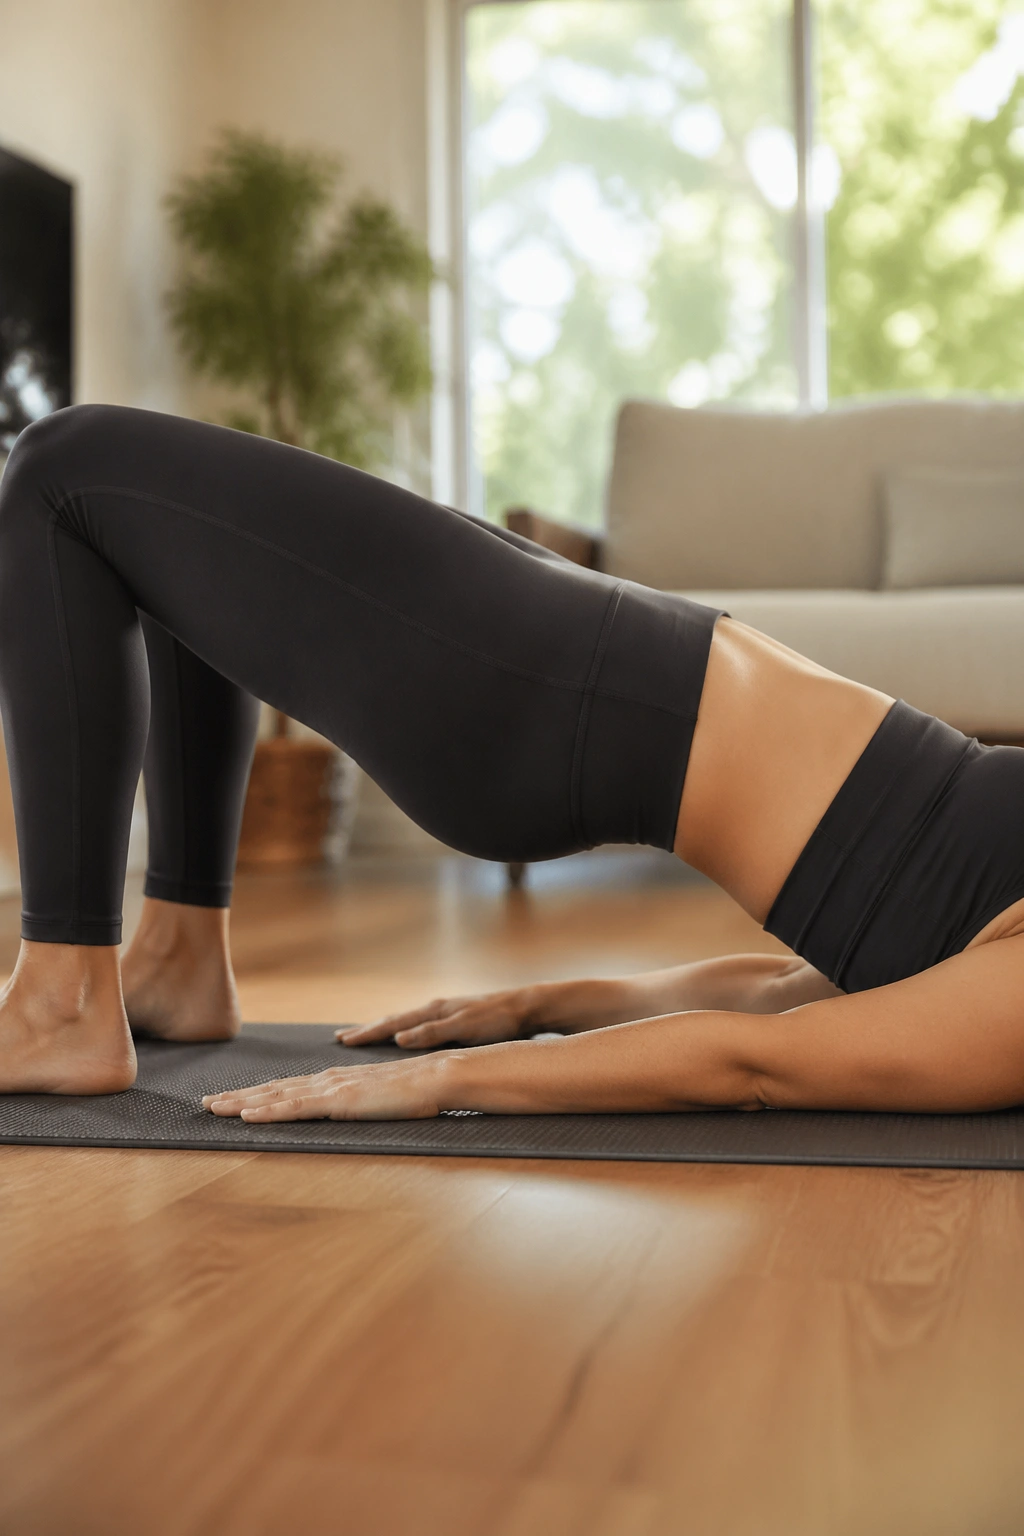
Most people with a heavy lower belly feel their lower back trying to do work that their hips should be doing. Glute bridges fix some of that.
Lie on your back with knees bent, feet flat, and heels about 8 to 12 inches from your hips. Exhale, flatten your ribs a little, and press through your heels to lift your hips until your body forms a line from shoulders to knees. At the top, your glutes should feel firm and your belly should feel braced, not shoved upward into a hard arch.
Pause there for 2 seconds. Feel it. Then lower slowly.
A folded towel under your head can make the setup nicer. If the floor feels rough on your spine, use a yoga mat or even a carpeted area. I also like telling people to imagine they are “zipping up tight jeans” as they lift. That cue gets better engagement than “squeeze your abs” for a lot of bodies.
Shoot for 12 reps for 3 sets. If hamstrings cramp, bring your feet a little closer to your hips and think about pushing the floor away rather than yanking with the backs of your legs.
5. Dead Bugs
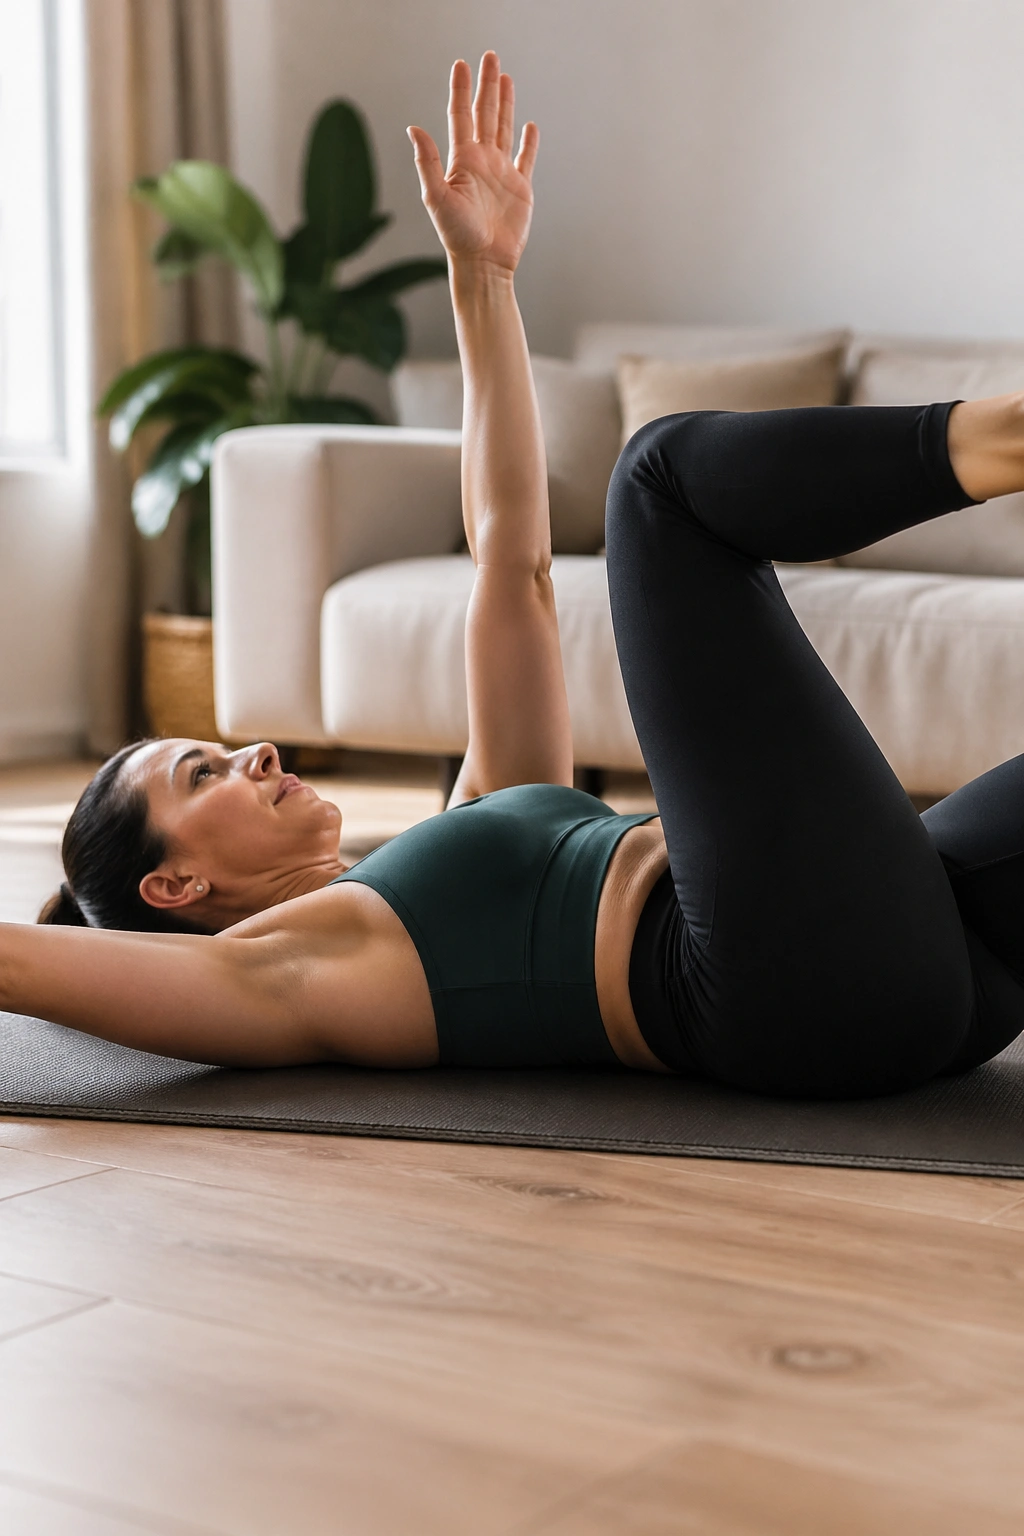
Why does this odd little move help more than endless crunches?
Because the dead bug teaches your core to resist lower-back arching while your arms and legs move. That is the job your trunk does during walking, stair climbing, carrying groceries, and getting out of bed. Crunches train spinal flexion. Dead bugs train control. I will take control first.
Lie on your back with your knees bent to 90 degrees and your arms reaching toward the ceiling. Exhale and bring your ribs down gently. Lower your right arm and left leg toward the floor without letting your lower back pop up. Return to center, then switch sides.
How to make it work for your body
If your belly wants to bulge upward hard through the middle, shorten the leg reach. If your neck gets tense, rest your head on a folded towel. If lying flat makes you feel cramped, place your feet on a couch and practice the arm movement first.
Good dose: 6 to 8 slow reps per side. Slow is the whole point.
6. Bird Dogs
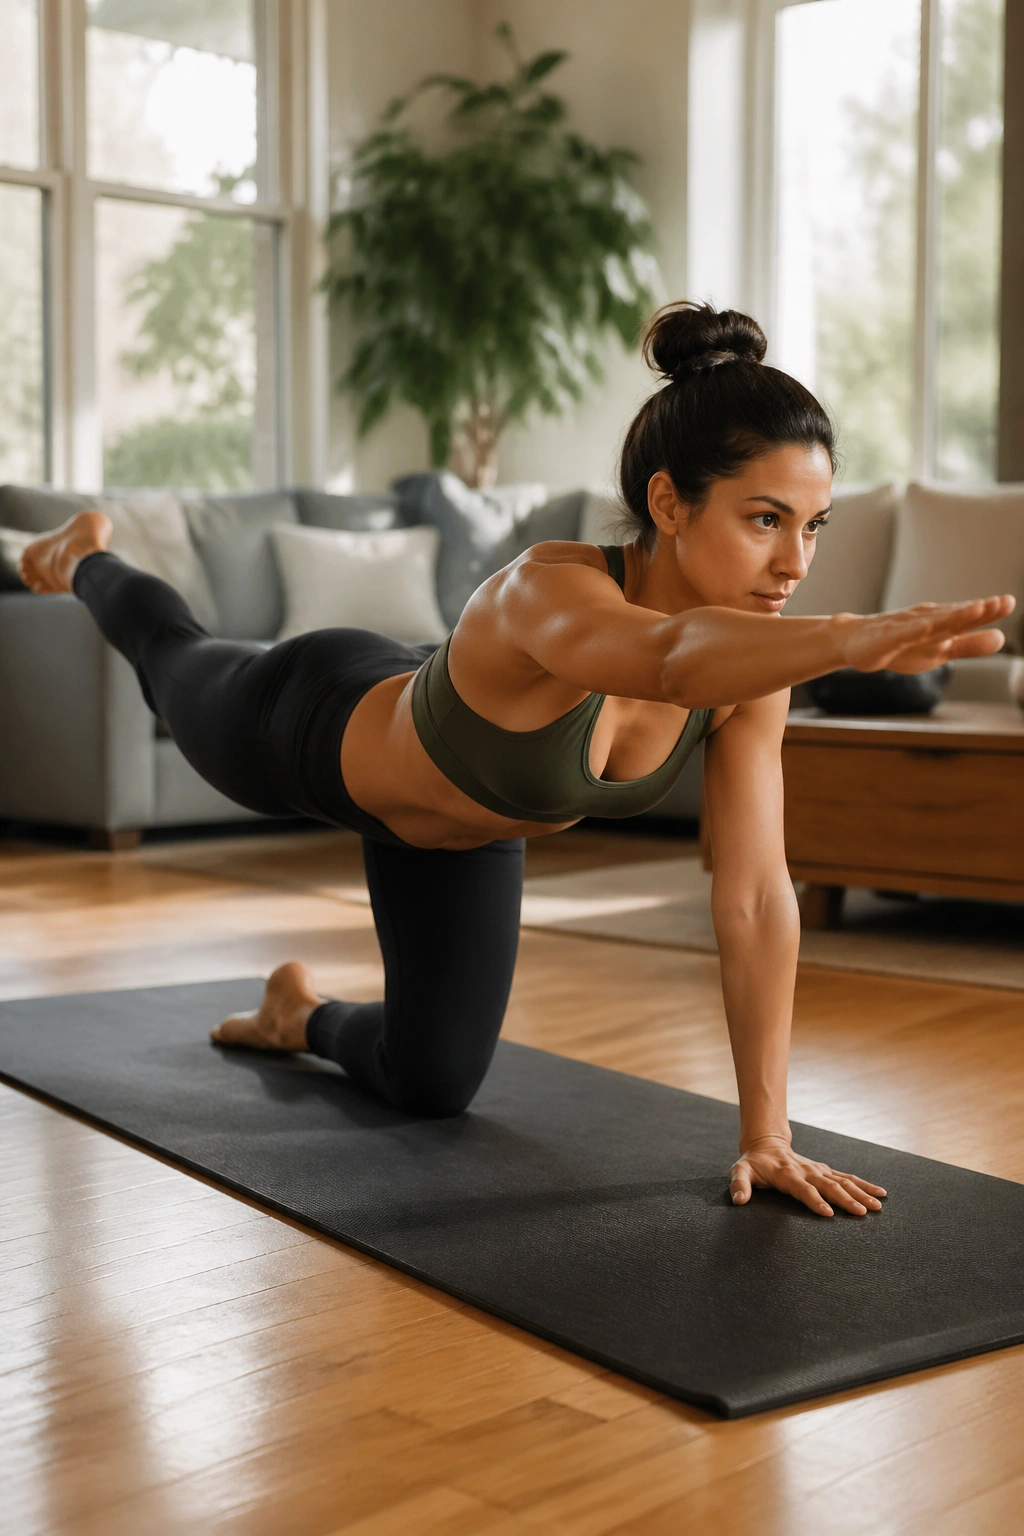
Unlike fast floor drills that turn into flailing, bird dogs reward patience.
Start on hands and knees with your hands under shoulders and knees under hips. Brace your midsection as if someone is about to poke your side. Then reach one leg back while the opposite arm reaches forward. Hold for 1 to 2 seconds, return, and switch.
The trick is not lifting higher. It is moving without twisting your hips or dumping into your lower back. A glass of water balanced on your low back—that old trainer image—still works here. If it would spill, your range is too big.
People with wrist discomfort can do bird dogs on fists, on dumbbell handles, or with hands elevated on a couch seat. Aim for 6 to 10 reps per side. Smooth reps beat long sets.
7. Stair Step-Ups
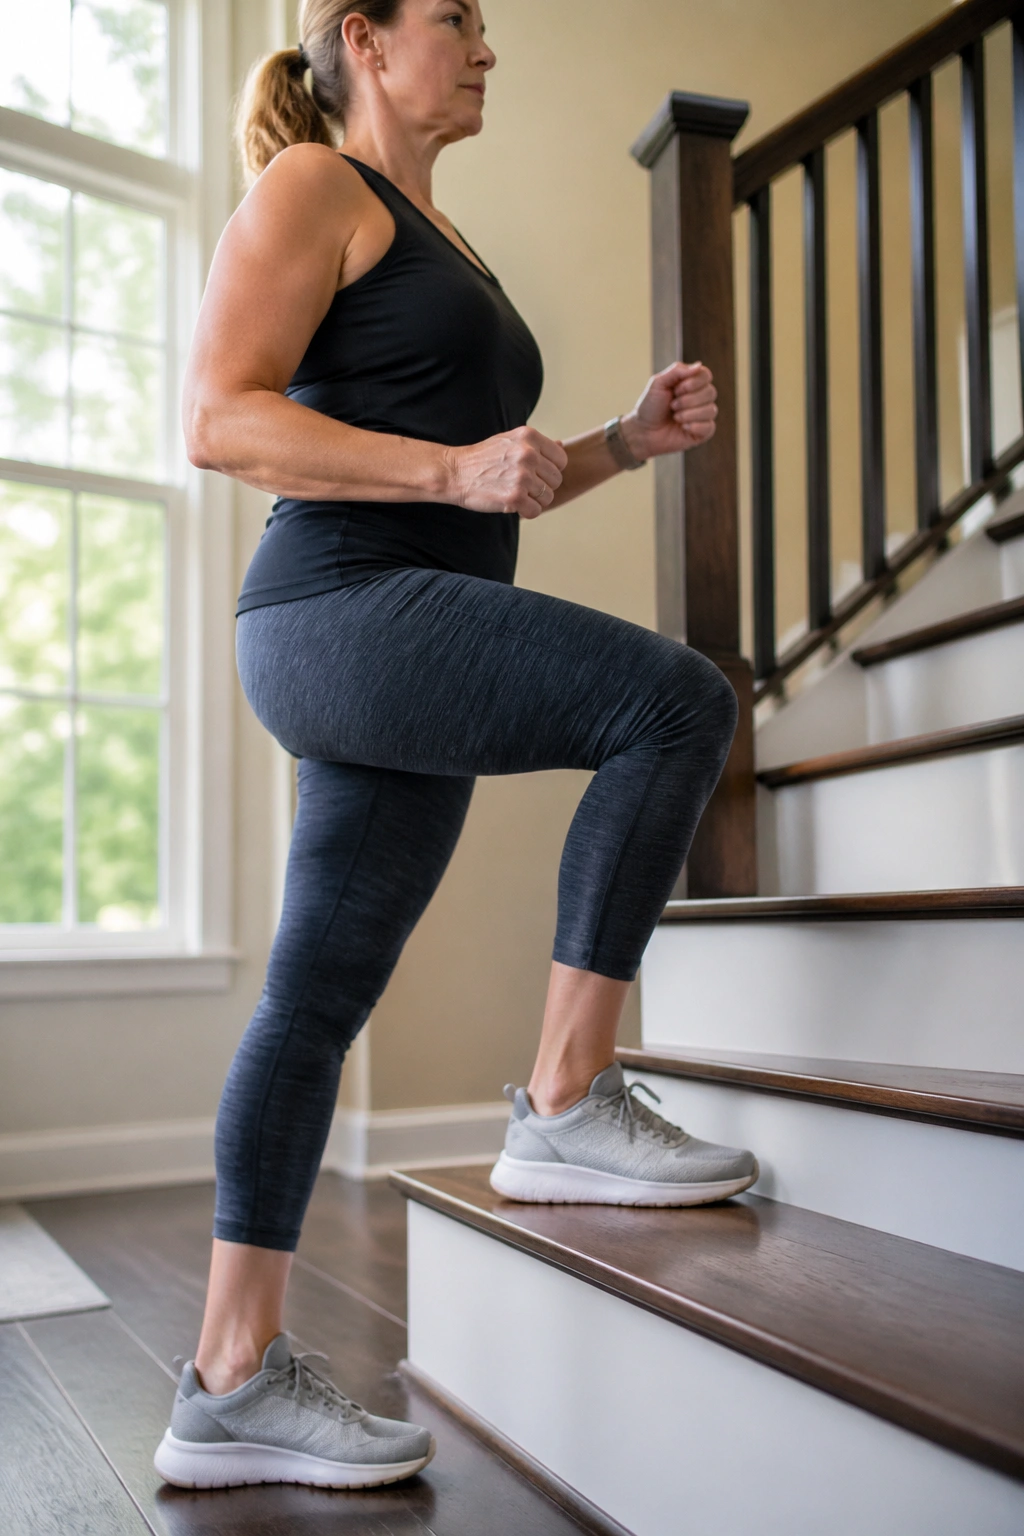
One bottom stair can turn into a solid leg workout in a hurry.
Step-ups train your quads, glutes, calves, and balance while giving you a mild cardio hit. They also clean up an everyday movement pattern. If climbing stairs leaves you winded, this one deserves a place in your week.
Set it up right
Use the lowest stair you have or a low aerobic step. Put your whole foot on the step, lean your chest forward a touch, and drive through that front leg to stand up. Step down with control. Do not bounce off the back leg to cheat the rep.
A few details that matter
- Hold a railing or wall at first if balance is shaky
- Keep your knee tracking over the middle of your foot
- Lower slowly; the way down is where a lot of the work happens
- Switch sides after 8 to 12 reps
If your knee does not like a standard stair height, lower the platform or use chair squats instead until your strength catches up.
8. Seated Knee Lifts
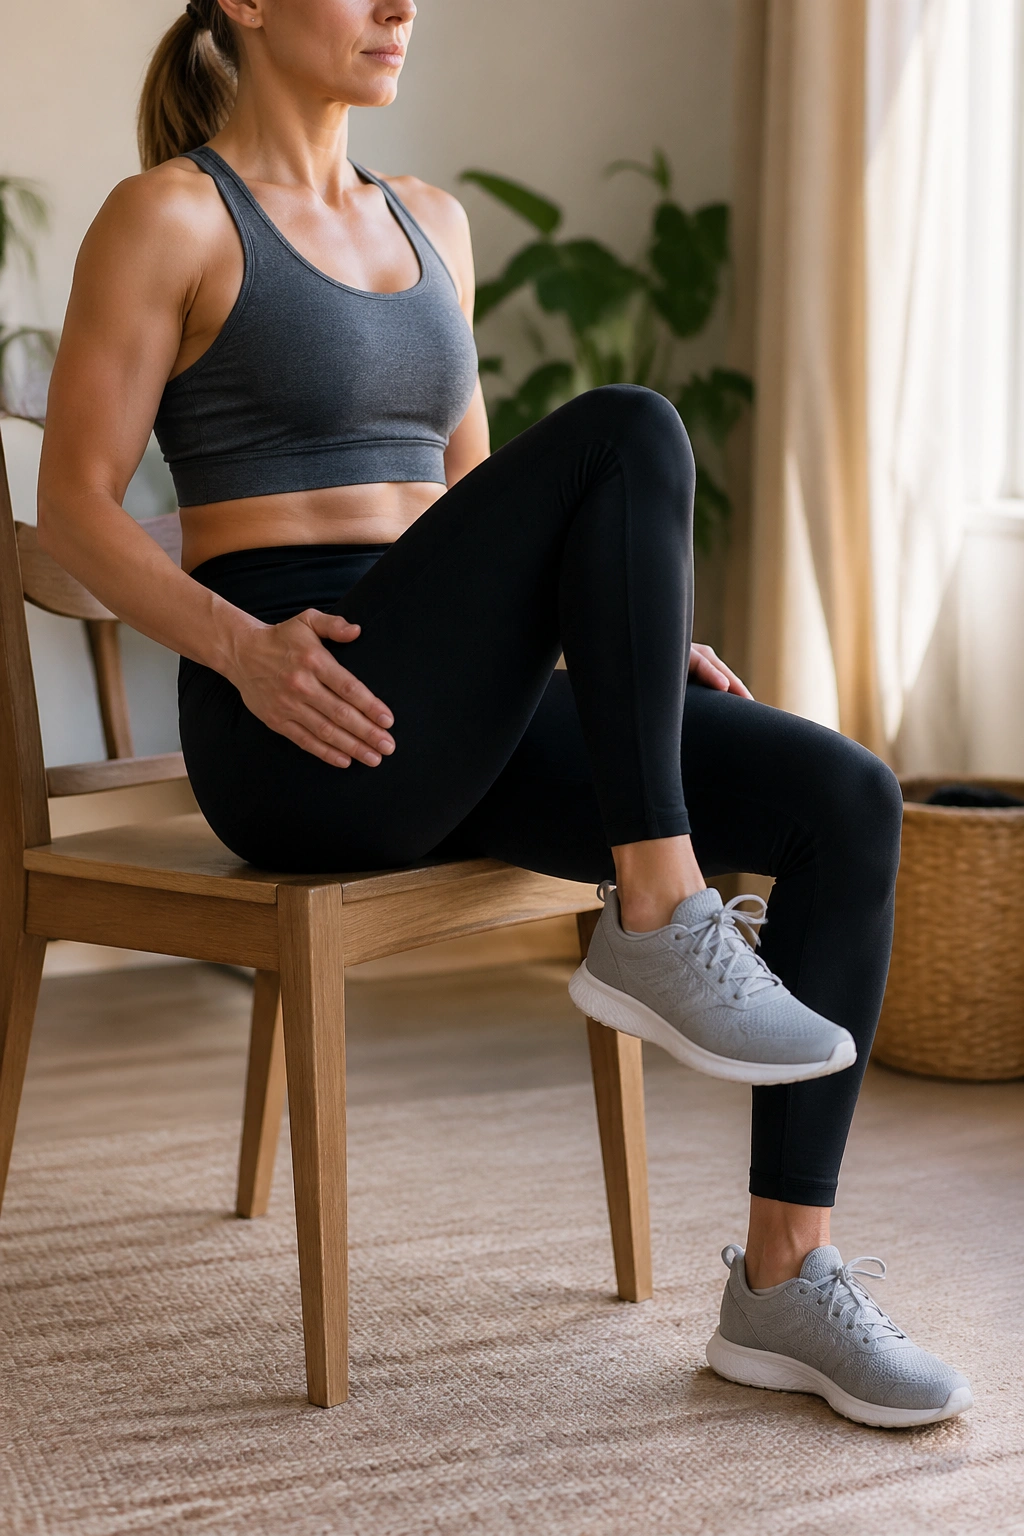
Seated work gets mocked for no good reason.
On low-energy days, after surgery recovery, during flare-ups of back pain, or when balance is a concern, seated knee lifts let you train your lower abs and hip flexors without fighting gravity quite as hard. You still need posture. You still need breath. You still need control. That counts.
Sit tall near the front of a sturdy chair. Lean back a few inches from your hips while keeping your chest open. Lift one knee toward your chest, lower it, then switch sides. If you want more challenge, raise both knees together for a short range and set them down slowly.
Try 30 seconds of alternating lifts or 10 to 12 reps per side. Exhale on each lift. If you feel pinching at the front of the hips, sit taller and lower the range a bit. Small and clean beats sloppy and high.
9. Shadow Boxing Intervals
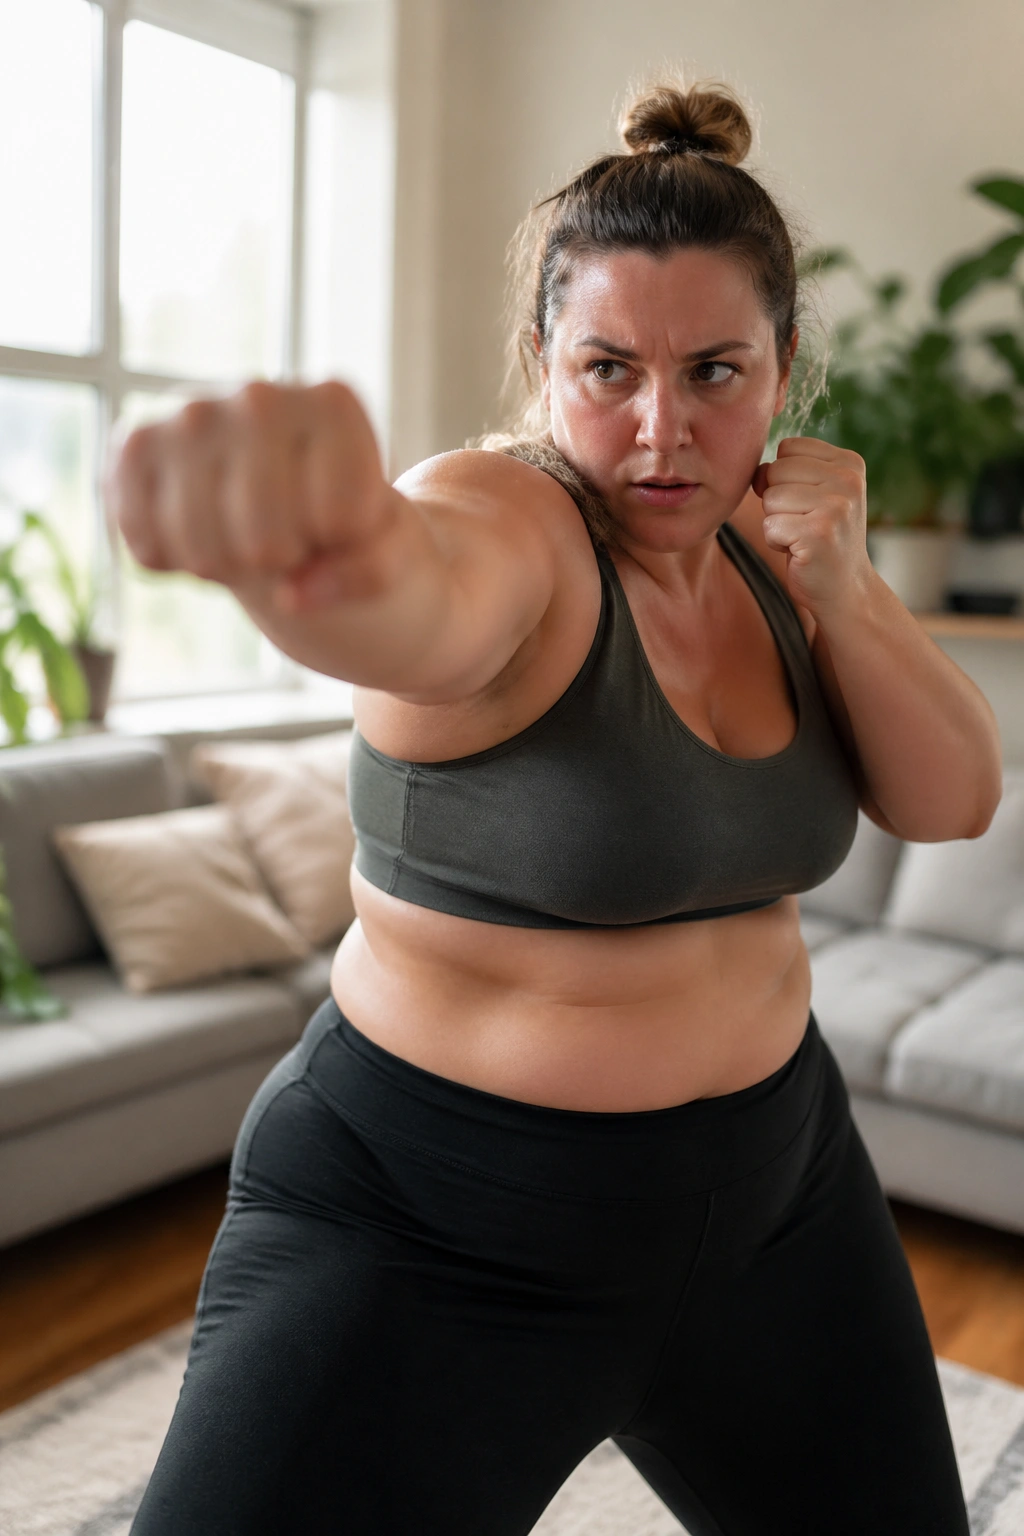
Twenty seconds of punching with intent will tell you how honest your cardio is.
Shadow boxing is one of my favorite home fat-loss tools because it raises your heart rate fast, uses your shoulders and trunk, and does not ask you to jump. It also burns off stress in a way marching never will. That is not a scientific unit, but anyone who has finished a boxing interval knows what I mean.
Stand with one foot slightly forward, knees soft, hands up near your cheeks. Throw a jab with the front hand, a cross with the back hand, then reset. Add hooks later. Turn your hips and shoulders, though do not whip your lower back around.
Try one of these mini-rounds:
- 20 seconds jab-cross
- 20 seconds rest
- 20 seconds jab-cross-hook
- 20 seconds rest
- Repeat for 6 to 10 rounds
Keep the punches snappy, not wild. Your fists do not need to clench hard. Loose hands, quick recoil, steady feet.
10. Standing Knee-to-Elbow Crunch
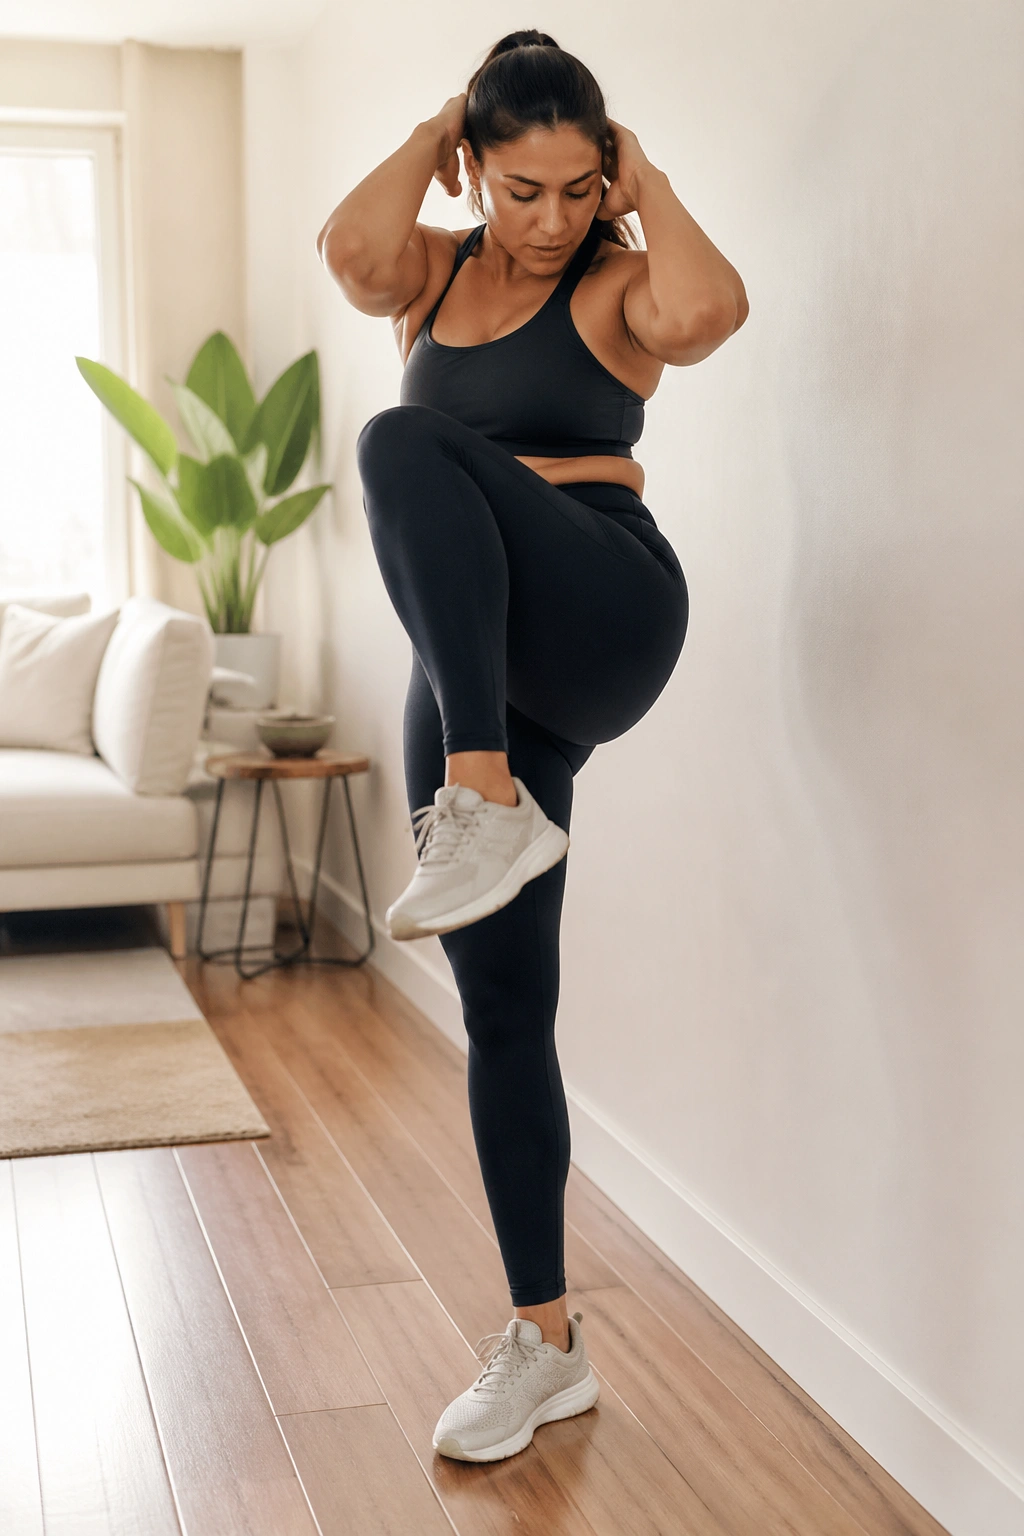
This one looks easy until you stop rushing it.
Stand tall with your feet hip-width apart and your hands lightly behind your head. Lift your right knee while drawing your right elbow down toward it. Return to standing before switching sides. The return matters. If you stay crunched over, you lose the core training and turn it into a floppy side bend.
A good rep feels like your lower ribs and pelvis are meeting in the middle while you stay balanced on the standing leg. If your balance is iffy, place one hand on a wall and use the free arm across the body instead.
I like 10 to 15 reps per side here, or 40 seconds on and 20 seconds off in a circuit. Move at a pace you can own. Fast is not always better.
11. Reverse Lunge to a Chair
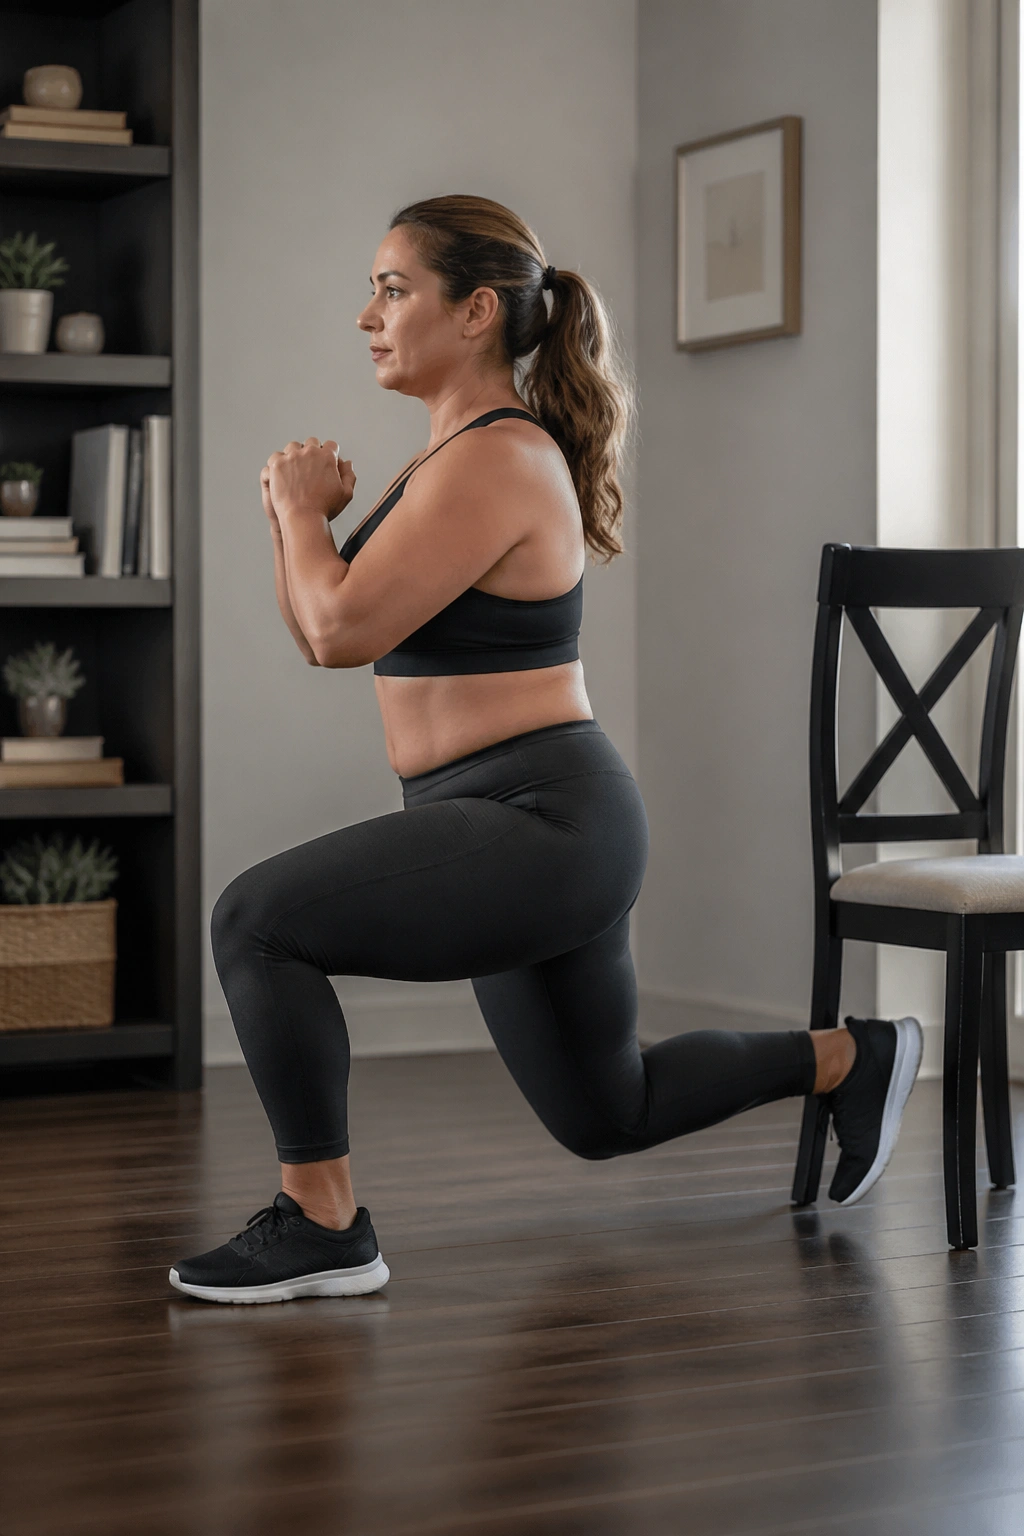
This one stings—in a useful way.
Reverse lunges build leg strength, hip stability, and calorie-burning muscle while being kinder on the knees than forward lunges for many people. The chair gives you a target and a confidence boost. You are not dropping into space. You are controlling the descent toward something solid.
Step one foot back and lower until your back knee lightly taps the floor or the chair seat behind you, depending on how you set it up. Press through the front foot to return to standing. Hold a wall or countertop if balance is the limiter.
What to watch for
If the front knee caves inward, shorten the range. If you pitch your torso way forward, bring the back foot in closer. If your hip flexors grip on the back leg, take a second at the top to reset your stance before the next rep.
Start with 6 to 8 reps per side. Add depth later. Depth is not the first prize here—control is.
12. Incline Mountain Climbers on a Counter
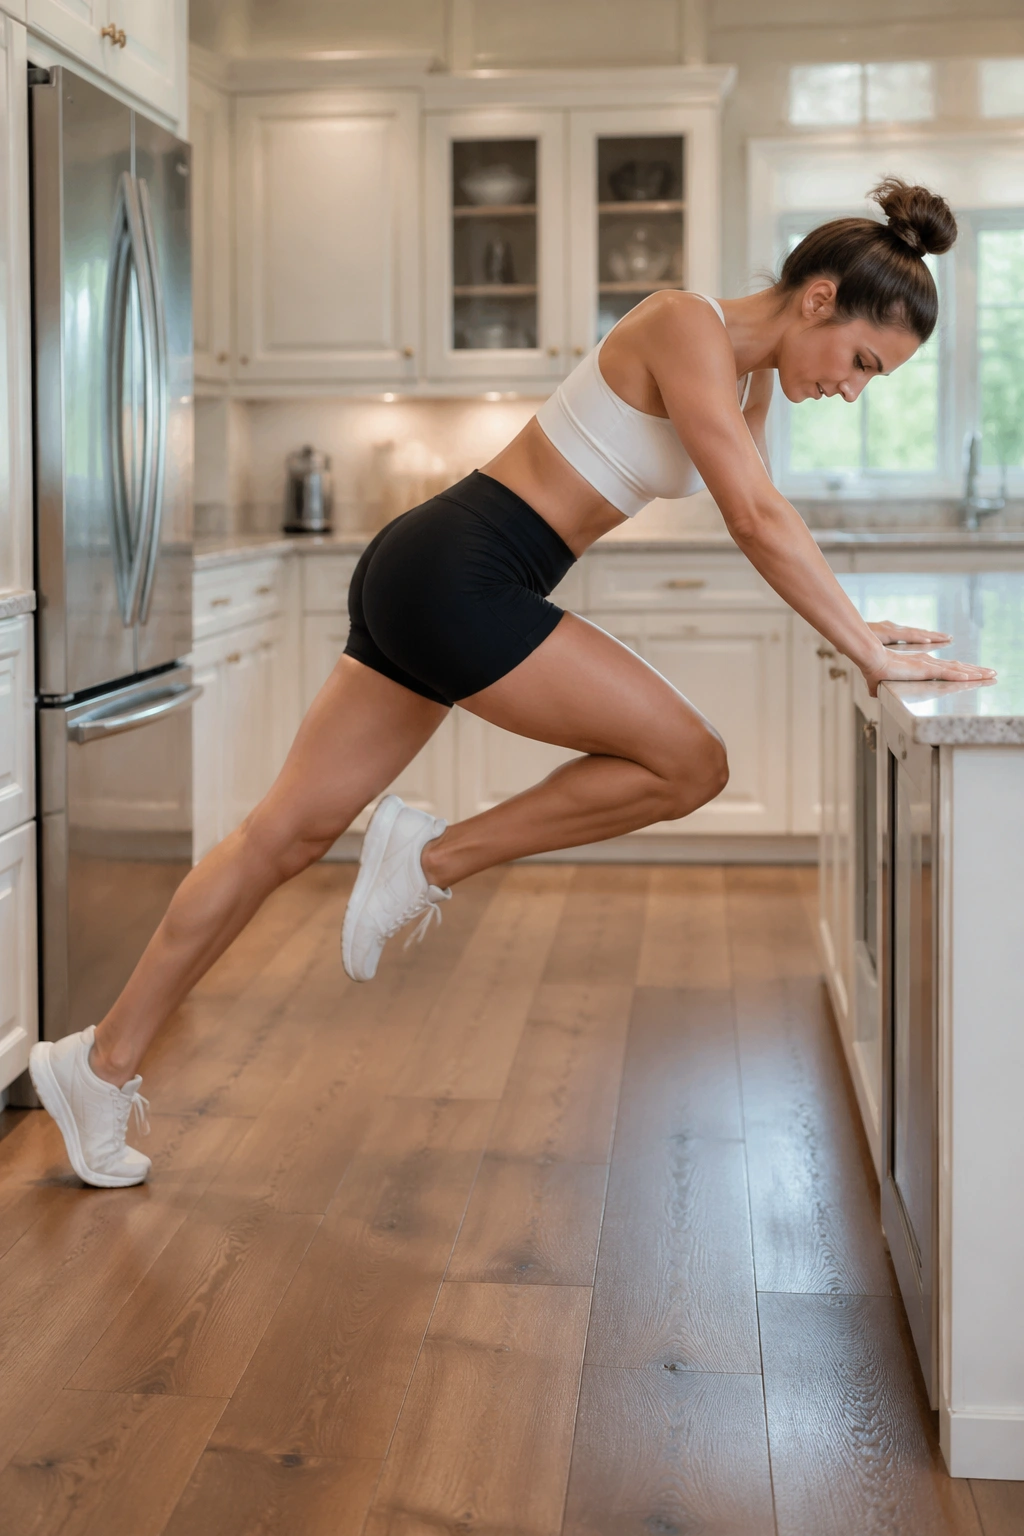
Want mountain climbers without collapsing onto the floor halfway through? Use an incline.
Place your hands on a sturdy countertop, bench, or couch arm that will not slide. Walk your feet back into a strong plank. Then drive one knee toward your chest, switch, and keep alternating at a controlled pace. The higher the surface, the easier the move. That makes it one of the better progressions for people training at home.
Counter-height mountain climbers work your shoulders, chest, hip flexors, and deep core while bumping your heart rate. They are a lot more forgiving than floor versions if you have a larger belly, wrist sensitivity, or weak plank endurance.
Aim for 20 to 30 seconds, rest for 20 seconds, then do 3 to 5 rounds. Watch your hips. If they start bouncing up and down like a pogo stick, slow down. The clean version wins.
13. Modified Forearm Plank
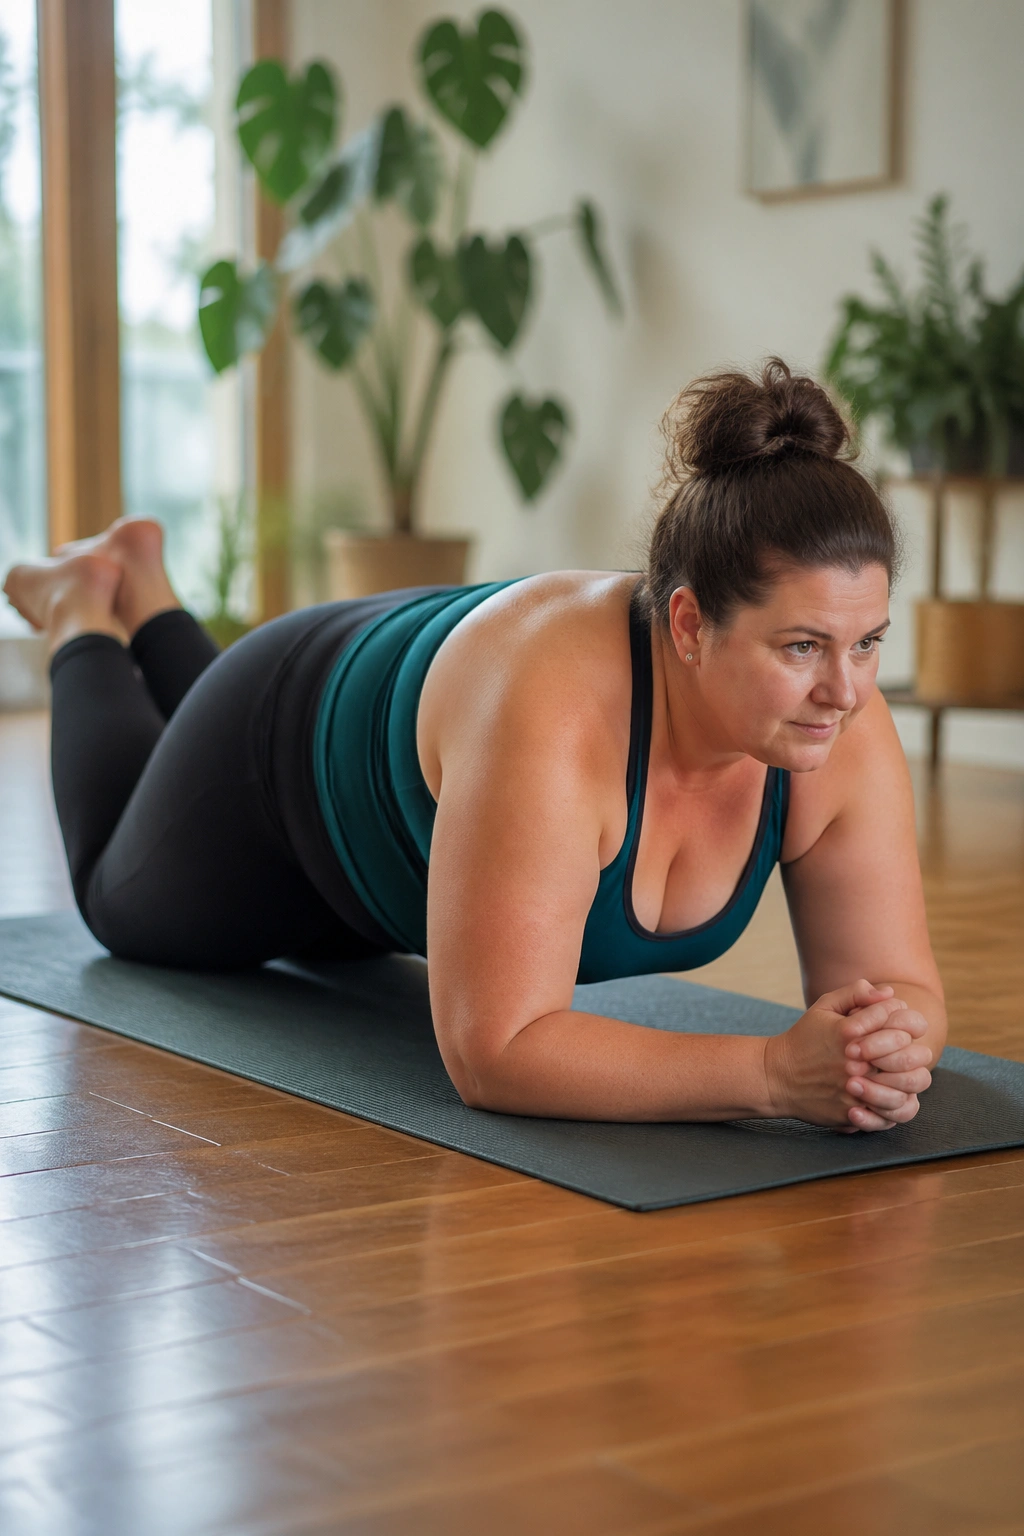
Planks are useful when you set them up to fit your body instead of forcing a magazine-cover version.
You can do this on your knees, on an elevated surface, or on the floor with forearms down. Start where you can hold strong alignment for 10 to 30 seconds while breathing. That last part matters. If you have to hold your breath to survive the set, the plank is too hard.
Strong plank checklist
Set your elbows under your shoulders. Tuck your toes or place your knees down. Squeeze your glutes lightly, bring your ribs in line with your pelvis, and look at the floor a foot in front of your hands.
Red flags
Stop and reset if your lower back sags, your belly domes hard along the center line, or you feel pressure pushing down into the pelvic floor. Those are not badges of honor. They are form notes.
Three short holds with good breathing will do more for your core than one ugly minute.
14. Glute Bridge March
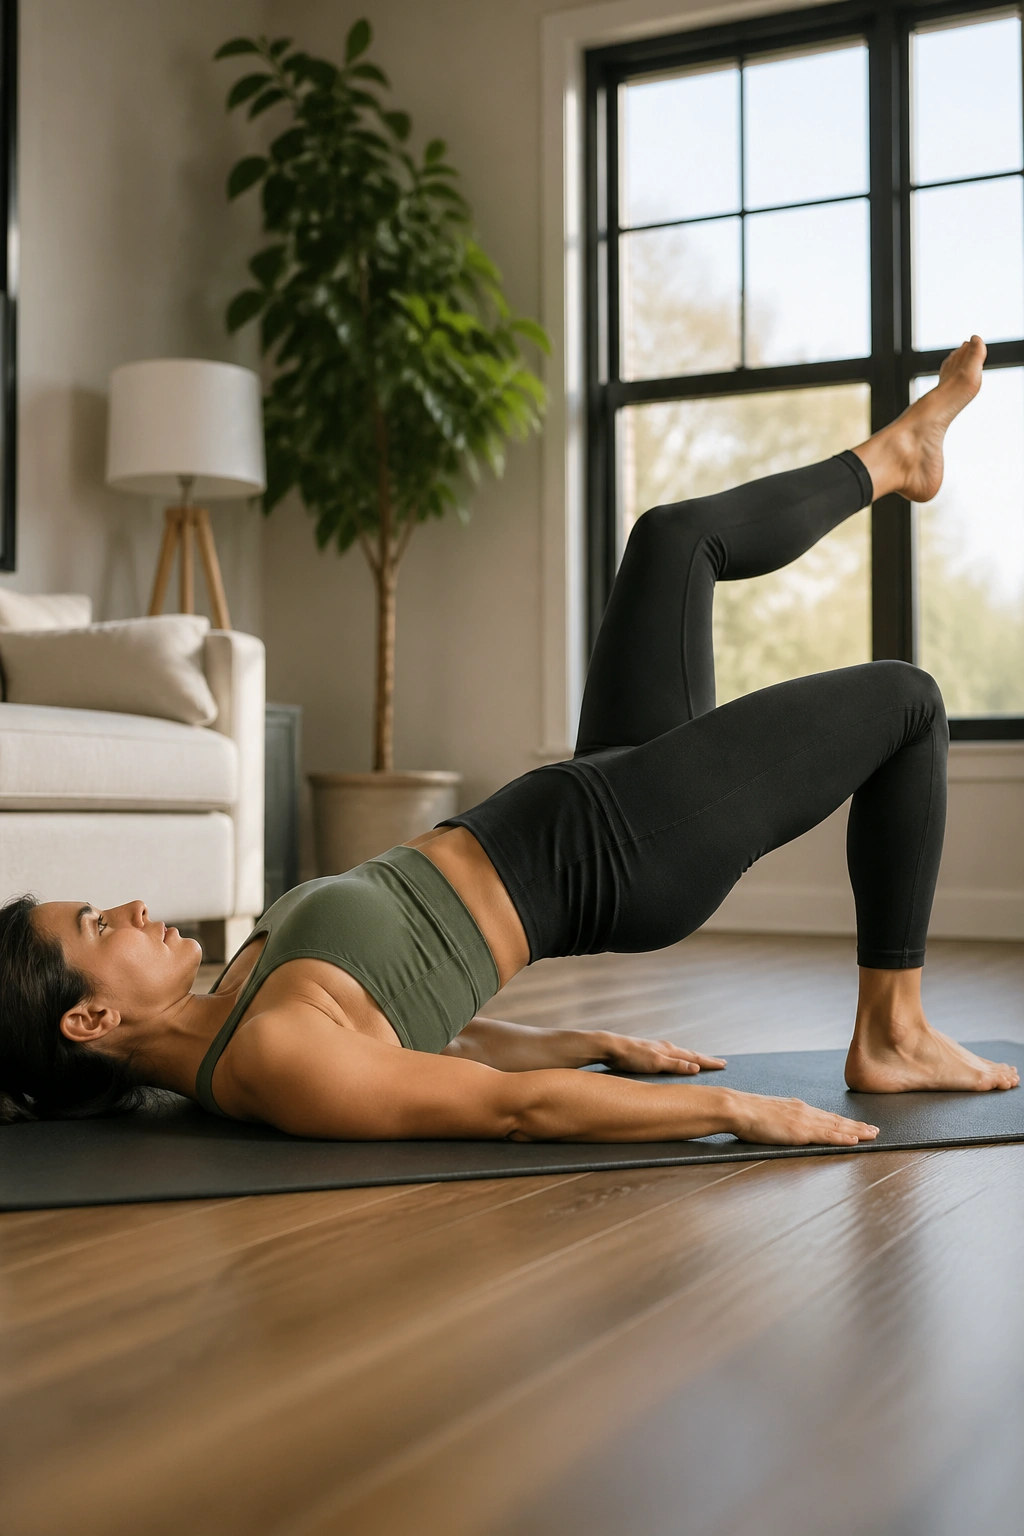
Once a regular bridge feels steady, this is a sharp upgrade.
Lift into a bridge position first. Then, without letting your hips twist or drop, raise one foot a few inches off the floor. Set it down and switch sides. The movement is small. The effort climbs fast because your core has to resist rotation while your glutes keep the hips up.
Why it works
A lot of lower-belly training goes wrong because the hips and trunk do not cooperate. Bridge marches force them to work together. You feel your glutes, your hamstrings, and the deep muscles around your middle all trying to keep the pelvis level.
Starting target
- Hold the bridge first for 5 seconds
- March 5 to 8 times per side
- Lower down and rest
- Repeat for 2 to 3 sets
If your hips wobble like crazy, go back to regular bridges for another week or two. No shame there.
15. Backpack Bent-Over Rows
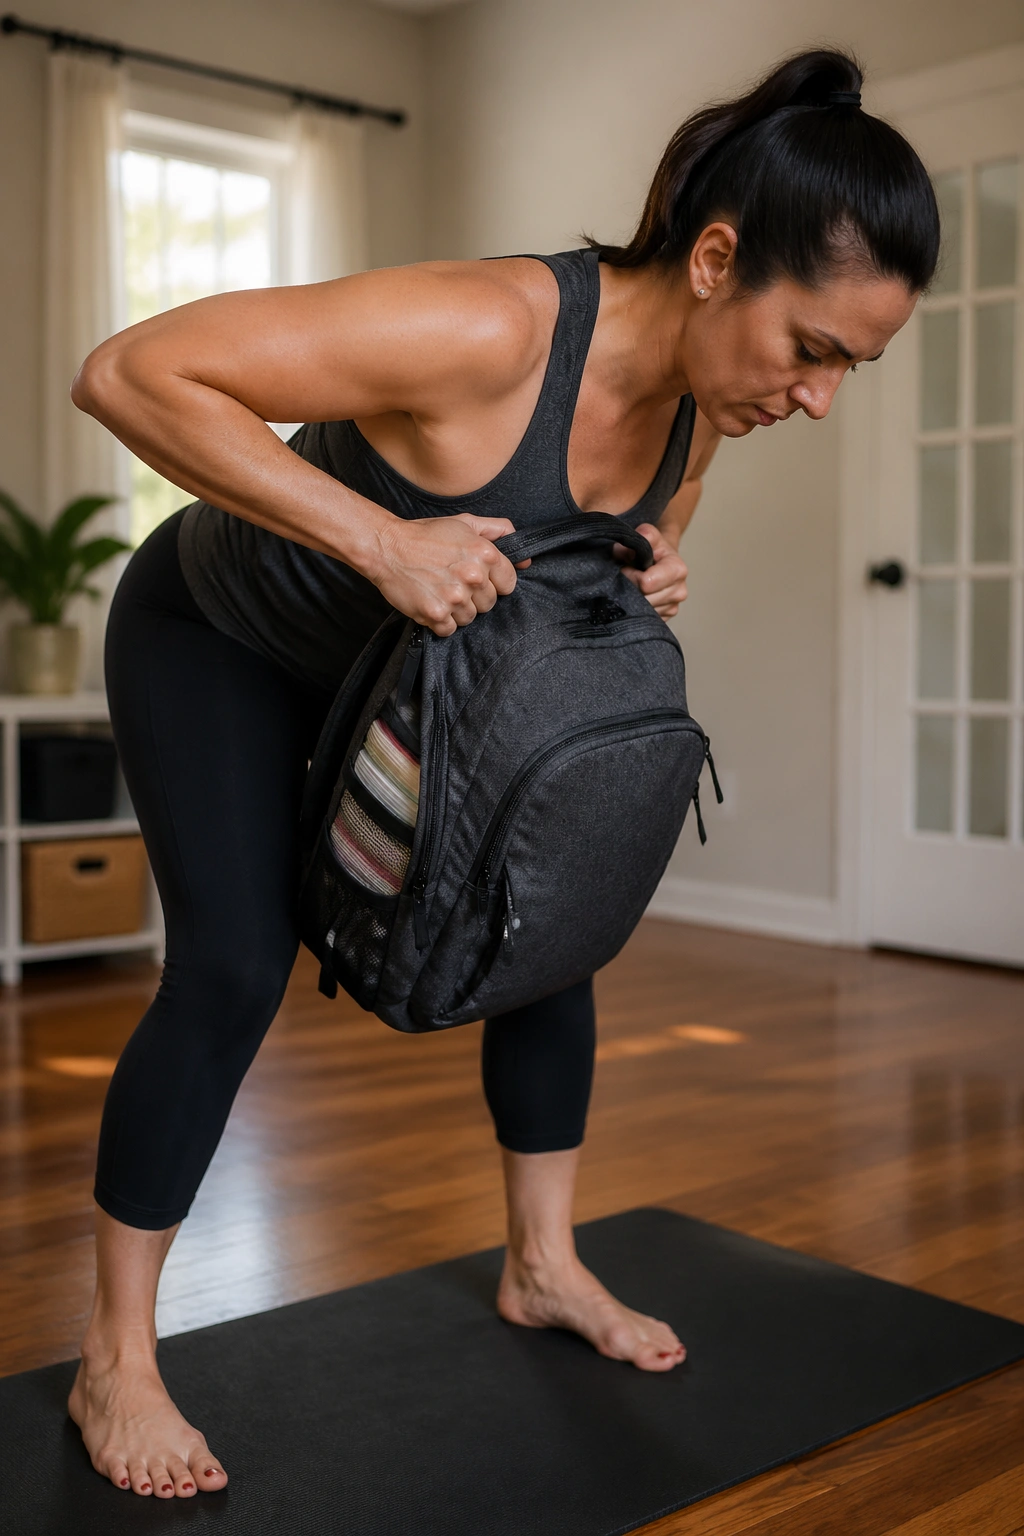
Pulling exercises are missing from a lot of home workout lists, and your posture pays the price.
Grab a backpack, load it with a few books or water bottles, and hold it by the top handle or shoulder straps. Hinge at your hips until your torso is angled forward about 30 to 45 degrees. Pull the bag toward your lower ribs, pause, then lower with control.
Rows train the upper back, lats, rear shoulders, and grip. That may not sound related to an apron belly, though it is. A stronger back helps you stand taller, breathe better, and hold your trunk in a stronger position during other exercises. It also balances out all the pushing and sitting people tend to do.
A few form notes matter here:
- Bend from the hips, not your upper back
- Keep your neck long and eyes on the floor
- Pull your elbows back, not straight up
- Start with 10 to 15 reps for 2 to 4 sets
If your low back tires before your upper back, lighten the bag and shorten the set.
16. Low-Impact Jumping Jacks
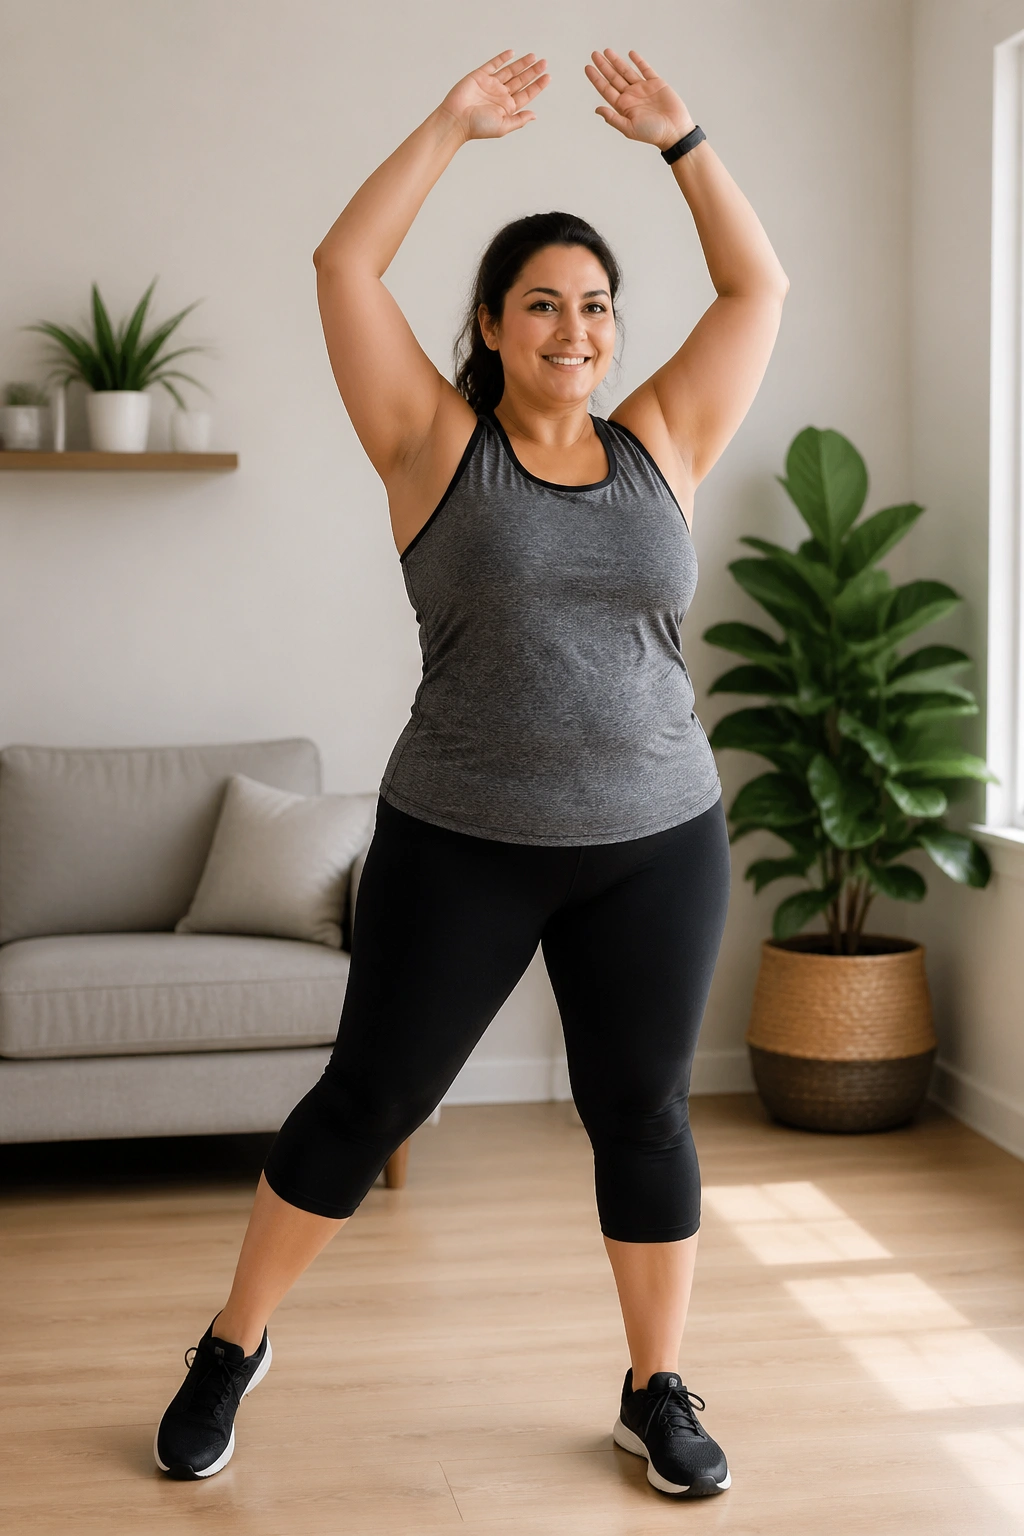
No jump needed.
Step your right foot out as both arms sweep overhead, step it back in, then switch sides. Keep alternating at a brisk pace. This gives you the heart-rate lift of jumping jacks without the pounding that can make your knees, pelvic floor, or lower belly feel miserable.
I like these between strength moves because they keep a circuit moving without needing equipment or floor space. If you have a raw spot under the belly fold, wear moisture-wicking fabric and skip any side-to-side speed that rubs. Comfort is not a luxury here; it decides whether you come back tomorrow.
Work for 30 to 60 seconds. If you want more challenge, widen the step, move the arms faster, or hold light one-pound hand weights. If you want less, drop the arms to shoulder height and slow the feet.
17. Burpee Walk-Back Without the Jump
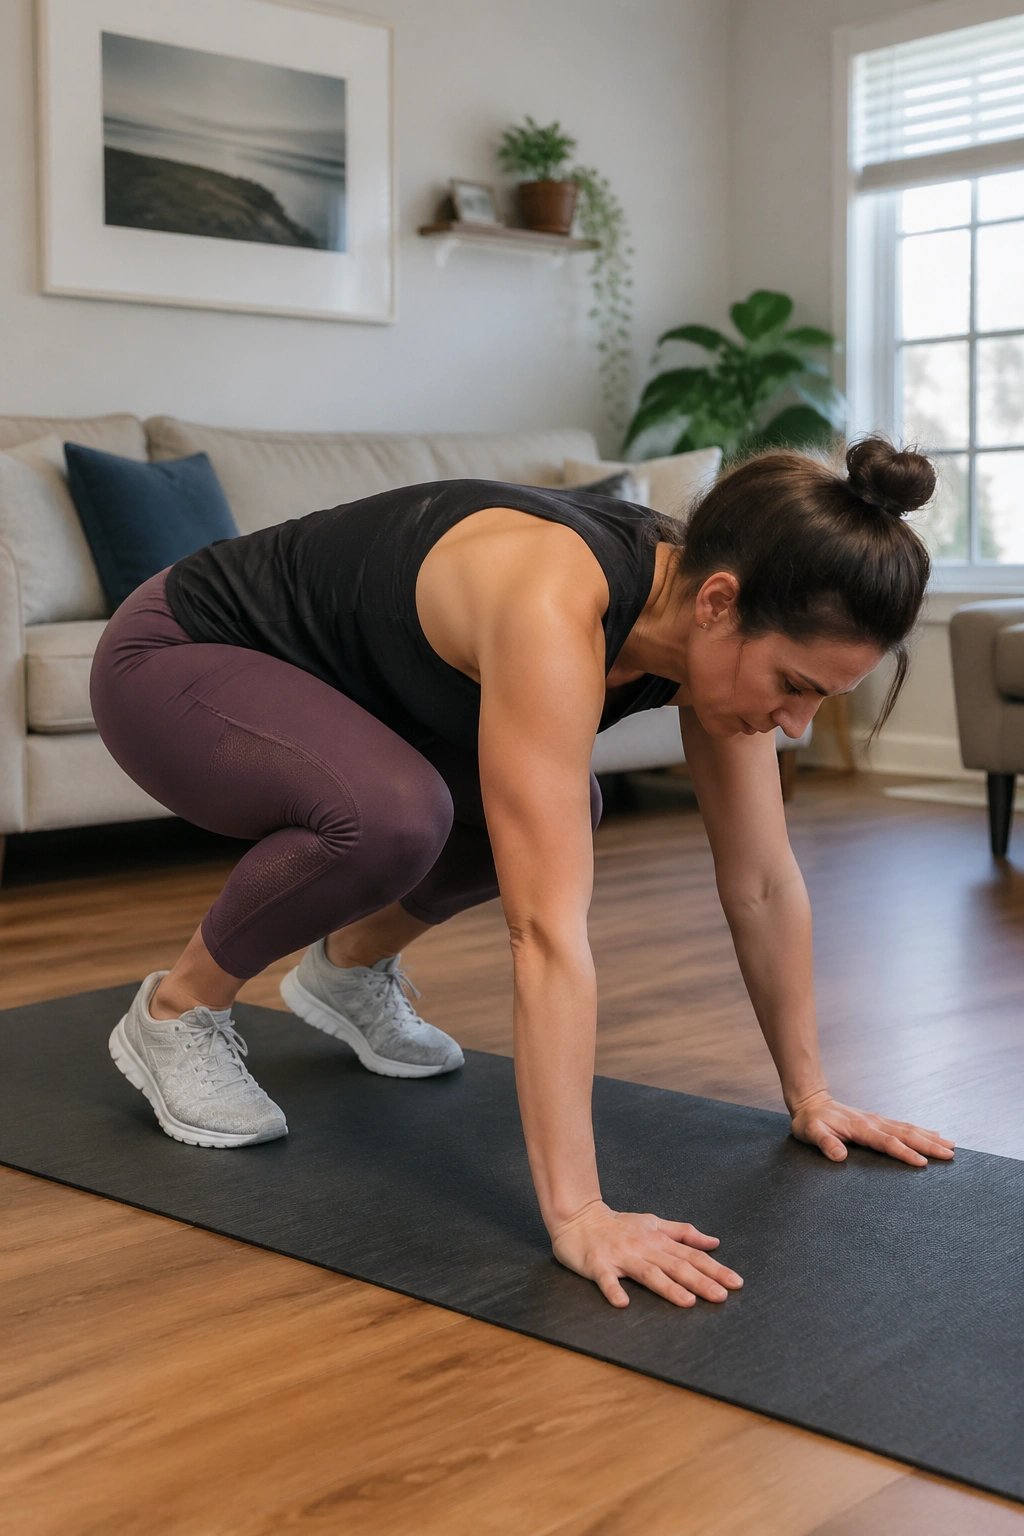
This is your full-body finisher.
Stand tall, squat down, place your hands on the floor or on an elevated surface like a couch seat, walk your hands out to a plank, step your feet back one at a time if needed, then walk everything back in and stand. No jump at the top. None needed.
Easier version
Use a couch, countertop, or sturdy ottoman so the range is shorter. You can also skip the full plank and stop at an inclined position. That still trains shoulders, chest, core, hips, and conditioning in one shot.
Harder version
Move to the floor, step both feet back faster, or add a calf raise when you stand.
Start with 5 to 8 reps. Pace them. This move falls apart when people rush the setup and slam into their wrists or lower back. Deliberate reps feel better and train more.
A 20-Minute Home Plan Using These Apron Belly Workouts
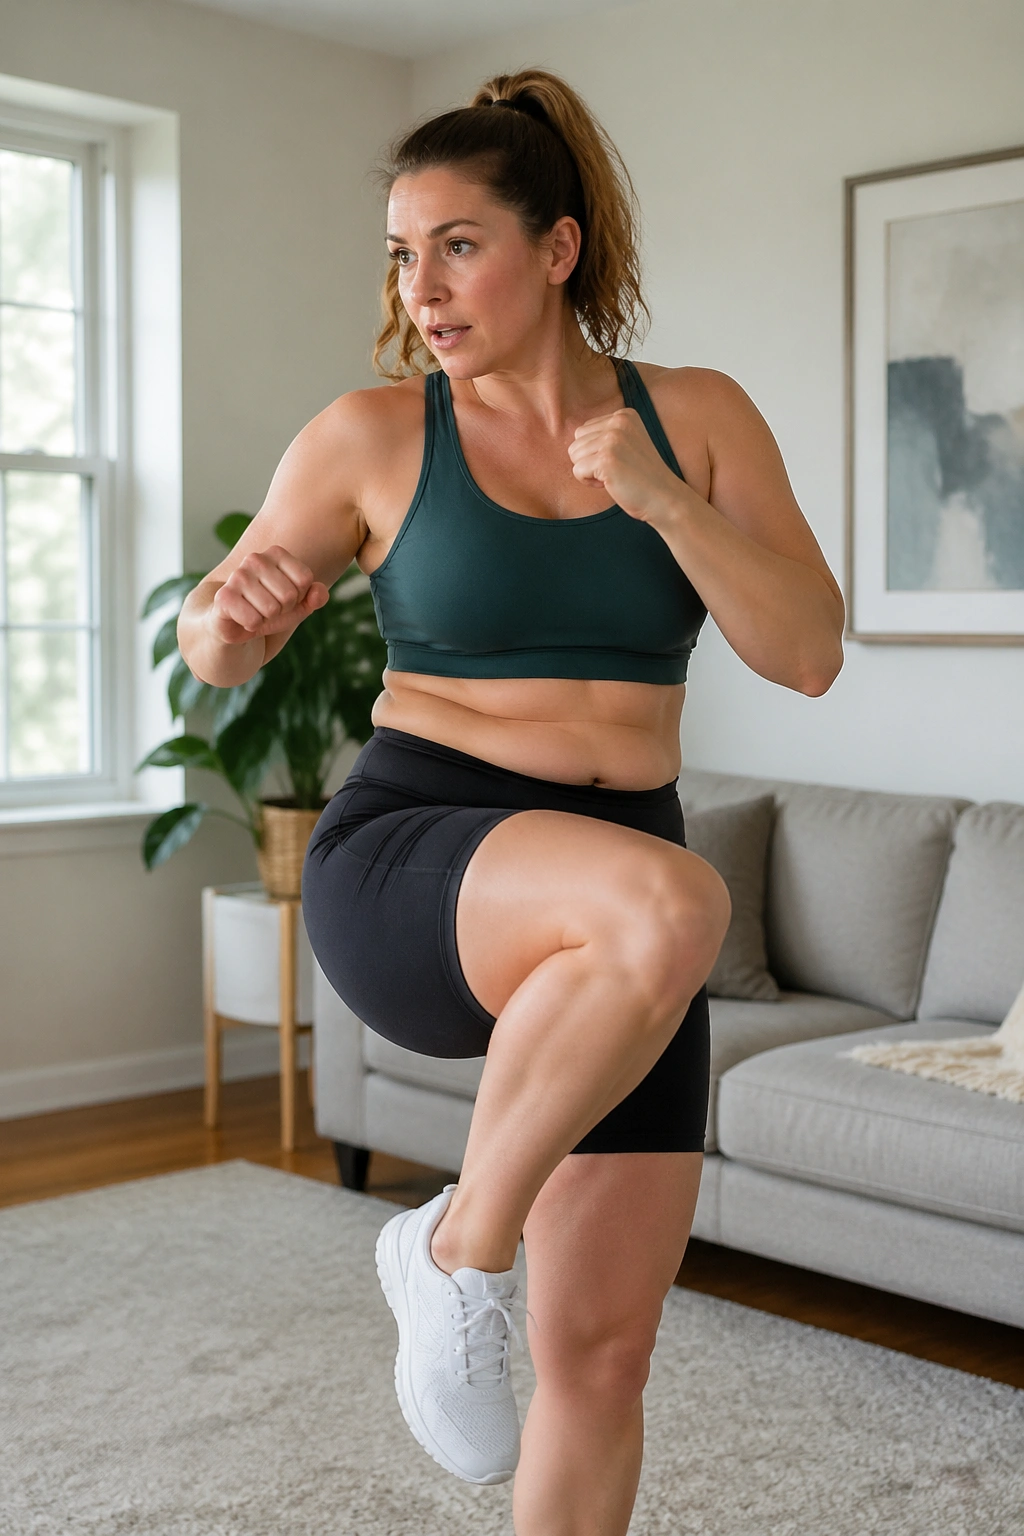
You do not need all 17 moves in one session. That would be chaos.
A better option is to pull 5 or 6 exercises at a time and run them as a circuit. Rest 20 to 40 seconds between moves if you need it. After one full round, rest for 60 to 90 seconds and repeat.
Beginner circuit
- Marching in Place With Arm Swings — 45 seconds
- Chair Squat to Stand — 10 reps
- Wall Push-Ups — 10 reps
- Seated Knee Lifts — 30 seconds
- Glute Bridges — 12 reps
Do 3 rounds.
Lower-body and core circuit
- Stair Step-Ups — 8 reps per side
- Reverse Lunge to a Chair — 6 reps per side
- Dead Bugs — 6 reps per side
- Bird Dogs — 8 reps per side
- Low-Impact Jumping Jacks — 40 seconds
Do 2 to 4 rounds.
Higher-effort circuit
- Shadow Boxing Intervals — 30 seconds
- Incline Mountain Climbers — 25 seconds
- Backpack Bent-Over Rows — 12 reps
- Modified Forearm Plank — 20 seconds
- Burpee Walk-Back Without the Jump — 6 reps
Do 3 rounds if your form stays solid.
I would rather see you finish two crisp rounds than slog through four messy ones. Fat loss plans fail when the session is so rough that it wrecks the rest of your week.
Final Thoughts
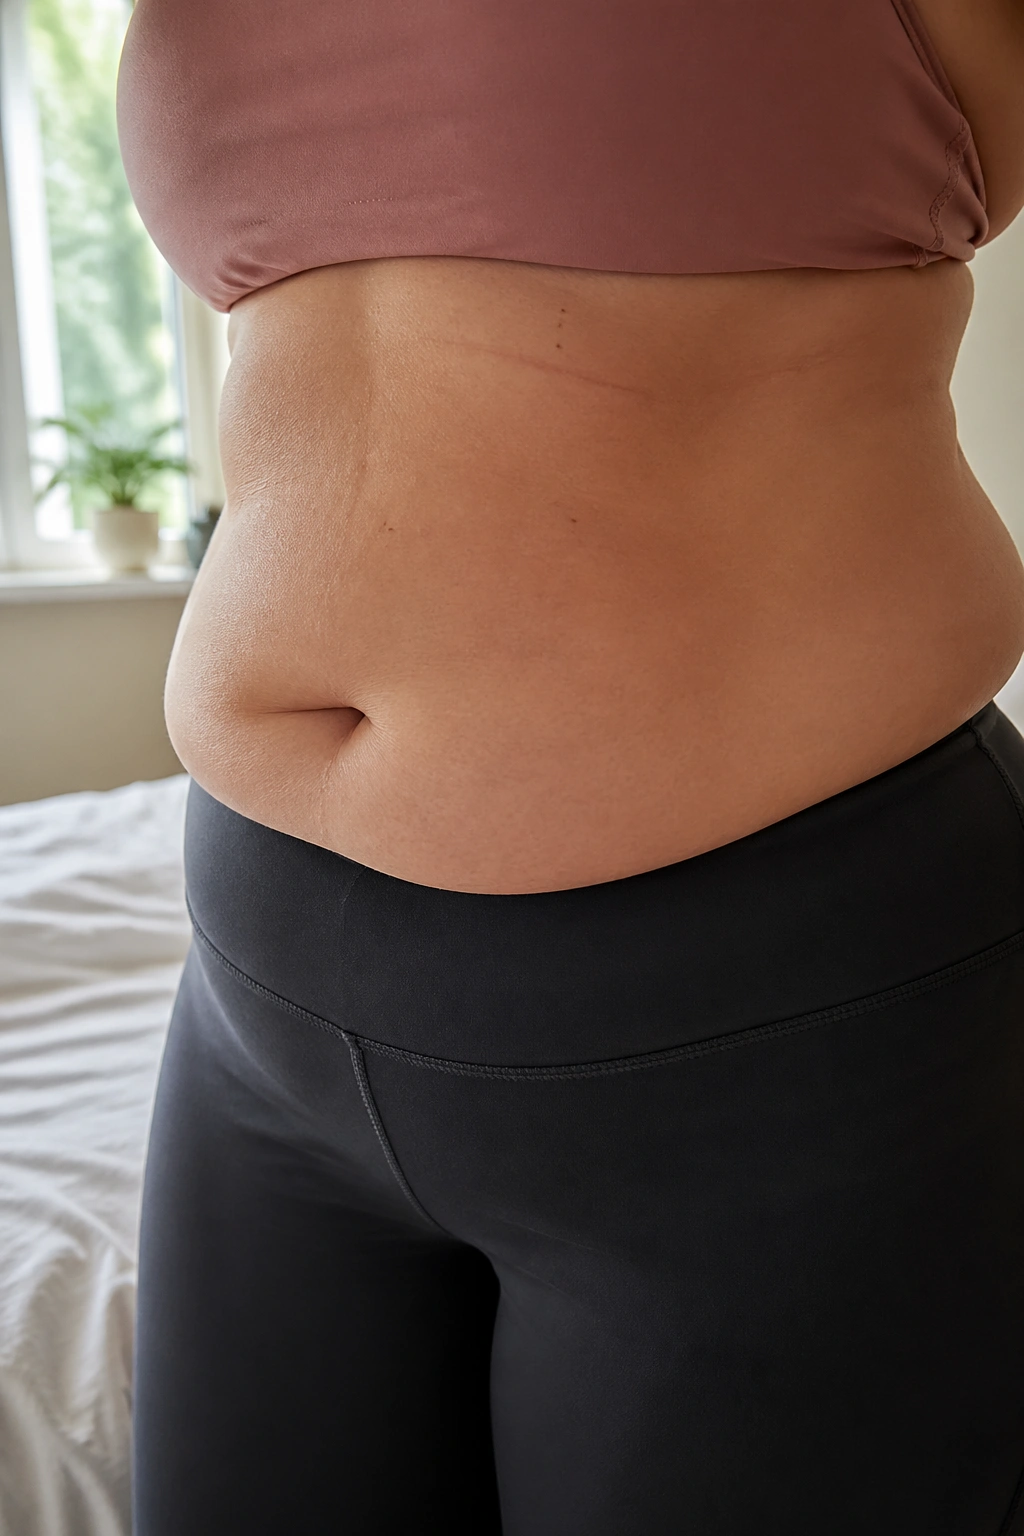
The best home workouts for an apron belly are not the flashiest ones. They are the moves you can do with good form, repeat each week, and progress a little at a time. Chair squats, step-ups, rows, bridges, marches, and planks may look plain on paper. In practice, they build the strength and stamina that change how your whole body feels.
If I had to narrow this list to a starting five, I would pick marching in place, chair squats, wall push-ups, glute bridges, and dead bugs. That mix covers cardio, legs, upper body, hips, and core control without asking too much from a beginner.
Start with two or three sessions a week. Write down your reps. Walk on the days between. When one move gets easier, add 5 seconds, 2 reps, or one extra round. Small jumps stack up fast, and your body notices.
