



Most people think fitness requires an hour of their time, a gym membership, and expensive equipment. That assumption is exactly why so many stop before they even start. If you have four minutes, you have time for a workout. That is the reality of the Tabata protocol. It relies on a simple, brutal math: 20 seconds of maximum effort followed by 10 seconds of rest, repeated for eight rounds.
You do not need to be an athlete to start, but you do need to be honest with yourself about that “maximum effort” requirement. It means pushing until you are breathless, not just moving until you are tired. Because the window of work is so short, your body barely has time to realize what is happening before the interval ends. This makes it an incredibly efficient way to trigger metabolic demand and cardiovascular endurance without living at the gym.
You will notice quickly that the limiting factor is rarely your muscles; it is your lungs. Your heart rate will spike, you will sweat, and you will feel that specific, sharp fatigue that signals real work. If you are new to this, start by keeping the intensity manageable. You want to finish the four minutes feeling like you could have done maybe one more round, not like you need to lie on the floor for an hour. Focus on form first, speed second.
1. The High-Knee and Jack Combo
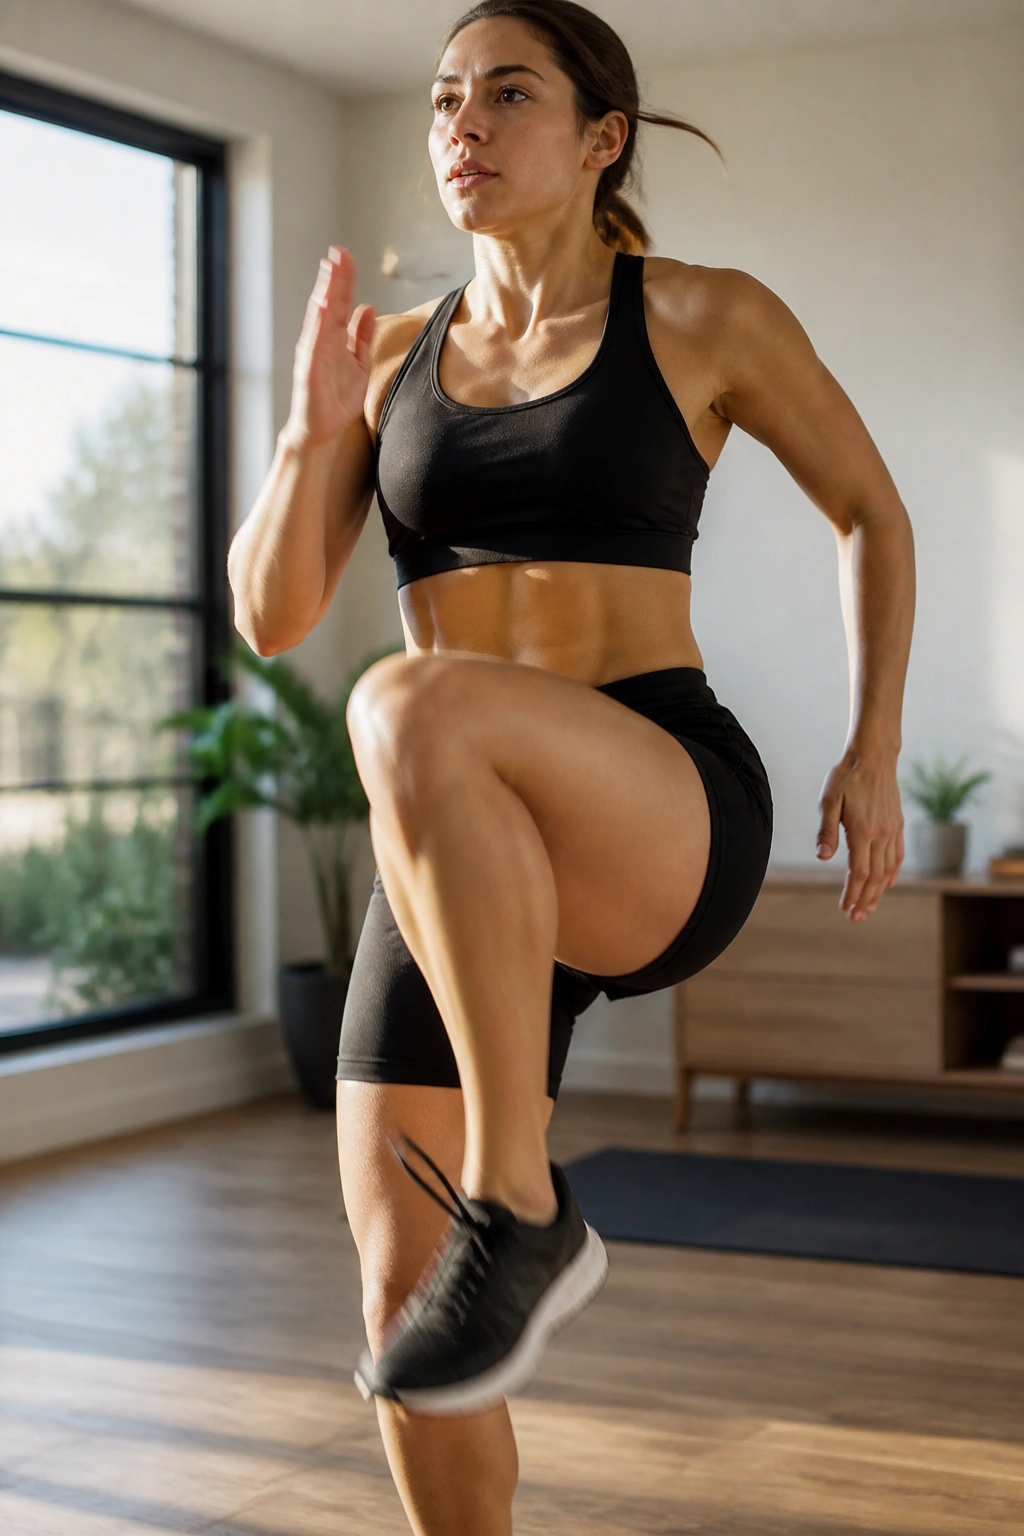
This is the classic starting point for a reason. You are alternating between high knees, which demand serious core engagement, and jumping jacks, which get your heart rate up through lateral movement. The goal here is rhythm.
Why It Works for Beginners
High knees force you to lift your legs from the hip flexors rather than just dragging your feet. When you transition to jumping jacks, you are using the full range of motion of your shoulders and hips. By keeping the movements simple, you can focus entirely on the tempo rather than complex coordination.
How to Execute
Perform high knees for 20 seconds, focusing on driving your knees up to waist height. Rest for 10 seconds. On the next round, perform jumping jacks, ensuring your hands touch above your head every time. Repeat this A-B pattern until you complete eight total rounds. Keep your core tight throughout both movements to protect your lower back.
2. The Squat and Lunge Burn
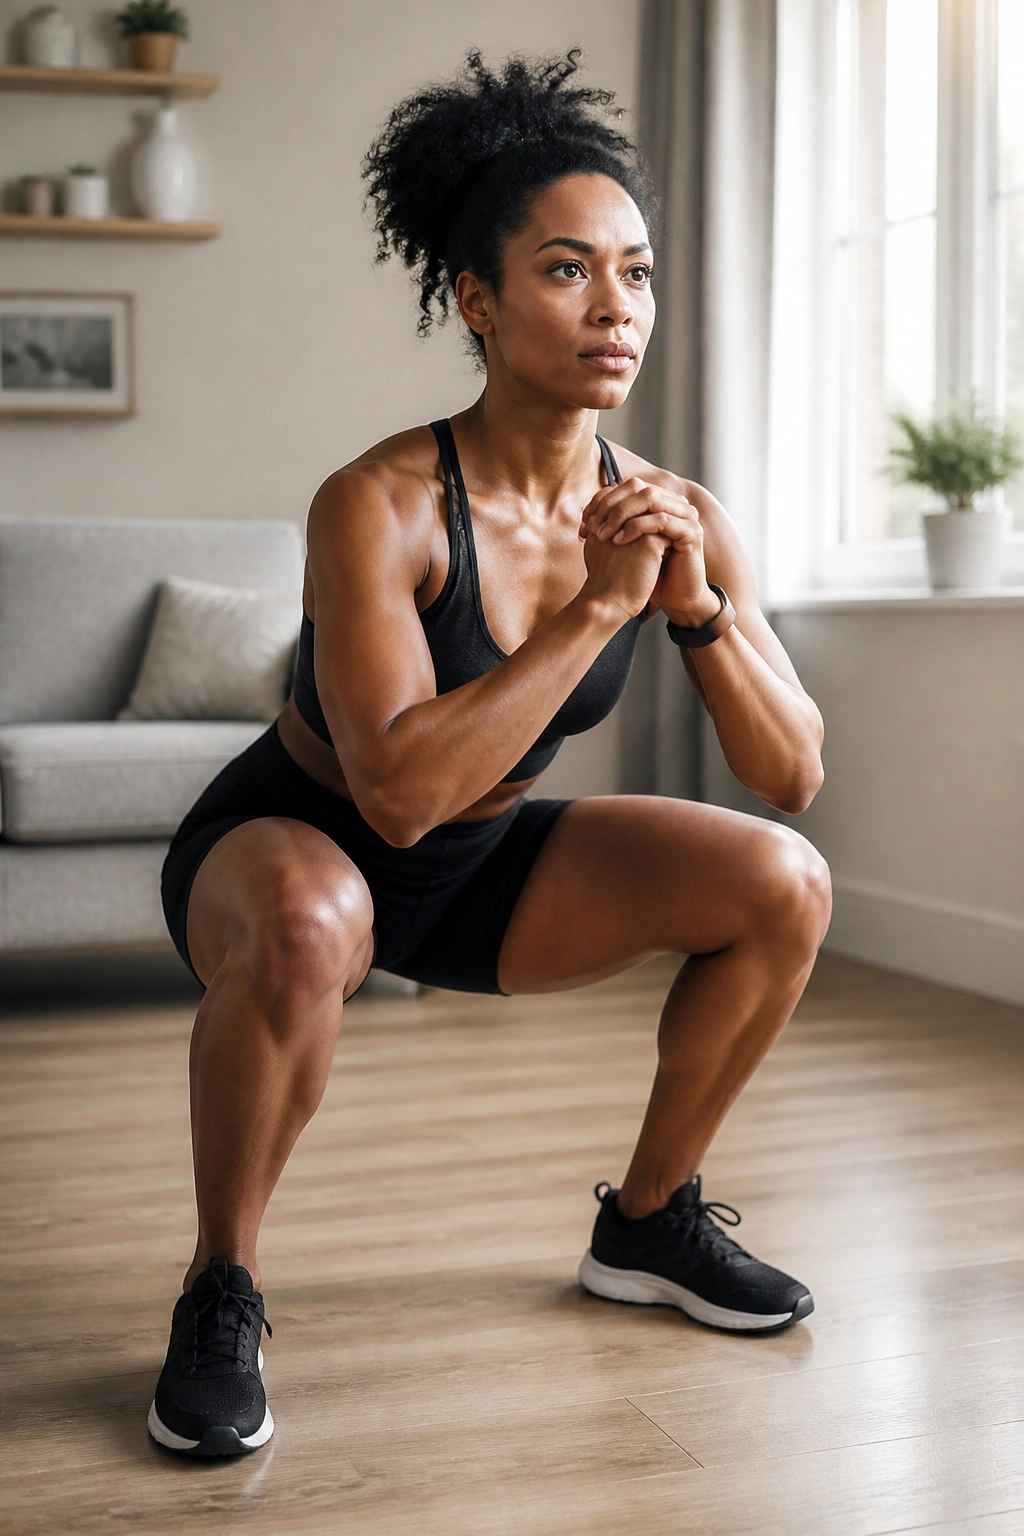
Leg day at home does not require heavy barbells. This workout targets your quads, glutes, and hamstrings by alternating two of the most fundamental human movement patterns: the squat and the reverse lunge.
The Mechanics of the Move
Squats primarily engage the quads and glutes in a bilateral movement. Lunges introduce a unilateral element, which means your core has to work overtime to keep you stable. When you alternate these, you are essentially fatigue-testing your legs from two different angles.
Essential Cues
- Ensure your feet are shoulder-width apart for the squats.
- Keep your weight in your heels.
- For lunges, take a long enough step back that your front knee stays behind your toes.
- If your knees start to cave inward, slow down your pace immediately.
3. The Pushup and Plank Tap
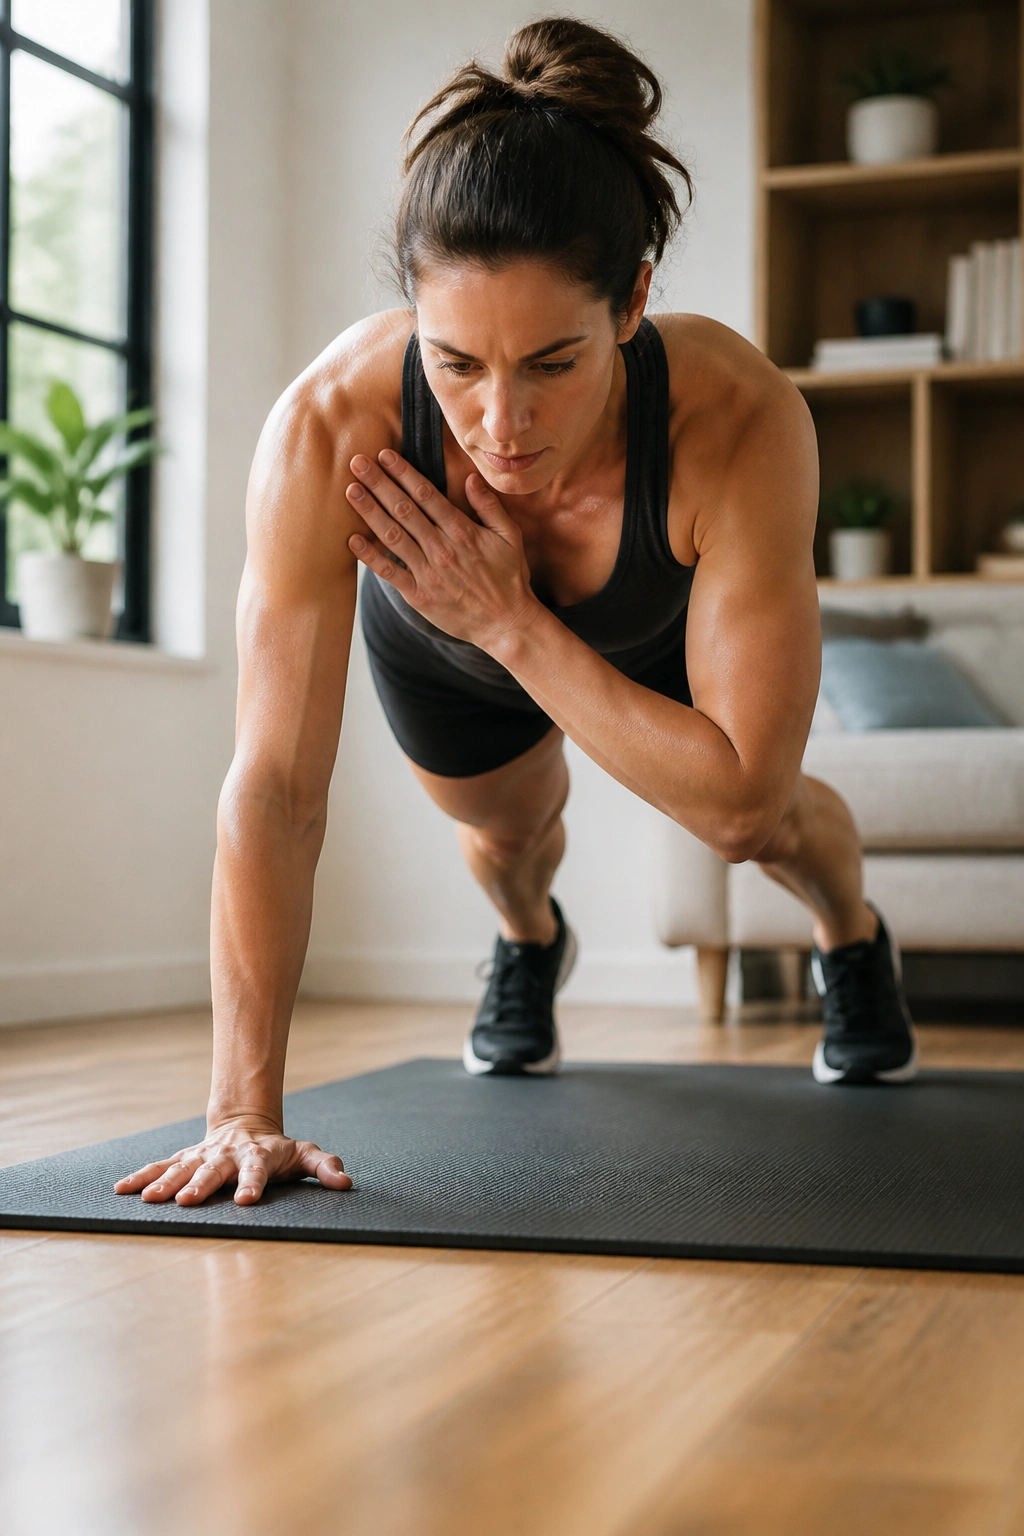
Upper body strength often feels elusive without a bench press or cables. This combination hits your chest, shoulders, and triceps, while the plank tap forces you to manage rotational stability.
Managing Fatigue
Most people fail at pushups because their hips sag. By alternating with plank taps, you give your chest a momentary rest while still demanding endurance from your shoulders and core. This keeps the intensity high without burning out your pectoral muscles in the first round.
Form Tips
If you cannot do a full pushup, drop to your knees. It is better to do a perfect knee pushup than a sloppy, half-range-of-motion full one. During the plank taps, try to keep your hips completely still. Imagine there is a glass of water on your lower back that you cannot spill.
4. The Core Crusher: Crunches and Leg Raises
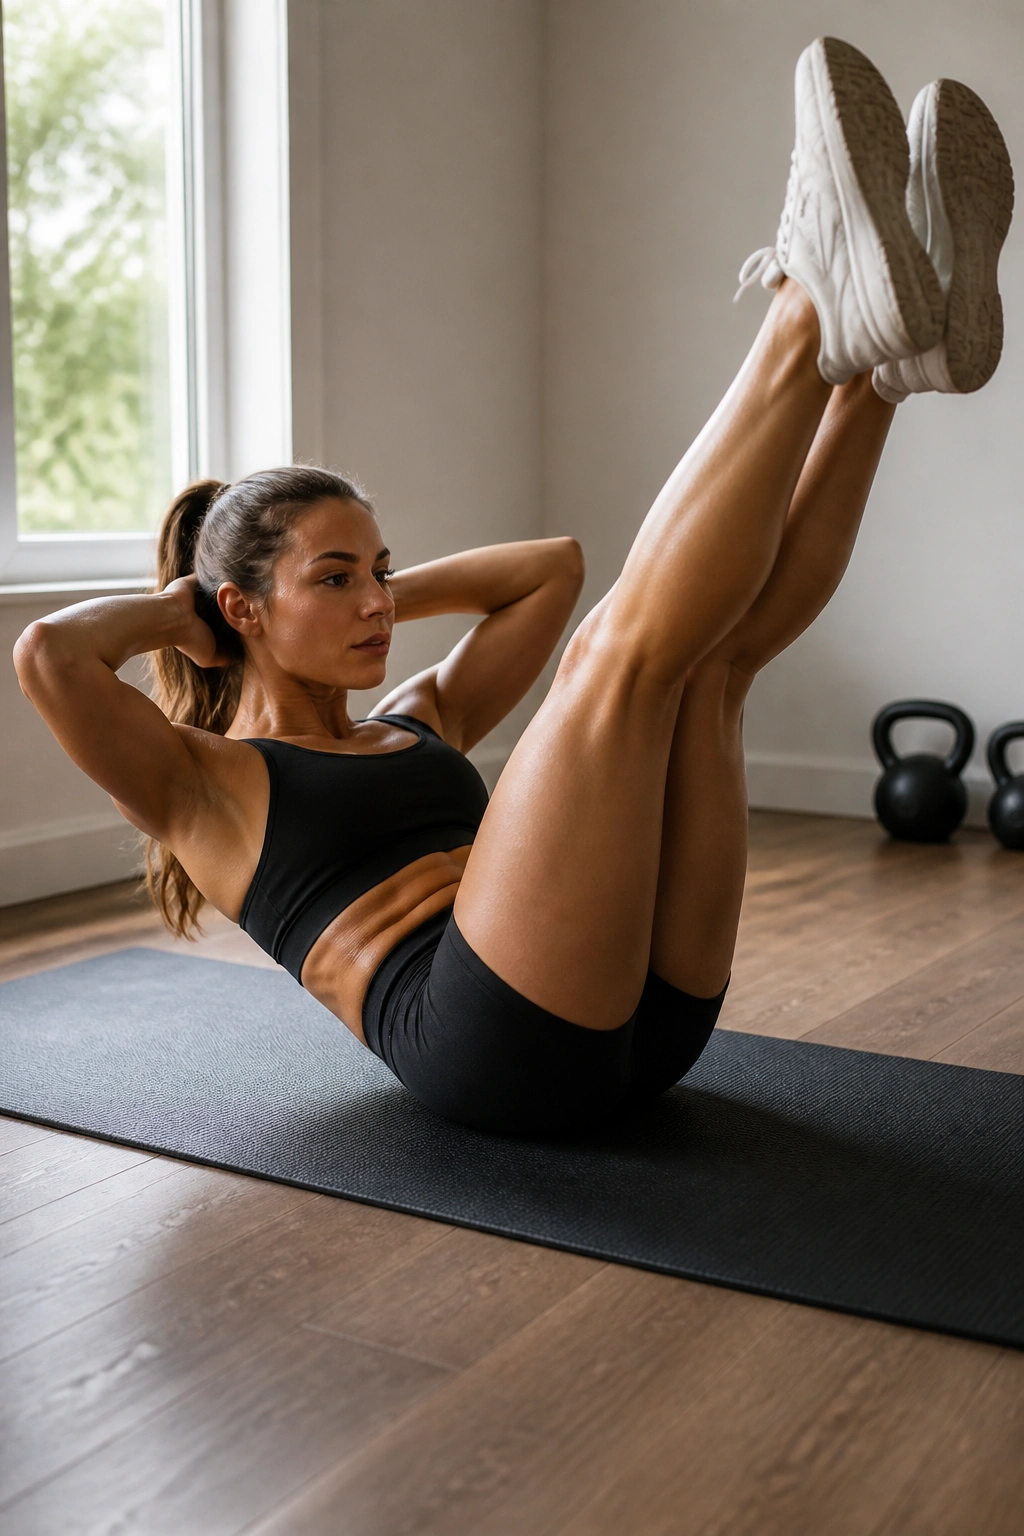
The core is not just about the “six-pack” muscles; it is about the entire cylinder of your midsection. This workout targets the upper and lower abs, which are often trained separately in traditional gym routines.
Why This Combination
Crunches are short-range, intense contractions that fry the upper abs quickly. Leg raises require deep control from the lower abdominal wall and the hip flexors. Combining them creates a relentless burn that is hard to replicate with single-movement sets.
How to Modify
If your lower back arches during leg raises, place your hands underneath your glutes. This creates a slight tilt in your pelvis that keeps your lower spine pressed firmly against the floor. Never sacrifice back position for the sake of getting your legs higher.
5. The Full-Body Burpee and Mountain Climber

This is the “metabolic conditioning” standard. It combines a full-body level change with a high-speed core movement. It is arguably the most difficult workout on this list, so save it for when you feel ready to push your conditioning.
Understanding the Intensity
Burpees involve dropping to the floor and jumping back up, which forces the heart to pump blood vertically against gravity. Mountain climbers are horizontal, high-speed drives. The combination is brutal on your cardiovascular system.
Avoiding Common Errors
Don’t worry about the “pushup” part of the burpee if you are just starting. Focus on the kickback and the jump. If the mountain climbers hurt your wrists, do them on an elevated surface like a couch or chair to change the angle.
6. The Low-Impact No-Jump Set
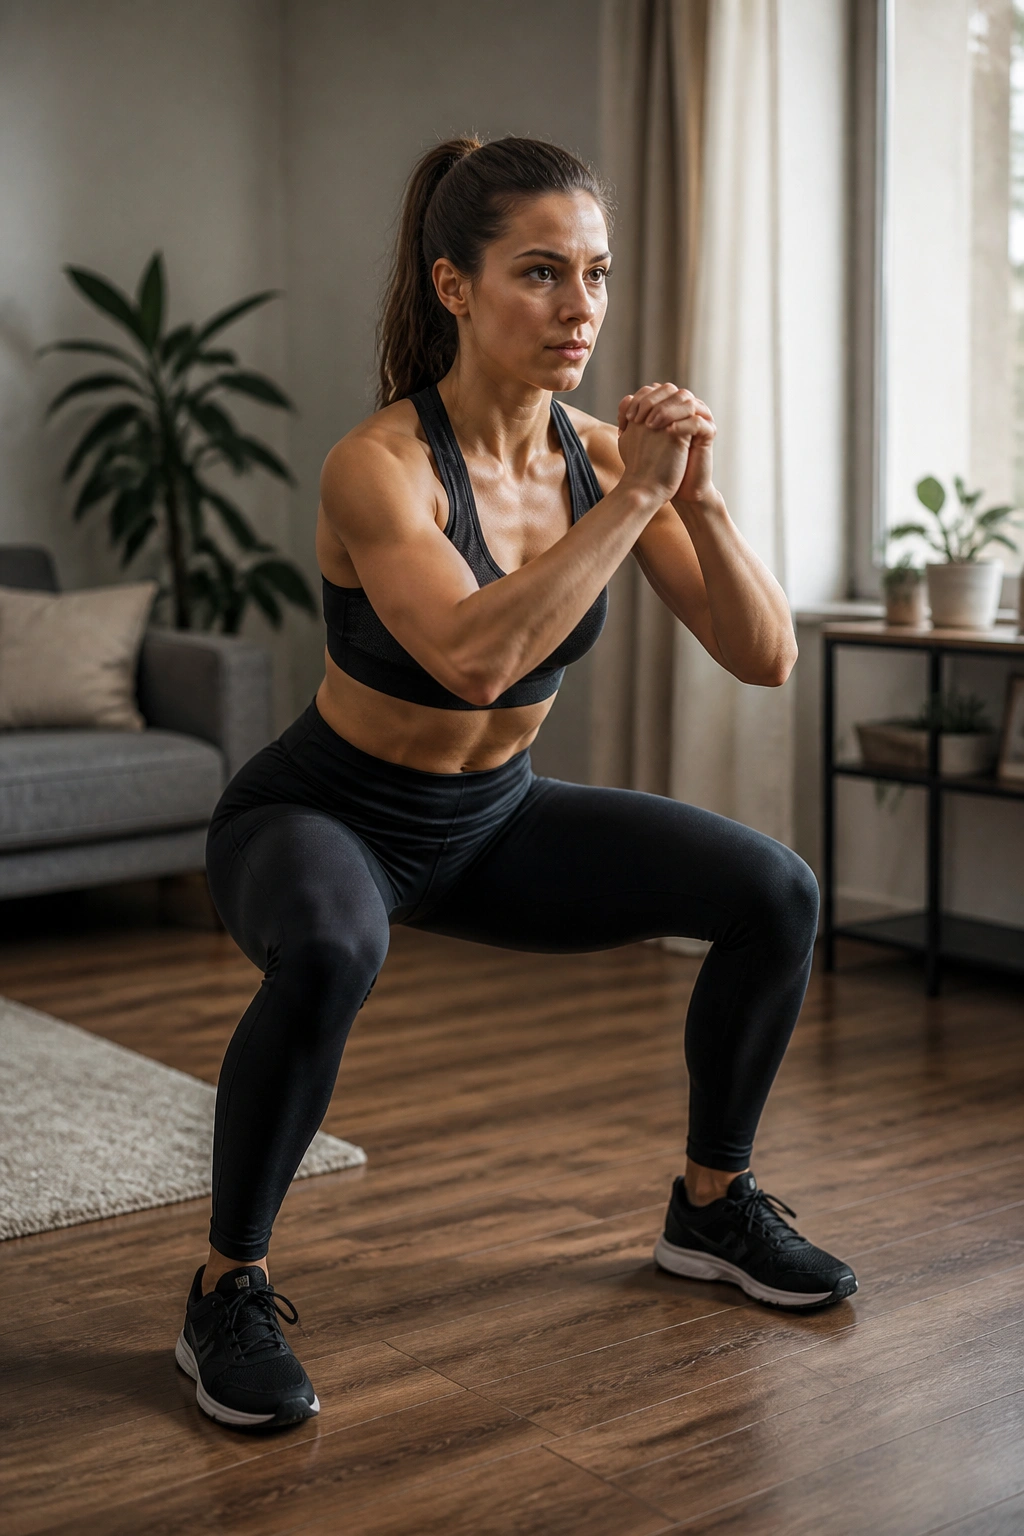
Not everyone wants to jump around their living room. You can get an intense workout without a single plyometric move. This workout relies on “time under tension”—the longer your muscles are working, the more exhausted they become.
How It Stays Effective
By removing the jump, we rely on tempo. Instead of moving quickly, move slowly. For the squats, take three seconds to descend. For the lunges, take three seconds to step back. This constant muscle engagement will spike your heart rate just as effectively as jumping, but with significantly less impact on your joints.
Ideal For
This is perfect for small apartments with thin floors or for anyone recovering from a minor joint injury who still wants the benefits of Tabata. It teaches you that intensity is a product of effort, not just speed.
7. The Posterior Chain Focus
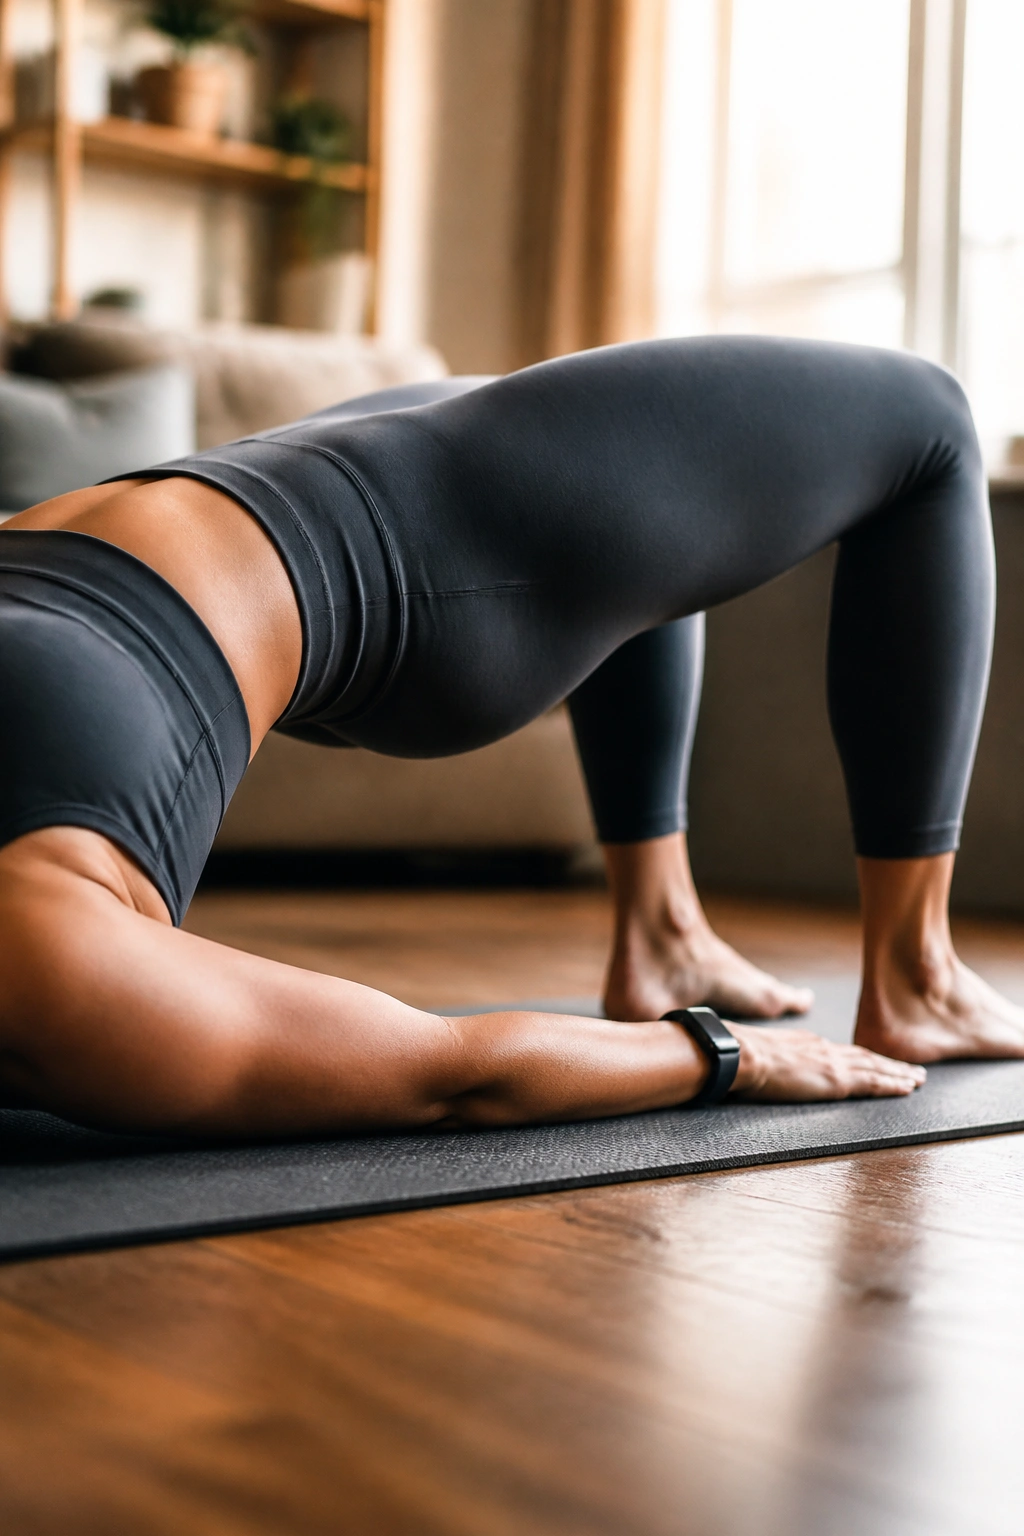
We spend our lives sitting. This means our glutes and hamstrings are usually weak, while our hip flexors are tight. This workout flips that script by focusing on the back of your body.
Why This Matters
Strong glutes and hamstrings are the key to a healthy lower back and good posture. Glute bridges provide direct isolation, while “good mornings” (hinging at the hips with a flat back) build endurance in the lower back and hamstrings.
Execution Details
- Squeeze your glutes at the top of every bridge.
- Keep your shoulder blades pinned to the floor.
- For the hinge movement, push your hips back as if you are trying to touch a wall behind you with your glutes.
- You should feel this in your hamstrings, not your lower back.
8. The Upper Body Endurance Marathon
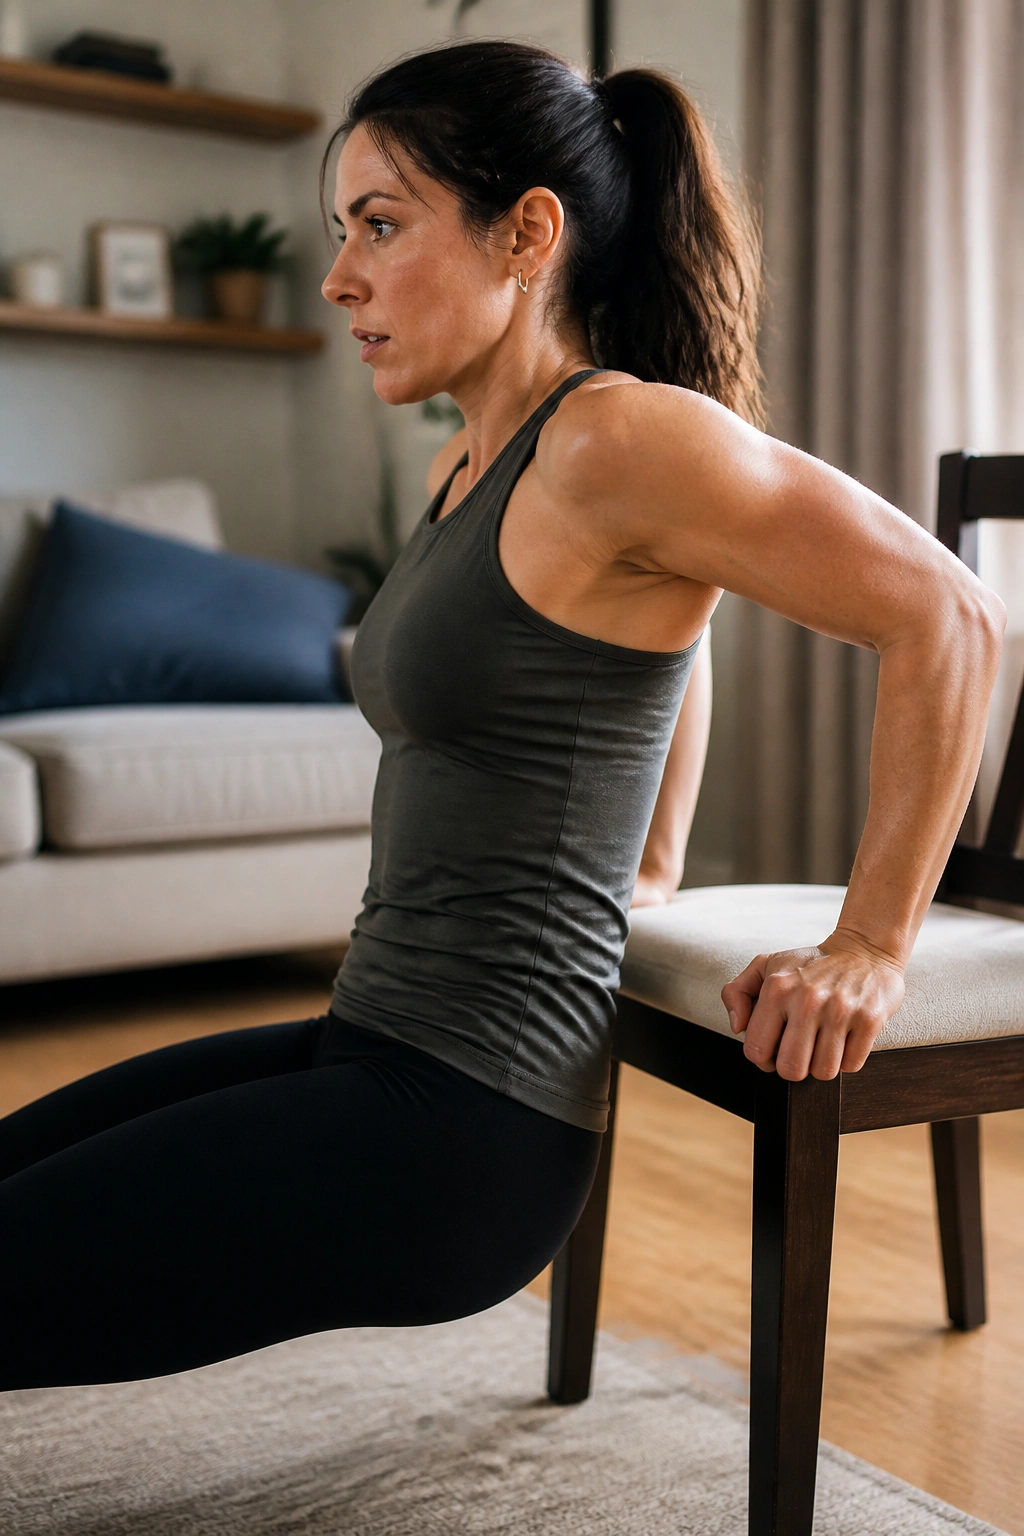
This workout is designed to make your arms feel like lead. It uses tricep dips and arm circles to exhaust the muscles of the upper body through repetition rather than heavy load.
The Physics of the Movement
Tricep dips use your body weight against your arms. Arm circles, while they seem easy, become incredibly painful after 20 seconds of continuous movement. It is a lesson in how repetitive, low-weight motion can build serious muscular endurance.
Pro Tips
For the dips, use a sturdy chair or the edge of a sofa. Keep your back close to the furniture—do not let your shoulders roll forward. When doing arm circles, keep your palms facing down and imagine you are pushing through thick water.
9. The Plank Variation Marathon
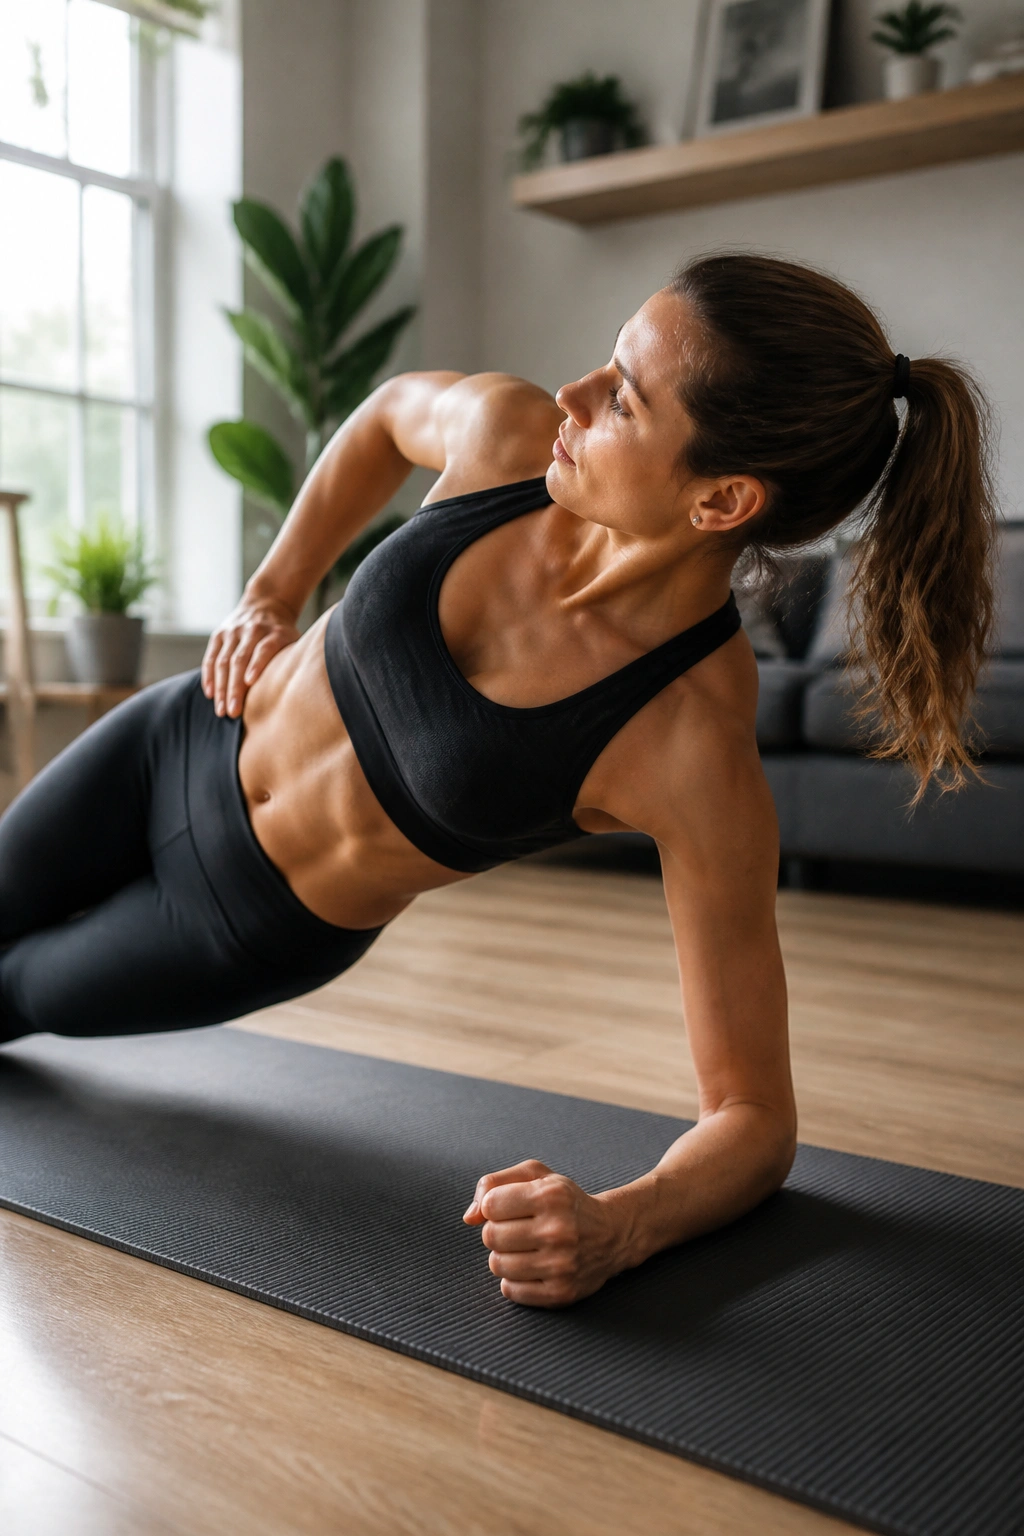
If you think planking is just holding still, this workout will change your mind. It combines side planks and standard planks to challenge your obliques, which are vital for rotation and spinal stability.
Rotational Stability
A standard plank is great, but life happens in three dimensions. Side planks require you to resist gravity trying to pull your hips toward the floor. By switching between the front and the side, you hit the entire core from every angle.
Staying Consistent
If you feel your form breaking, drop to your knees for the last five seconds of the 20-second work window. Never hold a sloppy plank; it trains your body to accept bad form. Quality counts far more than the number of seconds on the clock.
10. The Agility and Speed Set
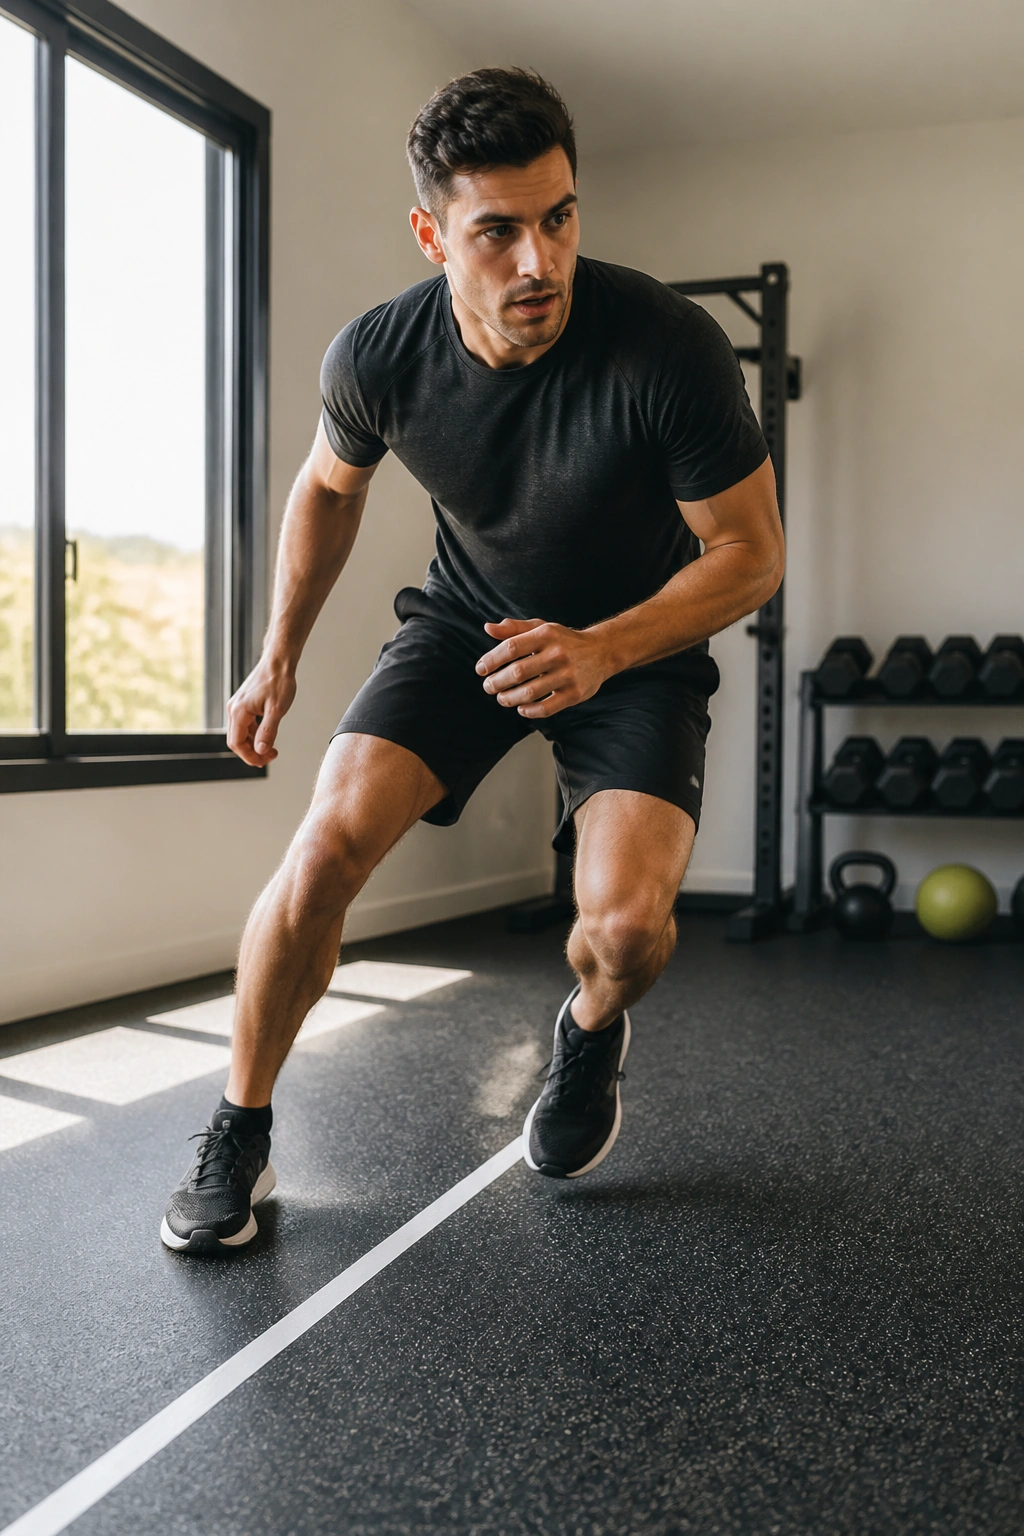
This is less about strength and more about neuromuscular firing. We focus on lateral shuffles and fast feet. It’s like doing footwork drills for a sport you aren’t even playing.
Why You Need This
Agility work fires up the fast-twitch muscle fibers. These are the fibers responsible for explosive power. Even if you have no plans to play sports, maintaining this kind of explosive capacity helps with everyday balance and coordination.
How to Set It Up
Use an imaginary line on the floor. For the lateral shuffles, move quickly side-to-side over that line. For the fast feet, stay in place and pump your feet as if you are running on hot coals. Keep your eyes up, not looking at your feet.
11. The “Active Recovery” Tabata
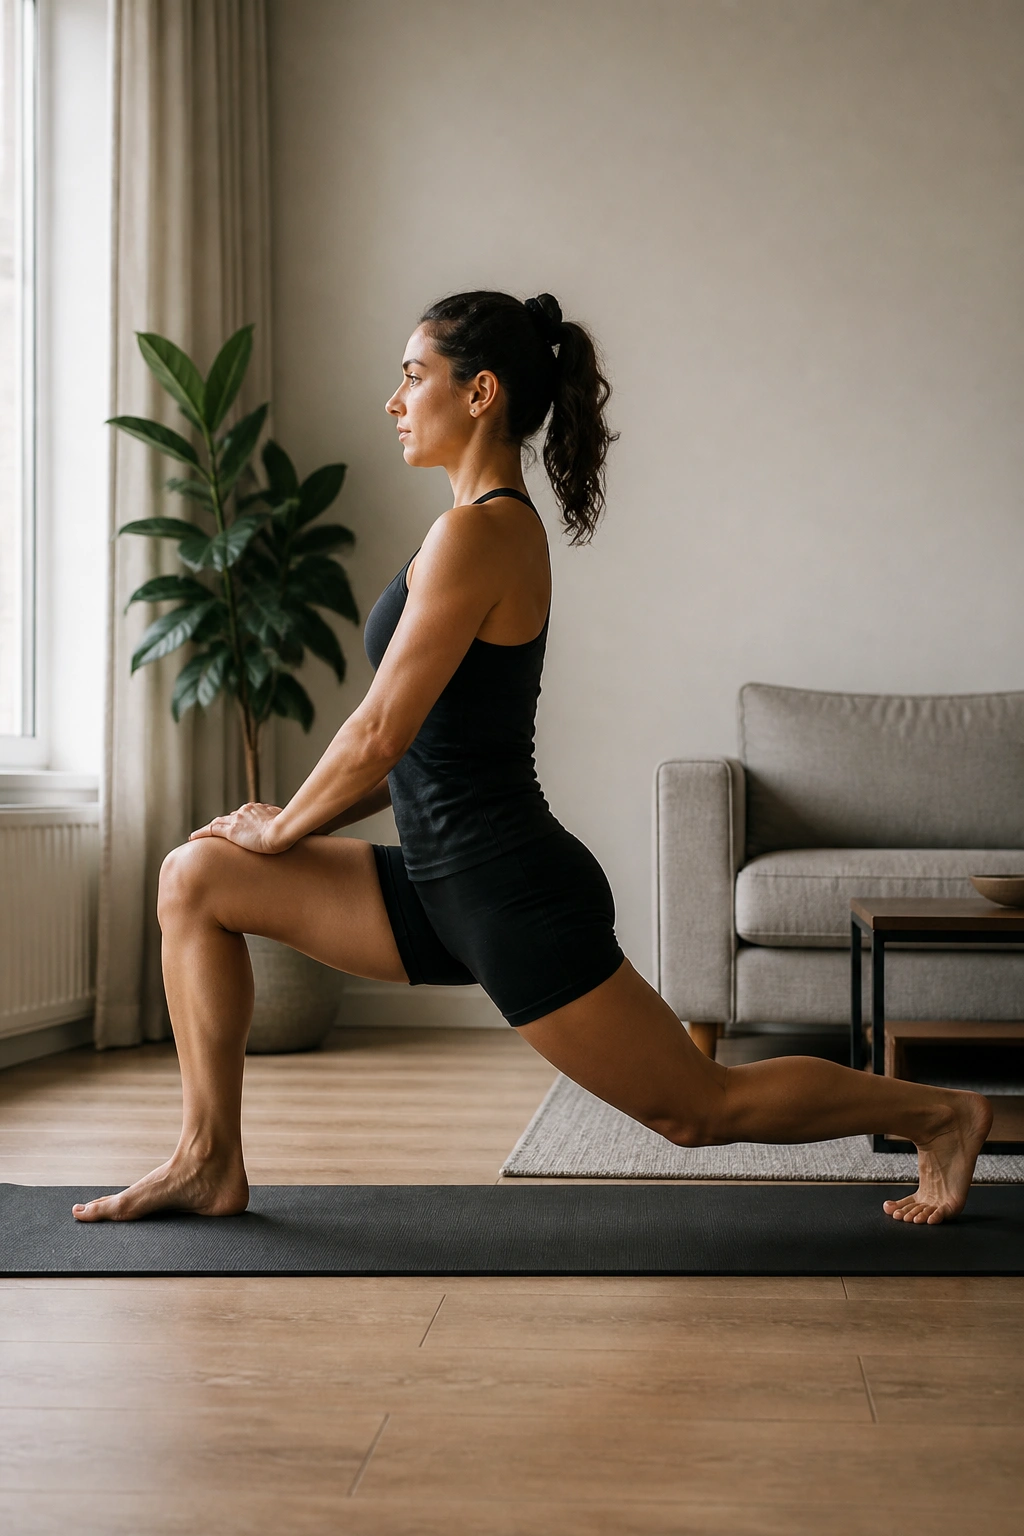
There will be days when you want to move, but your body isn’t up for a high-intensity session. This workout focuses on mobility and slow, controlled movement. It’s technically “active recovery” but still counts as a session.
The Concept
We are not looking for a maximum heart rate here. We are looking for blood flow. We alternate between slow, controlled lunges and cat-cow stretches (a yoga movement that mobilizes the spine).
Why It Helps
High-intensity work causes inflammation. This session helps move fluid through the joints and muscles, which can actually help with recovery. If you find yourself consistently feeling wiped out, swap one of your “hard” days for this session.
12. The Floor-Based Mobility Flow
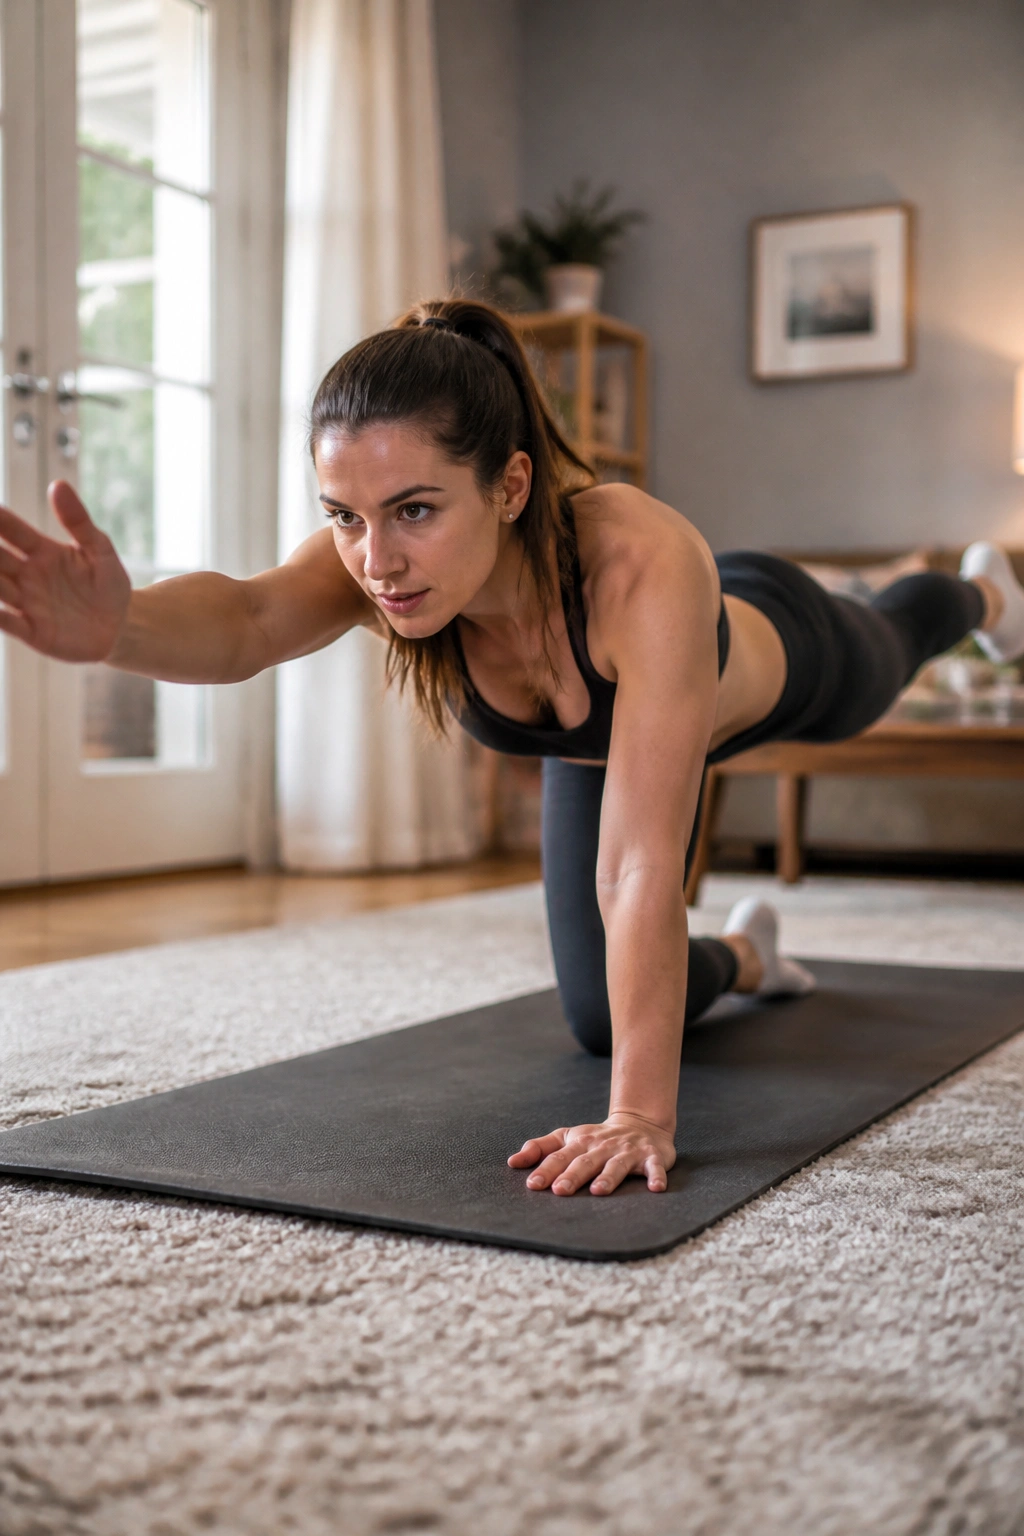
Many people struggle with flexibility in the hips and shoulders. This workout uses floor-based movements to combine strength and range of motion. It looks simple, but 20 seconds of holding these positions will surprise you.
What to Expect
You will spend 20 seconds in a “bird-dog” position (balancing on one hand and the opposite knee) and then switch to a “bridge hold.” It forces you to control your body in unstable positions.
Focus Areas
- Keep your back flat in the bird-dog.
- Reach your arm and leg away from each other, not just up.
- This is about control, not speed. Slow down.
13. The Balance and Stability Challenge
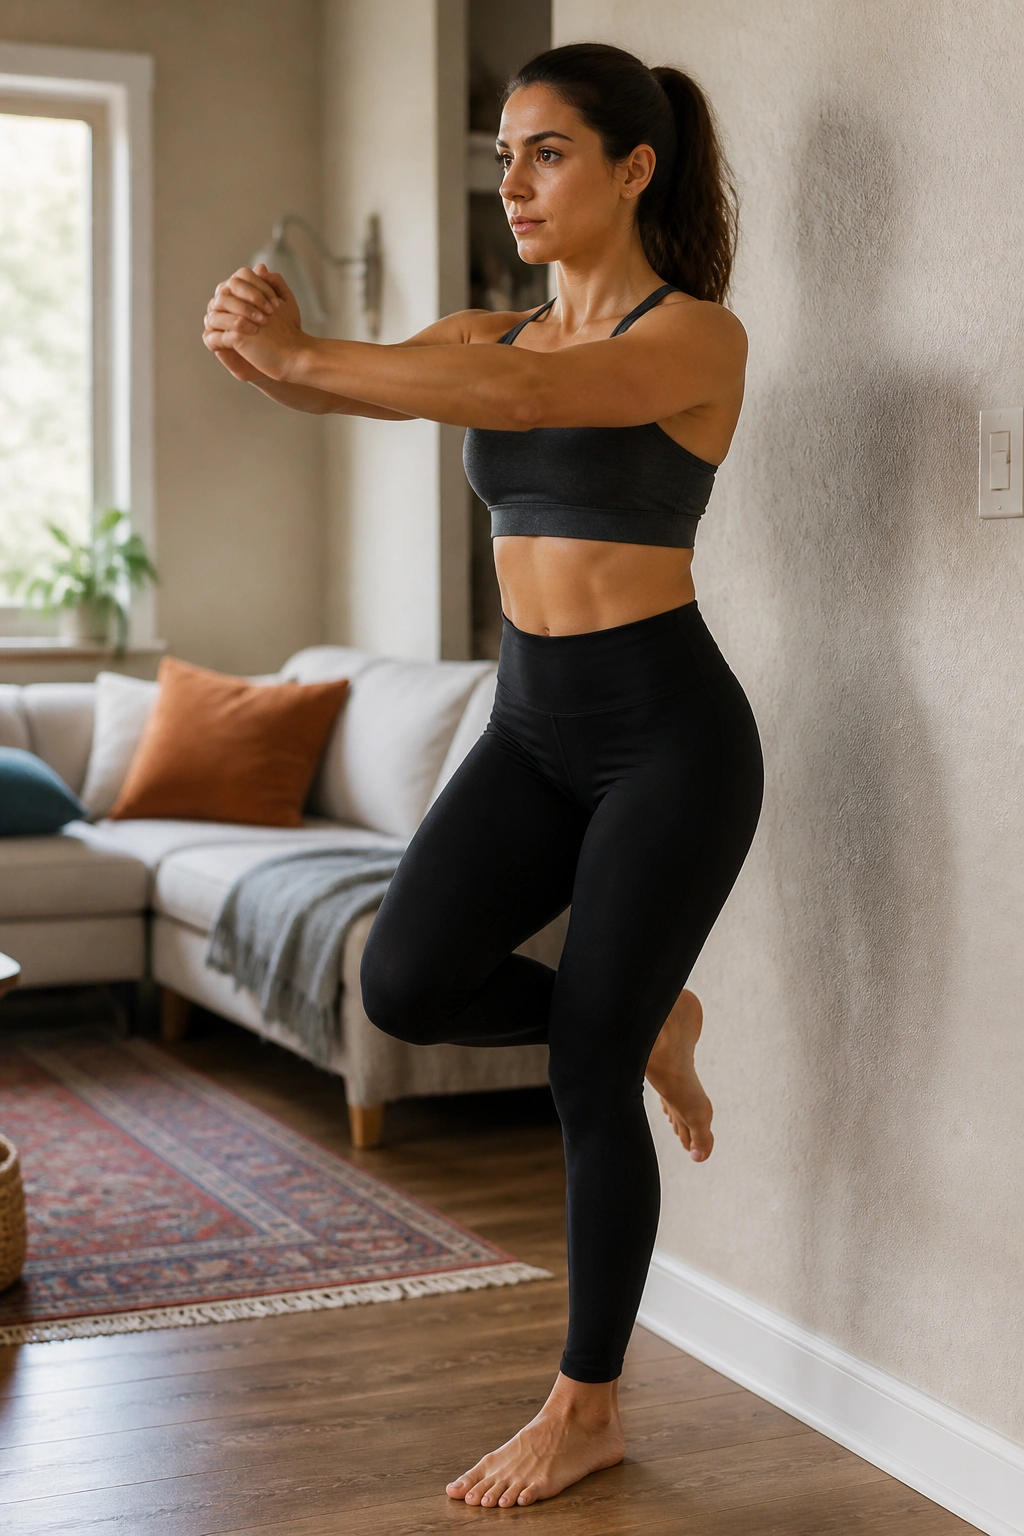
Stability is often ignored in home workouts. This session uses single-leg stands and single-leg reaches. It trains the small stabilizer muscles around your ankles, knees, and hips.
The Physiology
When you stand on one leg, your brain has to constantly adjust your center of gravity. This burns calories and builds mental focus. It also helps prevent injuries, as stronger stabilizer muscles are better at catching you if you trip.
Practical Tips
- Pick a spot on the wall to stare at.
- Do not let your standing knee lock out; keep a tiny, soft bend in it.
- If you fall over, just step back in and continue. Everyone wobbles at first.
14. The “Full Sweat” HIIT Finale
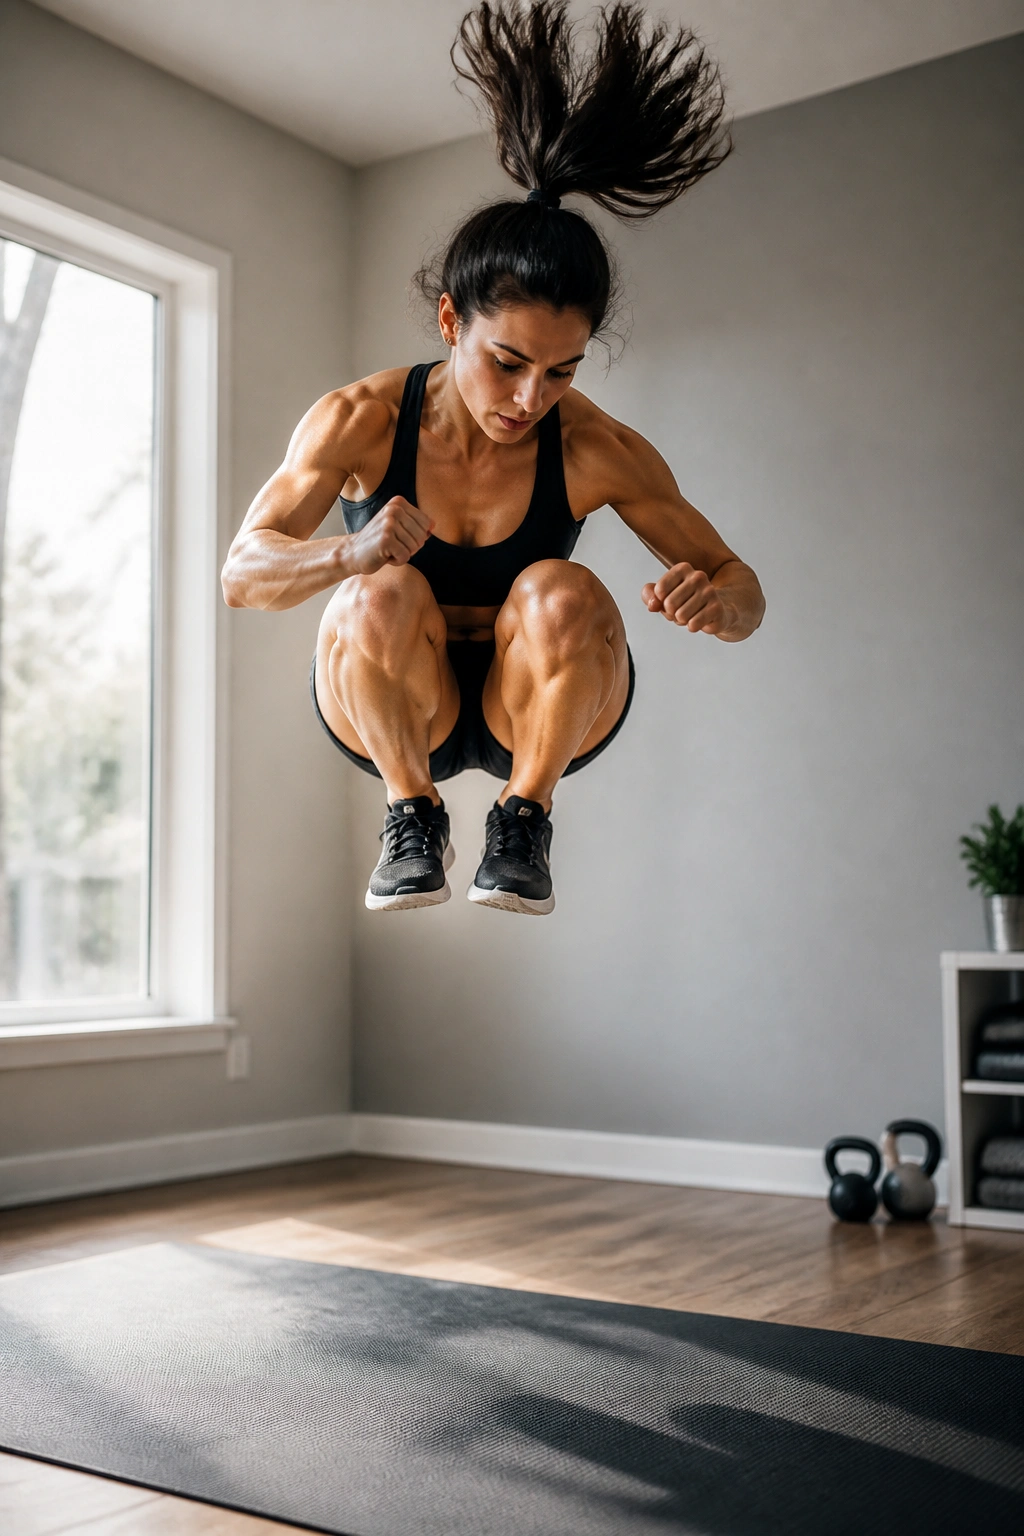
This is a high-octane mix of jumping lunges and tuck jumps. It is advanced. Do not attempt this until you have mastered the basics of jumping and landing with soft knees.
When to Use This
This is a high-impact session. Reserve it for days when you feel fully recovered and have plenty of energy. It is designed to be a “finisher”—something to do at the end of a long week or as an occasional challenge to see how far your fitness has come.
Safety Protocol
Landing is everything. When you jump, you must land on the balls of your feet and let your knees bend immediately to absorb the shock. If you land flat-footed with straight legs, you are asking for joint pain.
15. The “I Can Do Anything” Hybrid
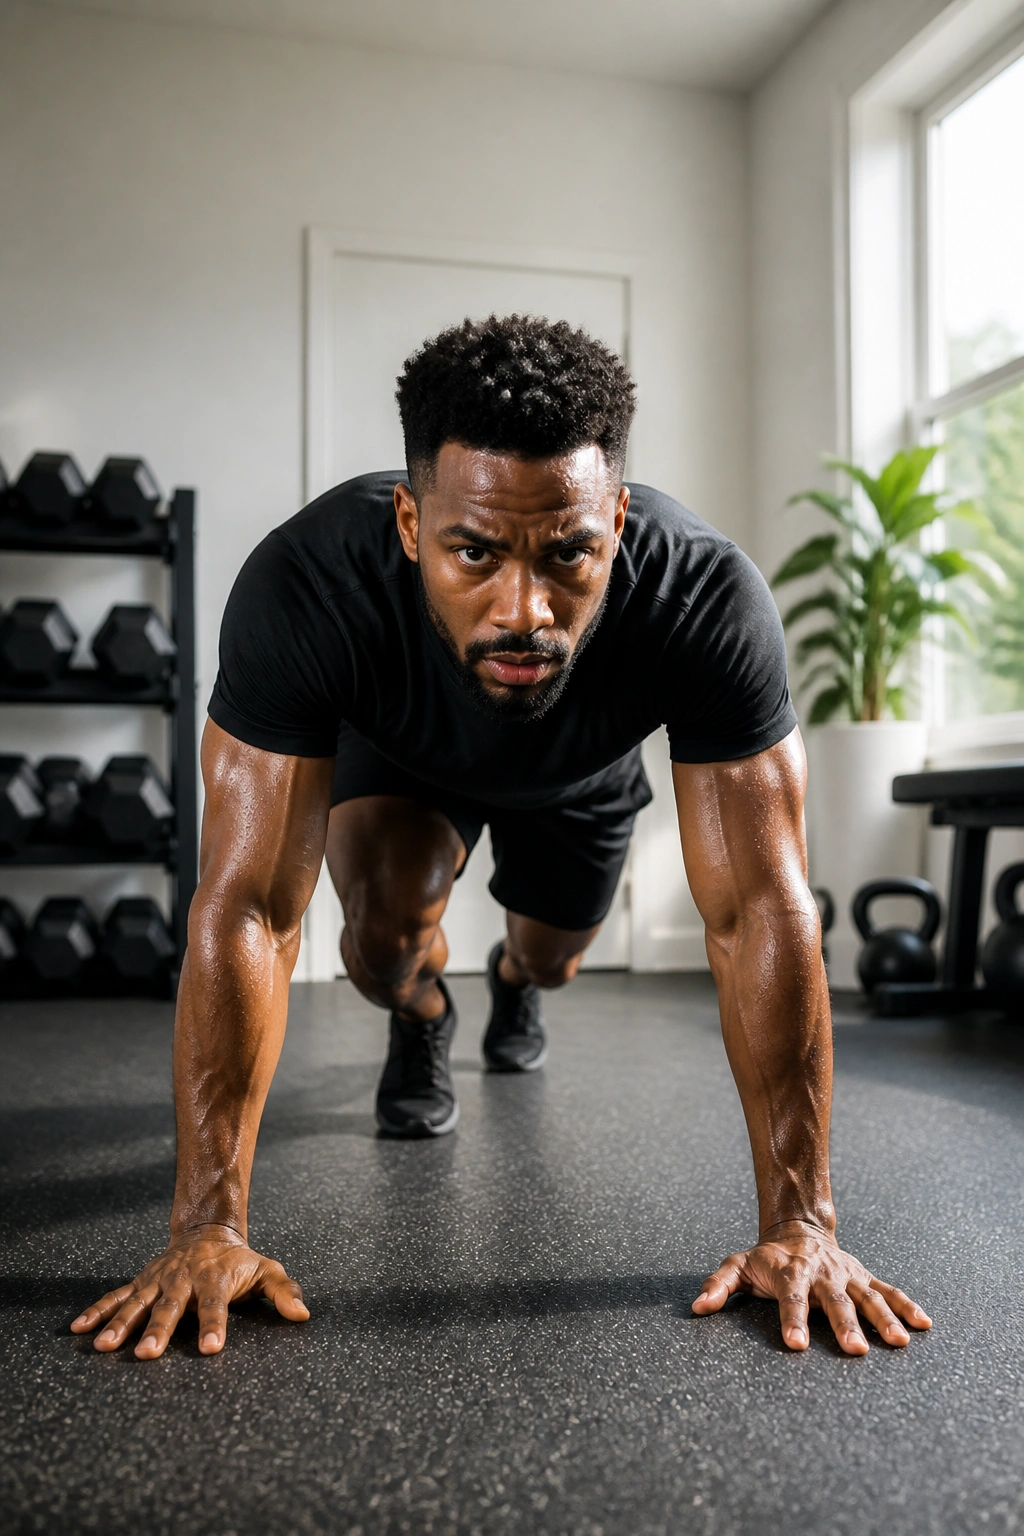
This workout mixes upper and lower body movements in the same interval. It’s the most demanding on your brain, requiring you to switch movement patterns instantly.
Why the Brain Matters
Cognitive load is part of the challenge. Switching from a squat to a pushup requires your brain to reorient your body in space. This builds what is often called “proprioception”—your body’s ability to know where it is in space.
The Mix
You will be doing squats followed by pushups, but you are transitioning every 20 seconds. It forces you to get up and down from the floor repeatedly. It is the ultimate test of your ability to manage your body weight.
Making the Protocol Your Own
The beauty of the Tabata method is that it is a framework, not a set of laws. You can take any of these workouts and swap out the exercises to suit your preferences or equipment availability. If you find one workout boring, change it. The only thing that is non-negotiable is the timer.
You need to track your rounds. Use a simple app on your phone or just a stopwatch. The moment you start guessing whether you have done four rounds or five, you lose the intensity. You must know exactly where you are in the sequence.
If you are a beginner, it is entirely acceptable to start with four rounds (two minutes total) instead of the full eight (four minutes). You are building a habit, not trying to break a world record. Once two minutes feels easy, add a round. Then add another. Progression is the only way to ensure your fitness keeps improving over time.
Safety and Avoiding Common Pitfalls
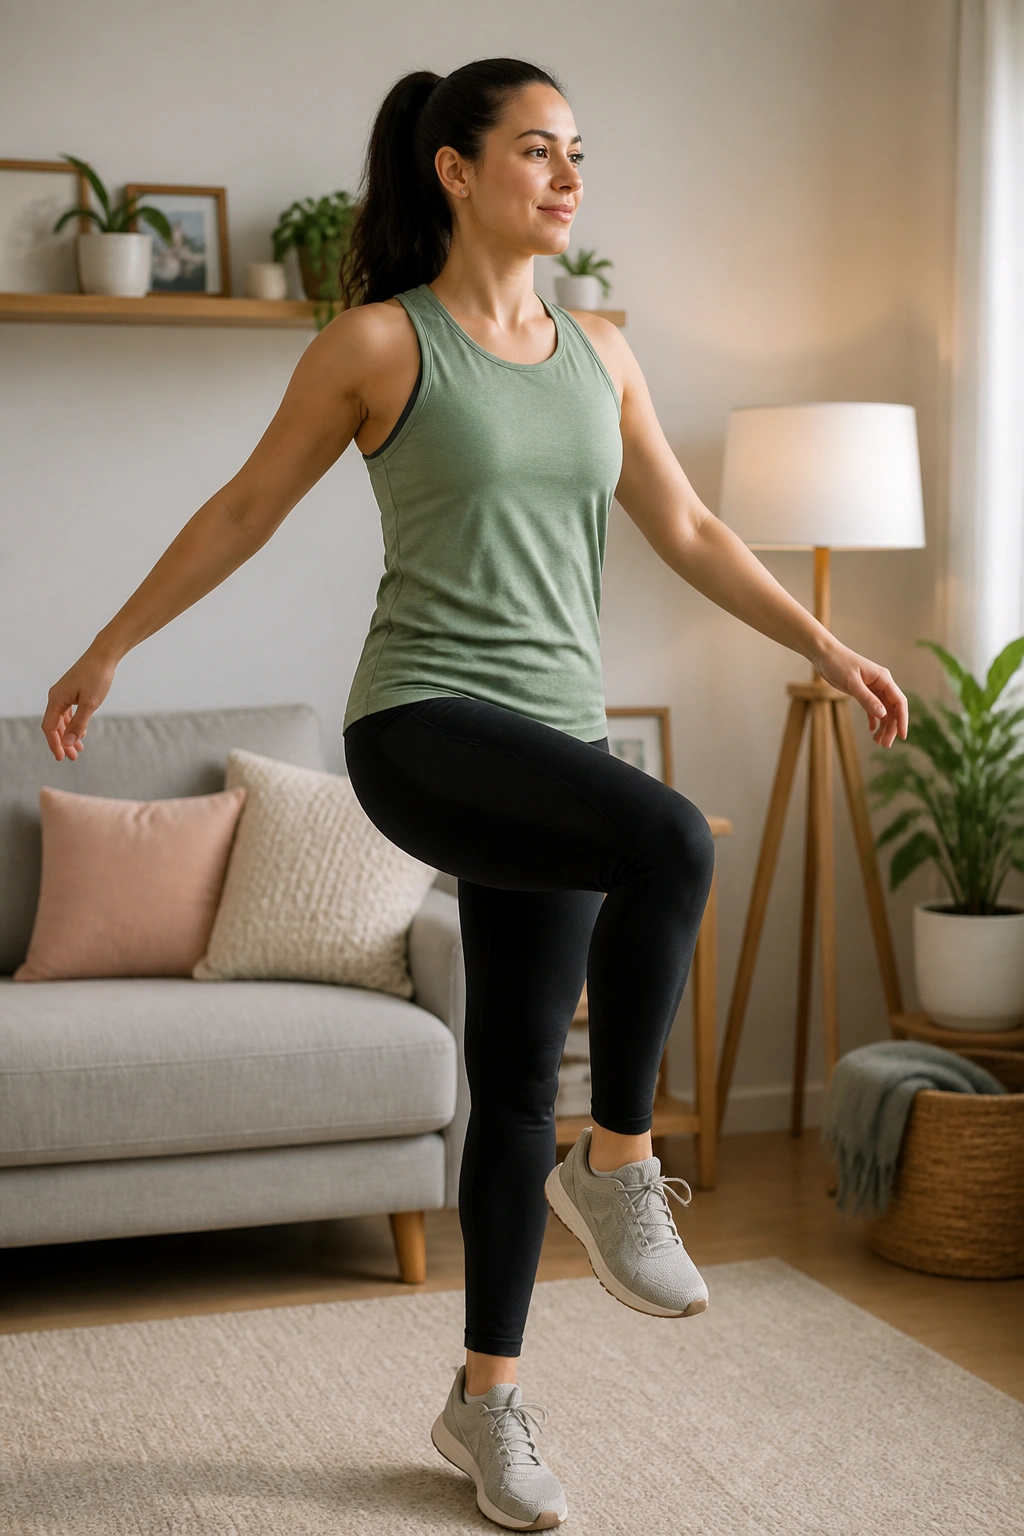
You might feel tempted to go “all out” on day one. Resist that urge. The most common mistake beginners make is ignoring the warm-up. You need to get your joints lubricated and your muscles warm before you start the 20/10 intervals. Do three minutes of light movement—marching in place, gentle arm circles, and torso twists—before you ever touch the Tabata timer.
Watch your form when you get tired. It is normal to lose focus around round six or seven. This is when the risk of injury rises. If your knees start buckling, your back starts rounding, or your shoulders cave in, stop the set early. It is better to do five rounds with perfect form than eight rounds with terrible form.
Lastly, listen to your joints. A muscle burn is good. A sharp, stinging pain in your elbow, knee, or lower back is bad. If you feel that sharp pain, stop immediately. You can always work out tomorrow, but you cannot work out if you are nursing an injury. Be smart, stay consistent, and let the process do the work.
