



Meal prep ideas for beginners work best when they are almost boring. That sounds rude, I know, but boring is exactly what keeps Tuesday lunch from turning into a sad desk lottery. The meals that actually get eaten are the ones that survive the fridge, reheat cleanly, and don’t ask you to do five separate things after a long day.
A lot of people quit meal prep because they start too big. They roast three proteins, make two sauces, cook a grain, prep a salad, and suddenly the kitchen looks like a small disaster zone. That’s not a habit. That’s a weekend project with tupperware. The smarter move is to pick meals that share ingredients, hold their texture, and don’t fall apart if you pack them in the wrong container once or twice.
Food safety matters here too, even if nobody loves talking about it. Cooked food should cool fast, shallow containers help, and the old 2-hour rule still matters when hot food is sitting out on the counter. Rice, chicken, beans, pasta, and chopped vegetables all behave better when they’re cooled and stored with a little common sense instead of hope.
The good news is that beginner meal prep doesn’t need to be fancy. It needs to be repeatable. It needs to fit into real life, where some weeks you want a hot dinner, some weeks you want a cold lunch, and some weeks you just want breakfast to exist without effort.
1. Sheet-Pan Chicken, Sweet Potatoes, and Broccoli
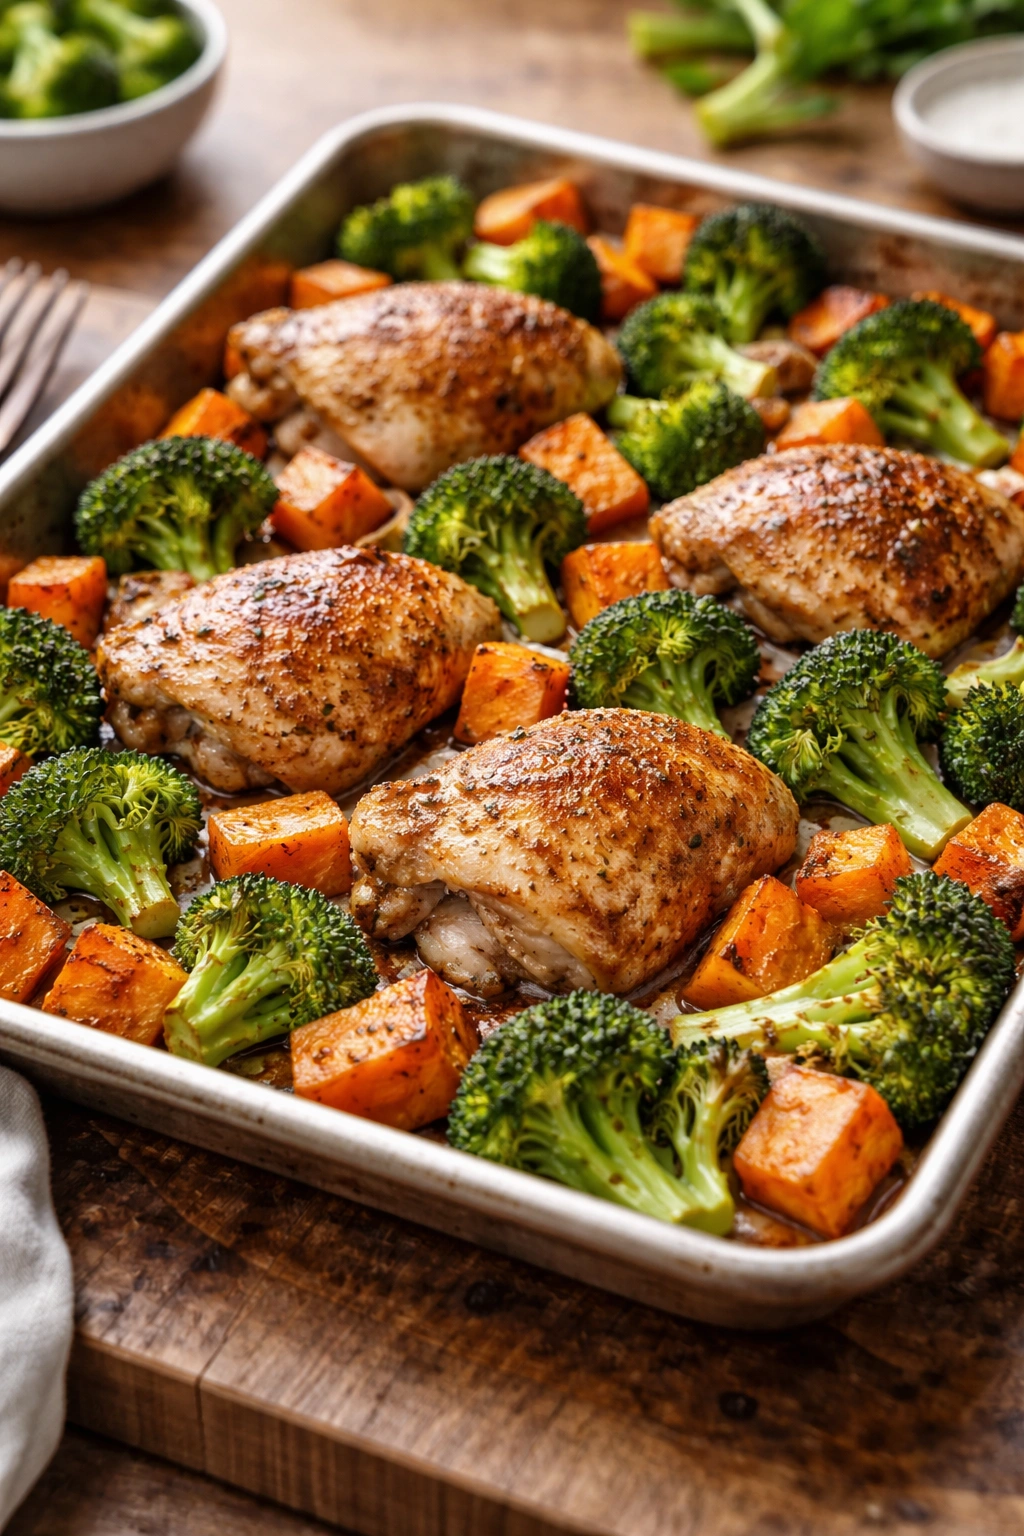
This is the meal prep box I trust when I do not feel like thinking. One pan, one oven, and three components that actually like being reheated later. It’s simple in the best way: chicken for protein, sweet potatoes for heft, broccoli for something green and a little crisp at the edges.
I prefer chicken thighs for beginners. They stay juicier than breasts, which matters a lot when you’re reheating food on day three and day four. Breasts can work, sure, but they punish you if you leave them in the oven too long by even a couple of minutes. Thighs are more forgiving. They are the friend who shows up on time and doesn’t make drama.
Why it works so well
The trick is to cut the sweet potatoes small enough to roast in the same amount of time as the chicken. Think 1-inch chunks, not giant wedges. Broccoli should be broken into medium florets so the stems soften while the tops get a little brown. That browning is not cosmetic. It gives you flavor, and flavor is what keeps meal prep from feeling like cafeteria food.
Pack the chicken, potatoes, and broccoli in separate compartments if you can. If you mix them all together while they’re still hot, the broccoli goes limp and the potatoes start steaming themselves soft.
- Roast at 425°F / 220°C for about 20 to 25 minutes.
- Cut the vegetables into similar sizes so nothing finishes too early.
- Use olive oil, salt, pepper, garlic powder, and paprika for the base seasoning.
- Add a squeeze of lemon or a spoonful of yogurt sauce after reheating.
- Cool everything in shallow containers before sealing the lids.
My favorite move: keep one small container of sauce separate. A teaspoon or two of garlic yogurt, tahini sauce, or even salsa can wake the whole box up.
2. Overnight Oats in Jars That Don’t Turn Gluey
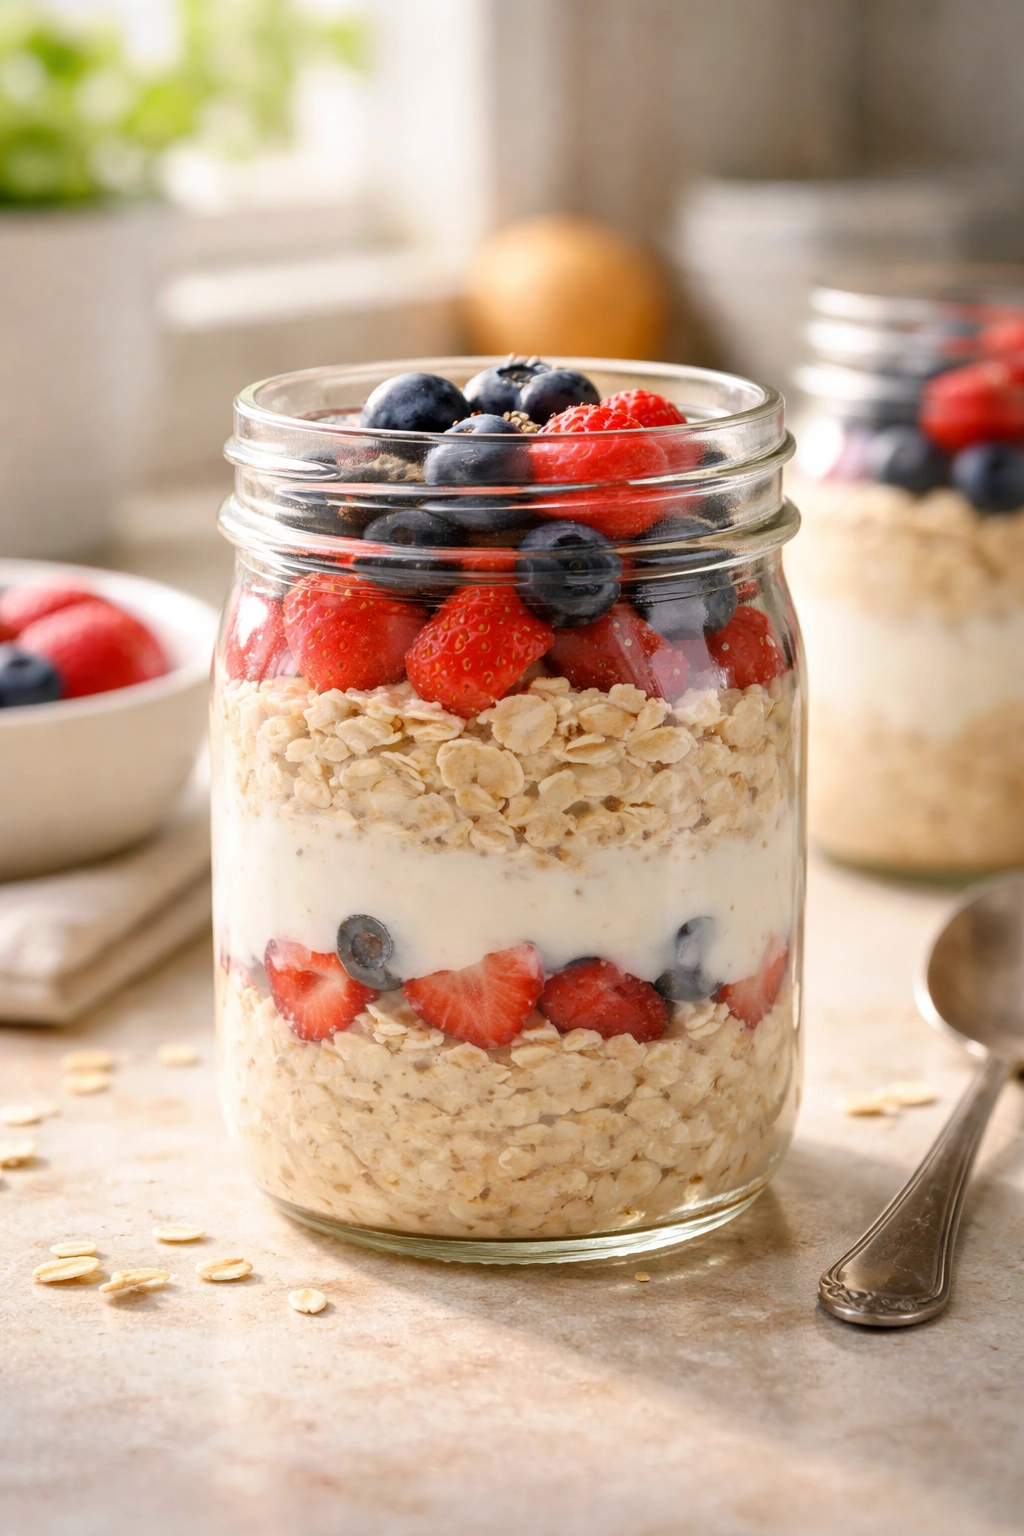
Can breakfast prep happen while you sleep? Yes. And overnight oats are one of the easiest places to start, mainly because they forgive mistakes better than most foods do. If you’ve ever burned toast and called it breakfast, this is your upgrade.
The biggest beginner mistake is adding too much liquid. You want oats that are soft and spoonable, not a gray soup with ambition. A rough starting point is 1/2 cup rolled oats, 1/2 cup milk, and 1/4 cup yogurt. From there, you can adjust based on how thick you like them. Rolled oats hold up best. Quick oats go mushy faster. Steel-cut oats need a different method and are not the gentle starting point most beginners want.
Keep the texture in check
Fruit is where a lot of people go wrong. If you stir in berries the night before, they bleed color and soften the oats. That can be fine if you like a jammy mix, but it can also make the jar look like something nobody wants to eat. I usually layer fruit on top or tuck it in the middle so it stays fresher.
A jar with a tight lid is handy, but any sealed container works. Mason jars look neat, though I care more about the opening being wide enough to eat from without chasing the last spoonful around the bottom.
- Start with rolled oats, not instant oats.
- Add chia seeds if you want a thicker, pudding-like texture.
- Mix in peanut butter, cinnamon, vanilla, or cocoa for flavor.
- Top with banana, berries, chopped apple, or nuts in the morning.
- Keep them in the fridge for up to 4 days.
A good jar breakfast should taste cold but not dull. That’s the sweet spot.
3. Taco Bowls That Hold Up Through the Week
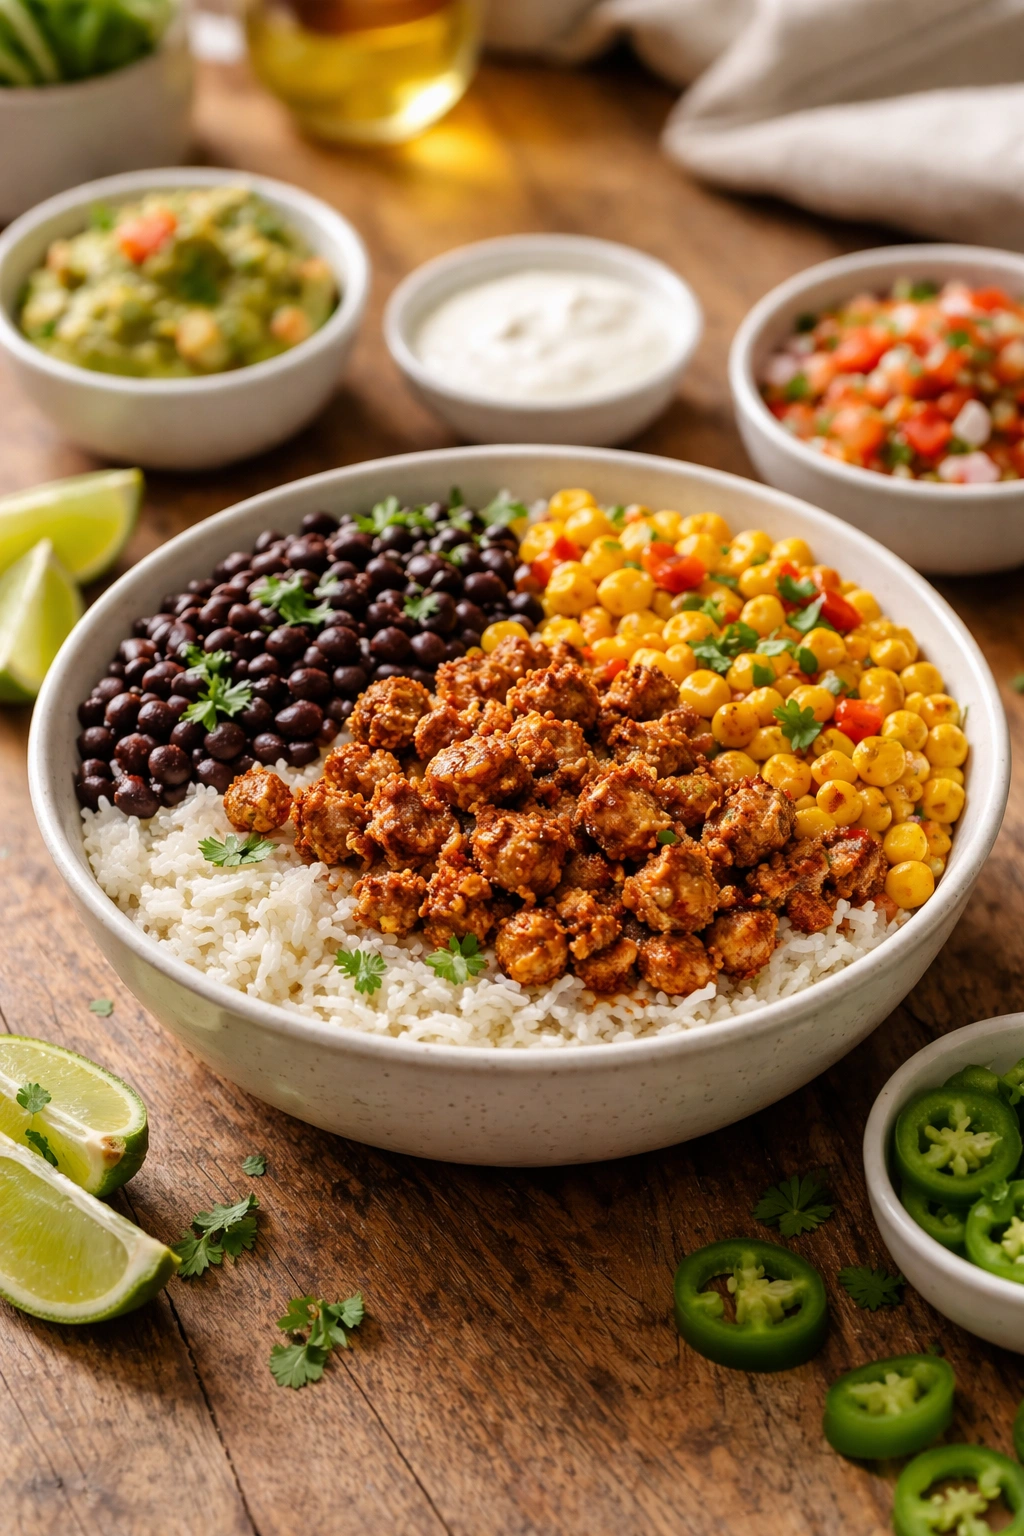
A half-decent taco bowl can save lunch from being depressing. A great one can make you look forward to opening the container, which is rarer than people admit. Ground turkey, ground beef, black beans, or lentils all work here, and the format is forgiving enough that you can swap ingredients without wrecking the whole thing.
Picture this: rice on the bottom, seasoned protein in the middle, beans on one side, corn or peppers on the other, and cold toppings packed separately. That is the whole trick. Not glamorous. Effective. A little lime, a little salsa, a little shredded cheese, and you’ve got a lunch that feels assembled instead of assembled around sadness.
What to prep first
Brown the meat with onion and taco seasoning, then taste it before you stop cooking. A lot of beginner meal prep fails because the base is underseasoned. Cold food mutes salt and spice, so the version you taste in the pan should be a touch stronger than you think you need.
Beans help here. They stretch the filling, add fiber, and keep the bowl from feeling too meat-heavy. If you’re using canned beans, rinse them first so the bowl doesn’t taste metallic or overly salty.
- Cook rice, quinoa, or cauliflower rice ahead of time.
- Make a simple taco seasoning with chili powder, cumin, garlic powder, and oregano.
- Keep lettuce, avocado, salsa, and sour cream separate until eating.
- Use lime wedges to wake up leftovers.
- Store in the fridge for 3 to 4 days.
The avocado question comes up a lot. Yes, it browns. No, that does not mean you need to abandon it. Just add it right before you eat or pack a small separate container with lime juice.
4. Pasta Salad That Still Tastes Good Cold
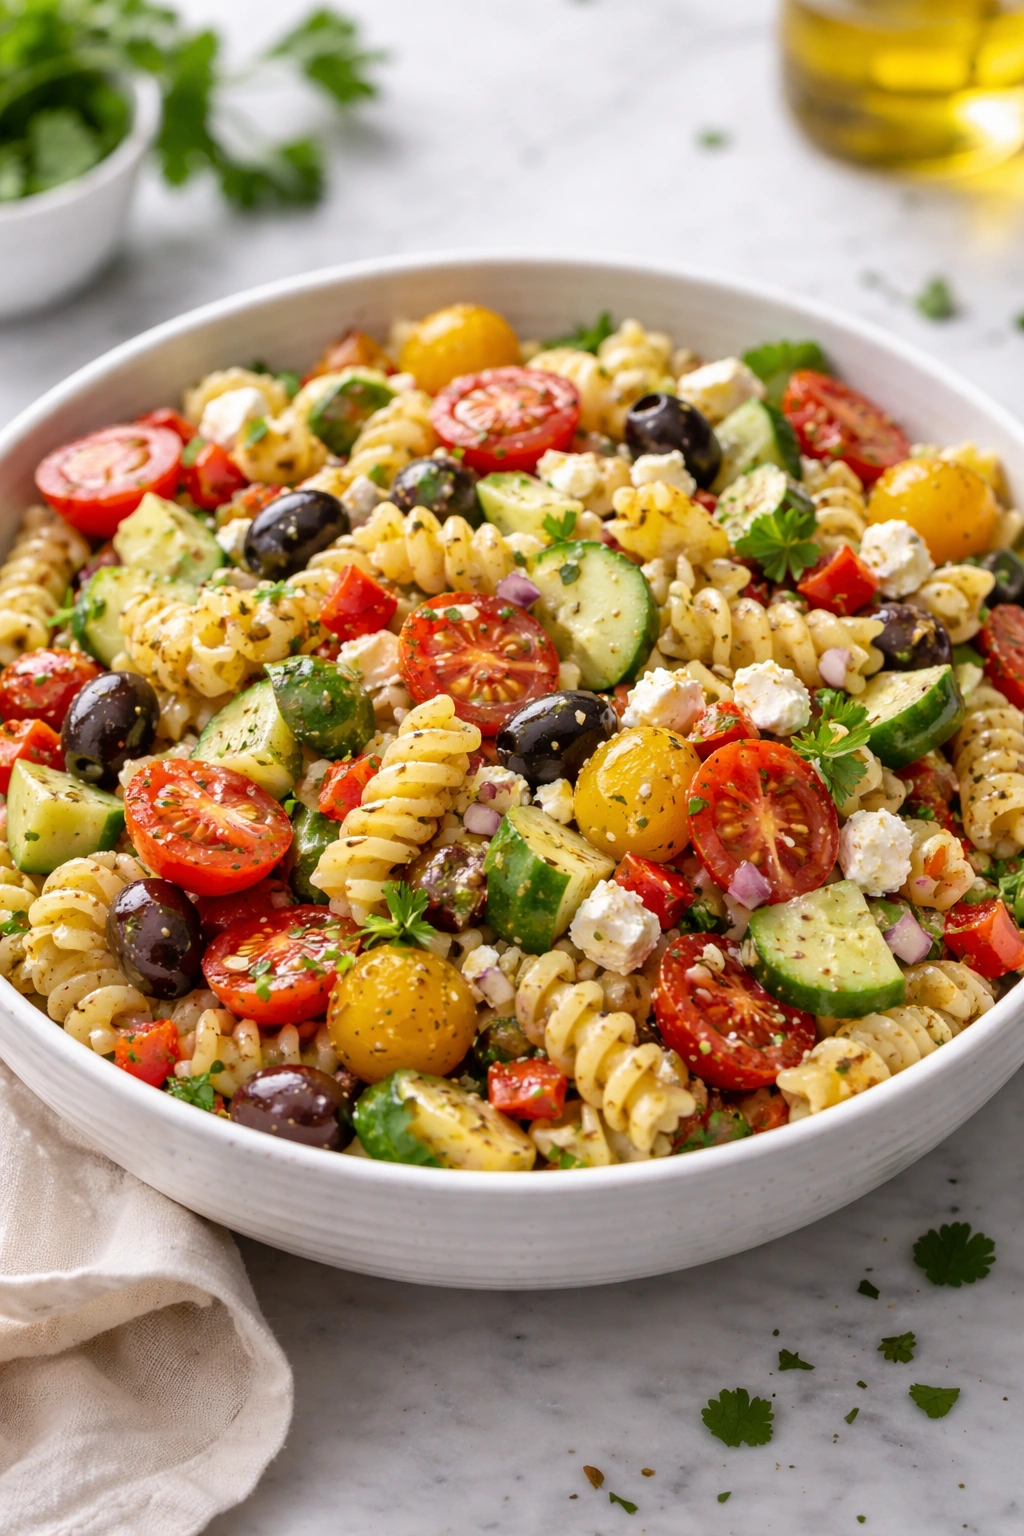
Cold pasta salad gets a bad reputation because people keep making it bland. That’s the real issue. Pasta itself is not the problem. A limp, over-mayoed pile of noodles with no acid, no salt, and no crunch is the problem.
The version I like best starts with a short pasta shape that traps dressing in the ridges. Rotini, fusilli, penne, or farfalle all work. Cook the pasta to just past al dente if you plan to eat it cold; it firms up a little in the fridge. Then salt the water properly. If the pasta tastes flat before anything else goes in, the final bowl will taste flat too.
A cold pasta salad is also a smart beginner move because it gives you room to use odds and ends. Half a cucumber. A few cherry tomatoes. Some chopped olives. Chickpeas. Feta. Cooked chicken. Whatever is sitting in the fridge and still has some life in it can probably find a home here.
Dressing matters more than people think
Oil-based vinaigrettes hold up better than creamy dressings if the salad needs to sit for a few days. Mayo can work, but it gets heavy fast and can make the whole container feel dense by day three. A bright dressing with lemon juice or vinegar keeps the pasta from tasting old.
I’d also add one strong-flavored ingredient so the salad doesn’t taste polite. A handful of feta, chopped sun-dried tomatoes, capers, pepperoncini, or fresh herbs changes the whole thing. You don’t need a lot.
The nice part is that pasta salad can be lunch, a side dish, or dinner if you add enough protein. It’s the rare prep item that doesn’t complain about being served cold.
5. Egg Muffins with Fruit and Toast
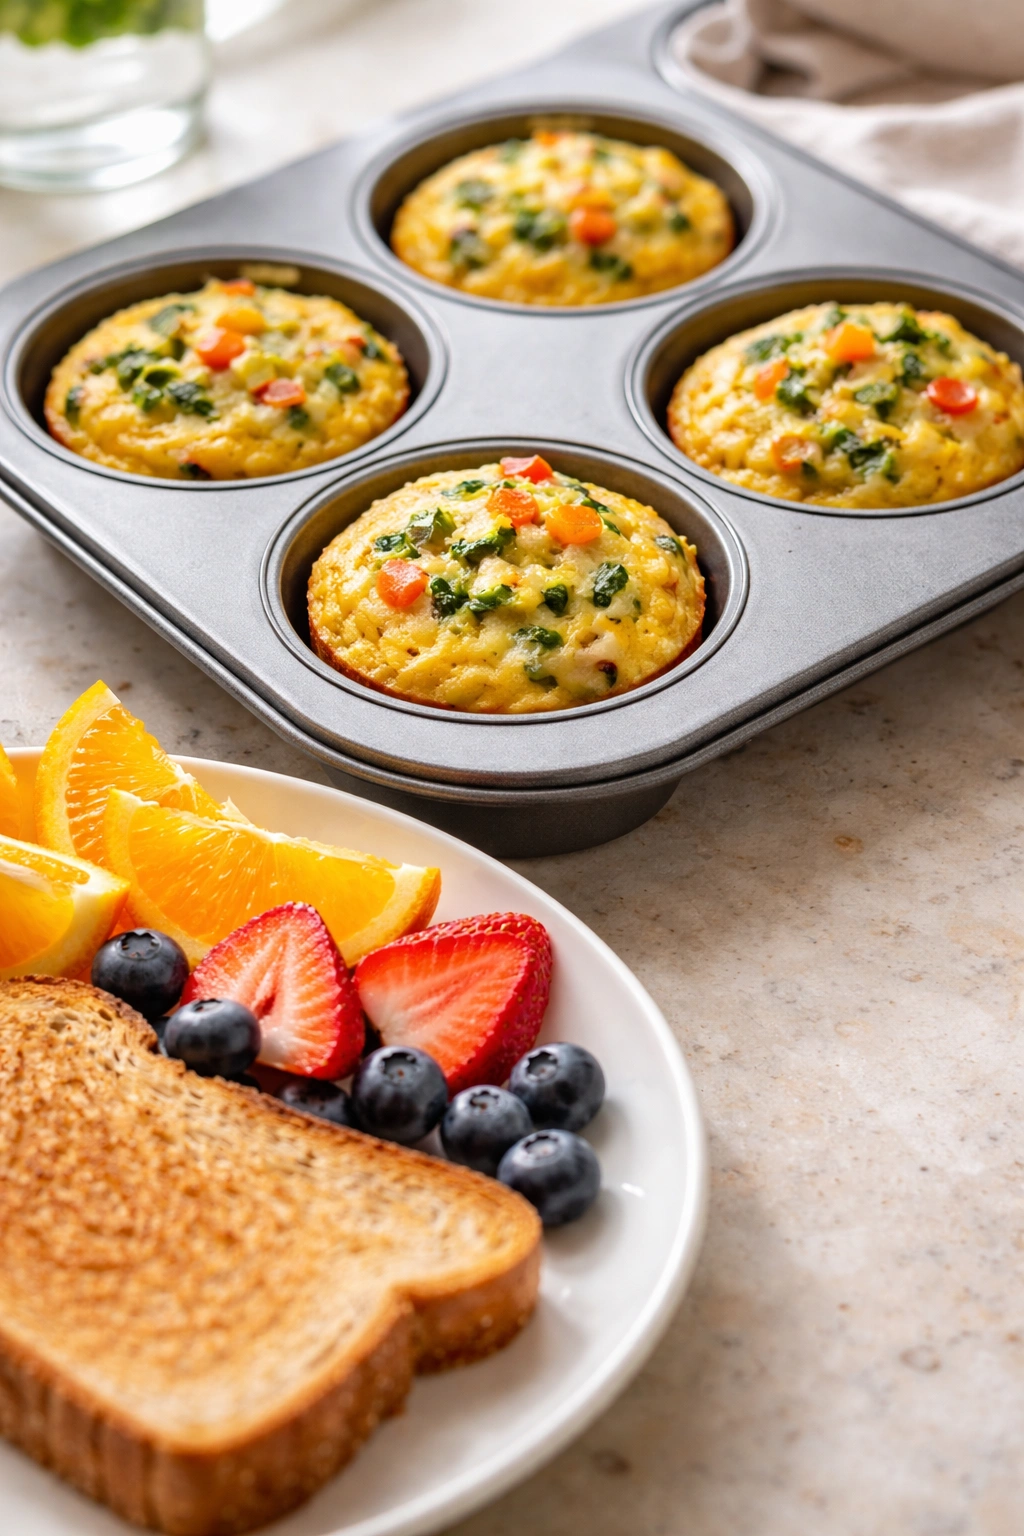
Egg muffins are what I suggest when someone wants a breakfast they can grab with one hand. They’re not fancy. They are sturdy, practical, and a little underappreciated. Also, they solve the “I skipped breakfast because I had no time” excuse in a way that doesn’t require a full skillet and a dirty pan before 8 a.m.
A standard 12-cup muffin tin makes a good batch. Whisk eggs with salt and pepper, pour them into greased cups, and fold in chopped vegetables, cheese, or cooked bacon. Spinach, peppers, scallions, mushrooms, and ham all behave well here. Wet vegetables need a quick sauté first or they leak too much water and give you a rubbery result.
What to watch for
Egg muffins puff up in the oven and then settle as they cool. That is normal. Don’t chase a tall soufflé effect. You want a tender, bite-sized breakfast that can live in the fridge for a few days and still taste fine after a quick microwave hit.
They pair well with fruit because the muffins are savory and the fruit gives you something fresh and cold. Add toast if you want more calories or a bigger breakfast. Add hot sauce if you like some wake-up with your eggs. I always do.
- Bake at 350°F / 175°C for about 18 to 22 minutes.
- Let them cool before packing so condensation does not make them soggy.
- Store in the fridge for up to 4 days.
- Freeze on a tray, then move to a freezer bag once solid.
- Reheat for 30 to 60 seconds in the microwave, depending on size.
One more thing: grease the muffin tin well. Egg is clingy. It does not forget.
6. Mason Jar Salads with the Right Layers
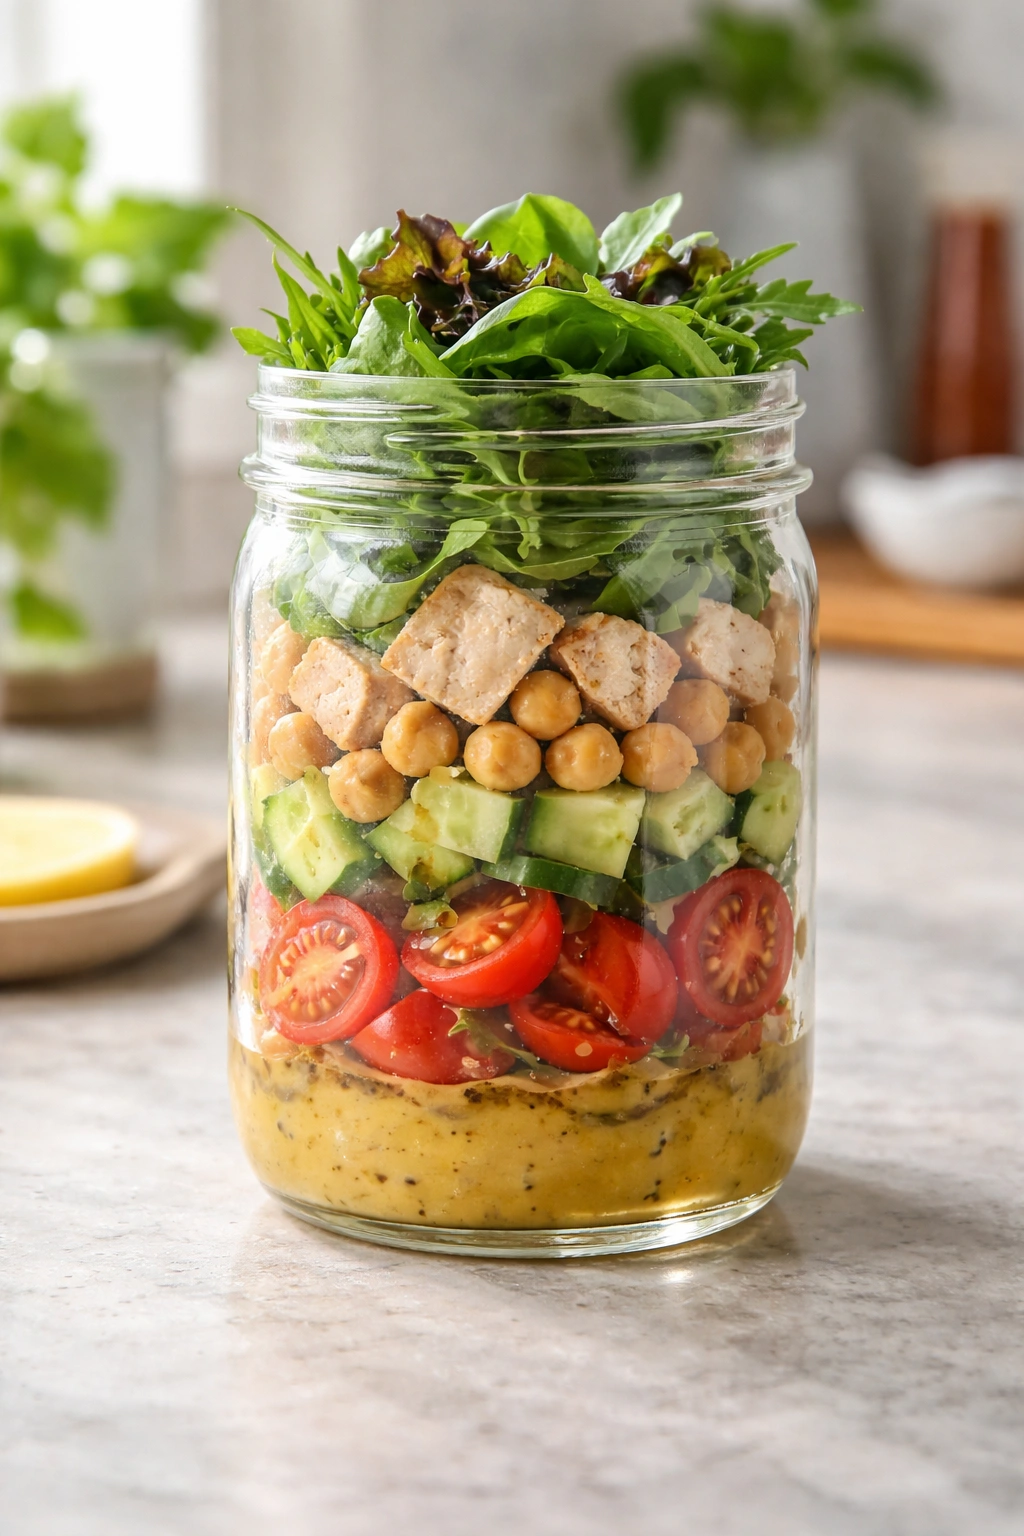
Why do some jar salads stay crisp while others turn into green soup? Layering. That’s it. Not magic, not special greens, just the order of the ingredients. Once you get that part right, mason jar salads become one of the cleanest beginner meal prep ideas around.
The dressing goes first, at the bottom. Hard vegetables and sturdy ingredients come next. Think carrots, cucumbers, chickpeas, beans, cherry tomatoes, chopped peppers, or cooked grains. Protein can sit above that. The greens go at the top, as far from the dressing as possible. If you’re using avocado, keep it separate and add it later. Avocado is delicious and annoying in equal measure.
A jar salad that actually works
Wide-mouth jars are easier to eat from than narrow ones, and 16-ounce jars work for lunch-sized salads. Bigger jars are fine if you’re building a meal rather than a side. I like a mix of romaine, kale, cabbage, and spinach depending on how sturdy I need the leaves to be. Delicate greens are not impossible, but they wilt faster and deserve a shorter storage window.
The payoff is convenience. You can shake the jar into a bowl or eat from it with a fork if you don’t mind a little mess. Either way, lunch is already assembled.
- Keep wet ingredients at the bottom.
- Use sturdy vegetables before soft greens.
- Add croutons, nuts, or seeds only at eating time.
- Make the dressing a little punchy because greens dull it.
- Eat jar salads within 3 to 4 days for best texture.
I like jar salads for beginners because they teach portioning without a lot of pressure. One jar. One lunch. No drama.
7. Stir-Fry Rice Boxes with a Simple Sauce
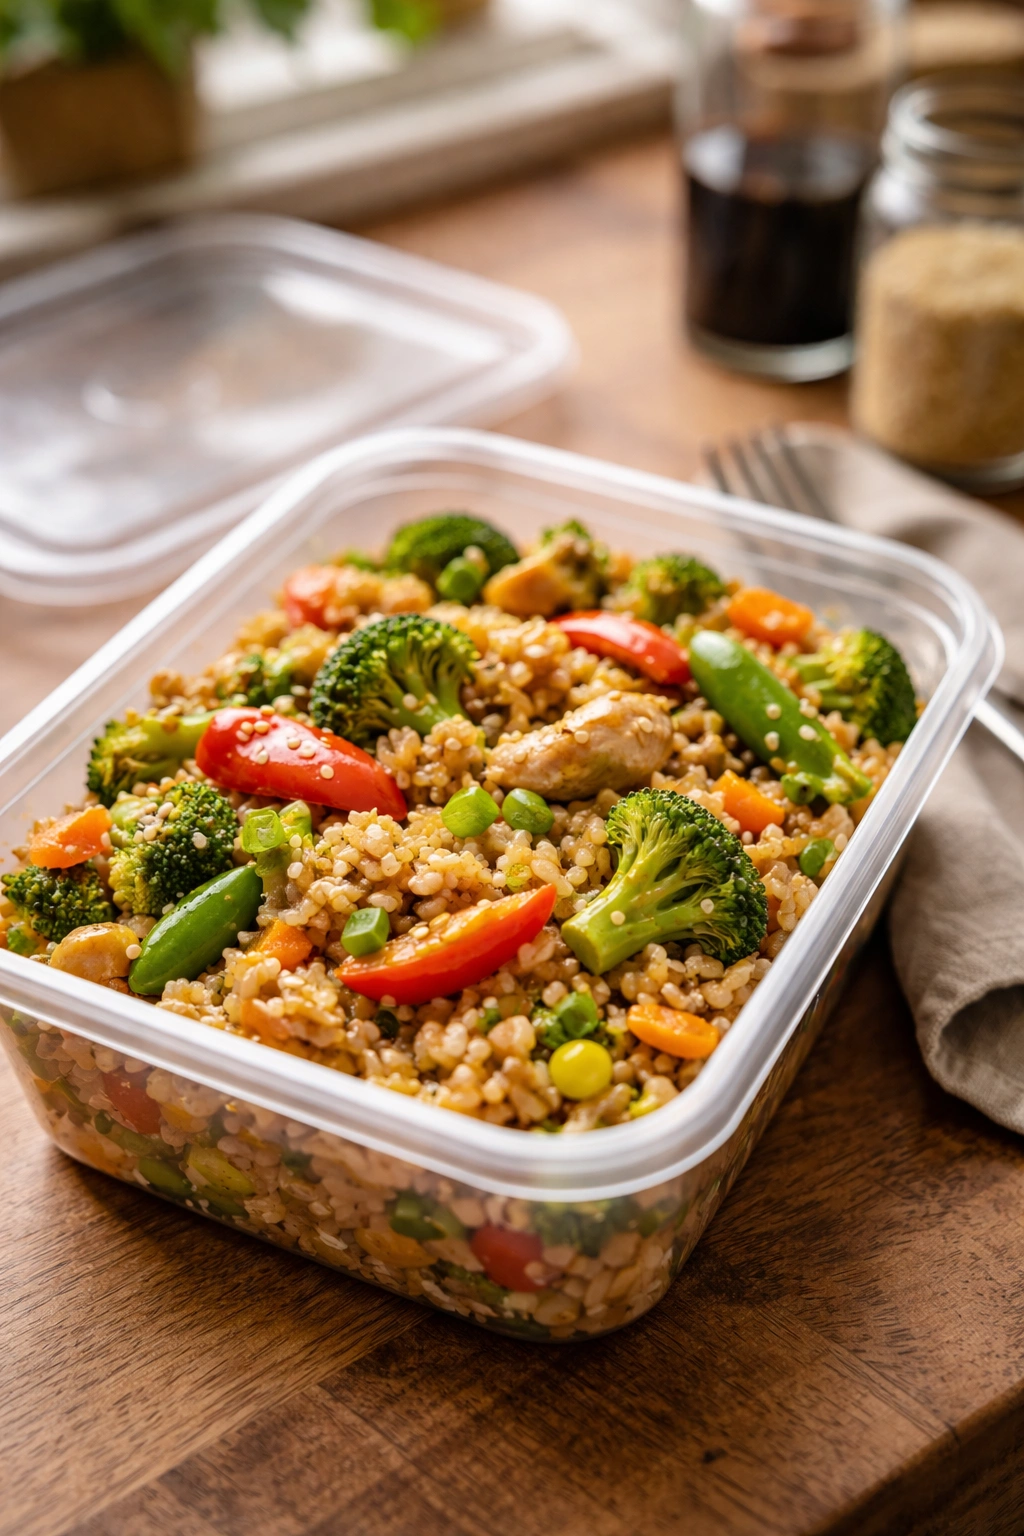
Not every meal prep has to be a project. Sometimes all you need is cooked rice, a skillet, and a sauce that tastes like it took more effort than it did. Stir-fry rice boxes are the answer when your vegetables are hanging around the fridge and you want dinner to feel hot, fast, and complete.
Use day-old rice if you can. Fresh rice tends to clump and steam itself into a softer texture. Older rice fries better because it has lost some moisture. If you’re cooking rice just for meal prep, spread it on a tray for a few minutes after cooking so it can cool before boxing it up. That small step makes a real difference.
Frozen mixed vegetables are fair game here. I actually think they’re underrated. They’re already chopped, they cook quickly, and they keep you from throwing away half a bell pepper because you only needed one cup.
The sauce does the heavy lifting
A basic sauce can be as simple as soy sauce, a little honey, garlic, ginger, and sesame oil. If you like heat, add chili paste or red pepper flakes. If you want something creamier, a spoonful of peanut butter or tahini turns the whole dish into something richer and more filling.
Cook your protein separately or push the vegetables to the side of the pan and scramble an egg in the empty space. Either way, keep the sauce light enough that the rice doesn’t get soggy by day two.
- Use cold or day-old rice for the best texture.
- Cook vegetables just until they are tender-crisp.
- Add sauce in small amounts, then taste and adjust.
- Pack extra sauce on the side if you like stronger flavor.
- Reheat with a splash of water to bring the rice back to life.
Stir-fry boxes are fast, cheap, and hard to mess up. That makes them ideal practice.
8. Soup or Chili in Freezer Portions
Soup and chili are the quiet heroes of beginner meal prep. They freeze well, reheat well, and usually taste better after a night in the fridge because the flavors settle in together. If you want one meal prep idea that can rescue a chaotic week, this is the one I’d pick.
A pot of chili or soup gives you flexibility. Eat a bowl with bread. Spoon it over rice. Add a handful of cheese. Crack a few crackers on top. If you make it thick enough, it can act like both dinner and lunch with almost no extra thought. Lentil soup, turkey chili, black bean chili, vegetable soup, and minestrone all fit the job nicely.
Freezer habits that make life easier
Cool the pot quickly before freezing. Divide it into shallow containers or freezer bags laid flat so it thaws faster later. Label the container with the name and date. That sounds tedious until you’re staring at three identical boxes and trying to guess which one is tomato soup and which one is chili.
Avoid freezing soups loaded with cream or delicate pasta unless you’re okay with a softer texture when they thaw. Tomato-based, bean-based, lentil-based, and broth-based soups are easier starters.
- Portion into 1.5 to 2-cup containers for single servings.
- Leave a little space at the top because liquids expand when frozen.
- Freeze flat in bags if your freezer is crowded.
- Reheat gently on the stove or in the microwave, stirring halfway through.
- Keep most frozen soups and chili for 2 to 3 months for best quality.
I like this one for beginners because it rewards you twice. You get a calm dinner the night you cook it, then future-you gets a freezer meal that feels like a small favor. That is a good trade, and honestly one of the easiest ways to make meal prep stick without turning it into a chore.
