



Stiff hips. Tight shoulders. Ankles that feel like they forgot how to bend. That’s the usual pre-workout story when you’ve been sitting, driving, scrolling, working, or doing all three before your training session.
Pre workout stretches for women at home work best when they wake the body up instead of trying to force it into some fake state of “looseness.” Long, sleepy holds can feel nice after a workout, but before one you usually want motion, not a nap for your muscles. A few controlled reaches, some joint circles, and a couple of gentle floor moves do more for squats, lunges, planks, and runs than a ten-minute toe-touch marathon.
The sweet spot is simple: move the areas that get sticky, keep the effort light, and breathe enough that your ribs stop bracing. Hips, upper back, calves, neck, wrists — those are the places that tend to complain first when you train from home on a hard floor or a thin mat. And yes, you can do all of this in a small room without fancy gear.
1. March in Place and Reach
Start here. Seriously.
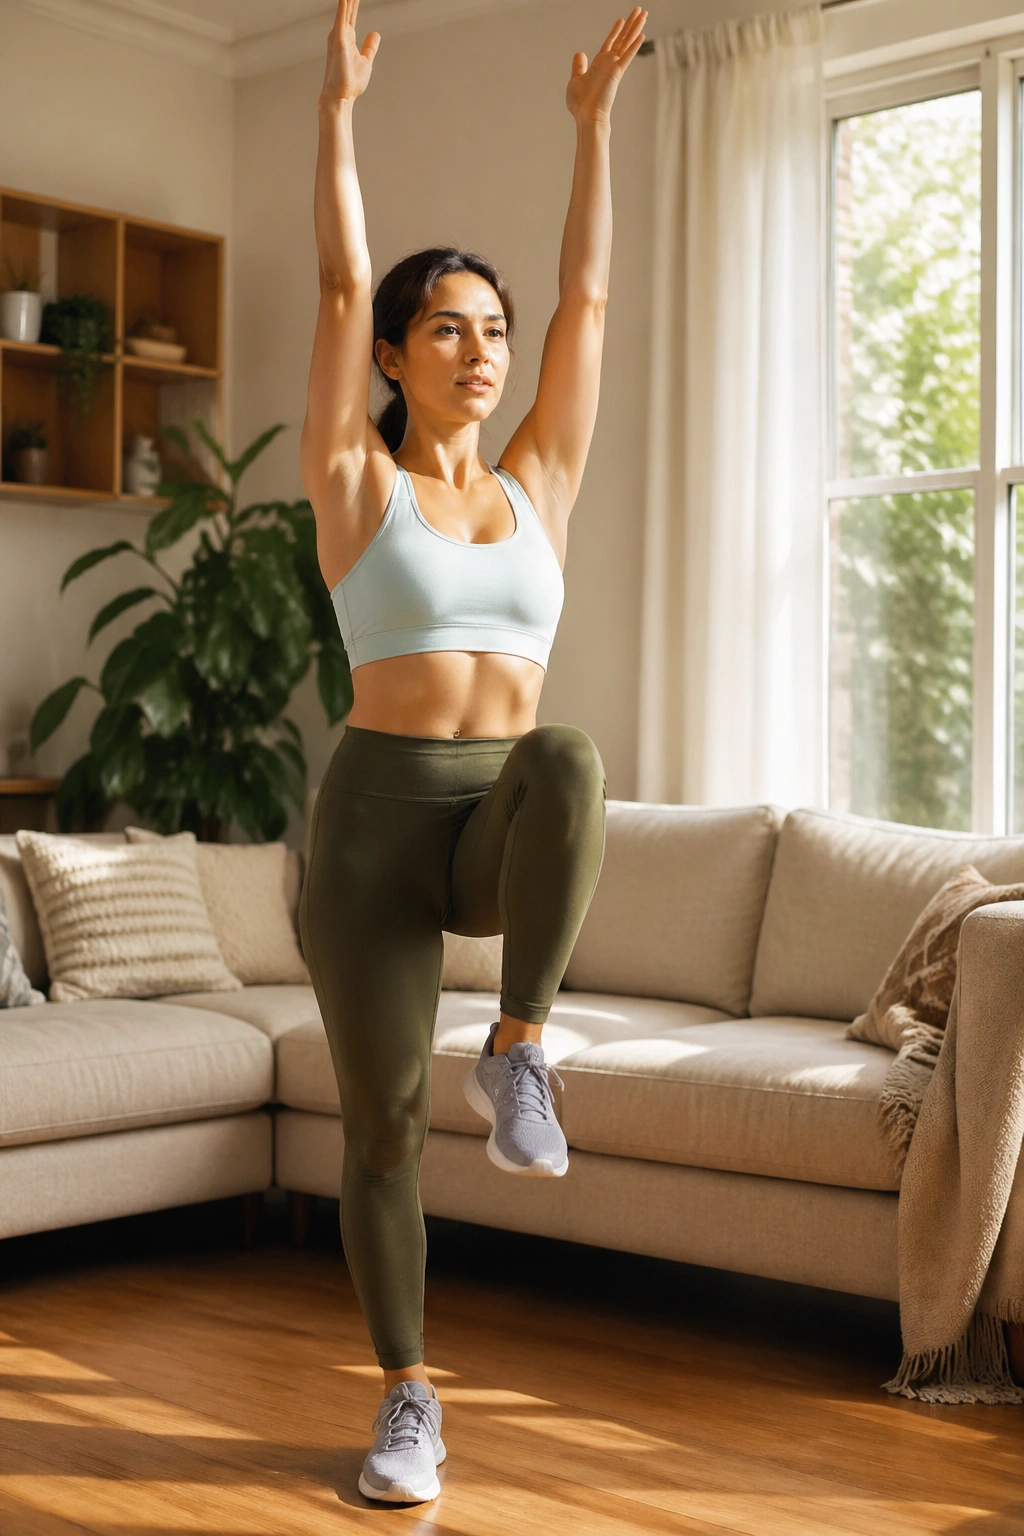
Marching in place sounds almost too easy, but it gets your heart rate moving, warms your ankles, and tells your body the workout is about to begin. Add an overhead reach and you also open the sides of your torso, which is handy if your upper body tends to feel glued together in the morning.
Keep this one light and rhythmic for 30 to 45 seconds. Lift one knee, reach the opposite arm up, switch sides, and let your shoulders stay soft instead of shrugging toward your ears. If your balance feels wobbly, slow down and keep both feet closer to the floor.
- Lift the knee only as high as feels smooth.
- Reach long through the fingertips, not hard through the shoulder.
- Keep your ribs stacked over your hips.
Small move. Big payoff. It’s one of the easiest ways to stop feeling stiff before you do anything stronger.
2. Neck Side Release

A tight neck can make everything feel harder than it should.
This stretch is better than big neck circles for a lot of people, especially if you get cranky joints or a headache-prone neck. Tilt one ear toward one shoulder, keep the opposite shoulder heavy, and breathe into the side of the neck for about 15 to 20 seconds per side. No yanking. No pulling hard with your hand.
If you want a little more intensity, point the nose slightly down toward the armpit. That changes the line of the stretch and hits a different patch of muscle. A lot of people hold their breath here, and that defeats the whole point.
Use this before upper-body days, yoga flows, or any workout where your shoulders tend to ride up toward your ears. That tension shows up fast in push-ups and overhead pressing.
3. Shoulder Circles
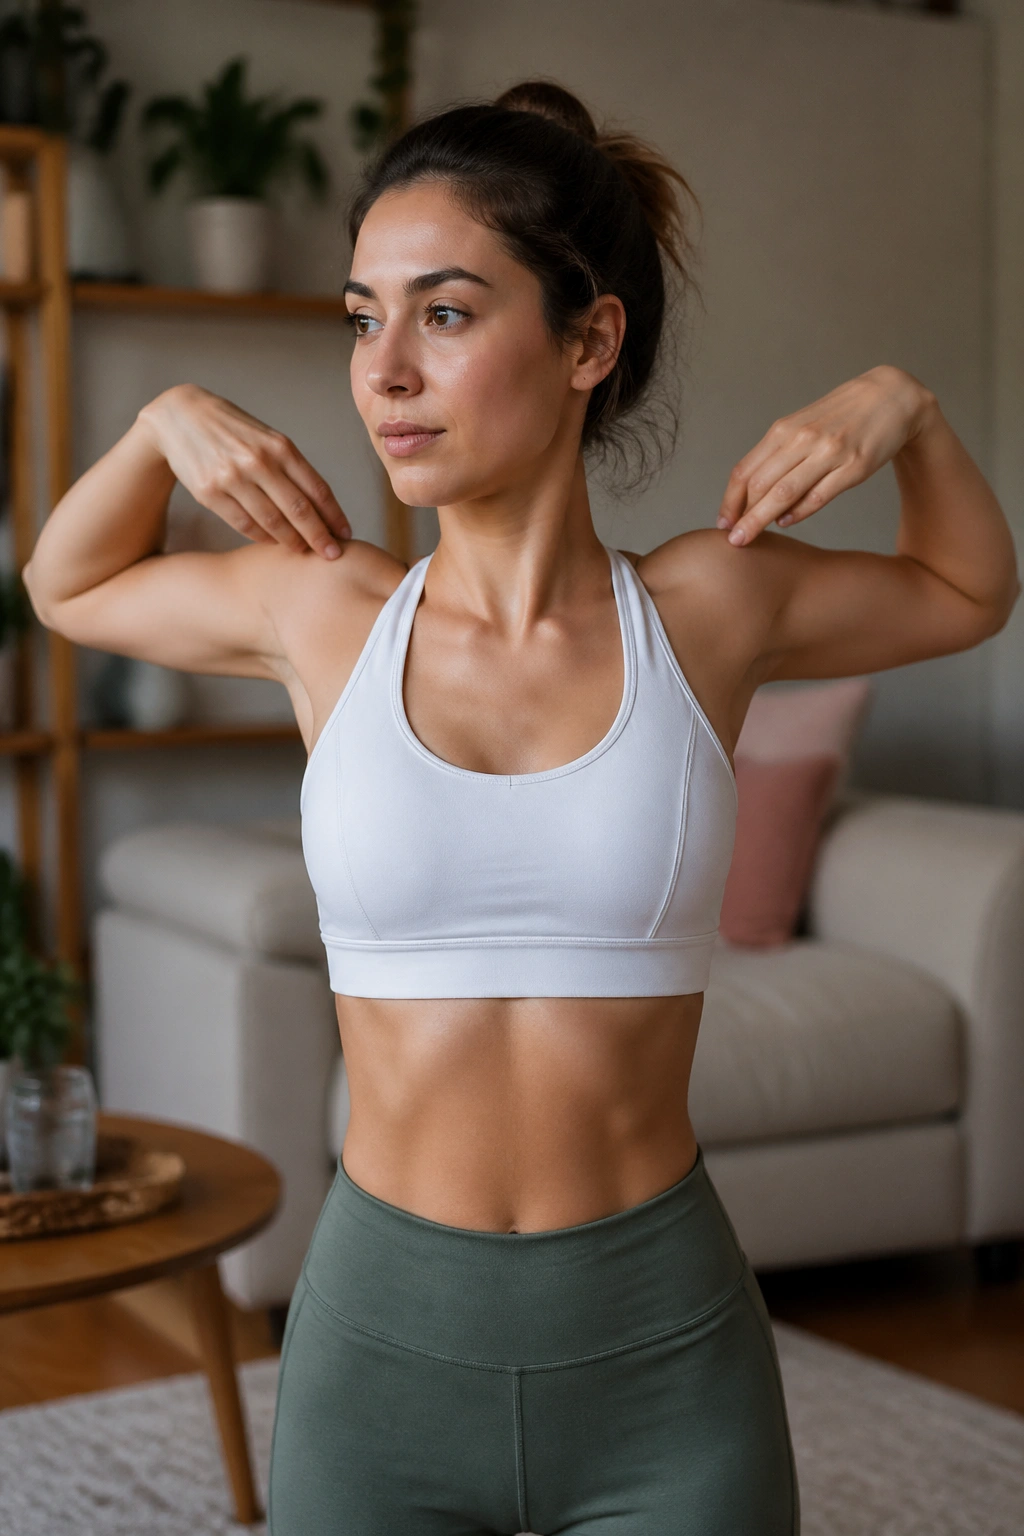
Shoulders love motion before they love force.
Stand tall, soften your knees, and make slow circles backward for 10 to 12 reps. Then reverse direction. Keep the circles smooth and a little smaller than you think you need; huge flailing circles usually turn into neck strain. What you want is the shoulder blade sliding, not the whole upper body swinging around like a coat on a hook.
Why This Feels Better Than Shrugging
Shrugging only jams the upper traps. Circles ask the shoulder joint to move through a fuller path, and that usually feels better when your day has been spent hunched over a laptop or curled around a steering wheel.
- 10 backward circles
- 10 forward circles
- Slow pace on both directions
- Stop if you feel pinching in the front of the shoulder
A good circle feels loose, not sloppy. That distinction matters.
4. Cross-Body Arm Swings
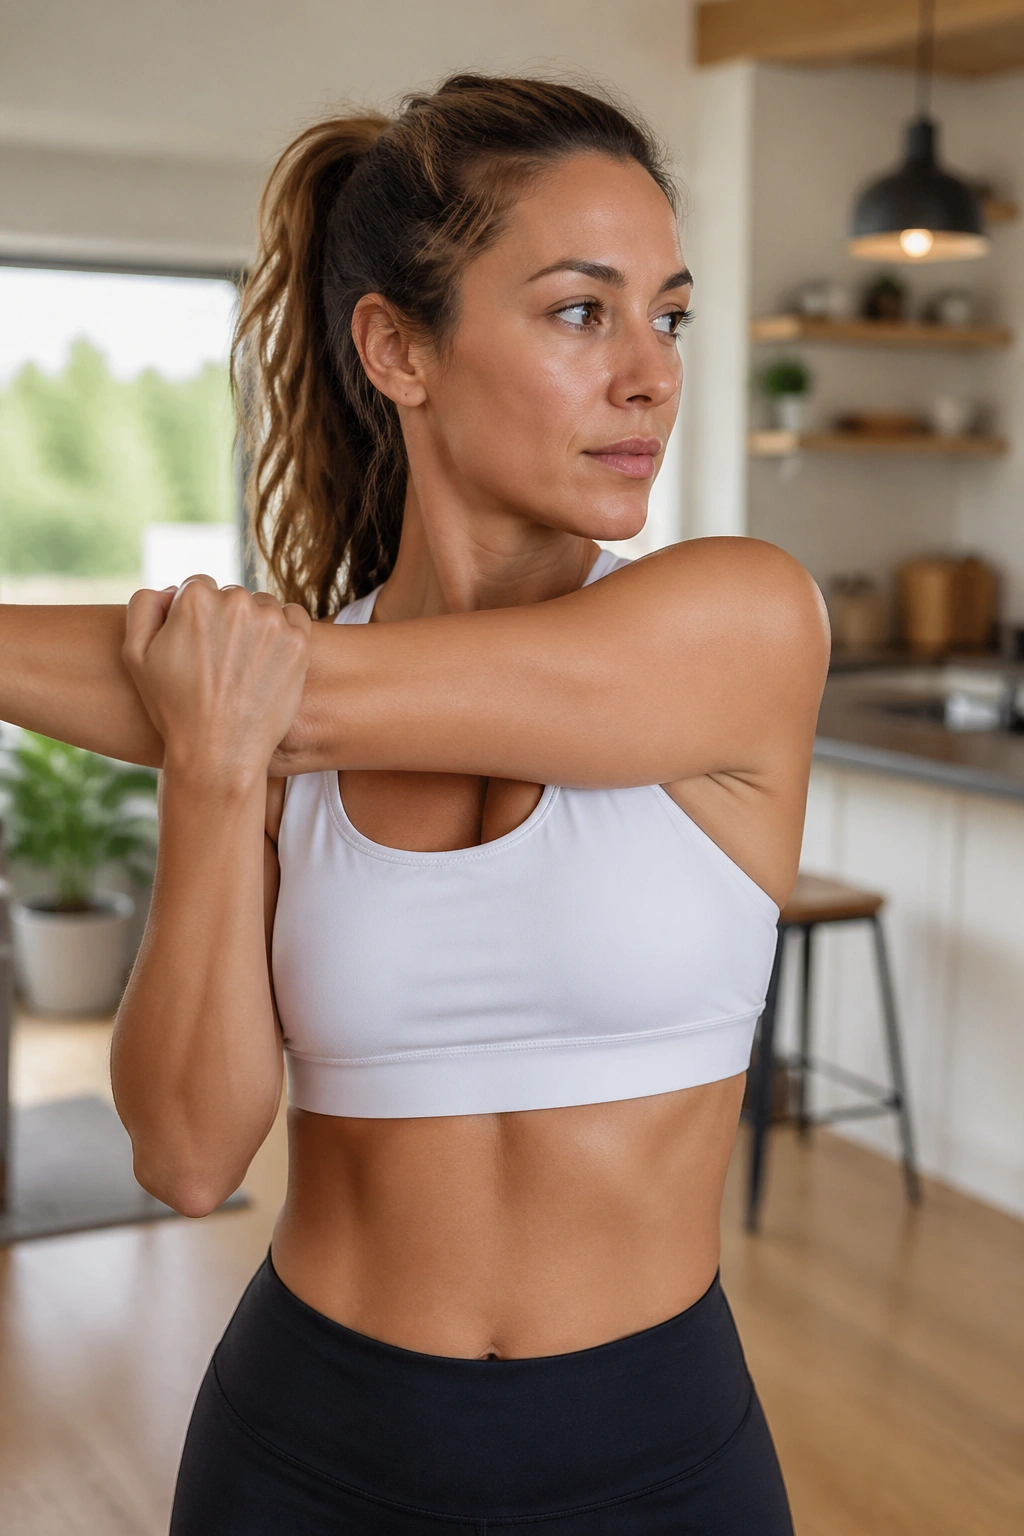
Ever notice how your chest feels tight the second you start reaching for a shelf?
Cross-body arm swings help with that. Swing one arm across the chest, then open it wide to the side, and let the torso follow just enough to feel a little rotation. Do 8 to 10 swings per arm. This is not a hard stretch. It’s a warm, moving opener for the chest and back of the shoulders.
Keep the movement level and easy. If you force the arm too far across the body, the shoulder will brace up and fight you. That’s the opposite of what you want before pressing, rowing, or any kind of floor workout.
A lot of women carry tension across the front of the body from bras, bags, desk work, and general life. This one helps that exact area without needing a wall or a band.
5. Cat-Cow on Hands and Knees
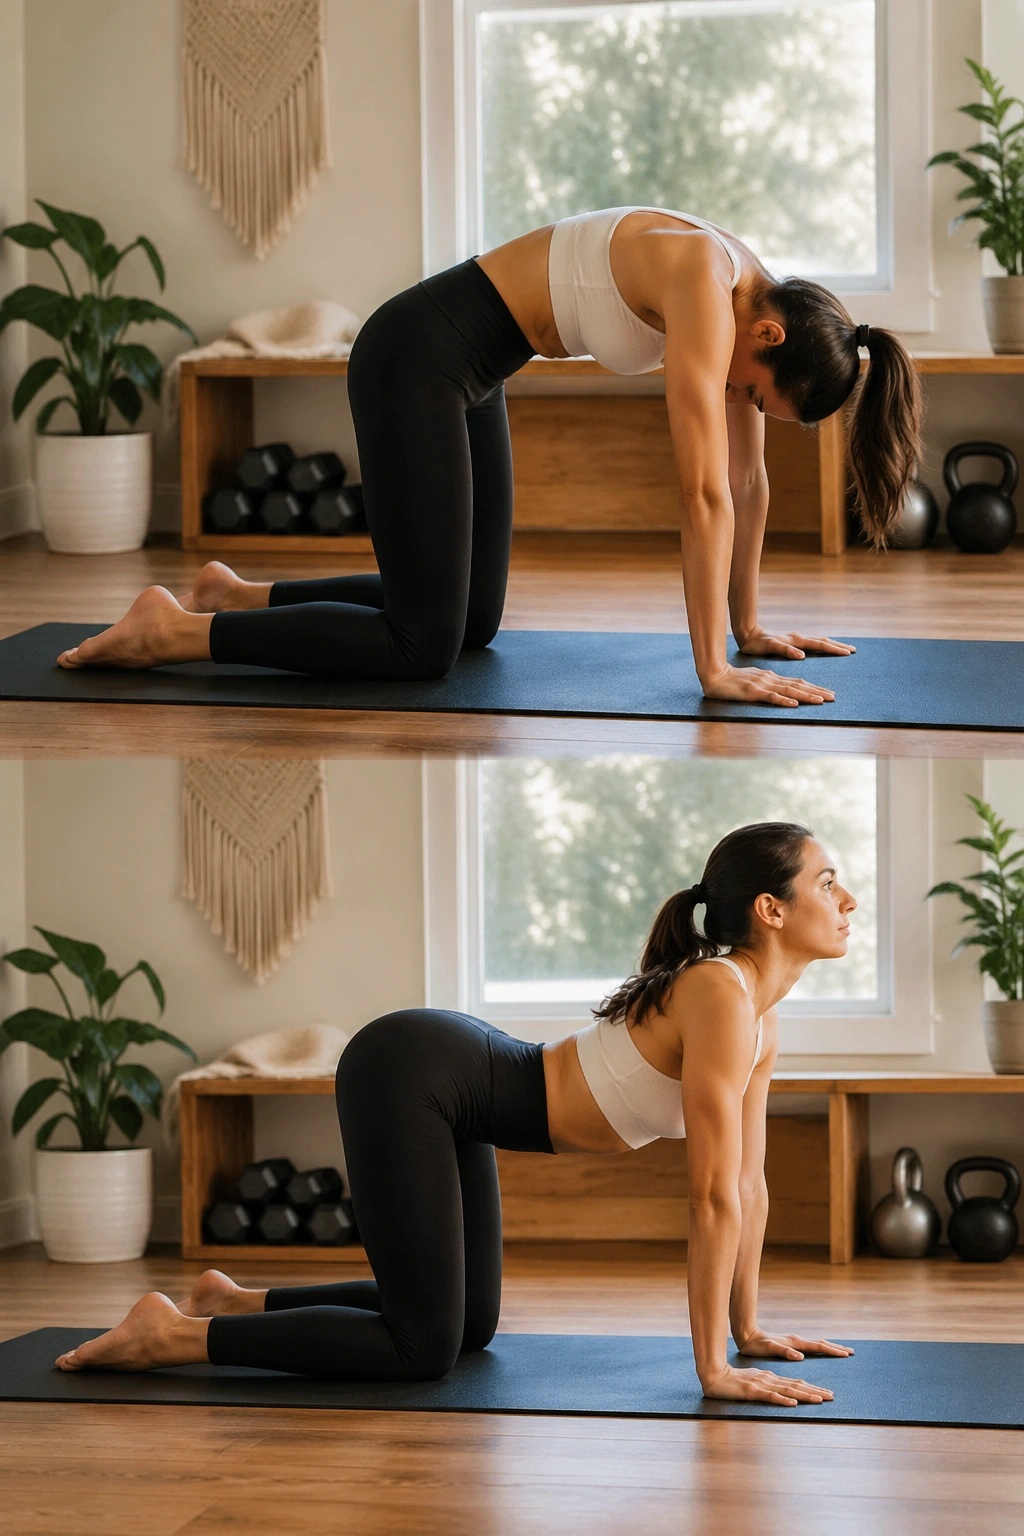
This is one of those warm-up moves that never gets old because it works.
Cat-cow wakes up the spine in both directions: rounding and arching. Get on hands and knees, place your hands under your shoulders and knees under your hips, then inhale as you drop the belly and lift the chest. Exhale as you round the spine and press the floor away. Six to eight slow rounds are enough.
The movement should feel smooth, not forced. If your lower back is sensitive, keep the range small and focus on the breath. A bigger arch is not better if it feels pinchy. A smaller, cleaner motion often does more.
This one earns its place before nearly any home workout. It helps your back stop acting like one stiff board, and it gets your core ready to brace when you need it.
6. Thread the Needle
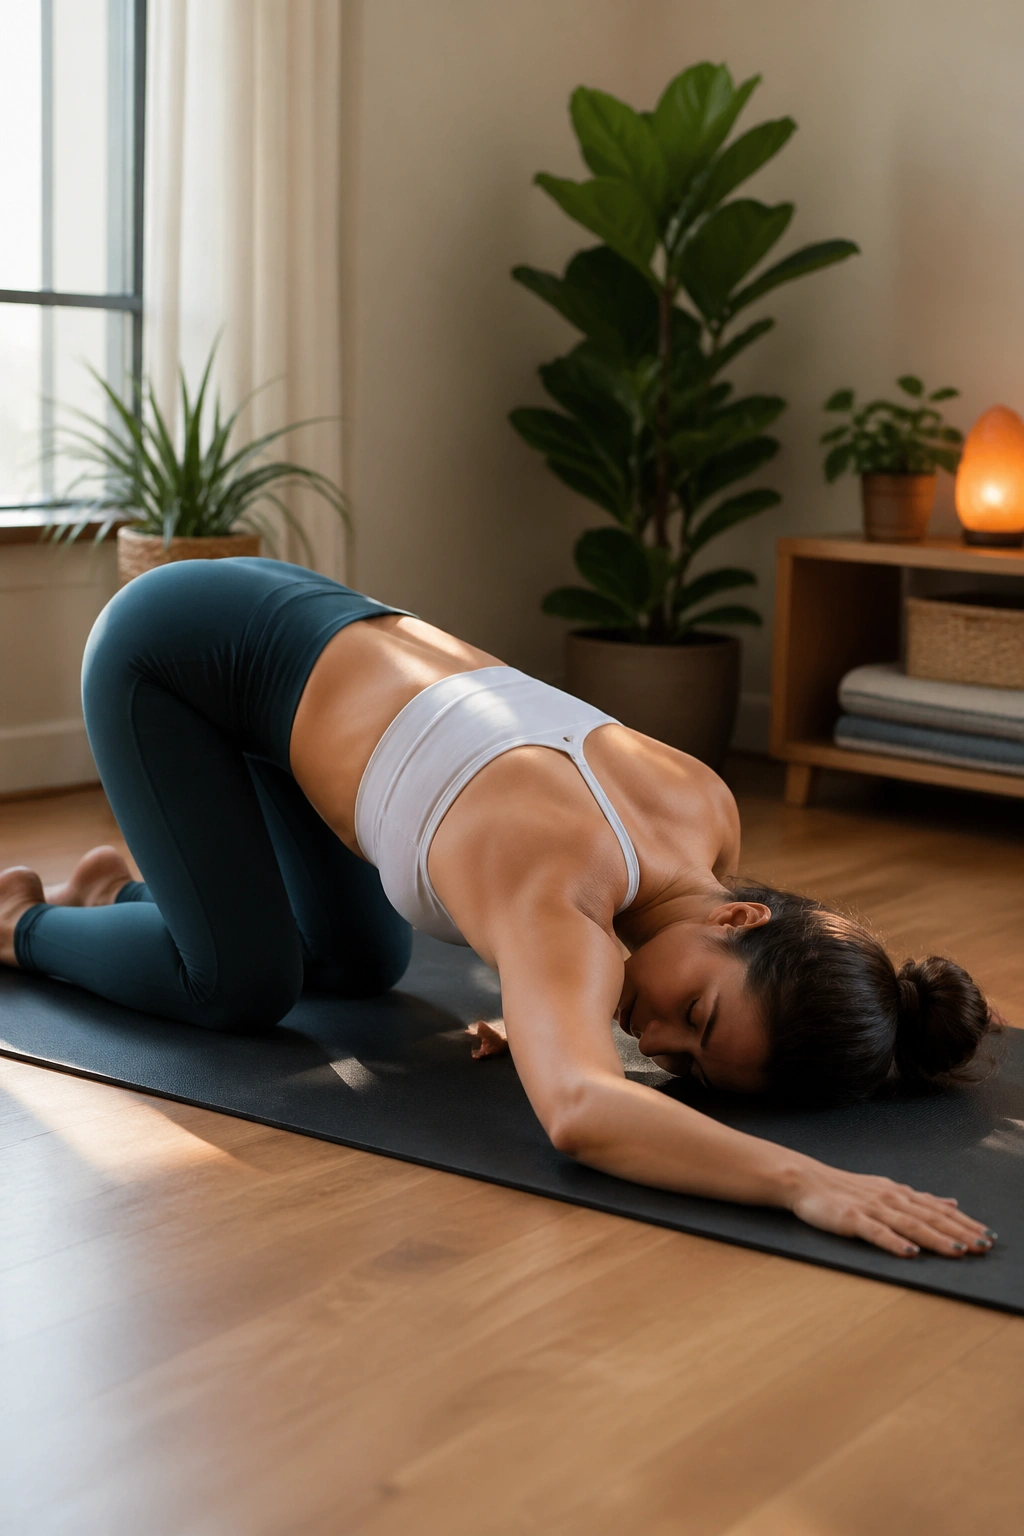
Your upper back needs love, too.
Thread the needle is a simple way to open the upper back and shoulder without making the rest of your body work too hard. From hands and knees, slide one arm under the other and rest the shoulder and cheek lightly on the floor. Hold 15 to 20 seconds, then switch sides.
If the floor feels too low, place a folded towel under the shoulder or just reach partway through the motion and stop before you hit the mat. The goal is a gentle twist, not a twist fight. You should feel the stretch between the shoulder blade and the spine, sometimes a little in the side of the chest.
This is especially helpful if push-ups, plank holds, or overhead exercises usually make your upper back feel tight. It loosens the area that tends to lock up first.
7. Standing Side Reach
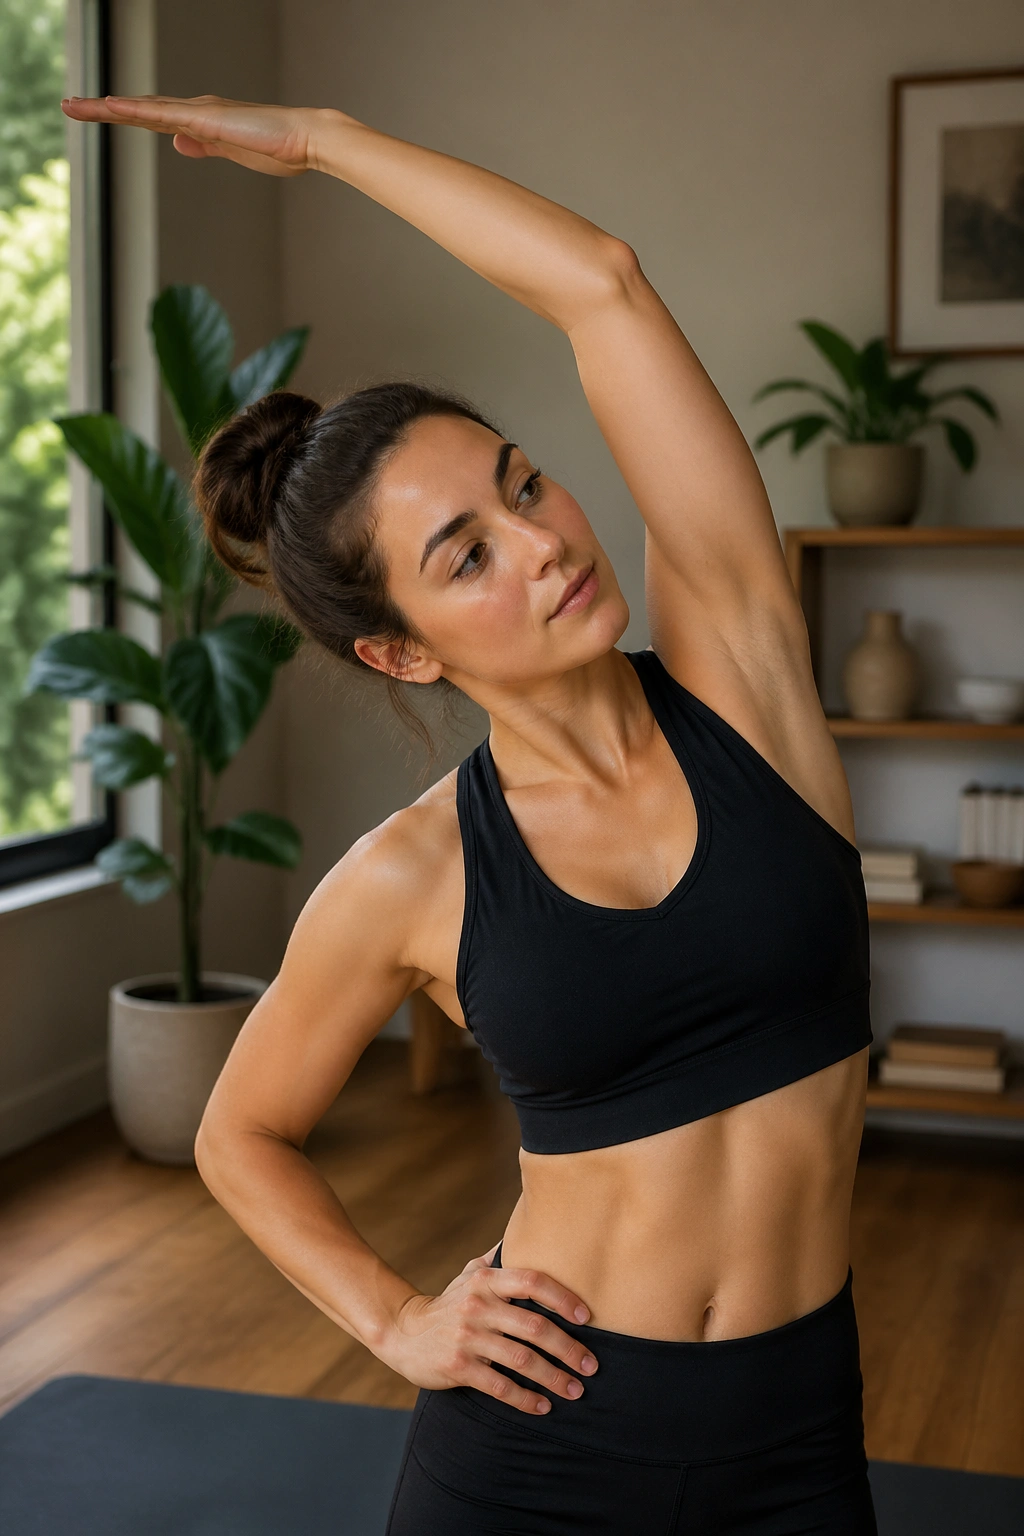
This one looks simple because it is simple.
Stand with your feet about hip-width apart, raise one arm overhead, and lean gently to the opposite side. Keep both feet planted. Don’t let the hip on the stretched side drift out. Hold for 15 seconds, switch, and repeat once if your sides feel extra stiff.
What It Opens
- The side body
- The lat muscle under the armpit
- The rib area that tends to stay tight during shallow breathing
- A little bit of the shoulder line
Breathe into the stretch and feel the lower ribs expand. That makes a bigger difference than people expect. If you rush this one, it turns into a half-hearted reach that does nothing. Slow it down. Let it lengthen the side of the body, not crank the lower back.
This is a nice first choice before moves that need overhead reaching or side-to-side control.
8. Torso Rotations
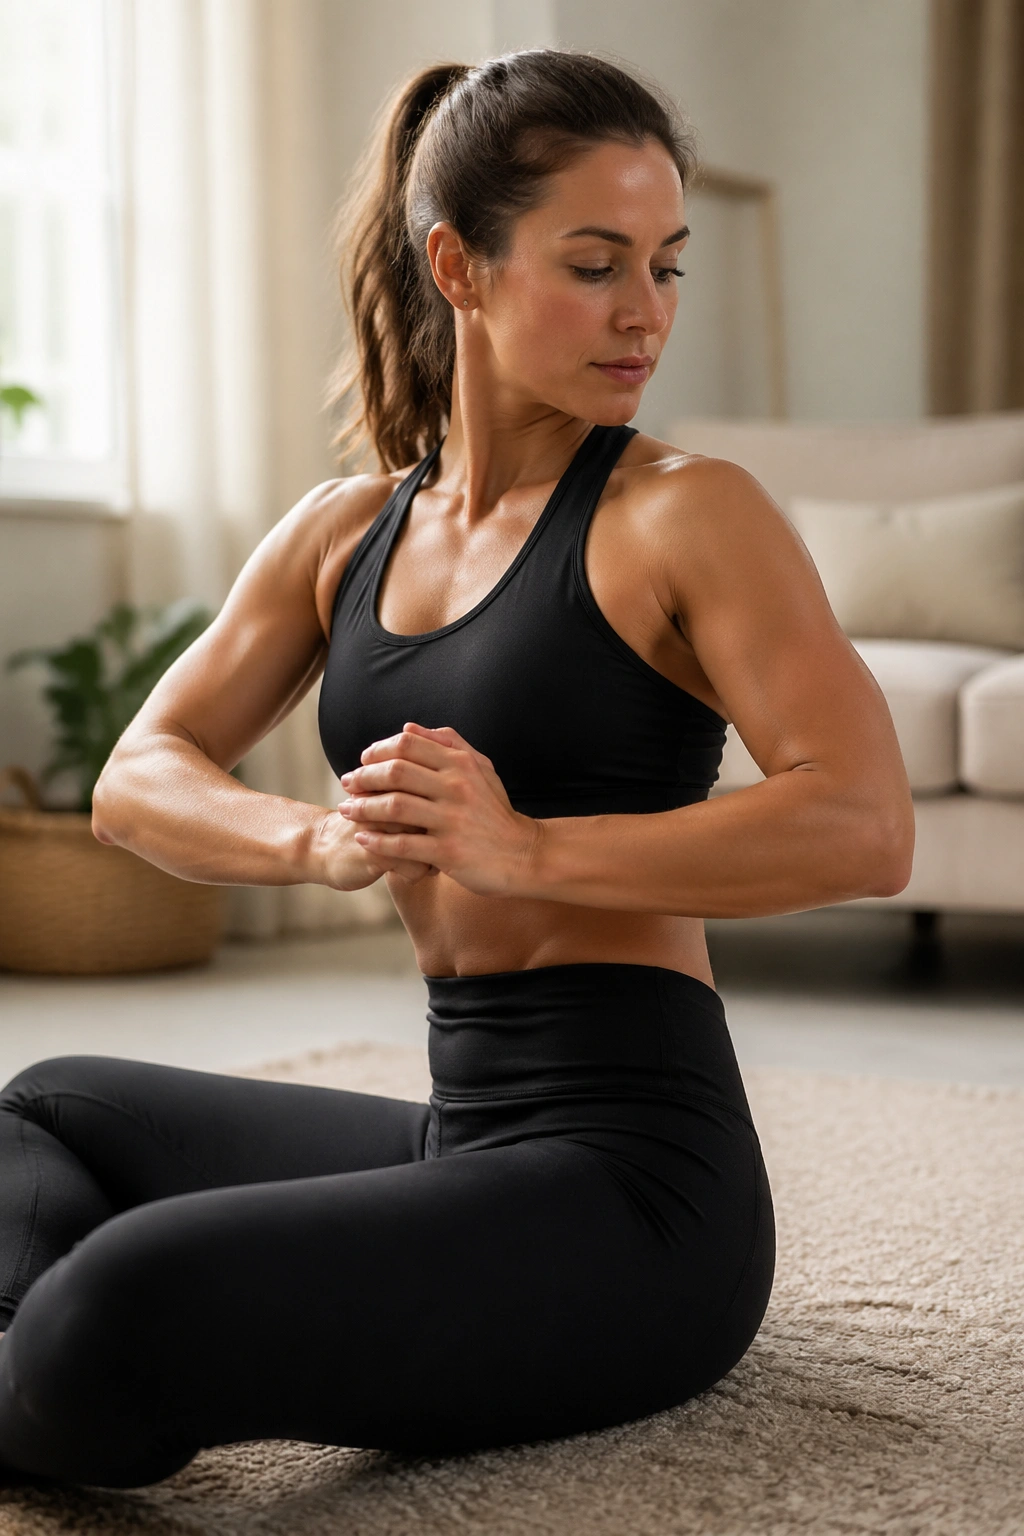
Twisting through the trunk is useful, but only if the hips stay mostly quiet.
Stand tall, bend the elbows, and rotate the rib cage left and right while keeping your feet grounded. Think “ribs move, hips stay.” Do 8 to 10 reps each side. The motion should feel like your torso is waking up in layers instead of being yanked around.
If you want a little more challenge, hold your hands out in front of the chest and follow them with your eyes. That helps the upper body stay organized. But do not whip the head around. That’s not warm-up work; that’s asking for dizziness.
This is a nice prelude before dance workouts, core work, or anything where your body needs to turn and stabilize at the same time. It also reminds the midsection that it exists, which sounds silly until you realize how many workouts start with a frozen torso.
9. Hip Circles
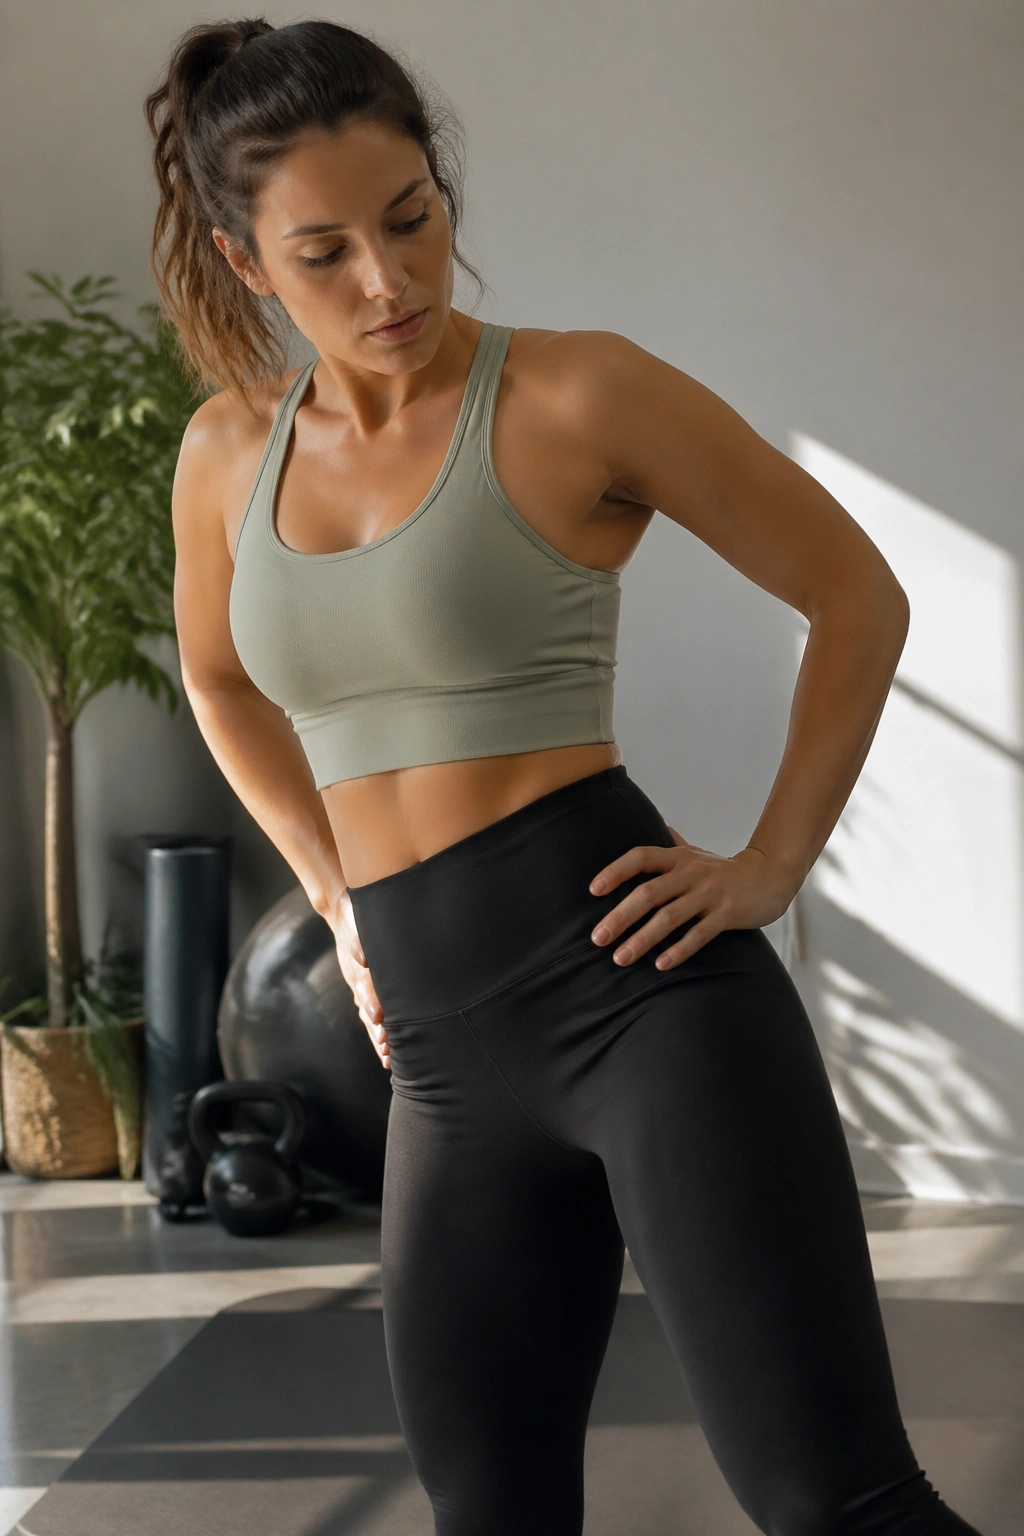
Hips that feel “stuck” usually need motion, not force.
Place your hands on your hips and make slow circles with the pelvis for 5 to 8 reps in one direction, then reverse. Keep the circles controlled. You’re not hula hooping. You’re asking the hip joints, lower back, and pelvic area to move through a clean, easy pattern.
A Good Hip Circle Feels Like This
The motion should feel smooth and unhurried, with no clunk at the lower back. If it feels bumpy, make the circle smaller. If it feels easy, keep it there anyway for a few reps before you enlarge it.
- 5 circles right
- 5 circles left
- Knees soft
- Weight even on both feet
Hip circles are especially useful before squats, glute work, kickbacks, or lunges. They’re one of those warm-up drills that do not look like much from the outside but change how the next exercise feels.
10. Lateral Lunge Rocks
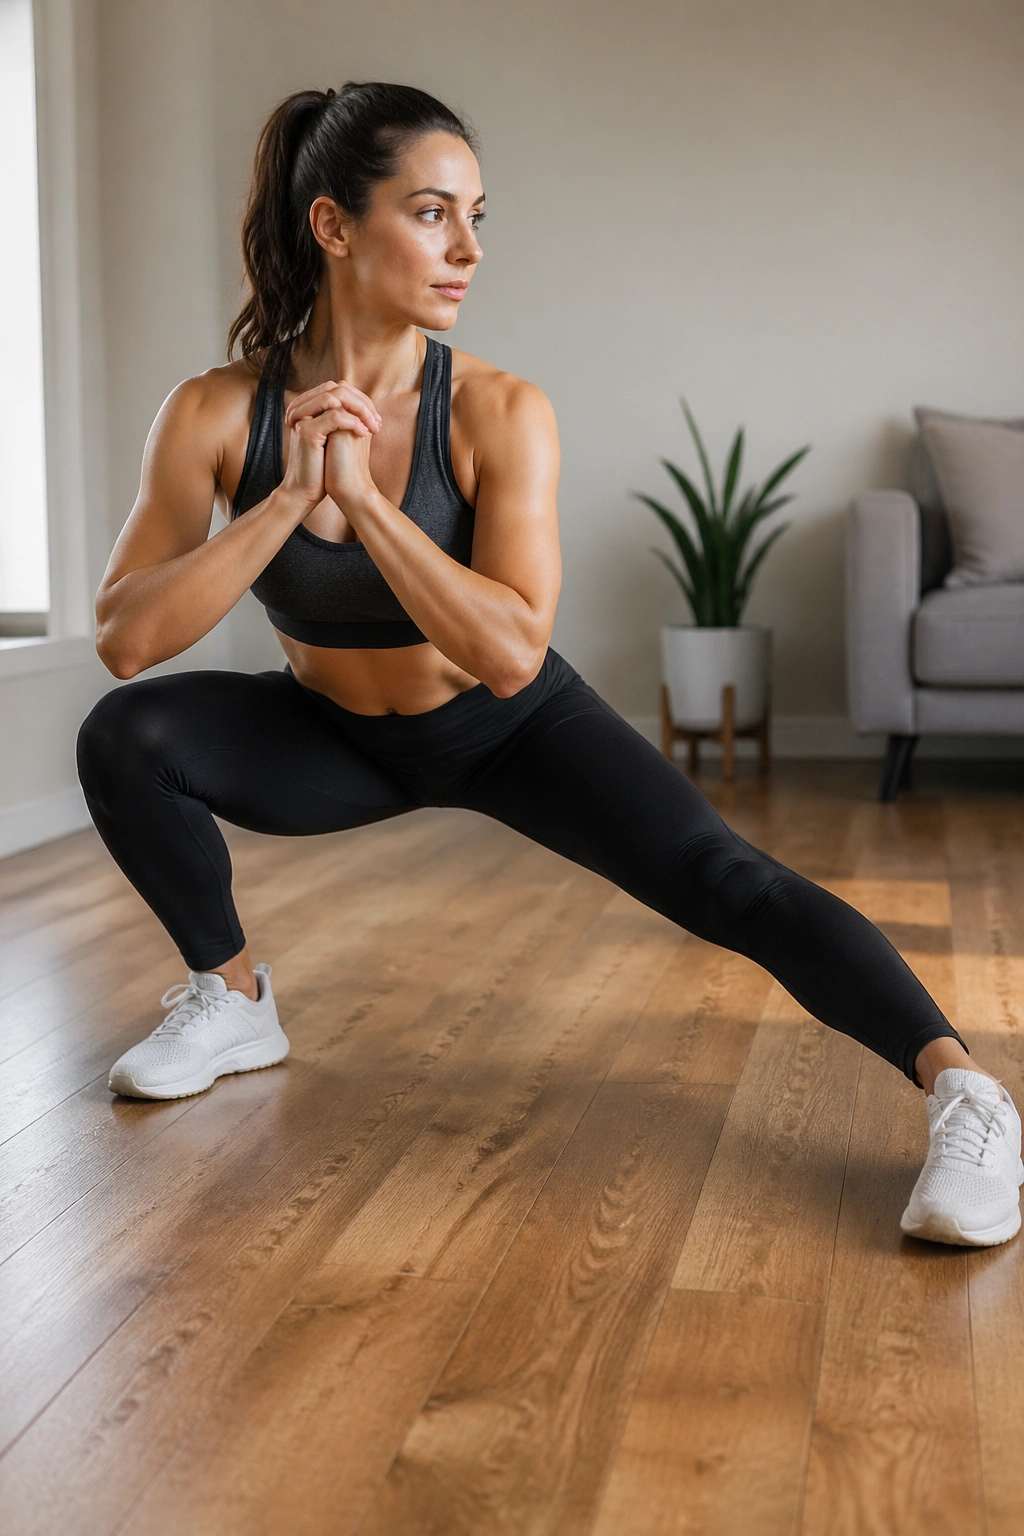
The inner thighs get ignored more than they should.
Step one foot out to the side, bend that knee, and sit the hips back into a side lunge. Then rock gently side to side for 5 to 8 reps before switching sides. Keep the straight leg long enough to feel the inner thigh wake up, but not so straight that you lock the knee.
If a full side lunge feels too deep, stay high and let the hips move only a few inches. That still gets the groin and adductors ready without making the move clumsy. You want a warm pull, not a strain.
This is a smart choice before lower-body training, especially if your workout includes squats, skaters, or side lunges. The body tends to move better when the inner thighs stop acting like they’ve never been asked to help.
How to Get More From It
Shift your hips back, not just your knee forward. That little adjustment changes everything.
11. Low Lunge Hip Flexor Stretch
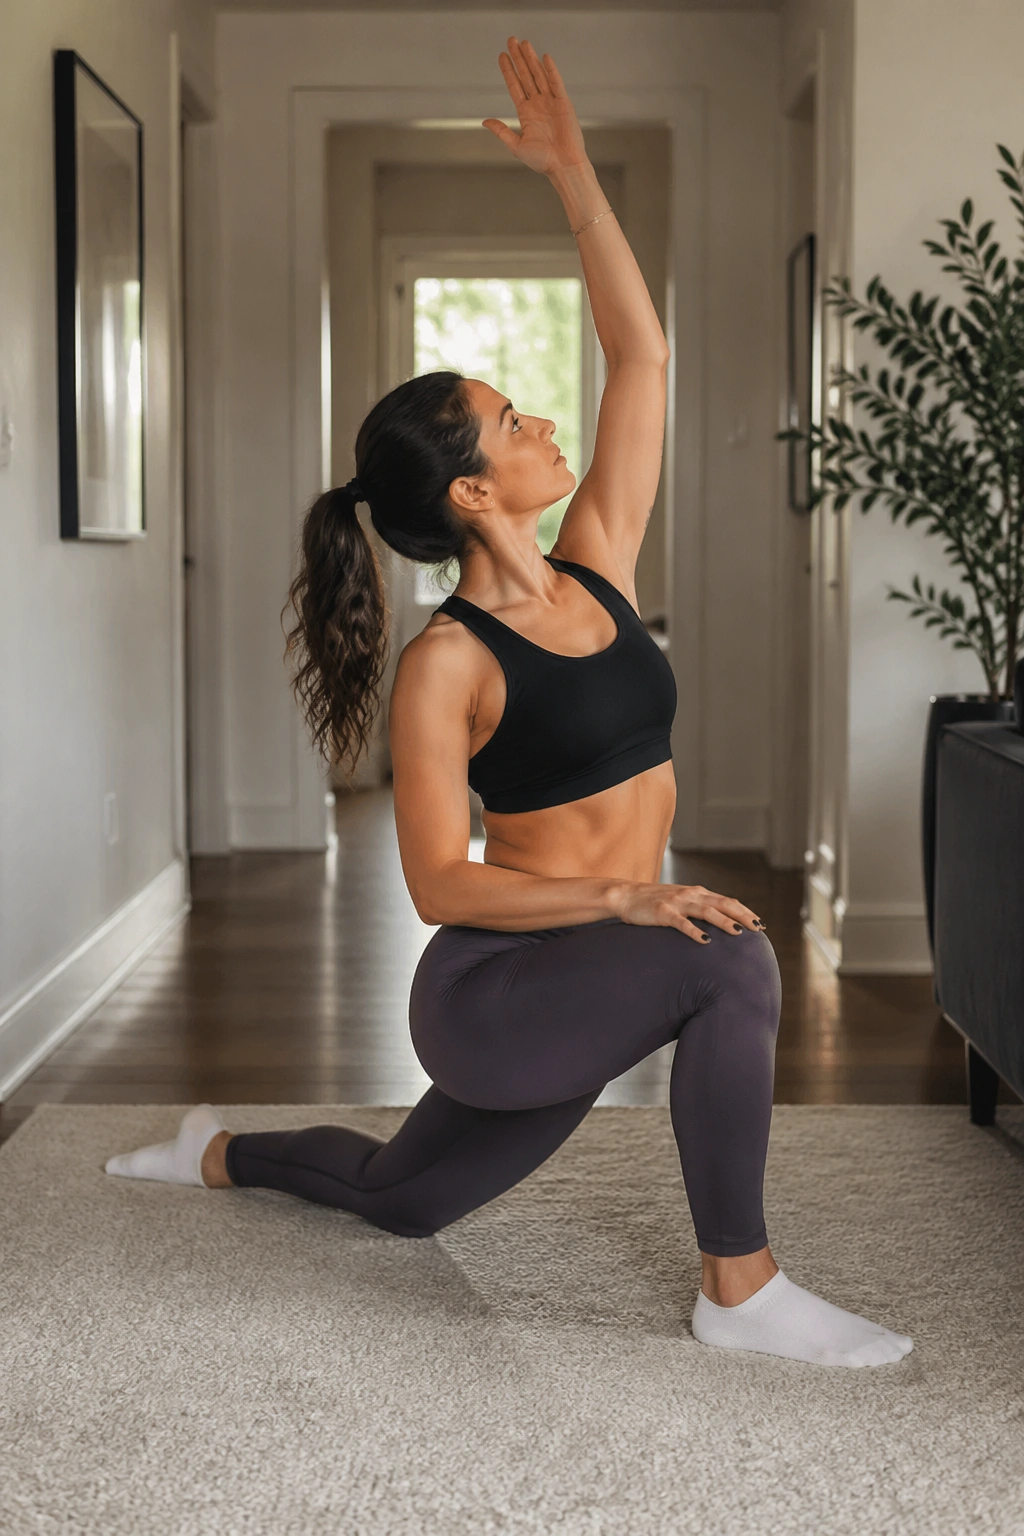
If you sit a lot, this one tends to feel like a relief.
Step one foot forward into a low lunge, drop the back knee, and tuck the pelvis slightly under so the front of the back hip opens. Hold for 20 seconds per side. Then, if it feels good, add a gentle overhead reach on the same side as the back leg. That deepens the line along the front of the hip and the side body.
The trick is not to dump into the lower back. A lot of people do that because it feels more intense, but intensity is not the goal here. You want the stretch in the front of the hip, not a crank in the lumbar spine.
This is a useful one before walking workouts, squats, split squats, or any move where you need one leg to extend behind you. Tight hip flexors can make everything else feel short and choppy.
12. Standing Quad Stretch
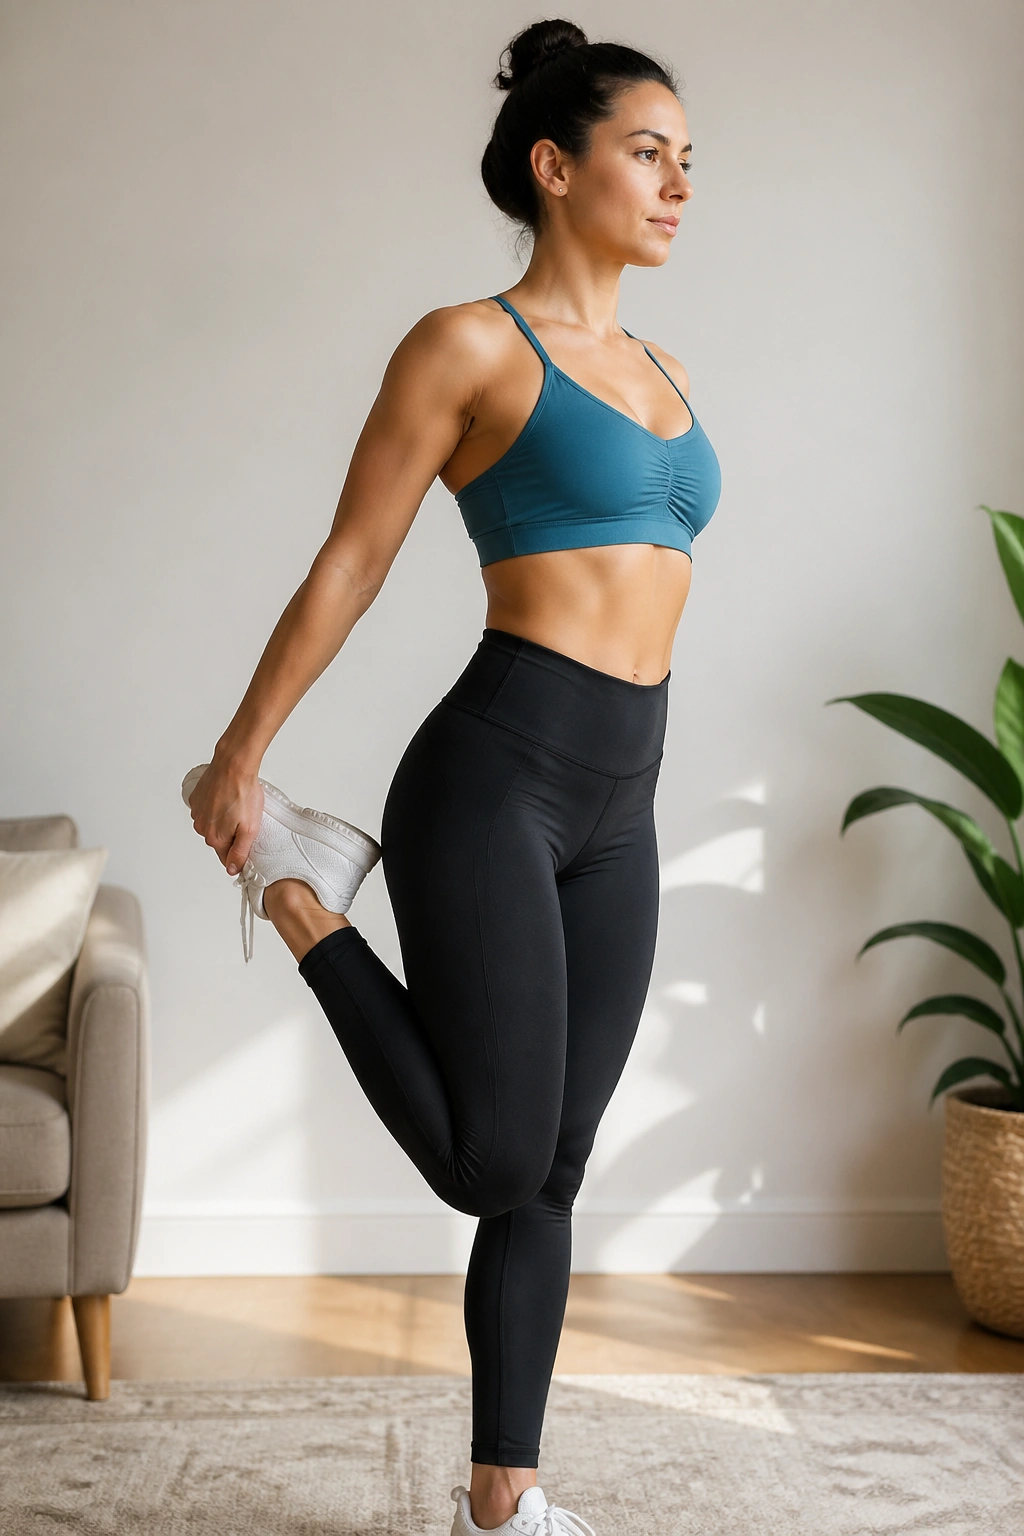
The front of the thigh deserves more than a rushed grab of the ankle.
Stand tall, bend one knee, and hold the ankle or foot behind you. Keep the knees close together, press the standing foot firmly into the floor, and squeeze the glute on the stretched side for a better line through the thigh. Hold for 20 seconds, then switch.
If your balance is shaky, put one hand on a wall or the back of a sturdy chair. That’s not cheating. That’s smart. A wall keeps you from twisting through the lower back and lets you actually feel the quad lengthening instead of wobbling around.
This works well before stair workouts, leg day, or any session with jumping. The quad is a loud muscle, and when it’s tight, you feel it fast in the knees and hips.
13. Hamstring Hinge Reach
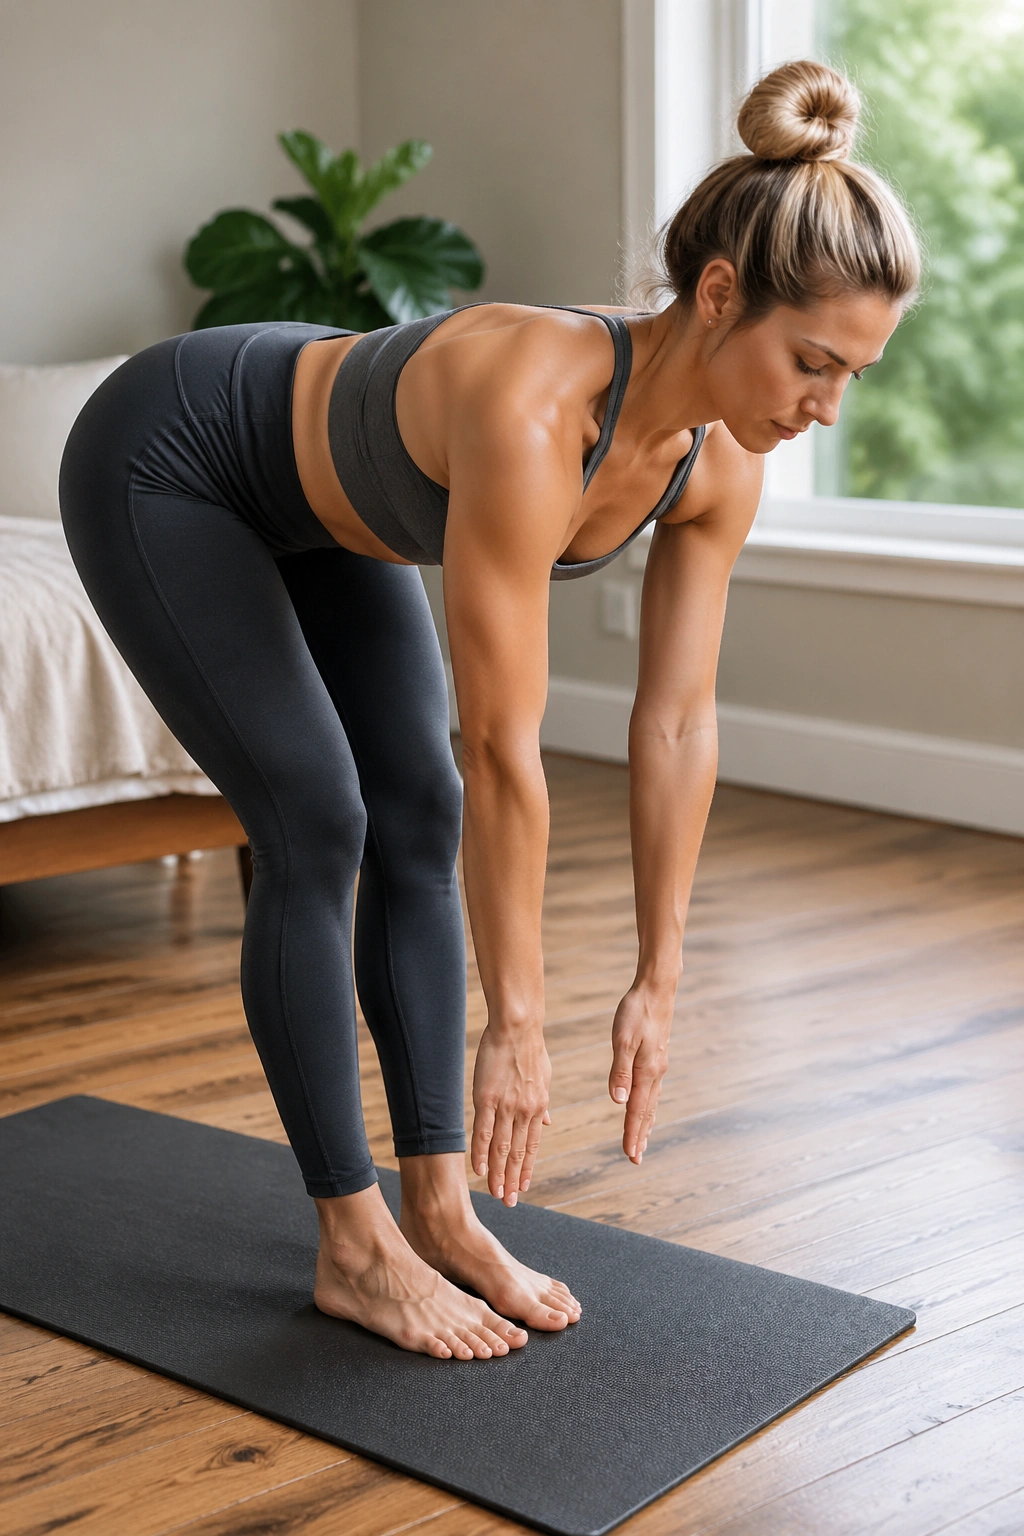
Skip the lazy toe touch.
Instead of folding straight down and rounding your back, hinge at the hips with soft knees and send the hips back like you’re closing a car door with your glutes. Reach toward the shins or ankles, not necessarily the floor, and keep the spine long. Hold 15 to 20 seconds, or pulse gently for 5 controlled reps if a static hold feels better.
That hinge pattern matters because it teaches your body the shape you’ll use in deadlifts, good mornings, and even everyday picking-up-stuff-from-the-floor moves. A rounded back toe touch may feel familiar, but it does not prepare you as well.
Hamstrings usually respond better when they’re not being bullied. Give them a shape they can accept, not a fight they can win.
Why This Beats a Deep Forward Fold
You get stretch through the back of the legs without dumping too much stress into the lower back. Cleaner, safer, and more useful.
14. Figure-Four Glute Stretch
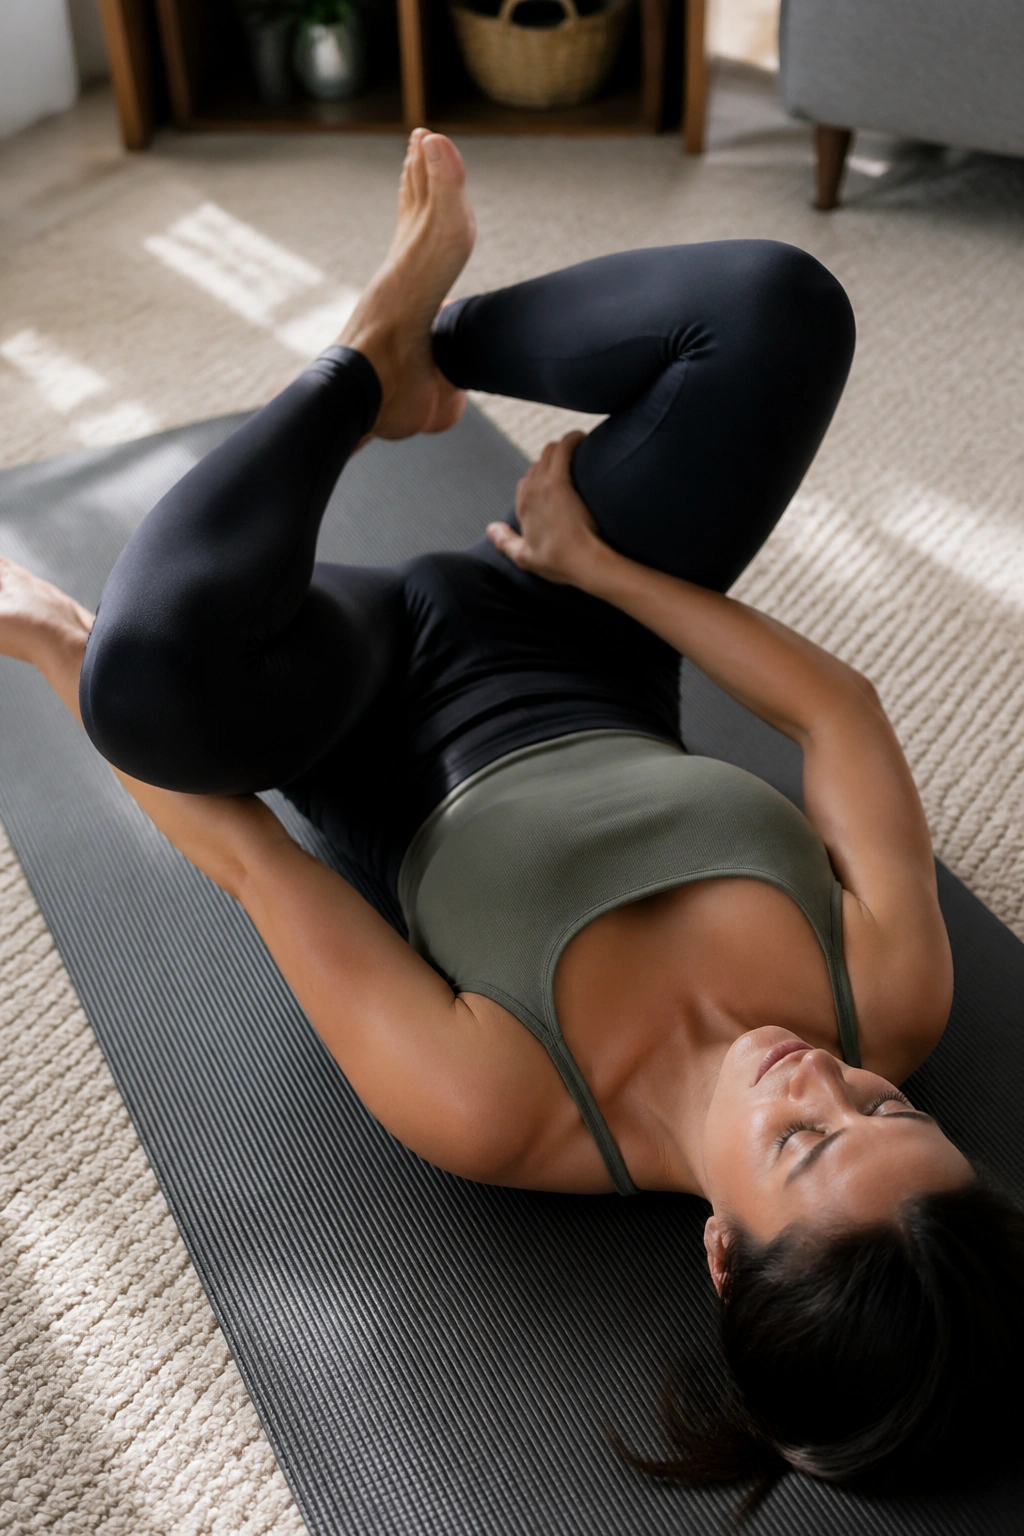
If your glutes feel tight, your hips often feel tight with them.
Lie on your back, cross one ankle over the opposite thigh, and draw the legs in toward you. You’ll feel the stretch in the outside of the hip and deep into the glute. Hold 20 to 30 seconds per side. Keep your head and shoulders relaxed so the stretch stays in the hip instead of turning into a neck brace.
If you don’t want to lie down, do a standing version by crossing one ankle over the opposite knee and sitting back slightly into a mini squat. That version is handy when you’re short on floor space or don’t feel like getting down and up a dozen times.
This is one of the better pre-workout choices for people who feel tight during lunges, squats, or glute bridges. It targets the spot that often complains after a long day of sitting.
15. Butterfly Press-Out
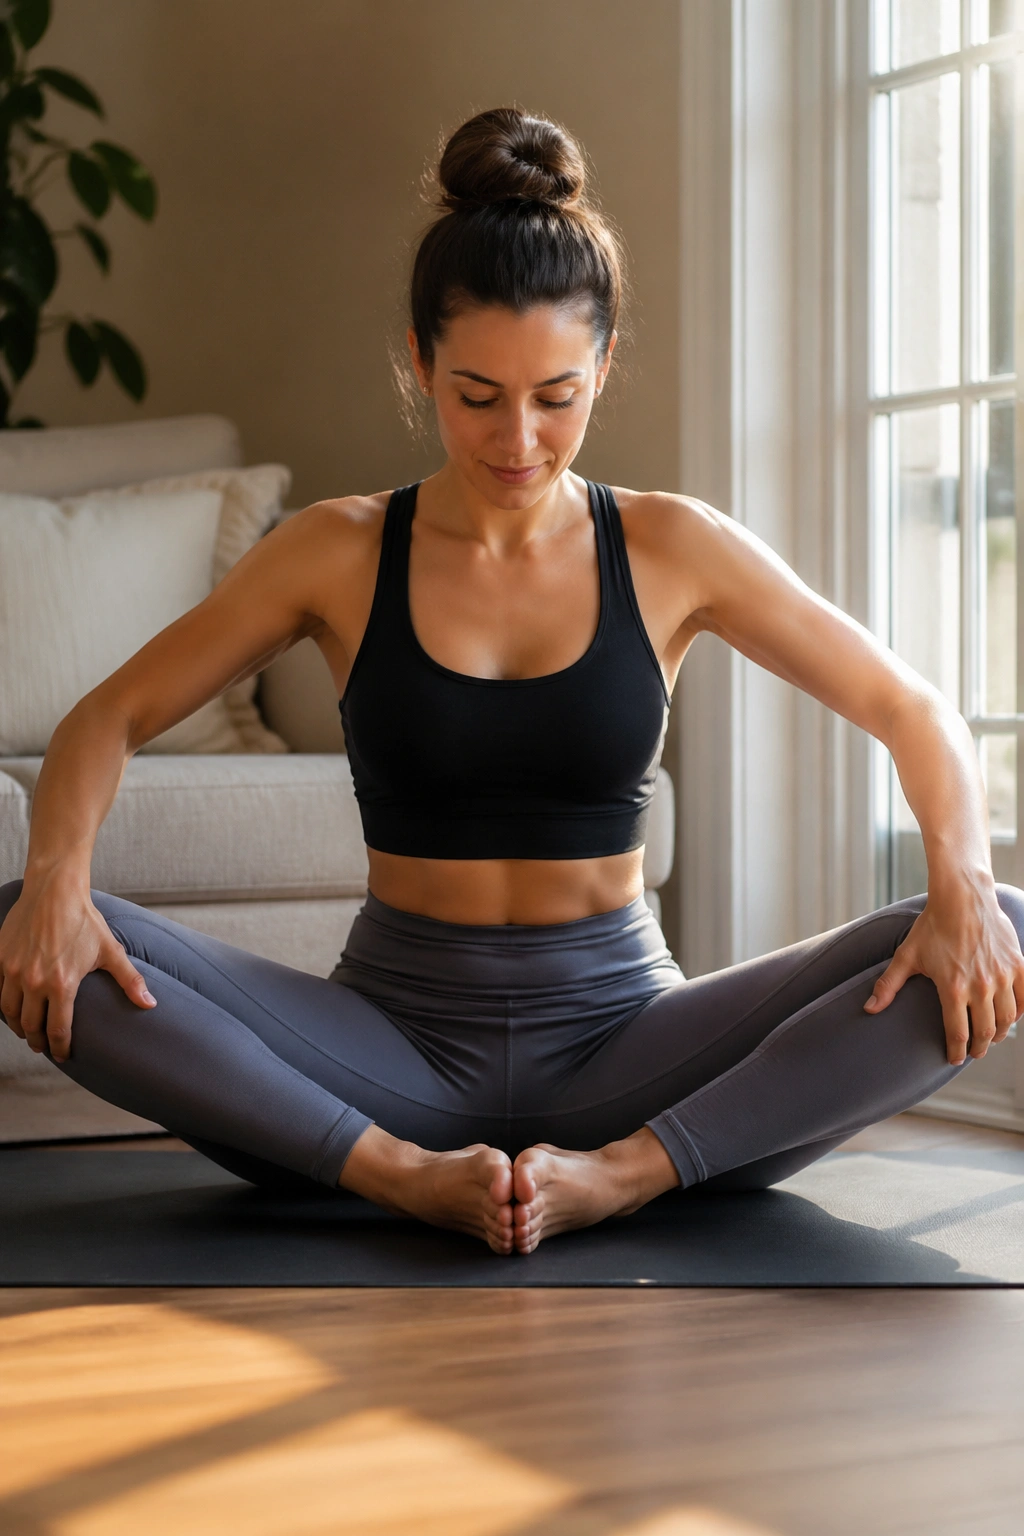
The butterfly stretch gets a bit more useful when you add movement.
Sit tall, bring the soles of your feet together, and let the knees open. Press the knees down gently with the elbows, then release slightly. Repeat 6 to 8 times. That press-and-release motion keeps it from turning into a dead hold and helps the groin and inner thighs wake up without getting sleepy.
What Makes It Different
A plain hold can be fine, but the light press-out gives you a little active mobility. That matters before workouts because the body tends to respond better to motion than to long, passive stretching right before effort.
Keep the spine lifted. If you collapse forward and round hard, you’ll feel it more in the low back than the hips. A folded blanket under the seat can help if the pelvis tilts backward too much.
This one is easy to skip, and that’s why it’s useful to remember.
16. Calf Wall Stretch
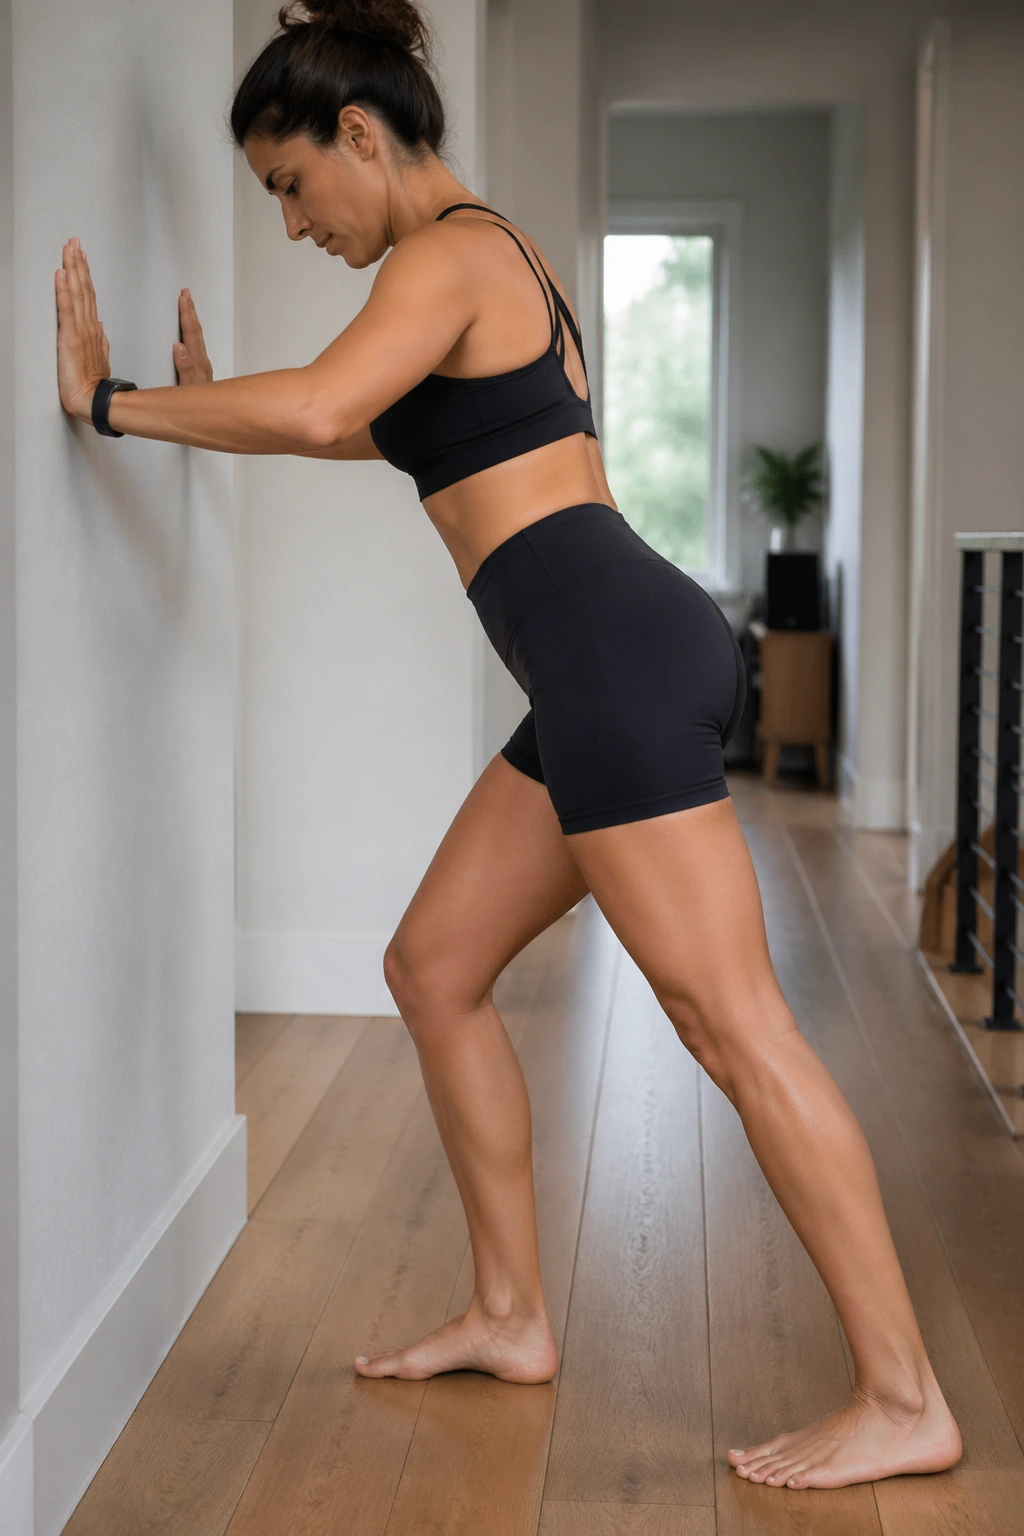
Calves are sneaky. Tight calves can affect your ankles, knees, and even how your squats feel.
Stand facing a wall, step one foot back, and keep the back heel on the floor. Lean forward until you feel the stretch in the calf of the back leg. Hold 20 seconds, then bend the back knee slightly and repeat if you want to hit the deeper soleus muscle near the lower calf.
That bent-knee version is the one a lot of people miss. It matters, especially if your ankles feel stiff during lunges or when you try to sink into a squat. The straight-leg version hits one part of the calf; the bent-knee version catches the lower piece.
Keep the back foot pointed straight ahead. If it turns out, the stretch gets lazy. If your heel pops off the floor, the whole thing loses the point.
17. Ankle Rolls and Toe Lifts
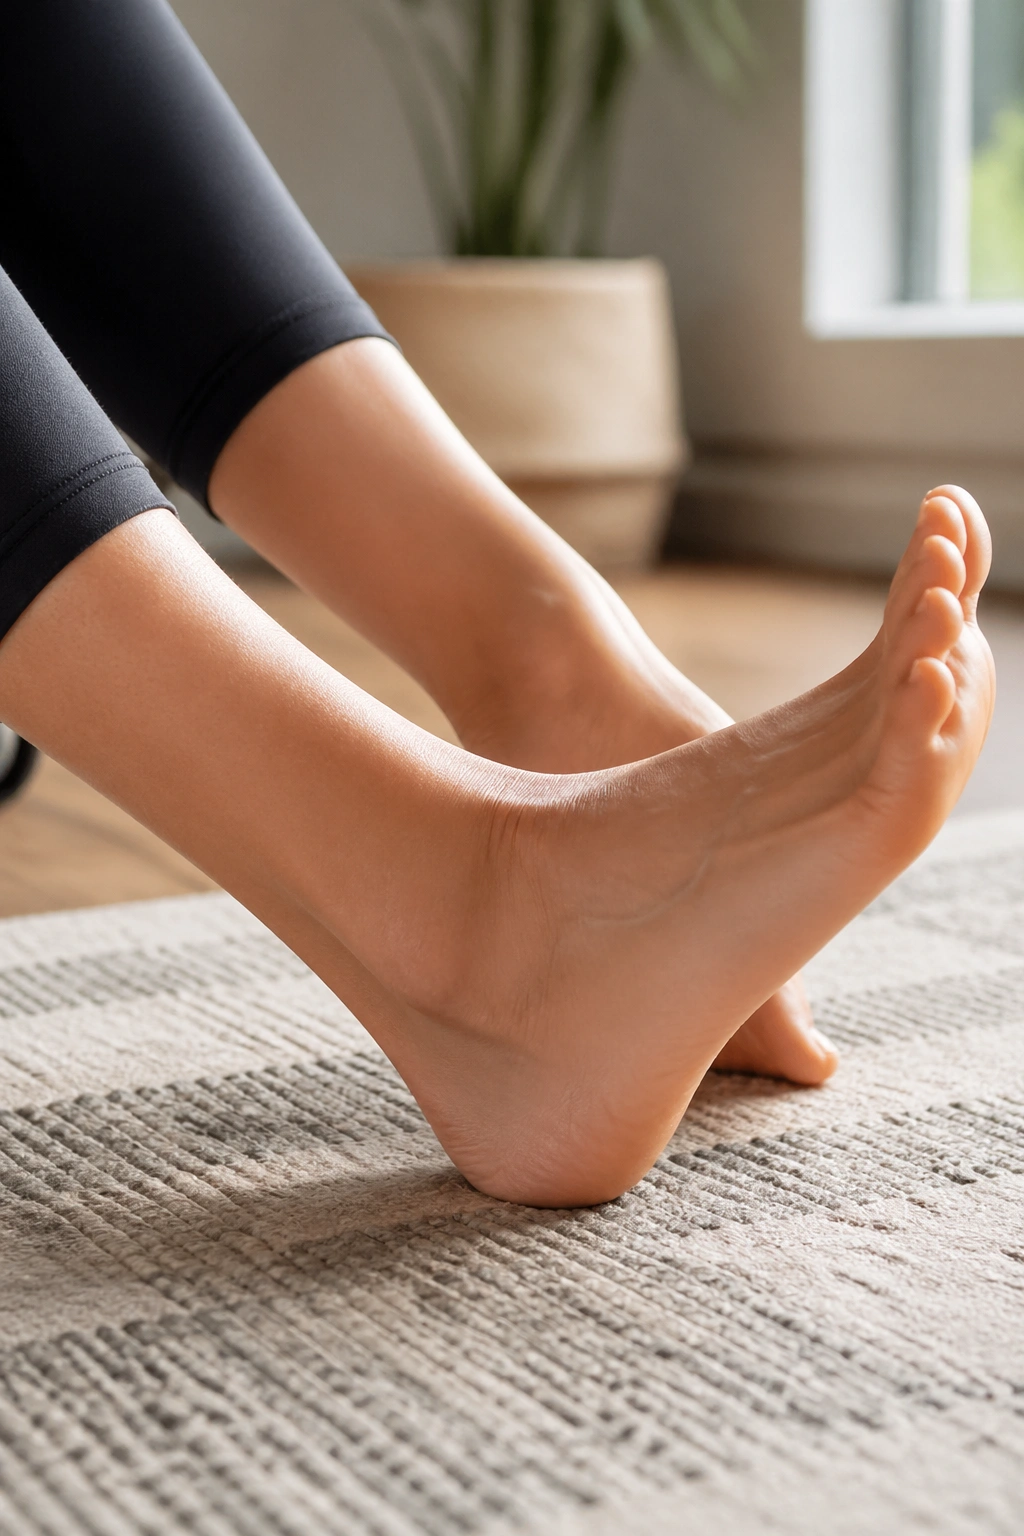
Small joints need warm-up too.
Sit or stand and roll each ankle 5 times in each direction. Then lift the toes toward the shin 10 times, followed by 10 light toe presses into the floor. That mix helps wake up the ankle joint, the foot muscles, and the lower leg in a way that a big stretch can’t always do.
If you’re about to do jumps, squats, step-ups, or even a brisk walk, this tiny sequence pays off. It helps the foot stop feeling stiff and lets the ankle bend more smoothly when you land or descend.
No drama here. No deep pose. Just a few controlled reps.
- 5 ankle circles each way
- 10 toe lifts
- 10 toe presses
- Repeat once if the feet feel stiff
This is one of those warm-up pieces people skip until they feel the difference on a hard workout day.
18. Wrist Flexor Stretch and Palm Flips
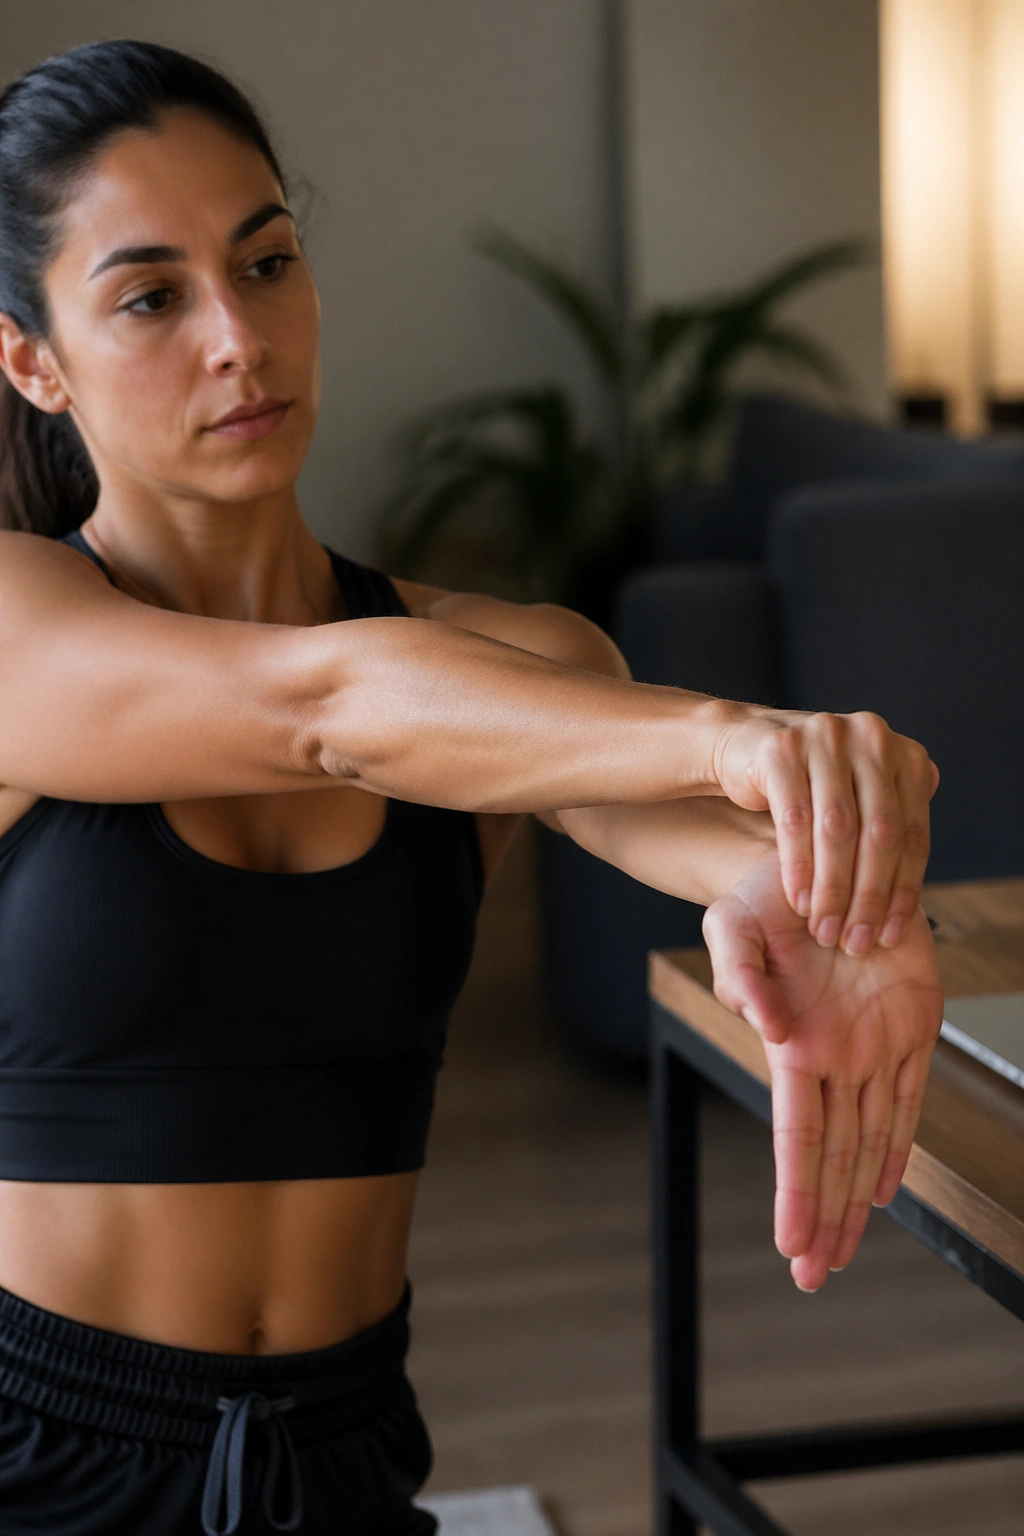
Planks, push-ups, bear crawls, mountain climbers — they all ask a lot from the wrists.
Extend one arm in front of you, palm up, and gently pull the fingers back with the other hand for 15 seconds. Then flip the palm down and repeat on the top side of the wrist. Add a few palm flips open and closed, 8 to 10 times each, to wake up the forearm muscles too.
This matters more than people admit. If your wrists feel weak or pinched when you hit the floor, your whole upper-body workout starts with hesitation. A minute here can make push work feel far less annoying.
Keep the stretch gentle. Wrist tissue can be touchy, and hard pulling doesn’t speed things up. A slow bend and a few open-close motions usually do the job better than forcing the hand flat.
19. Downward Dog Pedal
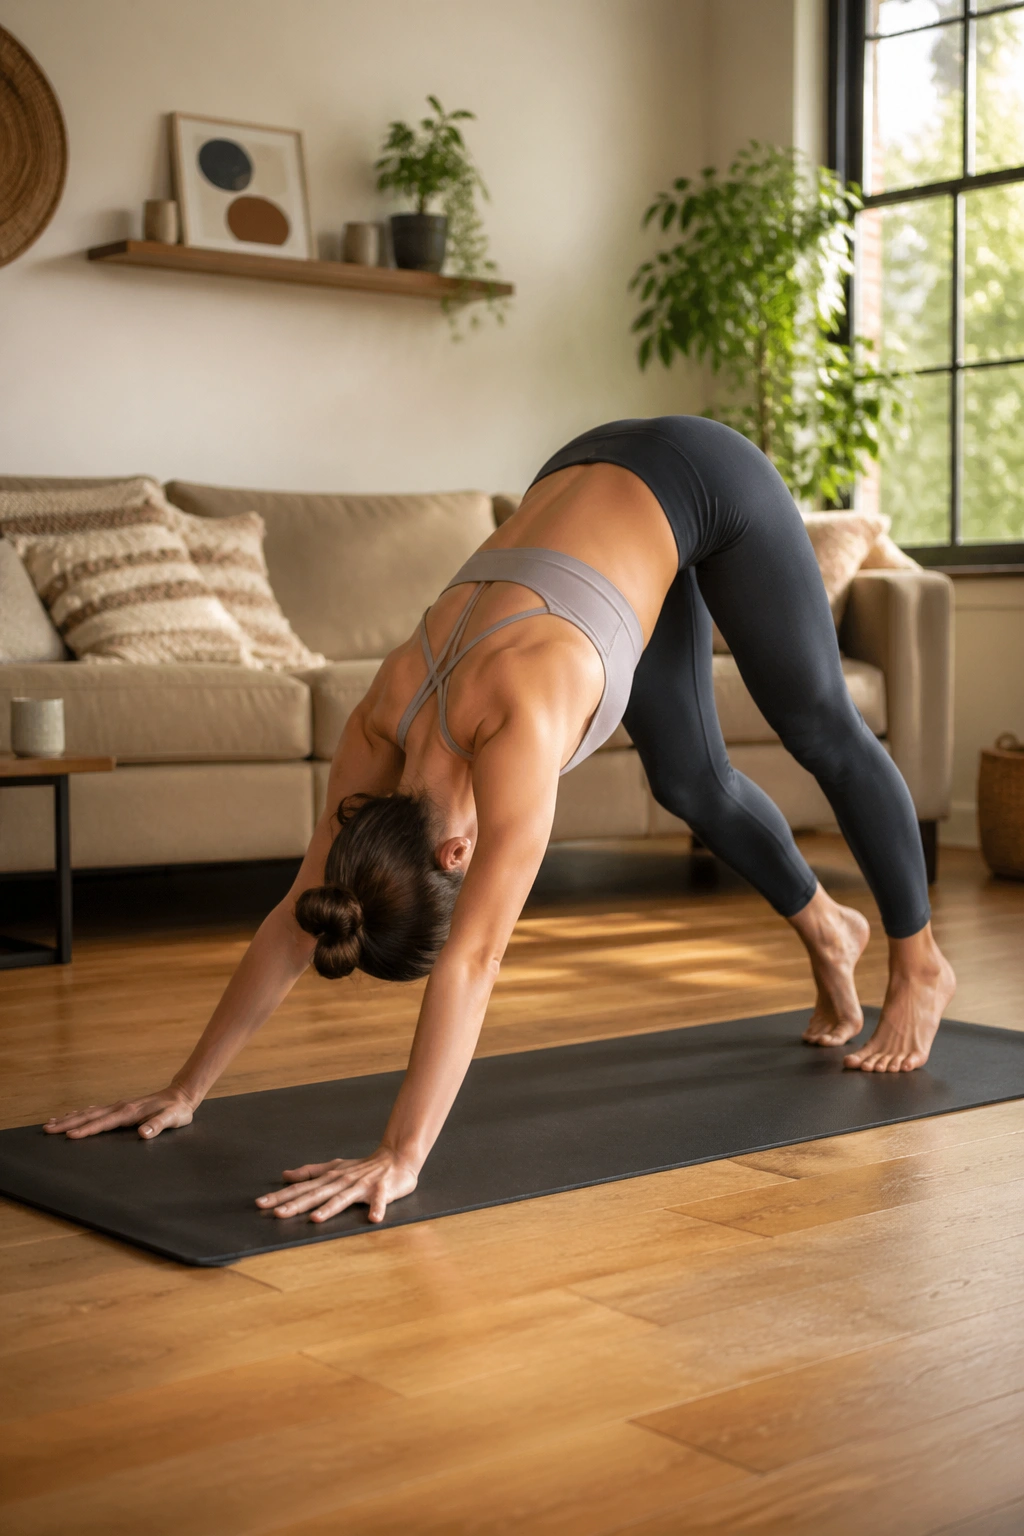
This one is a classic for a reason.
From downward dog, bend one knee and then the other, pedaling the heels toward the floor. Keep the hands grounded and the spine long enough to let the back of the legs stretch without turning it into a collapse. Spend about 20 to 30 seconds here, moving one heel down as the other bends.
The pedal gives you a little calf stretch, a little hamstring length, and a little shoulder opening all at once. It’s a lot for one position, which is exactly why it works well in a home warm-up. No one needs six complicated moves when one smart one can cover three areas.
If your shoulders are tight, keep the knees bent. If your hamstrings are the bigger issue, let the hips lift a touch higher. There’s room to adjust this without losing the shape.
20. Deep Squat Pry
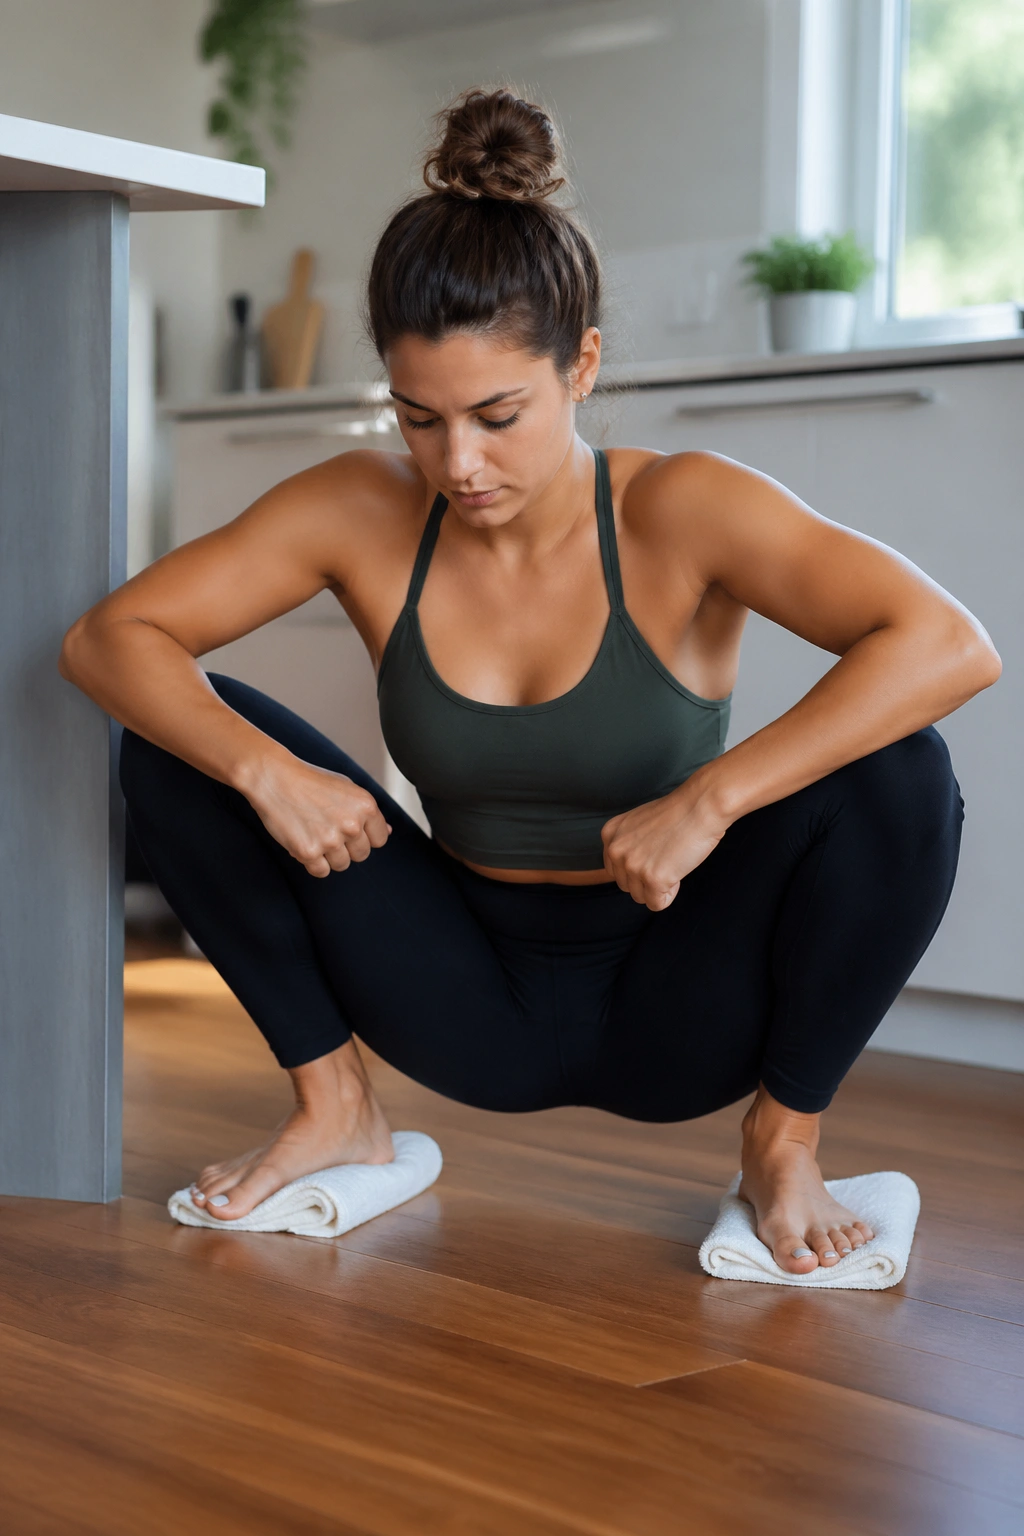
This is one of the most useful stretches for hips and ankles, and most people either skip it or rush it.
Lower into a deep squat with the heels on the floor if possible. Hold onto a counter, door frame, or sturdy table if you need support. Gently shift side to side, press the knees out with the elbows if that feels okay, and breathe for 20 seconds. The “pry” part is the little side-to-side or open-and-close motion that keeps the position alive.
If your heels lift, put a rolled towel under them. That makes the squat more accessible and lets you work on the hips without fighting ankle stiffness at the same time. A supported squat is still a real squat.
This is a strong prelude to lower-body strength work, and it teaches the hips to sit low without panic. That alone can clean up the feeling of the next few exercises.
21. Inchworm Walkout
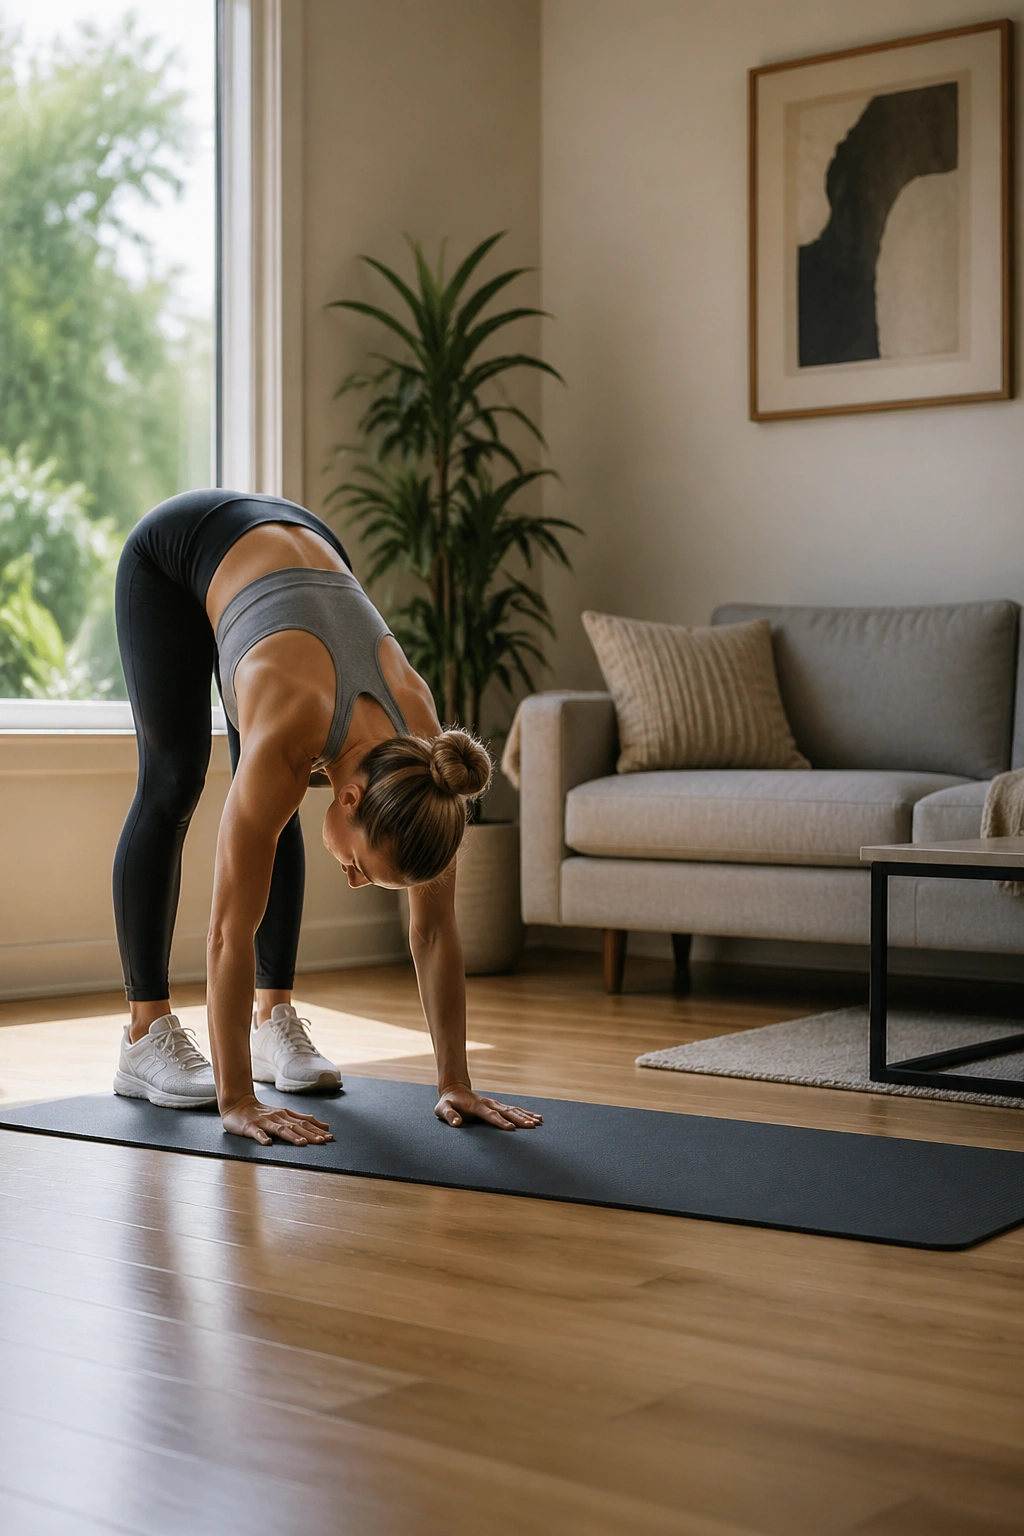
A warm-up that earns its space.
Stand tall, fold at the hips, walk your hands out to a high plank, pause for one breath, then walk the hands back and stand. Repeat 4 to 6 times. If the full plank feels too much, stop in a tabletop or keep the knees softly bent on the way out.
This move stretches the hamstrings, wakes up the shoulders, and asks the core to hold the spine steady. It also gets your hands, wrists, and calves involved without feeling like separate drills stitched together. That makes it one of the better choices before full-body training at home.
How to Use It Well
Move slowly enough that you can keep your ribs from sagging in the plank. If the lower back drops, shorten the walkout. Quality matters more than distance here.
A controlled inchworm feels smooth from start to finish. A rushed one just feels sloppy.
22. Glute Bridge March
Finish with a stretch that also reminds the glutes to do their job.
Lie on your back with your knees bent and feet flat. Lift into a glute bridge, hold the hips up, then march one foot at a time a few inches off the floor without letting the pelvis rock. Do 6 to 8 marches per side. You’ll feel the glutes, hamstrings, and deep core all wake up together.
This is technically more activation than stretching, but it belongs here because it changes how the whole lower body feels before a workout. Tight hips often improve when the glutes start contributing instead of staying asleep. And yes, that matters even if you only have a mat and ten minutes.
Keep the bridge high enough to feel work, not so high that your lower back steals the load. A steady pelvis is the whole trick.
If you want one move that closes the warm-up with a little snap, this is the one.
A smart home warm-up does not need to be long to matter. It needs to be specific. A few neck and shoulder opens, a couple of hip drills, a calf or ankle move, and one or two floor exercises usually give you enough prep to train with less stiffness and fewer grumpy joints.
