



If your midsection is the first place you notice extra softness, endless crunches are a lousy place to start. The best belly fat exercises for beginner women are the ones you can actually repeat without dreading the next round, because consistency beats punishment every time.
That means low-impact moves, simple strength work, and a little breathless cardio mixed together in a way that feels doable. Marching, squats, wall push-ups, carries, and controlled core work all pull their weight here — not because any one move “melts” fat from the stomach, but because they raise your heart rate, build muscle, and make your body work harder overall.
And yes, that matters. A flatter waistline usually comes from the boring-looking habits: showing up three or four times a week, keeping your food intake in check, walking more, sleeping enough, and picking workouts you won’t abandon after a bad day. Fancy is overrated. Repeatable wins.
Start there, and the rest gets a lot less mysterious.
Why Belly Fat Exercises Need to Use the Whole Body
The phrase “belly fat exercises” sounds a little misleading, and that’s worth saying out loud before you waste time chasing the wrong thing. You cannot spot-train fat off your stomach with a single move, no matter how many crunches a sweaty fitness video throws at you. What you can do is choose exercises that burn energy, strengthen your core, and build the kind of muscle that makes everyday movement easier.
That is where beginner-friendly full-body work comes in. Squats, carries, lunges, push-ups, and brisk marching ask more from your legs, back, chest, and trunk than isolated ab work does. The more muscle you recruit, the more your body has to do, and the more useful the workout becomes for fat loss.
A good starting point is simple: 20 to 40 seconds of work, 20 to 40 seconds of rest, and 2 to 4 rounds. If that sounds tame, good. Tame is better than quitting halfway through because the workout was built like a dare.
And one more thing: if you have a sore back, cranky knees, or a long stretch away from exercise, the smartest plan is to start with the moves that feel almost too easy. They rarely stay easy for long.
1. Marching in Place
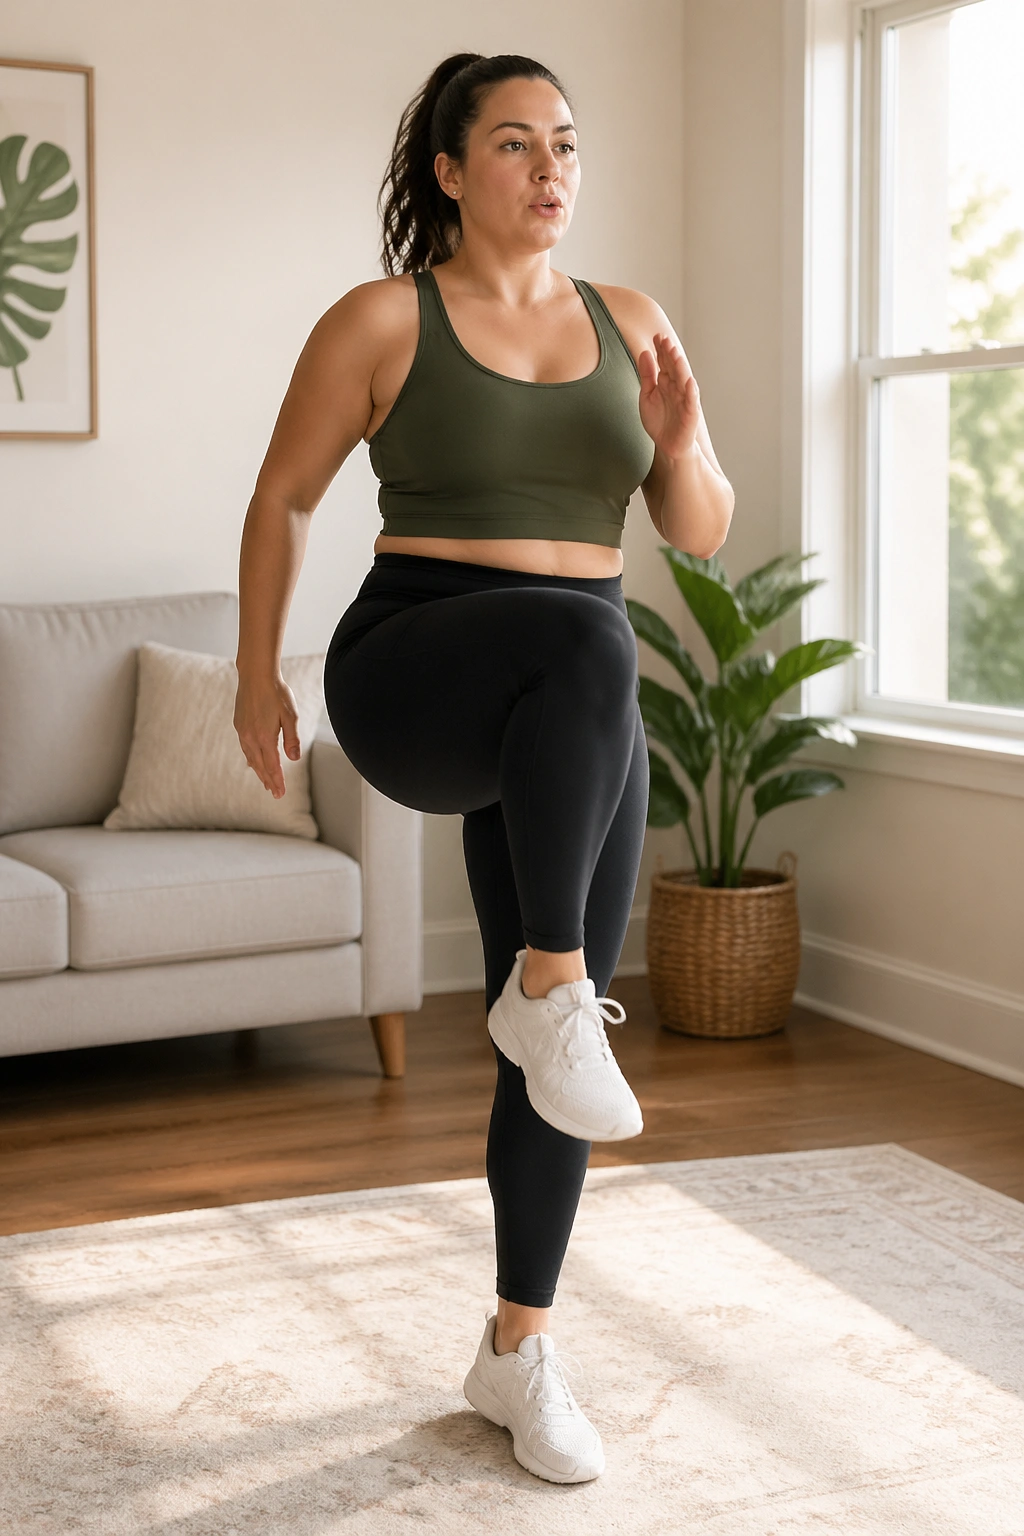
Marching in place is plain, and that is exactly why it belongs at the top of the list. It gets your pulse up, warms your hips and ankles, and teaches your body to move without impact before you ask it to do anything fancier.
Do not let the simplicity fool you.
Lift one knee at a time, swing the opposite arm, and keep your ribs stacked over your hips instead of leaning back. A good starting dose is 30 to 45 seconds, then a short rest, then another round. If your knees come up only a few inches at first, that’s fine. The point is rhythm and steady breathing, not a parade march.
Tiny form cue: keep your feet light and your shoulders loose. If you start stomping, you’ve turned a warm-up into something clumsy.
2. Chair Squats
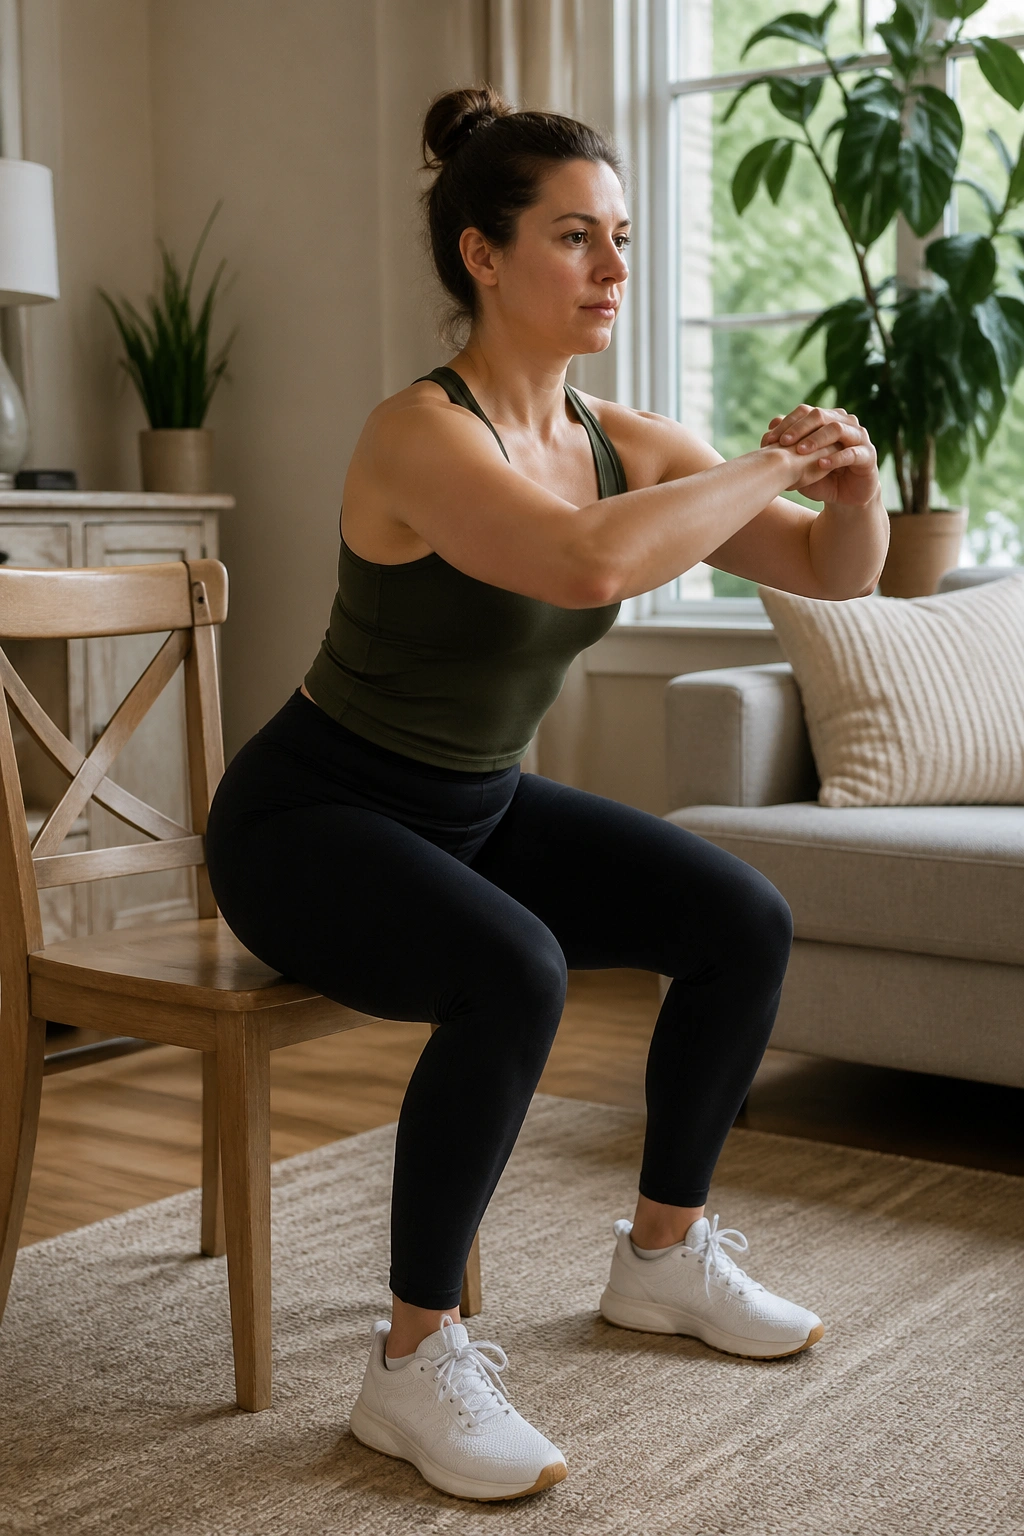
Chair squats are the move that makes a lot of beginners realize they were afraid of the wrong thing. You are not dropping into a deep, dramatic squat here. You are sitting back toward a chair, tapping it, and standing up with control.
Why the chair helps
The chair gives you a target. That alone makes the movement less scary, and it keeps you from sinking too low before your legs are ready. It also teaches you to push through your heels and use your glutes instead of dumping all the work into your knees.
Quick form cues
- Stand with feet about shoulder-width apart.
- Reach your hips back first, then bend your knees.
- Touch the chair lightly — do not plop down.
- Drive through your heels to stand.
- Aim for 8 to 12 reps, then rest.
A slow 3-second lower makes this feel harder without needing extra weight. If that seems like too much, keep your hands in front of your chest and shorten the range a little. Boring-looking reps done well beat flashy ones done badly.
3. Wall Push-Ups
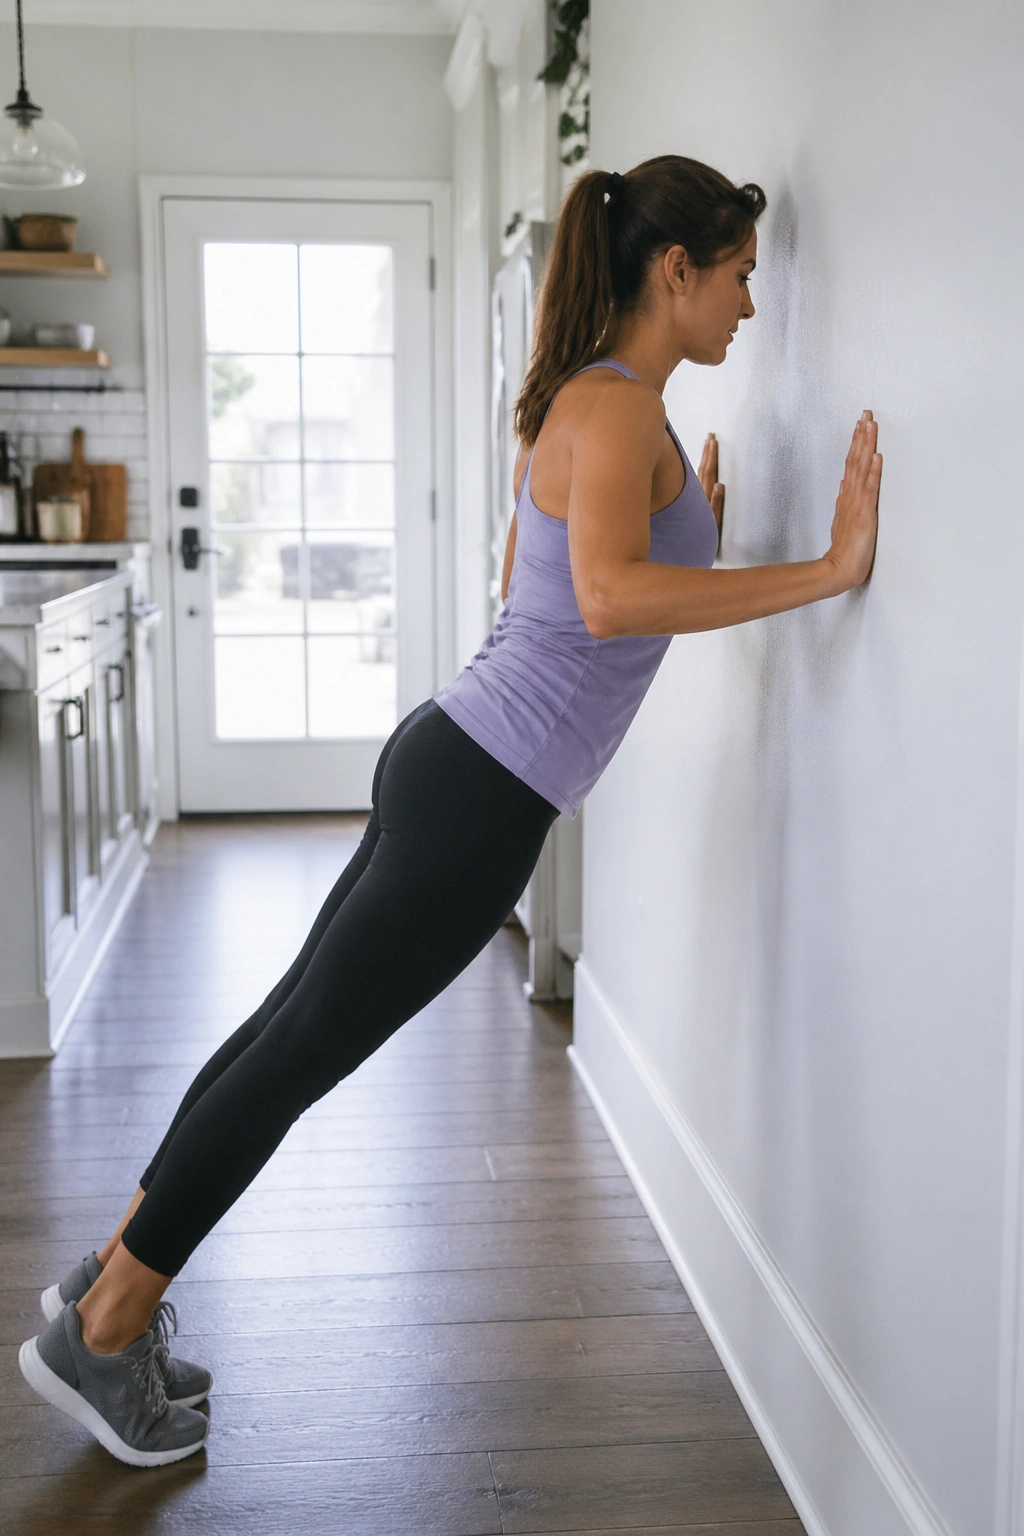
If full push-ups make your shoulders tense up, wall push-ups are a smart place to begin. They train your chest, arms, shoulders, and trunk without forcing you to fight the floor before your body is ready.
No shame in the wall.
Stand arm’s length away from a wall, place your hands at chest height, and lower your body by bending your elbows until your nose comes close to the wall. Press back to the start with a straight body line from head to heels. That straight line matters more than speed, because it keeps your core involved instead of letting your hips sag.
For most beginners, 2 sets of 6 to 10 reps is enough to start. If that feels smooth, step your feet a little farther back and make the angle steeper. You will feel the change fast. Your chest will start to work, your triceps will complain in a useful way, and your torso will have to stay braced.
4. Standing Side Crunches for Belly Fat
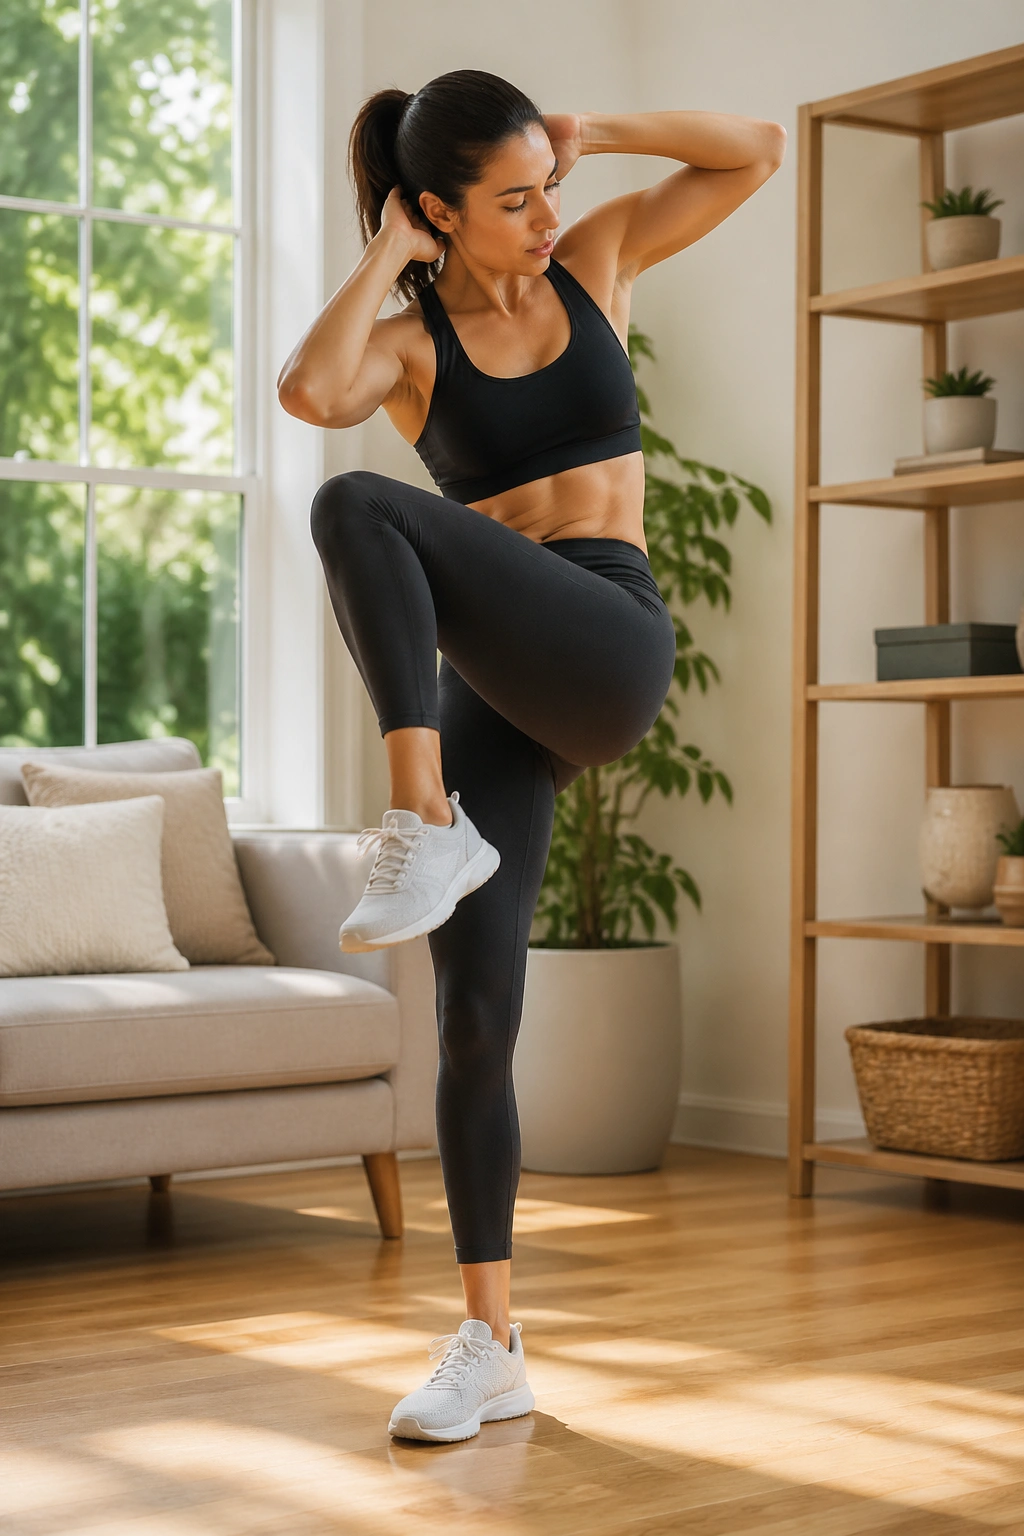
Why bother with side crunches if they will not burn stomach fat by themselves? Because they train the muscles along the sides of your waist, and those muscles matter when you want a tighter, more controlled midsection.
The movement is simple: stand tall, lift one knee toward the same-side elbow, and keep the rest of your body steady. What you want is a small, clean crunch through the side body — not a wild elbow yank that twists your neck and does nothing useful.
How to use it
Do 10 to 15 reps per side for 2 or 3 rounds. Move slowly enough that you can feel the side of your waist doing the work. If balance is shaky, keep one hand lightly on a wall.
A nice trick is to pair this with a brisk march or boxing move. The standing work keeps your heart rate up, and the side crunch reminds your core to stay awake. That combination is better than endless floor crunches anyway, especially if your lower back gets annoyed easily.
5. Glute Bridges
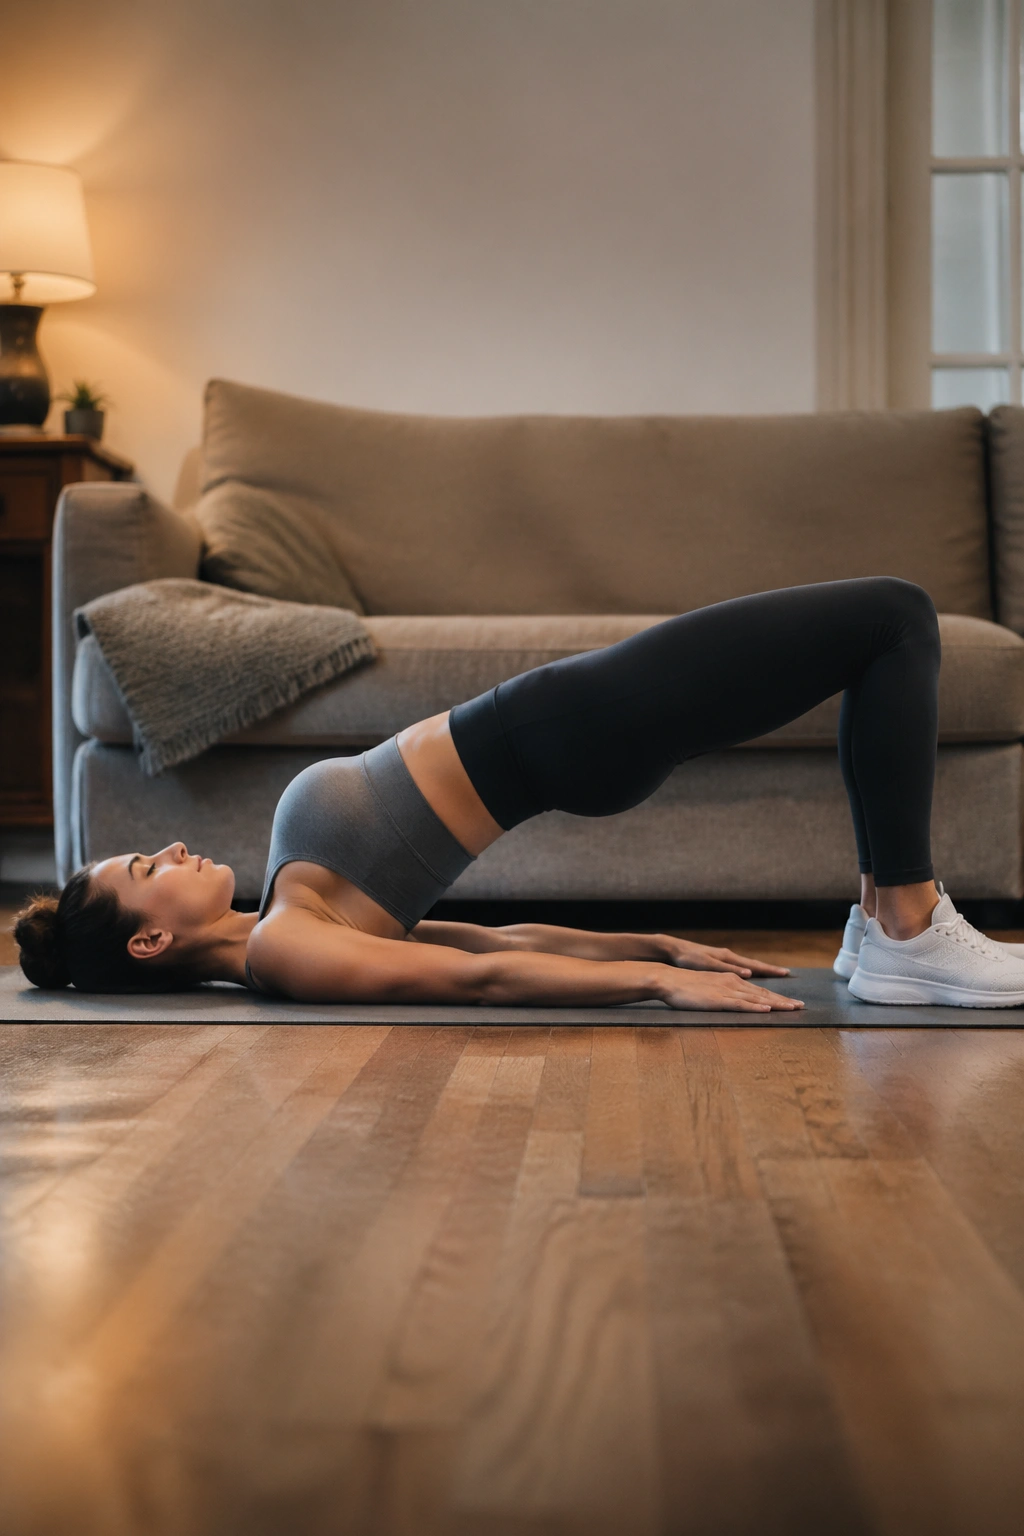
Glute bridges look almost too calm to matter. Then you do a slow set and realize your hips, hamstrings, and lower abs are all being asked to show up at once.
Lie on your back with your knees bent and feet flat on the floor, about hip-width apart. Press through your heels, lift your hips until your body forms a straight line from shoulders to knees, and squeeze your glutes at the top for a count of one or two. Lower with control. That squeeze is not decoration — it helps your hips do the work instead of letting your lower back take over.
If your back arches too much, pull your feet a little closer. If you barely feel your glutes, move them farther away by an inch or two. Small adjustments change a lot here.
I like this move for beginners because it teaches the body to stabilize from the back side, which most people ignore. And when the back side gets stronger, standing, walking, and even holding good posture start to feel less tiring.
6. Dead Bug
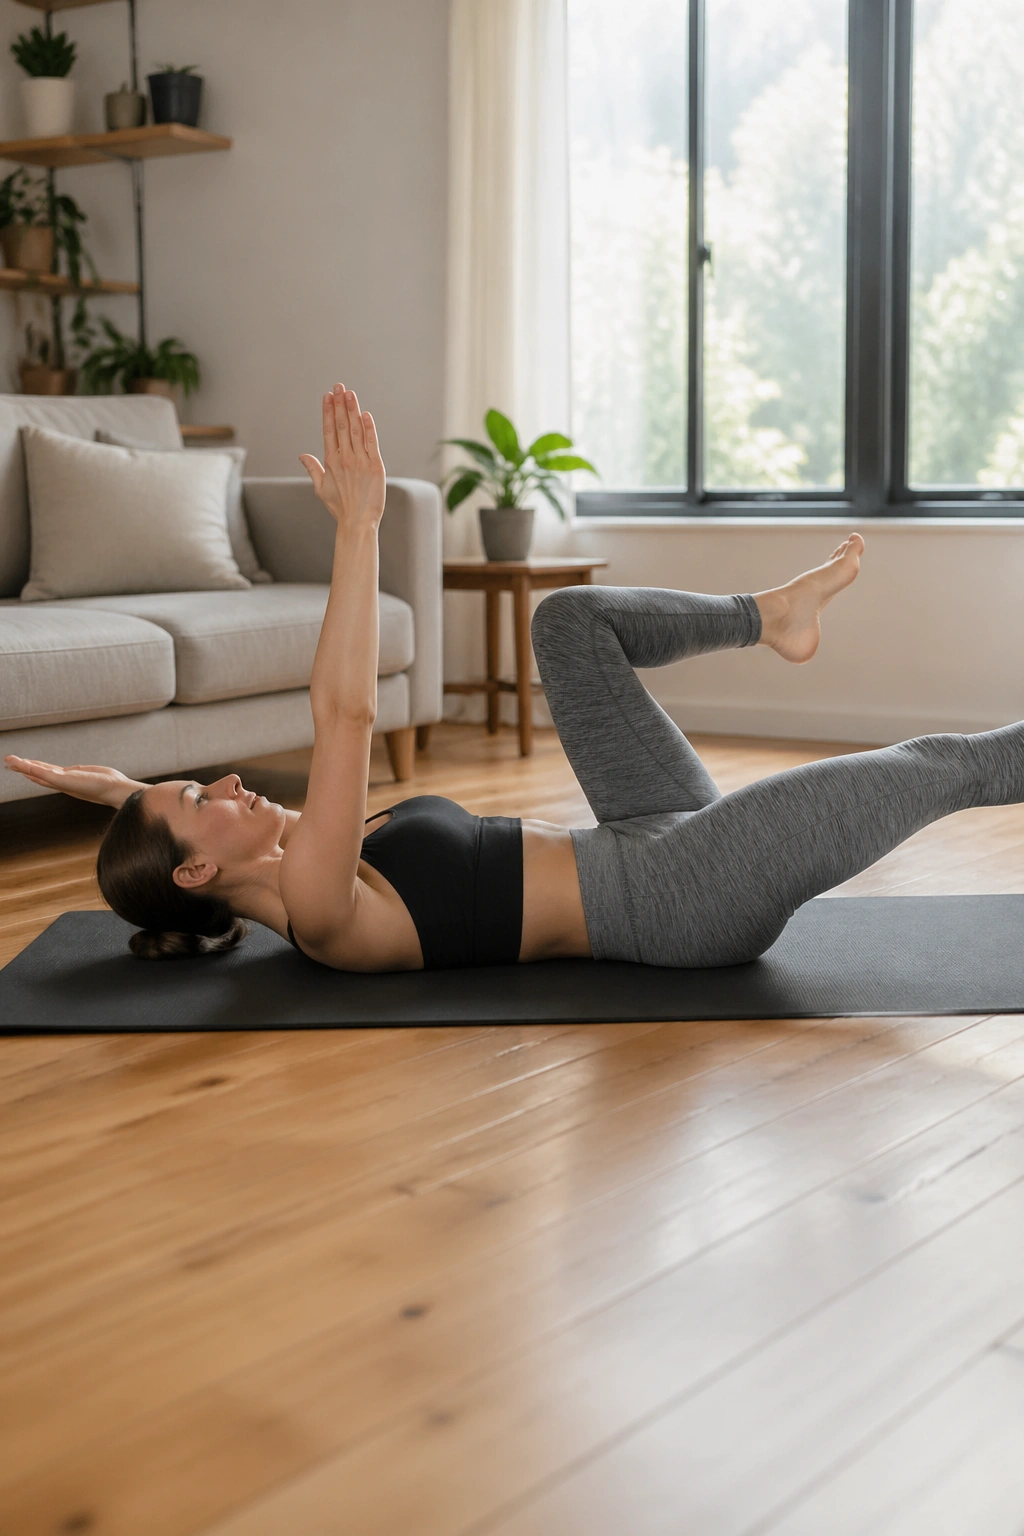
Unlike crunches, the dead bug teaches your torso not to flare open when your arms and legs move. That is a better skill for daily life, and it tends to be kinder to a sore lower back.
Lie on your back with your knees over your hips and your arms reaching toward the ceiling. Lower one arm and the opposite leg toward the floor, then bring them back and switch sides. The lower back should stay gently pressed into the floor the whole time. If it pops up, the range is too big.
What makes it worth keeping
- It trains core control, not just core burn.
- It teaches breathing under tension.
- It is easy to scale down by moving slower.
- It pairs well with walking, squats, or marching.
Start with 6 to 8 reps per side and pause for a second at the bottom. If you rush this one, it turns messy fast. Slow and tidy is the whole point.
7. Bird Dog
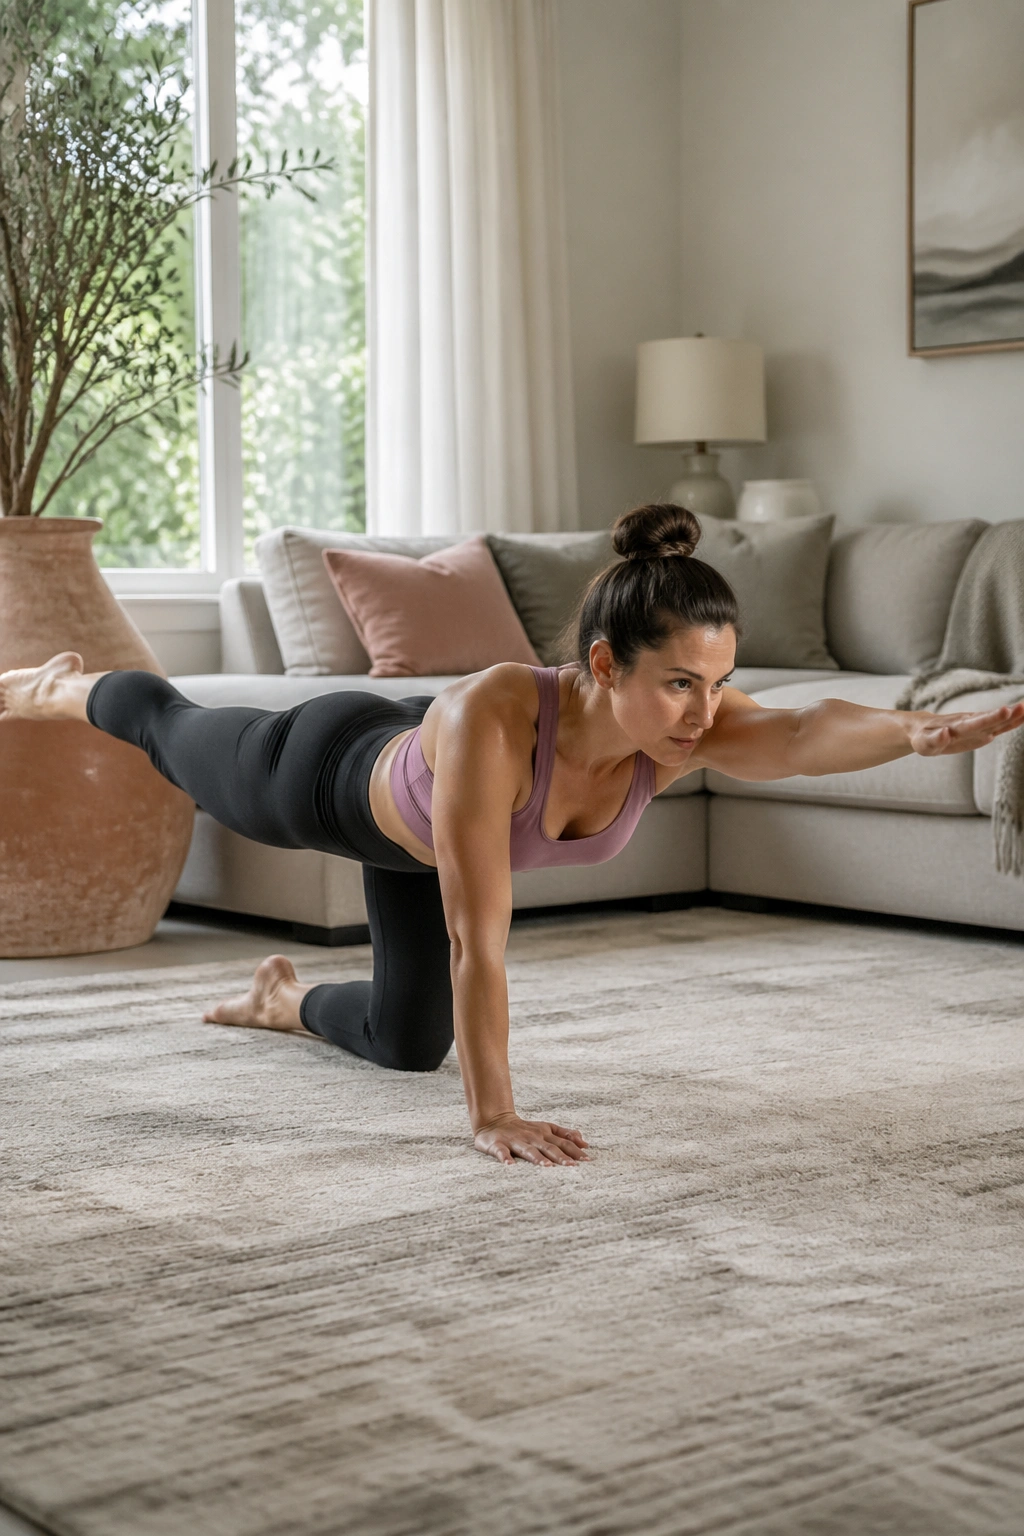
On paper, bird dog looks too calm to matter. In practice, it exposes every bit of wobble you did not know you had.
Get onto hands and knees, extend one arm and the opposite leg, then reach long without arching your lower back. Hold for a second or two before switching sides. The goal is a level pelvis and a steady trunk, not a giant kick and a flailing arm.
What to watch for
- Keep your hips square to the floor.
- Reach long instead of high.
- Stop if your lower back pinches.
- Use 6 reps per side to start.
This move is good on days when your body feels stiff and you want something that looks gentle but still asks for focus. And focus matters. A lot of beginners lose the shape of the exercise because they try to make it look impressive. Bird dog is not about drama. It is about control.
8. Step Touch with Overhead Reach
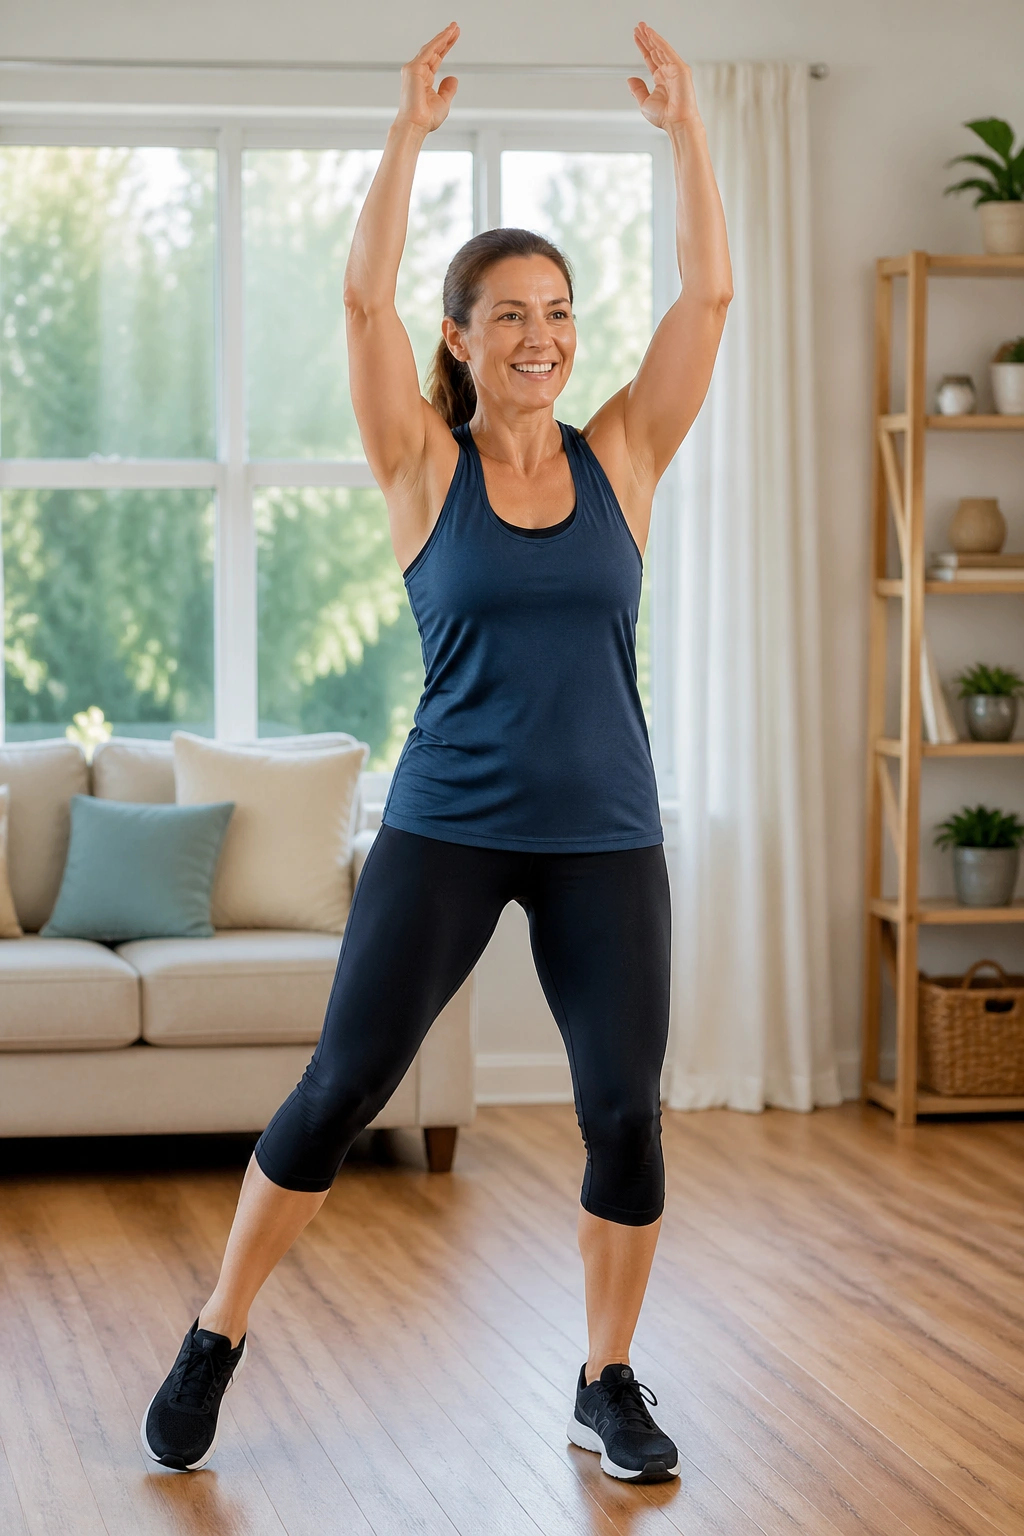
Step touch with an overhead reach is the move for days when you want a little cardio without turning the room into a trampoline. It is light, rhythmic, and easy to keep going for longer than you expect.
Step to the side, bring the other foot in, then reach both arms overhead as you shift to the next side. Keep your knees soft and your landing quiet. If the reach feels awkward, keep the arms at shoulder height for the first few rounds. That still counts.
A good starting block is 45 to 60 seconds, then a short rest. Repeat it 3 times. It works well between strength moves because it lifts the heart rate without frying your legs. If music helps, use it. A steady beat makes the movement feel less like exercise and more like momentum.
One small warning: do not lean back when your arms go up. Keep the ribs down. That keeps the core involved instead of letting the lower back arch.
9. Low-Impact Jumping Jacks
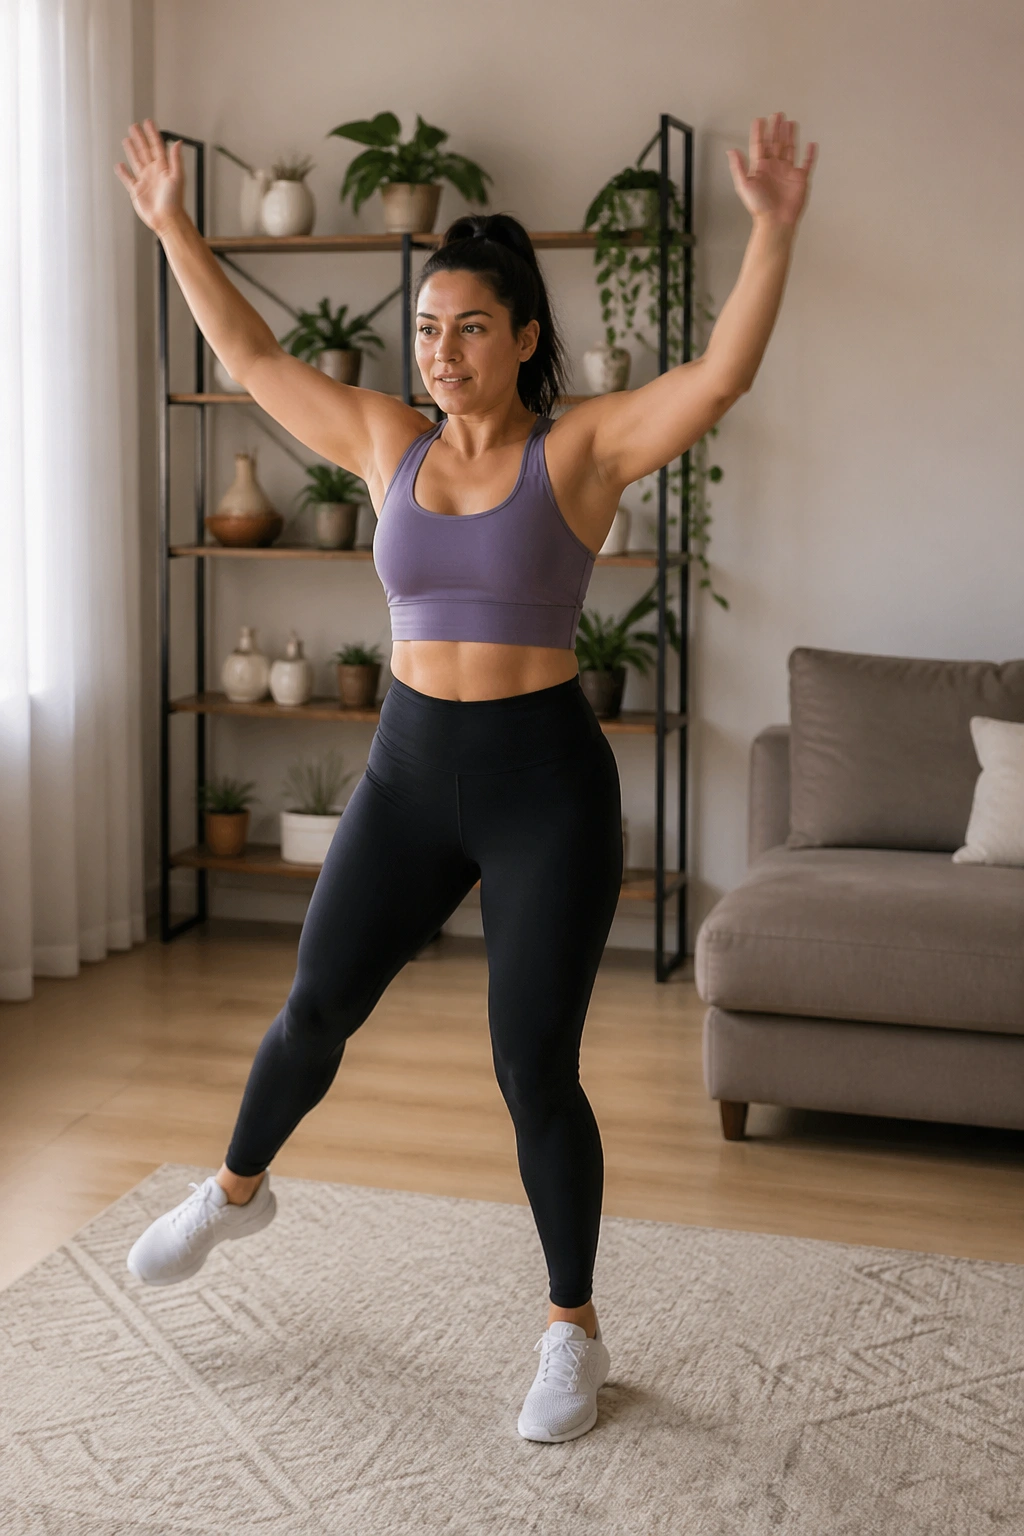
Jumping jacks do not have to sound like someone dropping a laundry basket on the floor. A low-impact version gives you the same pulse-raising effect without the hard landing.
Step one foot out, then the other, while your arms lift and lower in the usual jack pattern. You can keep one foot on the floor at all times, which is kinder to knees, ankles, and upstairs neighbors. If you feel good, speed up a little. If not, stay smooth and steady.
A few useful rules
- Work for 20 to 30 seconds.
- Rest for 20 to 30 seconds.
- Keep your shoulders relaxed.
- Land softly, not with a thud.
- Breathe out on the arm lift if that helps your rhythm.
This is a nice move to slot between stronger exercises. It keeps the session lively without requiring coordination you do not have yet. And if full jumping jacks feel like too much, skip the jumping. Your workout does not need the drama.
10. Reverse Lunges with a Chair
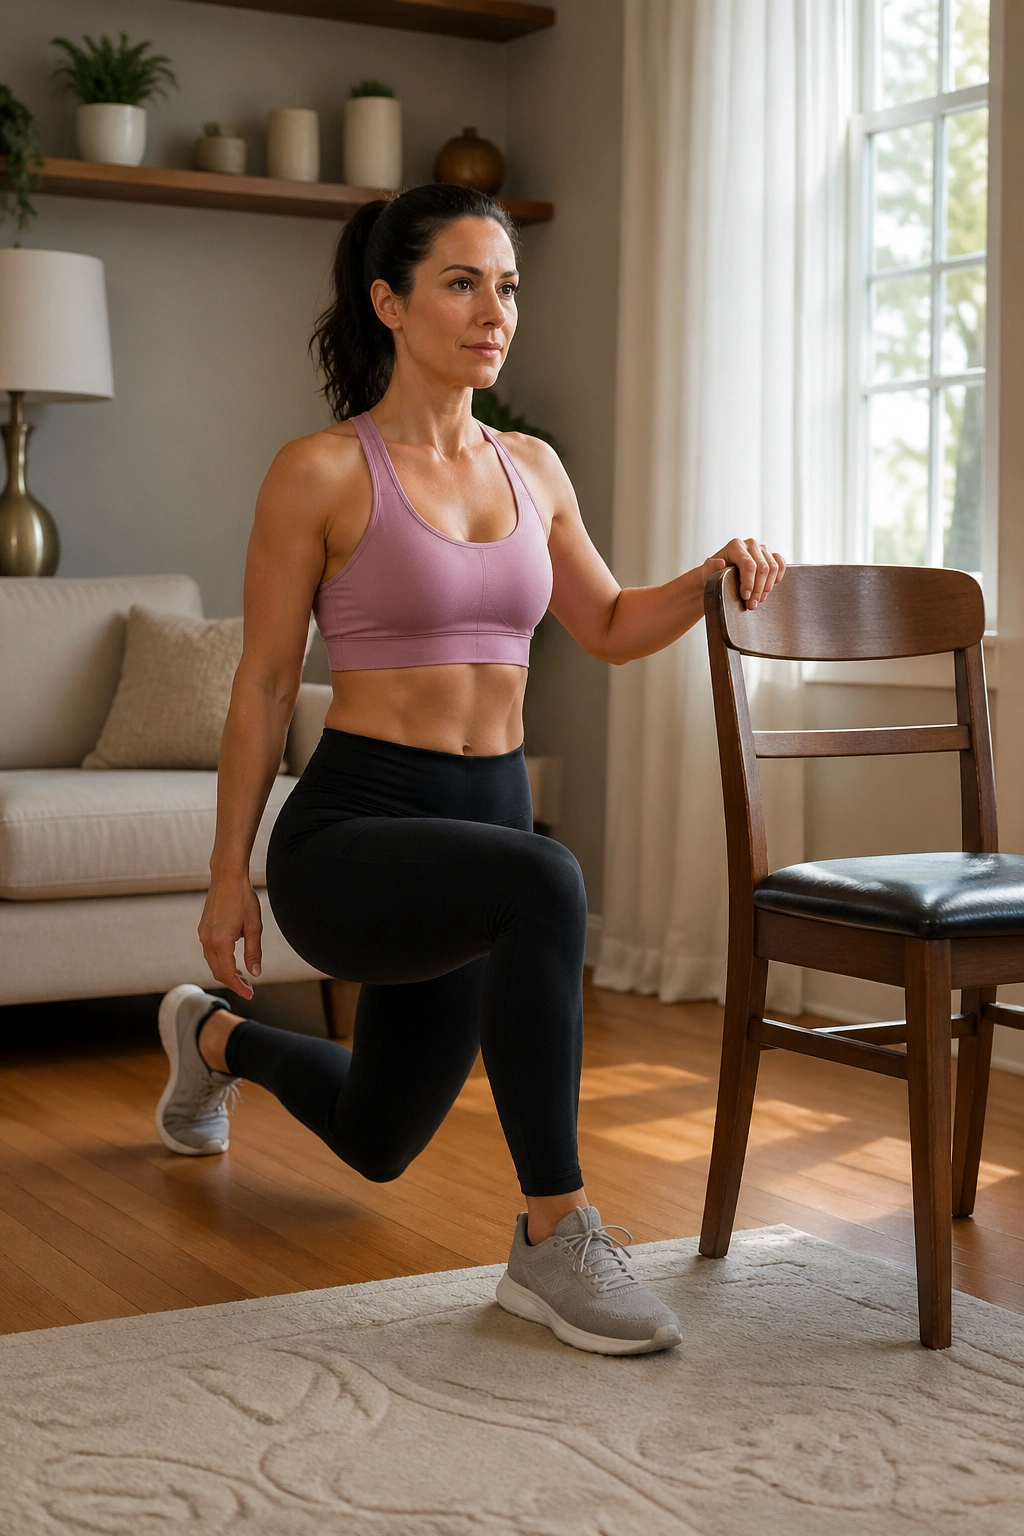
What if balance is the thing that keeps lunges off your plan? Use a chair. That one adjustment can turn a frustrating move into something you can actually practice.
Stand tall, hold the back of a chair lightly, and step one leg back into a reverse lunge. Lower only as far as you can while keeping the front heel grounded and the torso upright. Push through the front foot to return to standing, then switch sides. Reverse lunges often feel easier than forward lunges because you can control the step back instead of chasing your balance.
How to keep the knee happy
- Keep the front knee tracking over the middle toes.
- Take a shorter step if you feel unstable.
- Use 6 to 8 reps per side.
- Stop the descent before the back knee smacks the floor.
- Keep your grip on the chair light, not death-grip tight.
A little wobble is normal. A sharp pain is not. If your knee complains, shorten the range, slow the tempo, and make the move cleaner before you make it deeper.
11. Heel Taps
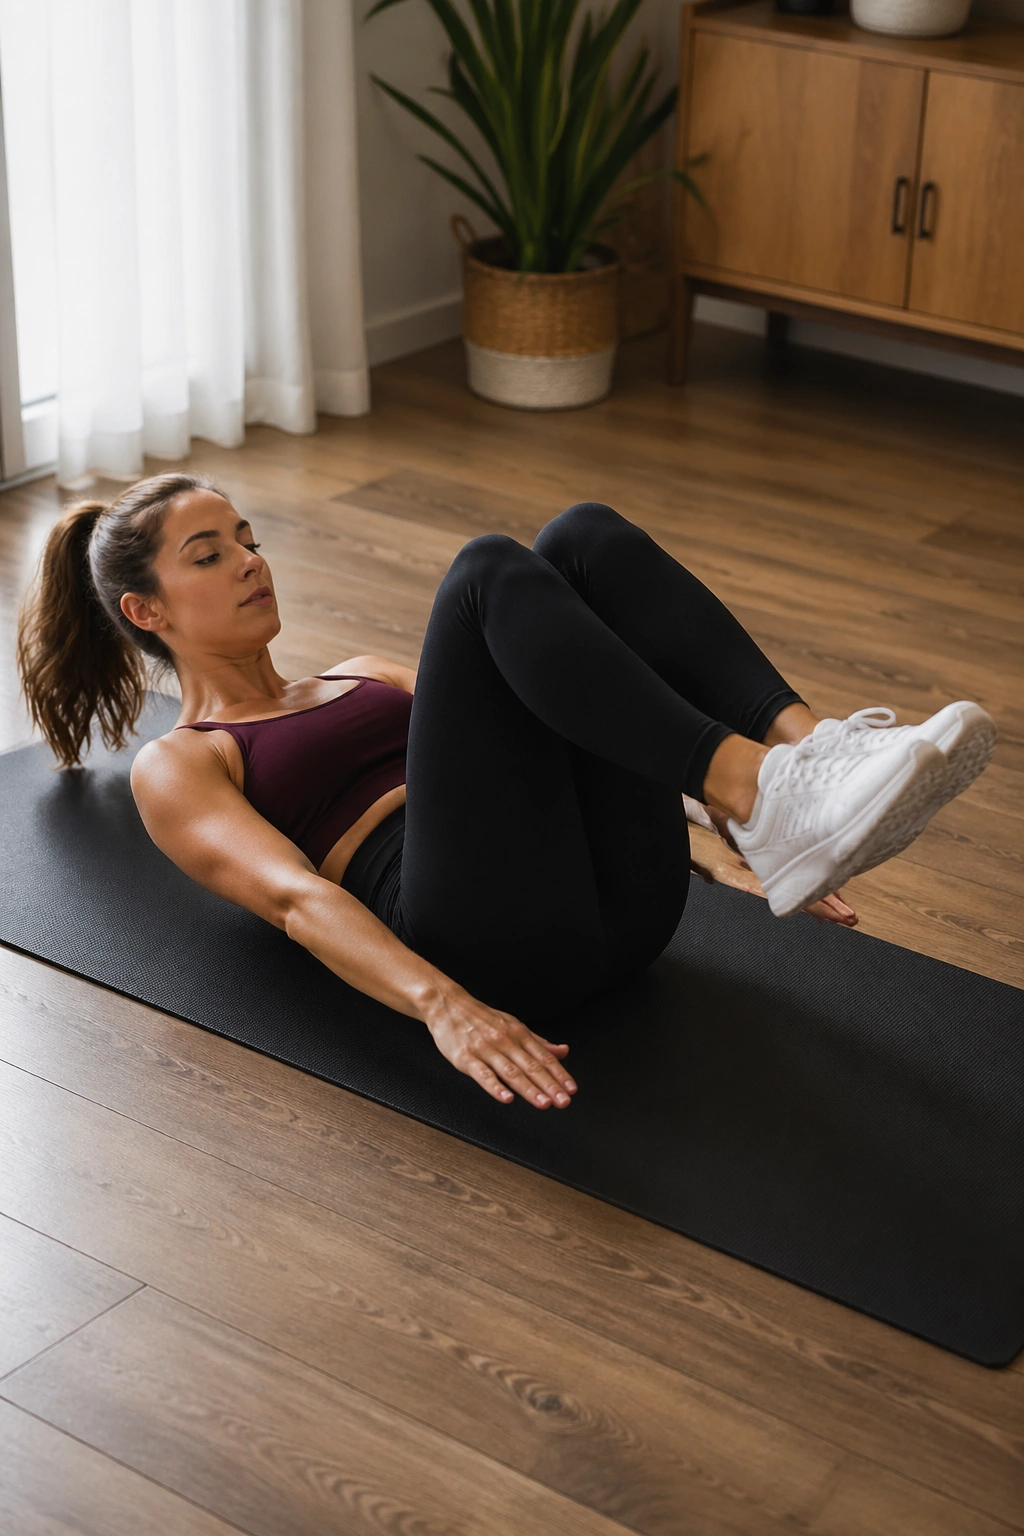
Heel taps are one of those floor exercises that look mild until your core starts protesting. They train the front of the abdomen to stay braced while your legs move, which is exactly the kind of control beginners need.
Lie on your back with your knees bent and feet lifted so your shins are roughly parallel to the floor. Lower one heel to tap the floor, bring it back, then switch sides. Keep your lower back heavy against the mat. If your back arches, your feet are too far away or you are moving too fast.
Slow wins here.
That is the whole secret. Aim for 10 to 20 taps per side, and keep the pace controlled enough that you can still breathe. If you start holding your breath, shorten the set and keep the form clean.
This move is a little boring, and I mean that in the best way. It teaches precision. It also gives you a clear sense of whether your core is helping or just pretending to help.
12. Knee Plank Hold
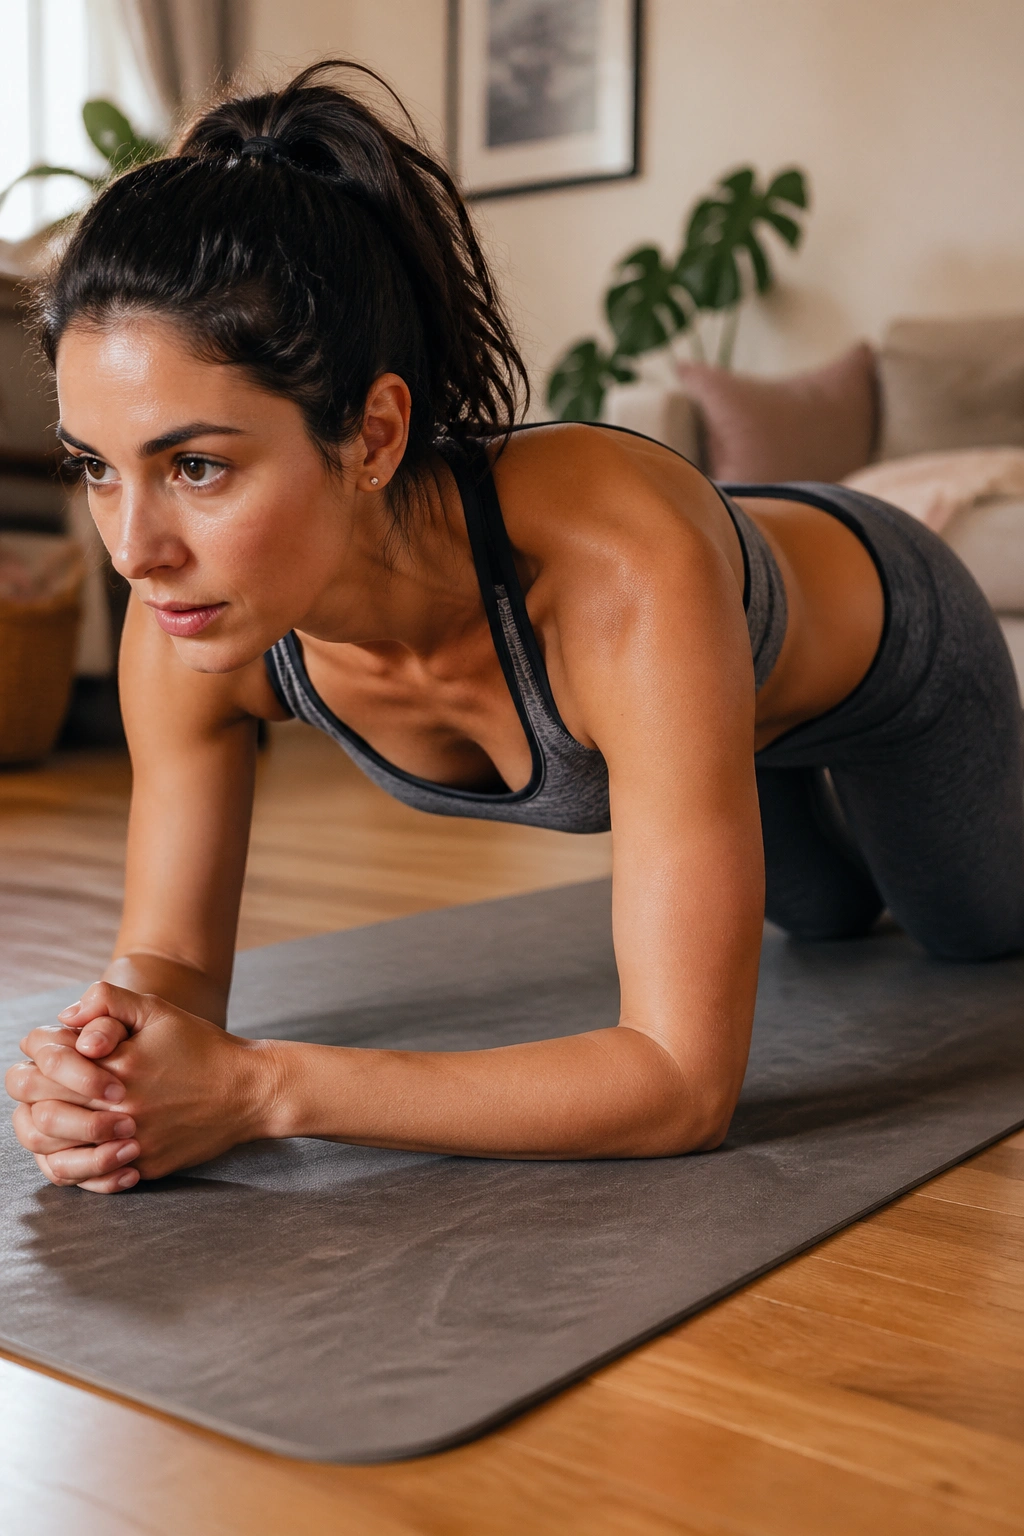
A knee plank is not a lesser plank. It is the sensible way to learn bracing before you try the full version and start shaking like a bad table leg.
Set your forearms on the floor with your knees down, then walk your knees back so your body makes a straight line from head to knees. Squeeze your glutes gently, press the floor away, and keep your neck long. You should feel your abs working, but your lower back should not feel pinchy or jammed.
What good form feels like
- Shoulders stack over elbows.
- Belly stays pulled in, not sucked up.
- Hips stay level.
- Breathing stays smooth.
- Hold for 10 to 20 seconds at first.
You can build this up in tiny pieces. Three clean holds beat one ugly 60-second grind. If your wrists dislike forearm work, place a folded towel under them or switch to hands-on-knee plank on a bench. There is no prize for suffering through a bad setup.
13. Shadow Boxing for Belly Fat
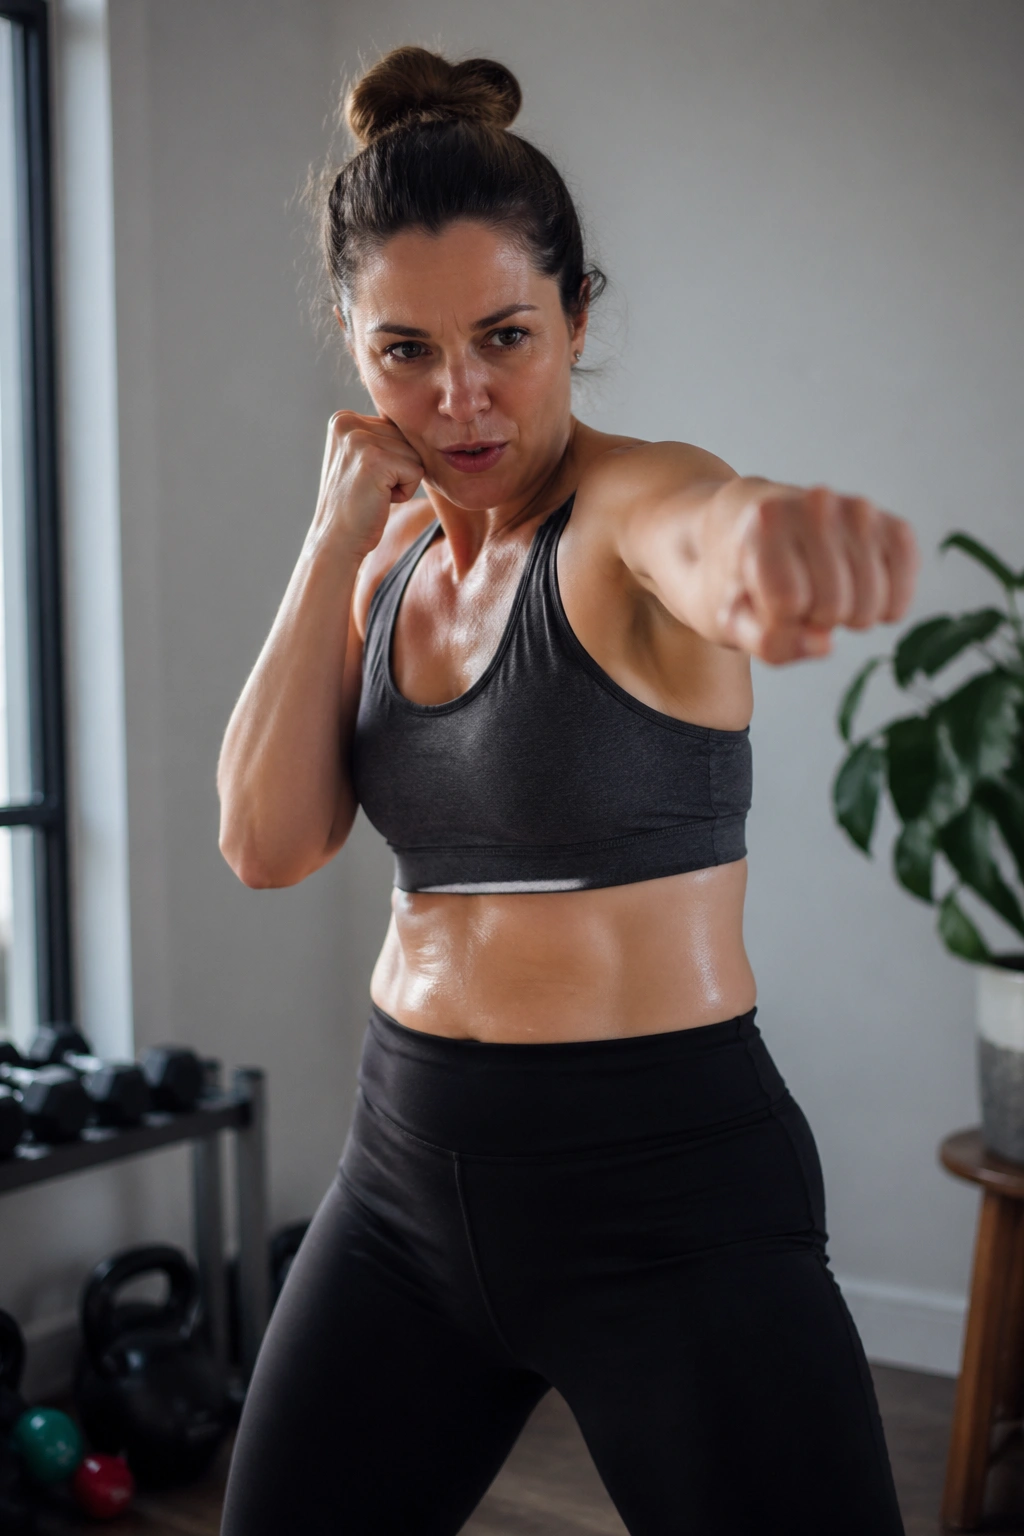
Shadow boxing is one of my favorite beginner cardio choices because it never gets stale. Your heart rate climbs, your shoulders warm up, and your trunk has to stay awake while your arms move fast.
Punch lightly into the air with a simple jab-cross pattern, then add a hook if you feel steady. Keep your fists at cheek level between punches and let the torso rotate a little, but do not twist so hard that you lose balance. A light bounce through the knees helps, though you can stay planted if that feels better.
How to use it
- Do 30 to 45 seconds per round.
- Rest for 20 to 30 seconds.
- Start with jab-cross only.
- Keep the punches quick, not locked out.
- Imagine punching through the air, not slapping at it.
It is a sneaky core workout because your middle has to keep you from over-rotating. If you want a move that feels active without needing a mat, this is a strong pick. And yes, it wakes up the upper body in a way that makes the next round of squats feel a little more honest.
14. Mountain Climbers on a Bench
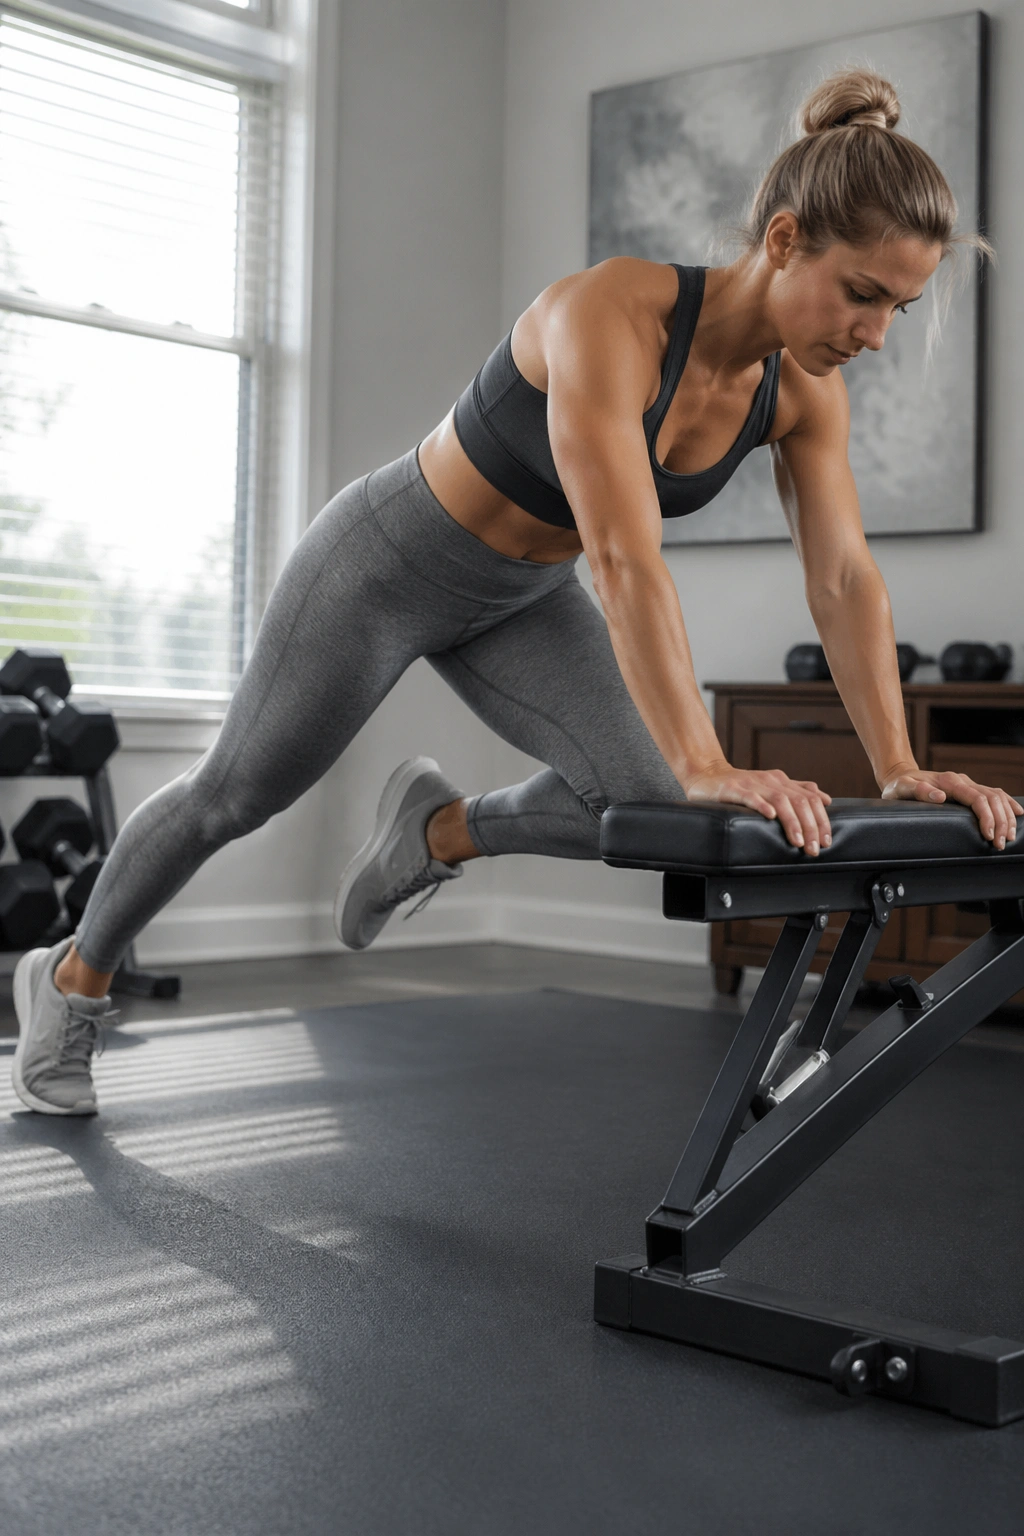
Flat-floor mountain climbers are not the only version worth doing. Put your hands on a sturdy bench, couch, or step, and the move becomes easier on the wrists while still pushing your breathing hard.
Start in a strong plank position with your hands elevated. Drive one knee toward your chest, switch legs, and keep the hips from bouncing all over the place. The higher your hands are, the easier the movement. That is useful, not embarrassing.
A simple way to scale it
- Use a bench or couch for support.
- Work for 15 to 20 knee drives per side.
- Keep your shoulders stacked over your hands.
- Move one leg at a time if the fast pace feels messy.
Flat mountain climbers are fine later. For now, the incline version lets you learn the rhythm without turning your form into spaghetti. It is one of the better beginner belly-fat exercises because it blends cardio and core work without requiring heroic fitness.
15. Standing Wood Chops
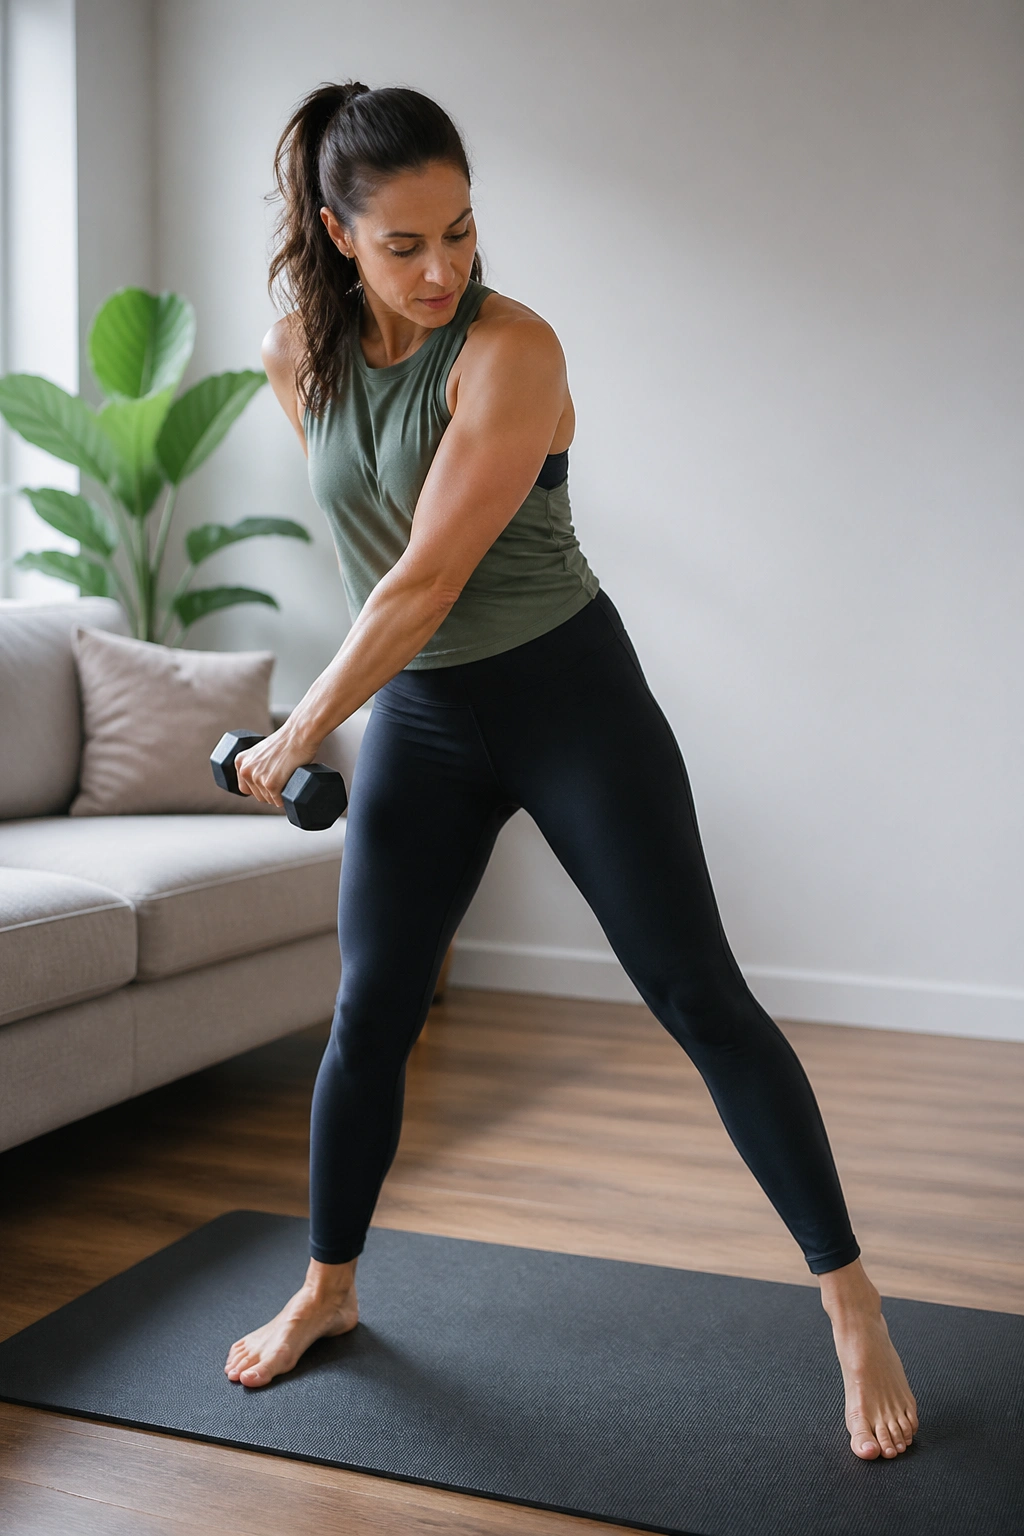
If crunches bore you, standing wood chops feel like a useful bit of mischief. They train the torso through a diagonal pattern, which is more useful than most people realize.
Hold a light dumbbell, water bottle, or even just clasp your hands together. Start high on one side, then bring the weight diagonally down across your body toward the opposite hip. Keep the movement controlled and let the core, not the arms, drive the rotation. You are not swinging a bat. You are teaching your torso to brace and rotate on purpose.
What to keep in mind
- Move through 8 to 12 reps per side.
- Keep feet planted unless balance says otherwise.
- Turn the ribcage more than the hips.
- Use a light load first.
This move is especially nice if you sit a lot. It wakes up the sides of the trunk and reminds your body how to move in a more athletic way. Start light. Heavier does not make sloppy chops better.
16. Seated Knee Lifts
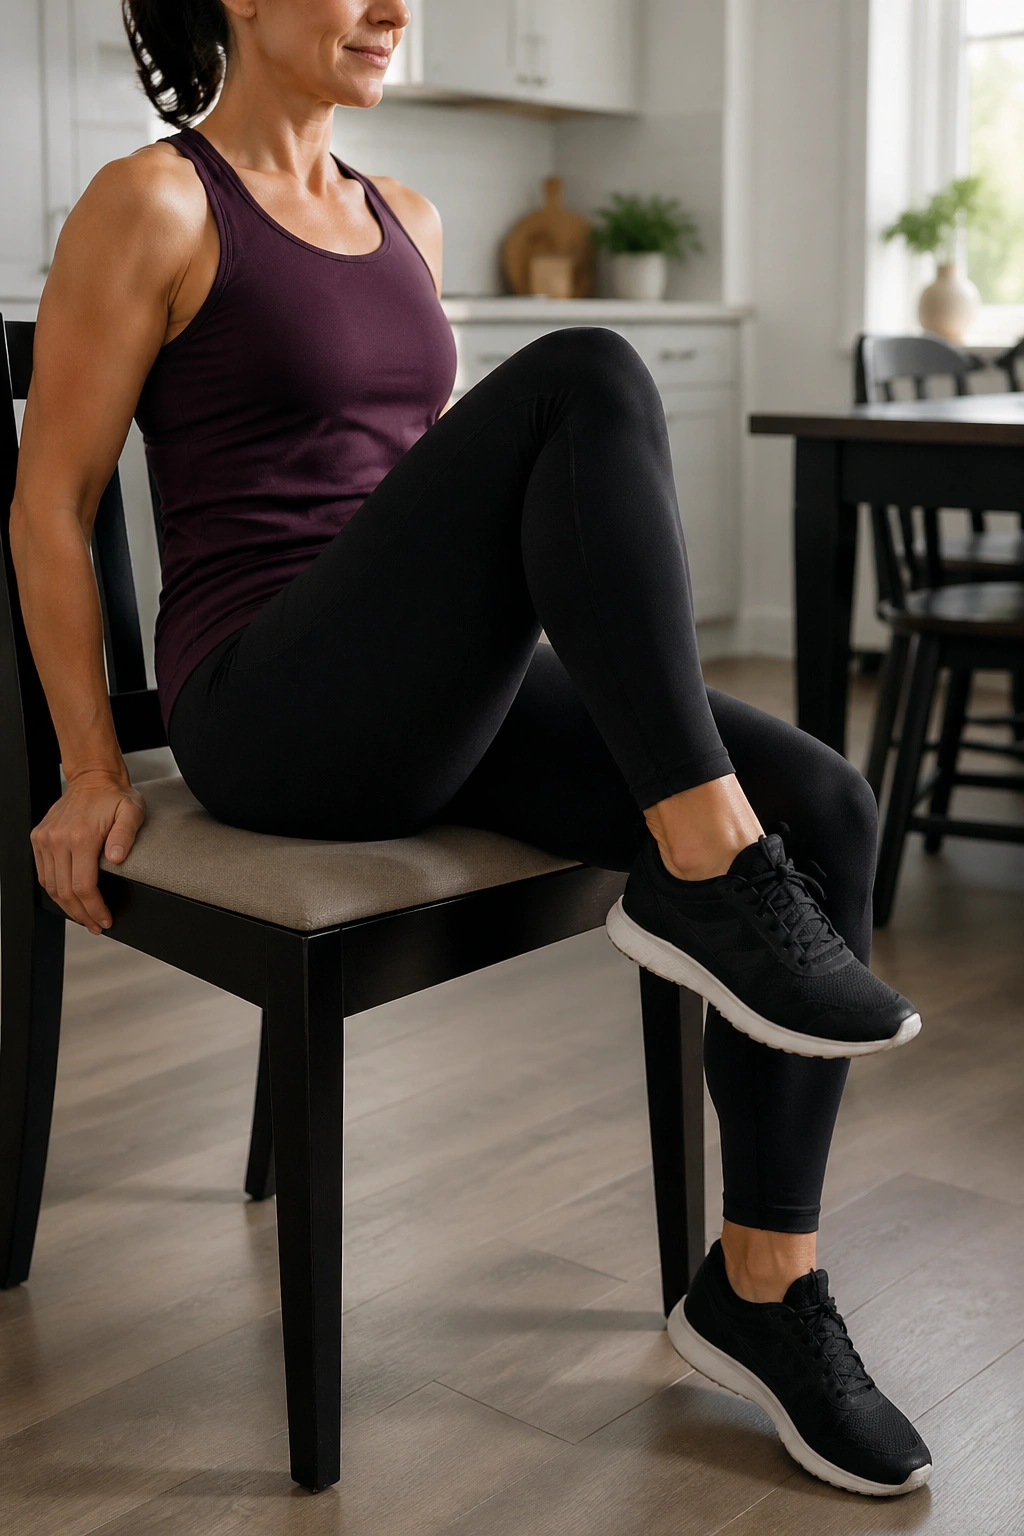
Can a seated move still count? Yes. Especially on days when your energy is low, your balance is off, or your knees want a break from standing work.
Sit tall on a sturdy chair, brace your stomach, and lift one knee toward your chest while the other foot stays grounded. Lower it slowly, then switch sides. You can pump your arms to make the move feel more like cardio, or keep your hands on the seat for support.
How to make sitting work
- Sit near the edge of the chair.
- Keep your chest lifted.
- Lift with control, not momentum.
- Aim for 20 to 30 total reps.
- Breathe out as the knee comes up.
This is a nice bridge exercise for anyone rebuilding confidence. It is also sneaky-good for the deep core muscles that help you sit and stand with better control. If standing cardio feels like too much, this gives you a way in without forcing the issue.
17. Sumo Squat to Calf Raise
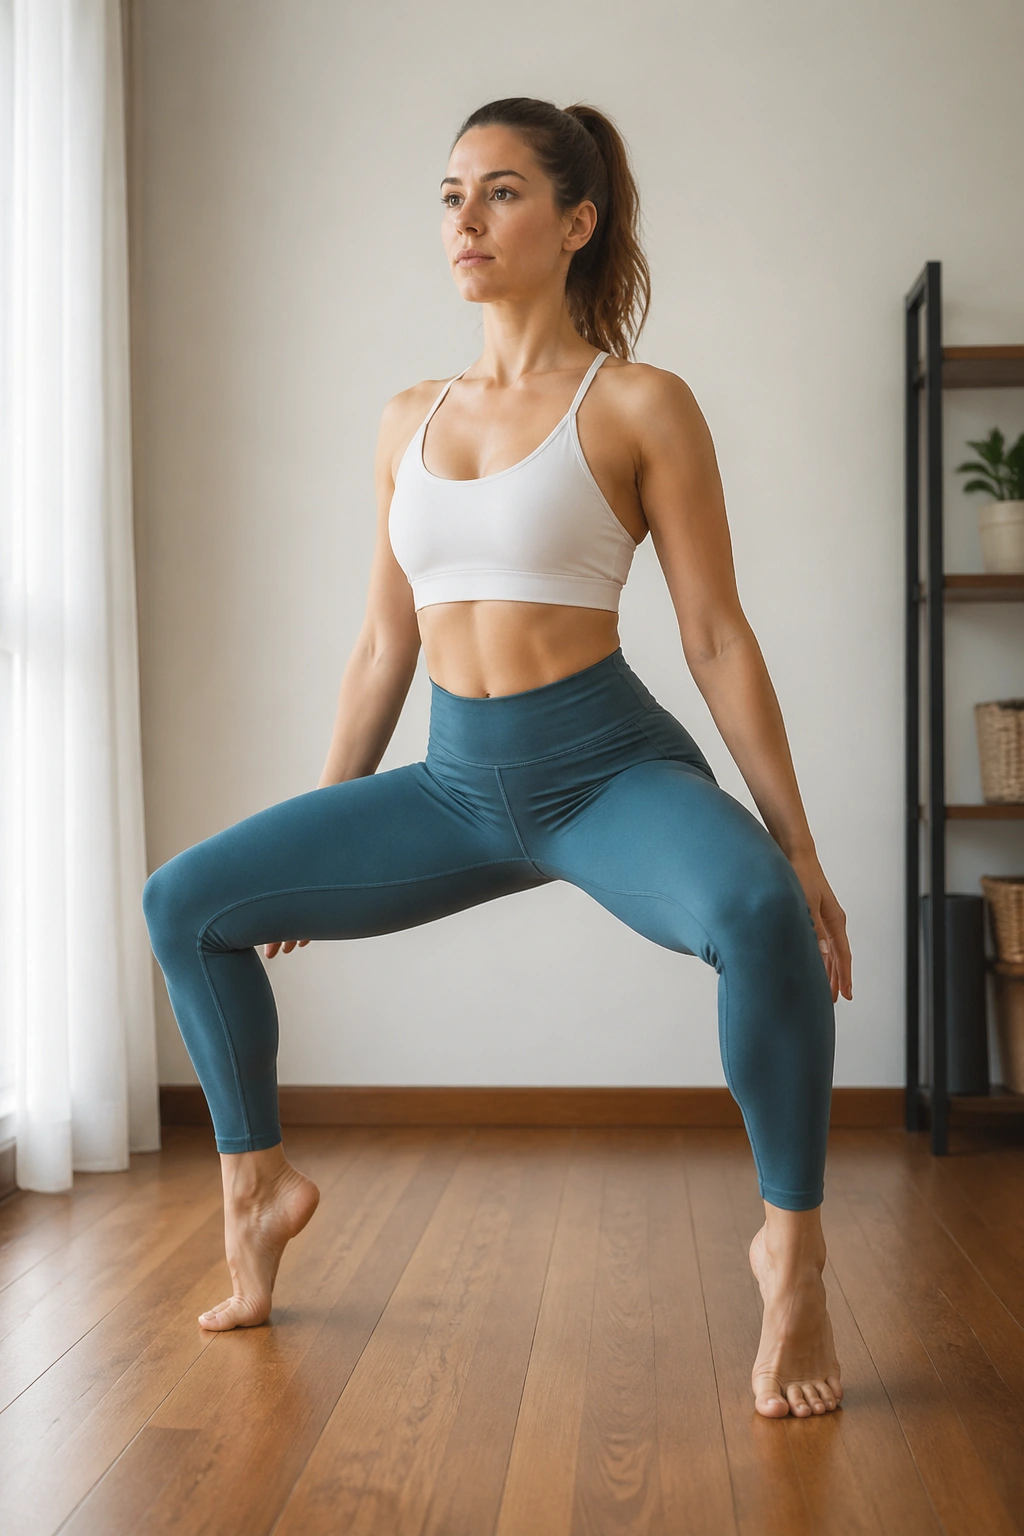
Sumo squats already recruit the inner thighs, glutes, and quads. Add a calf raise at the top, and you get a little more balance work plus a small cardio bump.
Stand with your feet wider than hip-width and turn your toes out slightly. Drop into a squat while keeping your chest lifted, then stand and rise onto the balls of your feet. Lower your heels with control before the next rep. That calf raise may look tiny, but it makes the whole movement feel more complete.
Bend your knees in line with your toes and do not let them cave inward. That is the main thing. If you feel your weight rolling to the outside edges of your feet, reset and slow down.
A set of 10 to 12 reps is enough to start. This exercise earns its keep because it works big muscles while asking for a bit of balance, which is the sort of combo that helps beginner women burn more energy without needing complicated choreography.
18. Farmer Carry March
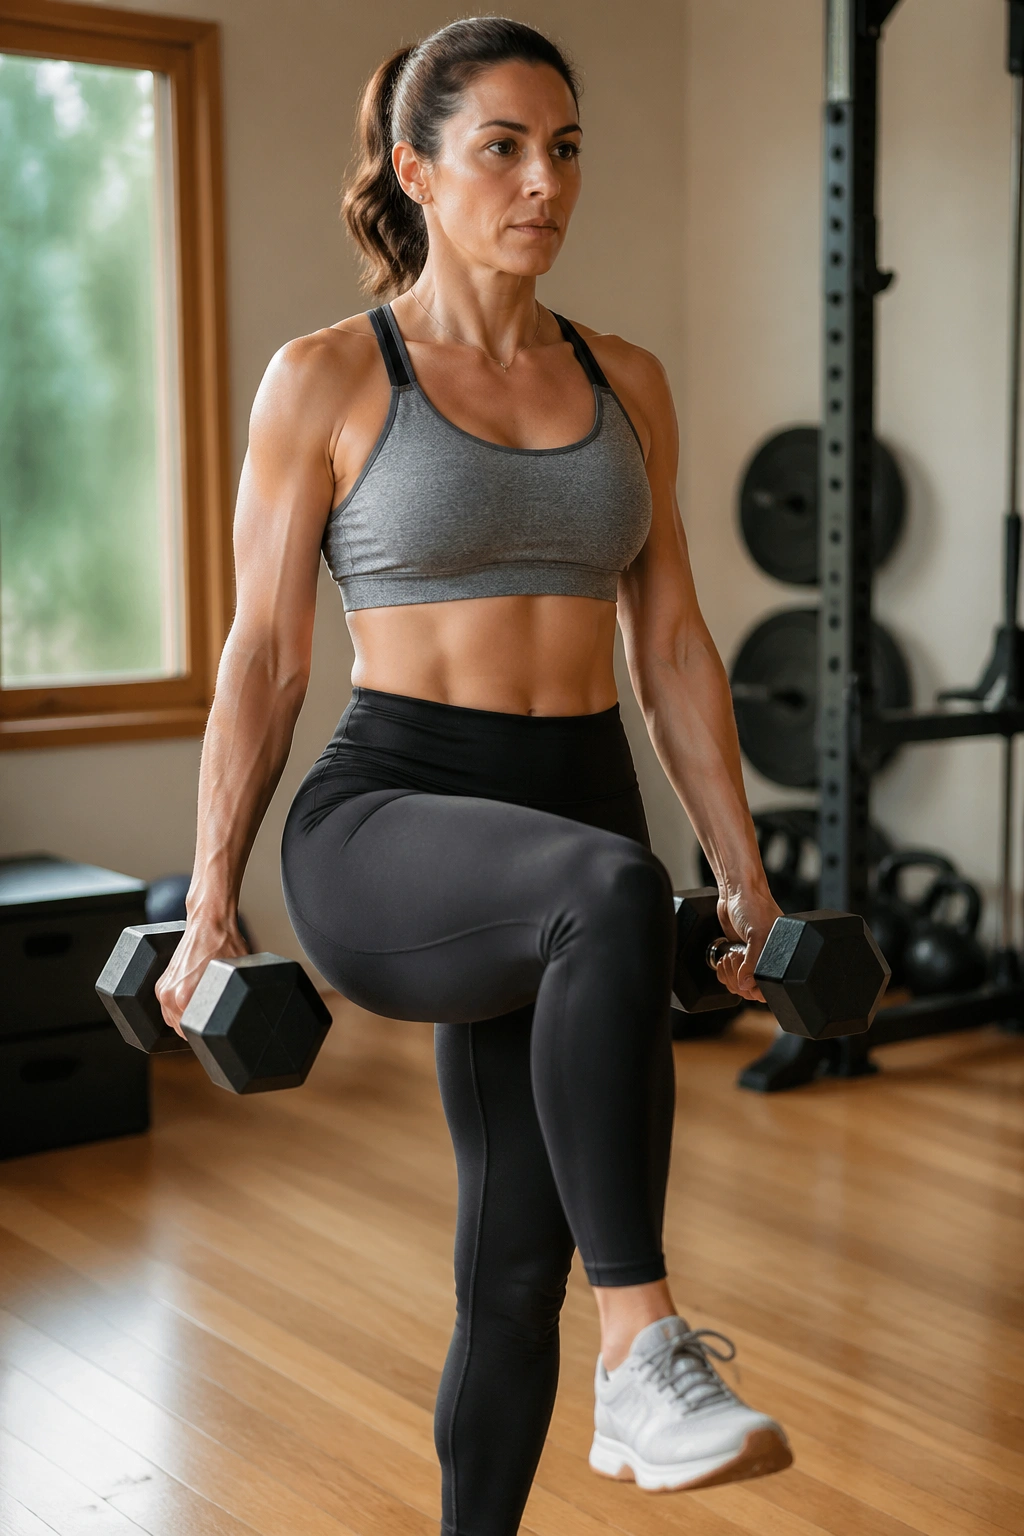
Unlike a lot of cardio moves, the farmer carry march trains your grip, trunk, breathing, and posture at the same time. It is one of those exercises that looks almost too plain to be useful, then quietly proves itself.
Hold a pair of dumbbells, two water jugs, or even heavy grocery bags if that is what you have. Stand tall, brace your stomach, and march in place or walk slowly around the room for 30 to 45 seconds. Keep the load even on both sides and resist the urge to lean away from the weight.
How to keep it safe
- Choose a weight you can hold without shrugging.
- Keep your ribs down and your neck long.
- Take short, steady steps.
- Rest for 30 to 60 seconds between rounds.
This one is a favorite finisher because it feels practical. You are not just “working out”; you are teaching your body how to carry things without wobbling. That matters in the gym, at home, and everywhere in between.
Final Thoughts
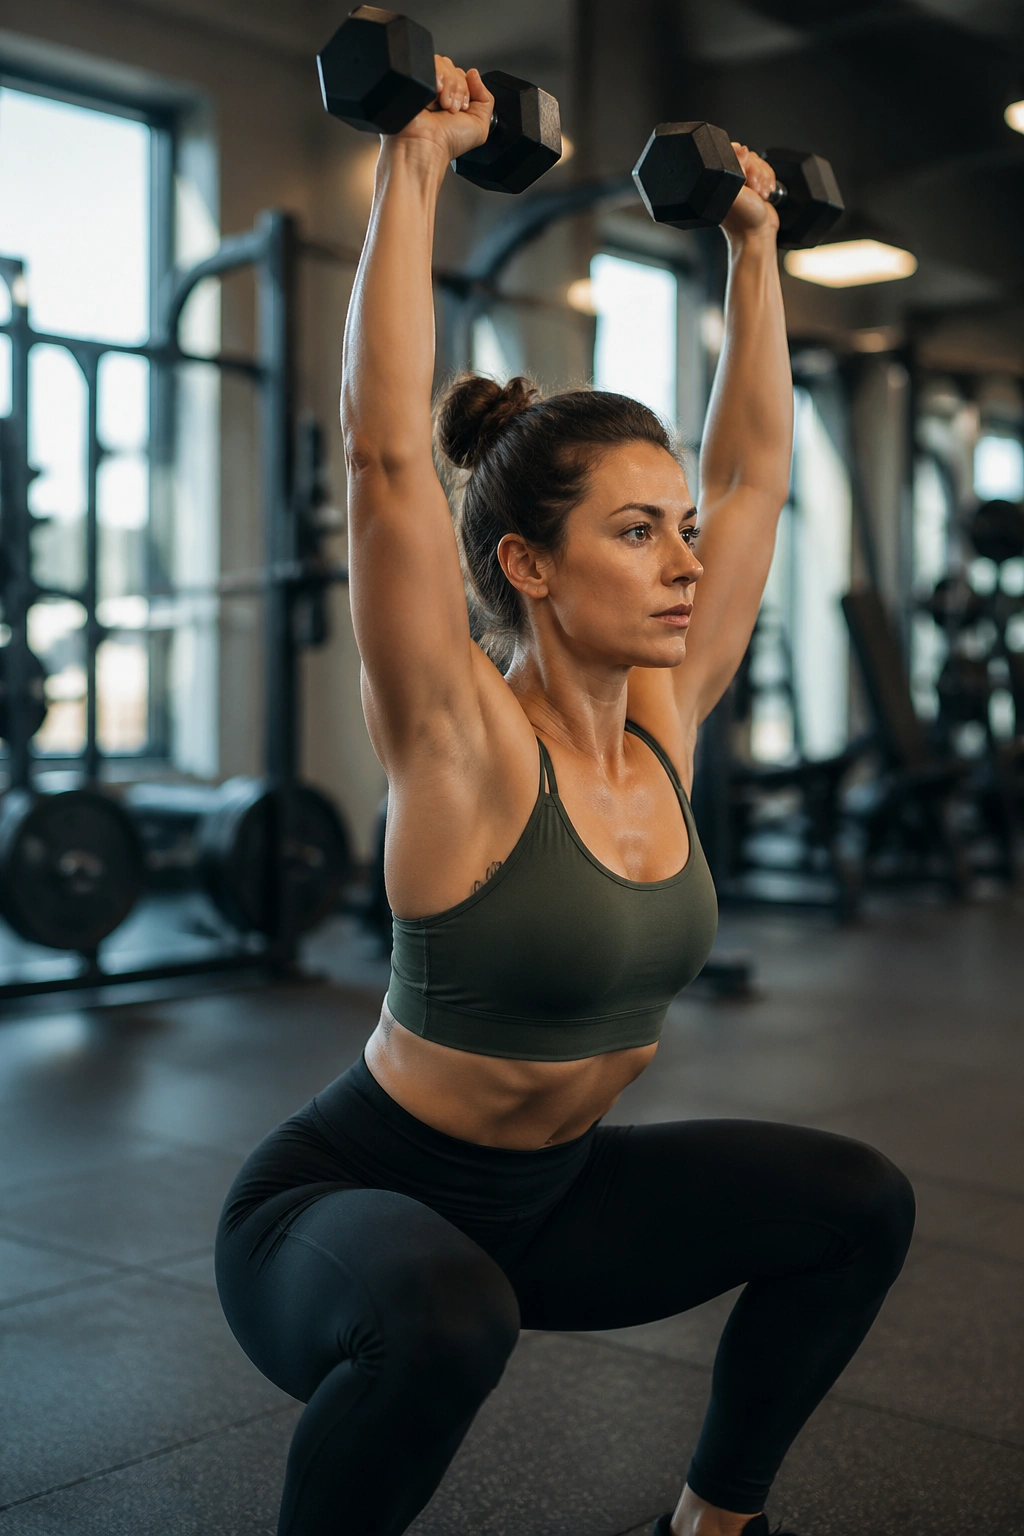
Pick five or six of these moves before you try to do all 18 in one heroic burst. A short circuit you can repeat beats a giant session you dread so much that you skip the next one.
A simple starter combo might be marching in place, chair squats, wall push-ups, dead bug, shadow boxing, and farmer carry marches. Do 30 seconds of each, rest briefly, then repeat for 2 or 3 rounds. That is enough to make you sweat, enough to build confidence, and enough to support real progress without beating up your joints.
The nice part is that these exercises do not need perfect conditions. They need a floor, a wall, a chair, and a little stubbornness. That is often more than enough.
