



A stiff ACL knee has a way of tricking people. The joint can look calm from the outside, yet the front of the thigh refuses to wake up, the last few degrees of straightening feel blocked, and every step reminds you that the leg is still learning how to trust itself again.
That is why the best ACL rehab exercises are rarely the flashy ones. They are the boring, disciplined drills that bring back knee extension, reduce swelling, rebuild quad control, and teach the leg how to accept load without flinching. Skip those, and the later stuff — squats, hopping, cutting, sprinting — gets messy fast.
People tend to rush straight toward strength. Understandable. Nobody enjoys ankle pumps and quad squeezes when they want to jog again. But the knee has its own order, and it usually asks for motion first, control second, power third. Ignore that order and the whole thing gets louder the next day.
A few of these exercises belong in the earliest phase after surgery or injury. Others show up later, once your surgeon or physical therapist clears more load and more speed. The sequence matters. So does patience. And so does learning the difference between normal muscle work and a joint that is quietly protesting.
1. Ankle Pumps
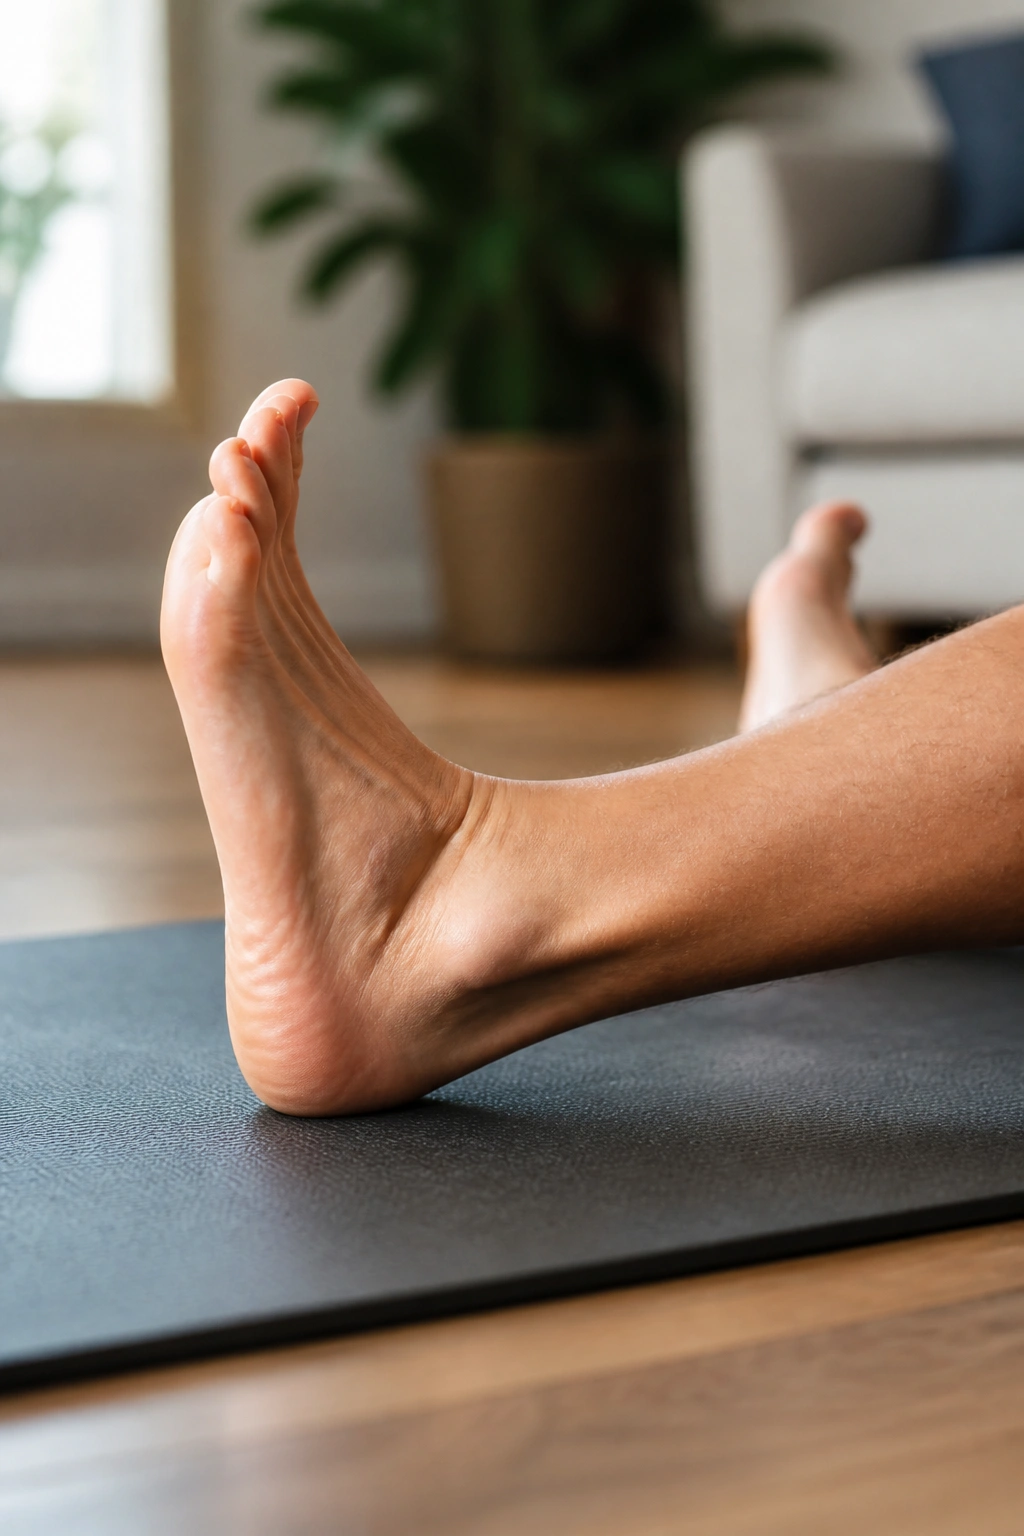
Tiny movement can do a lot here. Ankle pumps are not exciting, and that is exactly why they work so well in the early days of ACL rehab. When the knee is swollen or guarded, the calf often stiffens up too, and the whole leg starts moving like it’s made of wood.
Do these with the leg supported and relaxed. Pull the toes toward your shin, then point them away. A smooth rhythm for 20 to 30 reps, several times a day, keeps blood moving and helps the lower leg avoid that heavy, puffy feeling that shows up after too much sitting.
What To Focus On
- Move the ankle through its full comfortable range.
- Keep the knee quiet; no need to brace the whole leg.
- Breathe normally instead of holding tension in your stomach.
- Stop if the calf cramps hard or the foot goes numb.
Best cue: the movement should feel easy, almost annoyingly easy. If it turns into a workout, you’re doing too much.
2. Quad Sets
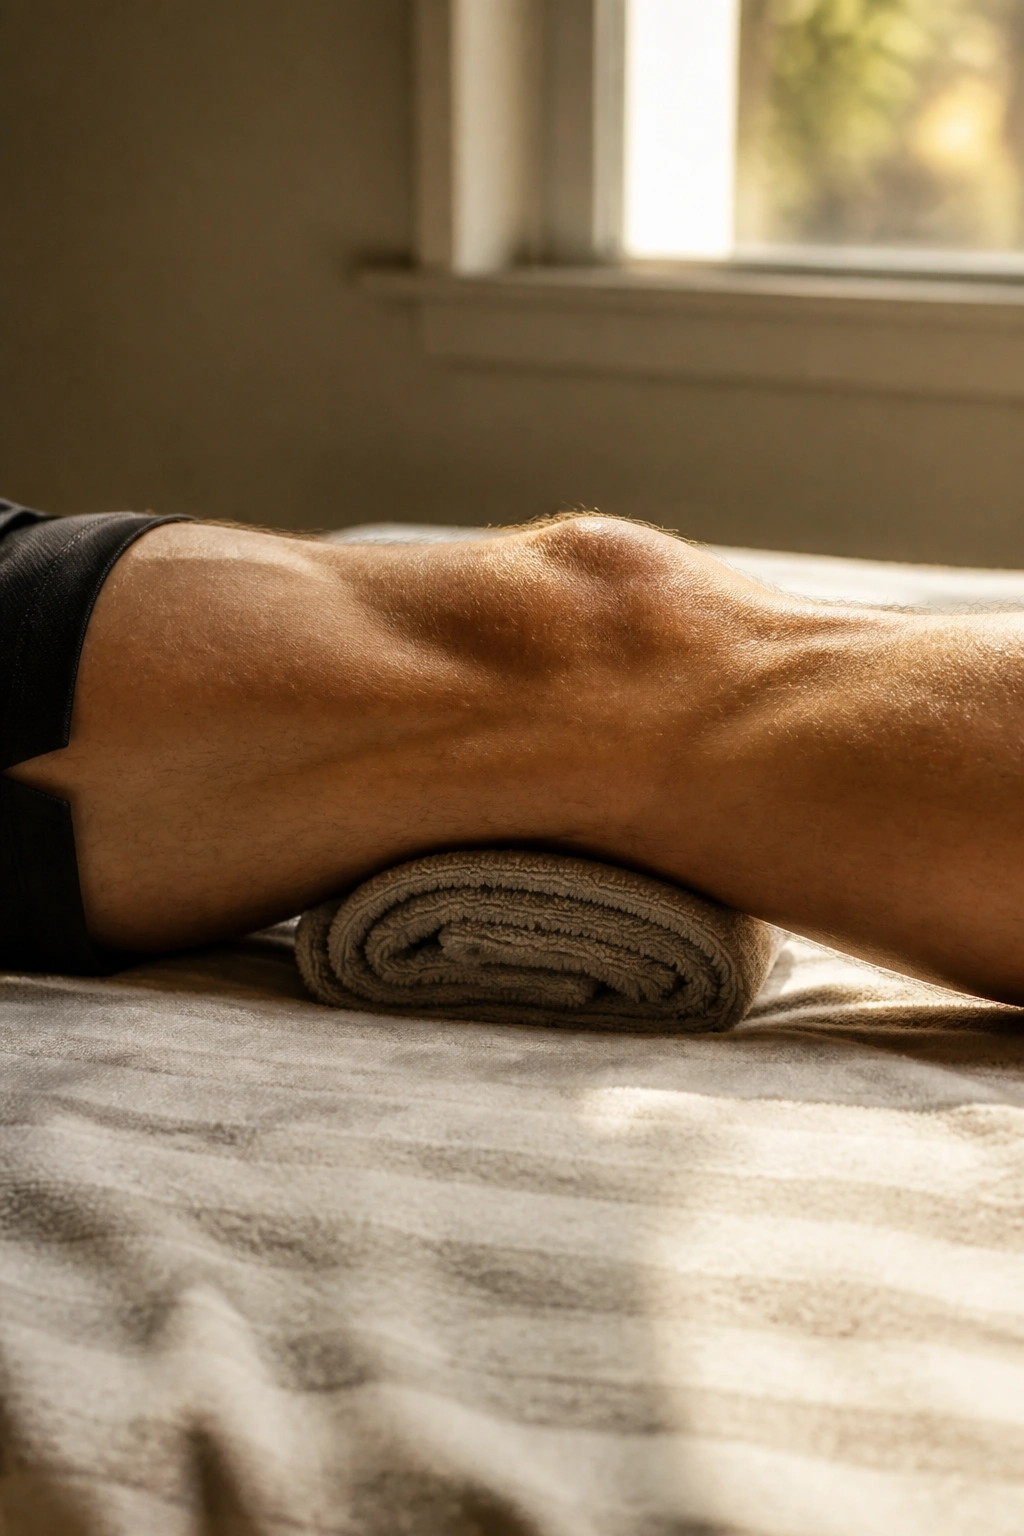
Why do the front thigh muscles go quiet after ACL surgery? Swelling and pain are the usual culprits. The brain gets cautious, and the quad stops firing like it should. Quad sets are one of the simplest ways to tell it, “You’re allowed to work again.”
Lie down with the leg straight and place a small towel under the knee or ankle, depending on your setup. Tighten the thigh until the kneecap feels like it lifts slightly, then hold that squeeze for 5 to 10 seconds. Aim for 10 to 20 reps, and make each one clean rather than dramatic.
How To Do It Well
What You Should Feel
A firm contraction across the front of the thigh. Maybe a little tremble. That’s fine.
What You Should Not Do
- Jam the heel down so hard that your hip flexes.
- Hold your breath.
- Let the glutes take over and fake the work.
One good quad set done with attention beats twenty sloppy ones. No contest.
3. Heel Prop or Prone Hang
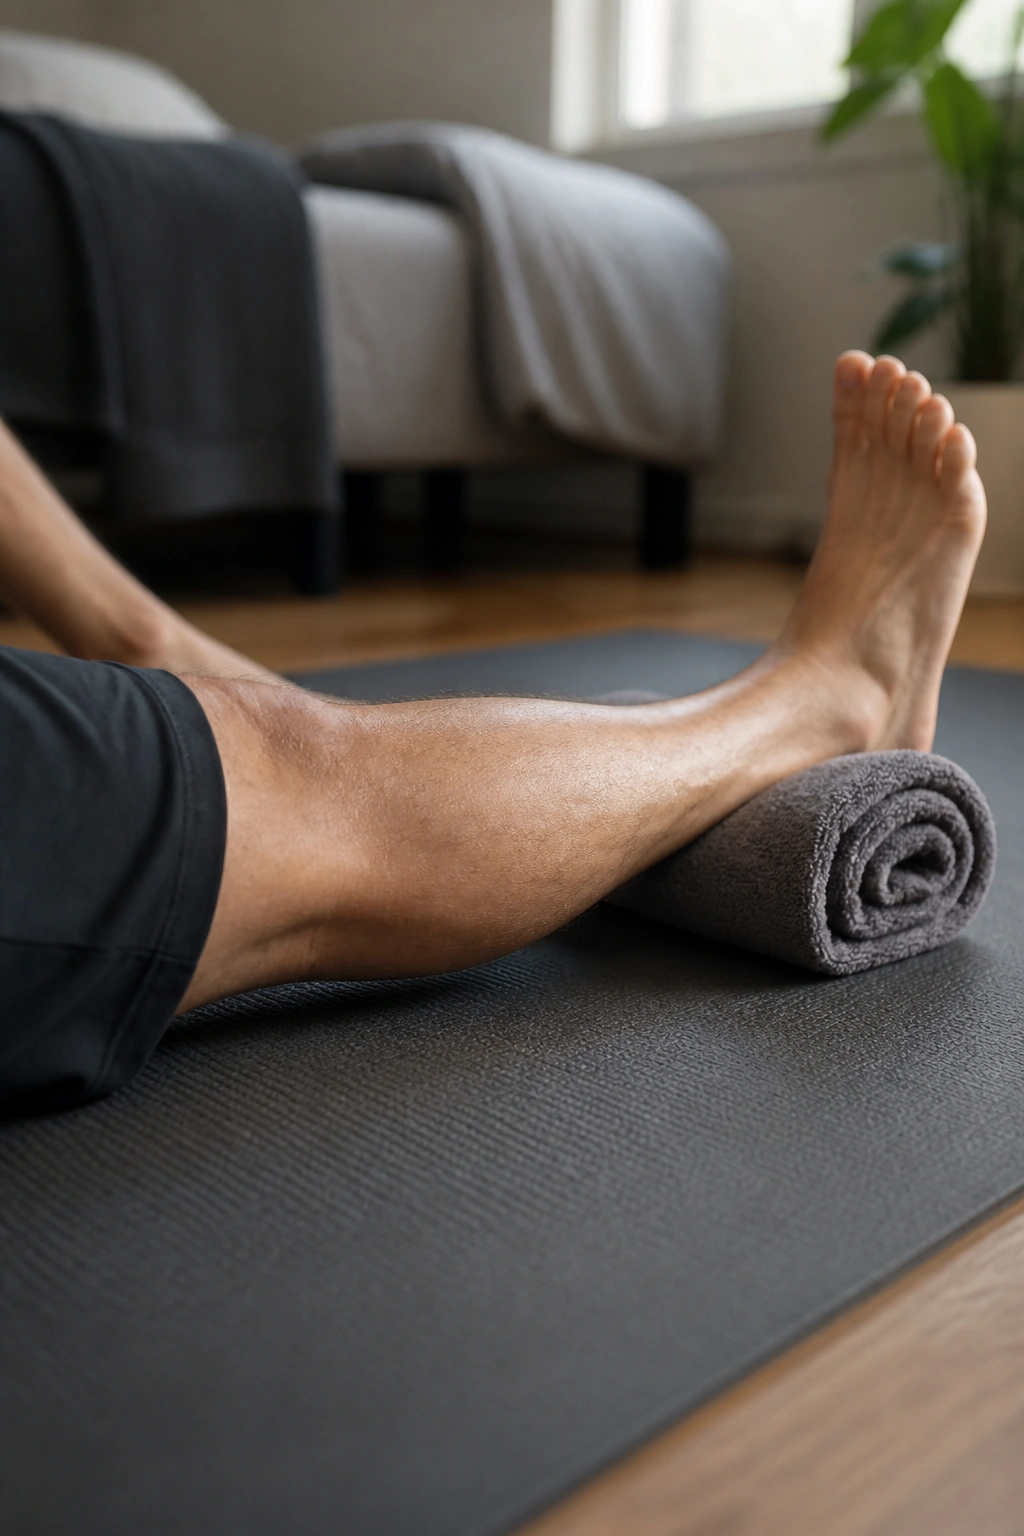
The most valuable early ACL drill is also the least glamorous one. Knee extension. Full, honest, no-cheating extension.
Heel props place the heel on a rolled towel or pillow so the knee can settle into straightening. Prone hangs do something similar from the other direction, with the lower leg hanging off the edge of a bed. Both are used to restore the last bit of extension that people often lose when swelling and guarding take over.
Stay there for 2 to 5 minutes at first, then build as tolerated. The stretch should feel firm, not sharp. A strong tug in the back of the knee is one thing; a pinch in the joint is another.
Boring? Yes. Worth it? Absolutely. A knee that will not fully straighten tends to make walking awkward, keeps the quad sleepy, and creates trouble that follows you into the next phase. Straightening the knee early is one of those unglamorous wins that pays off later.
4. Heel Slides
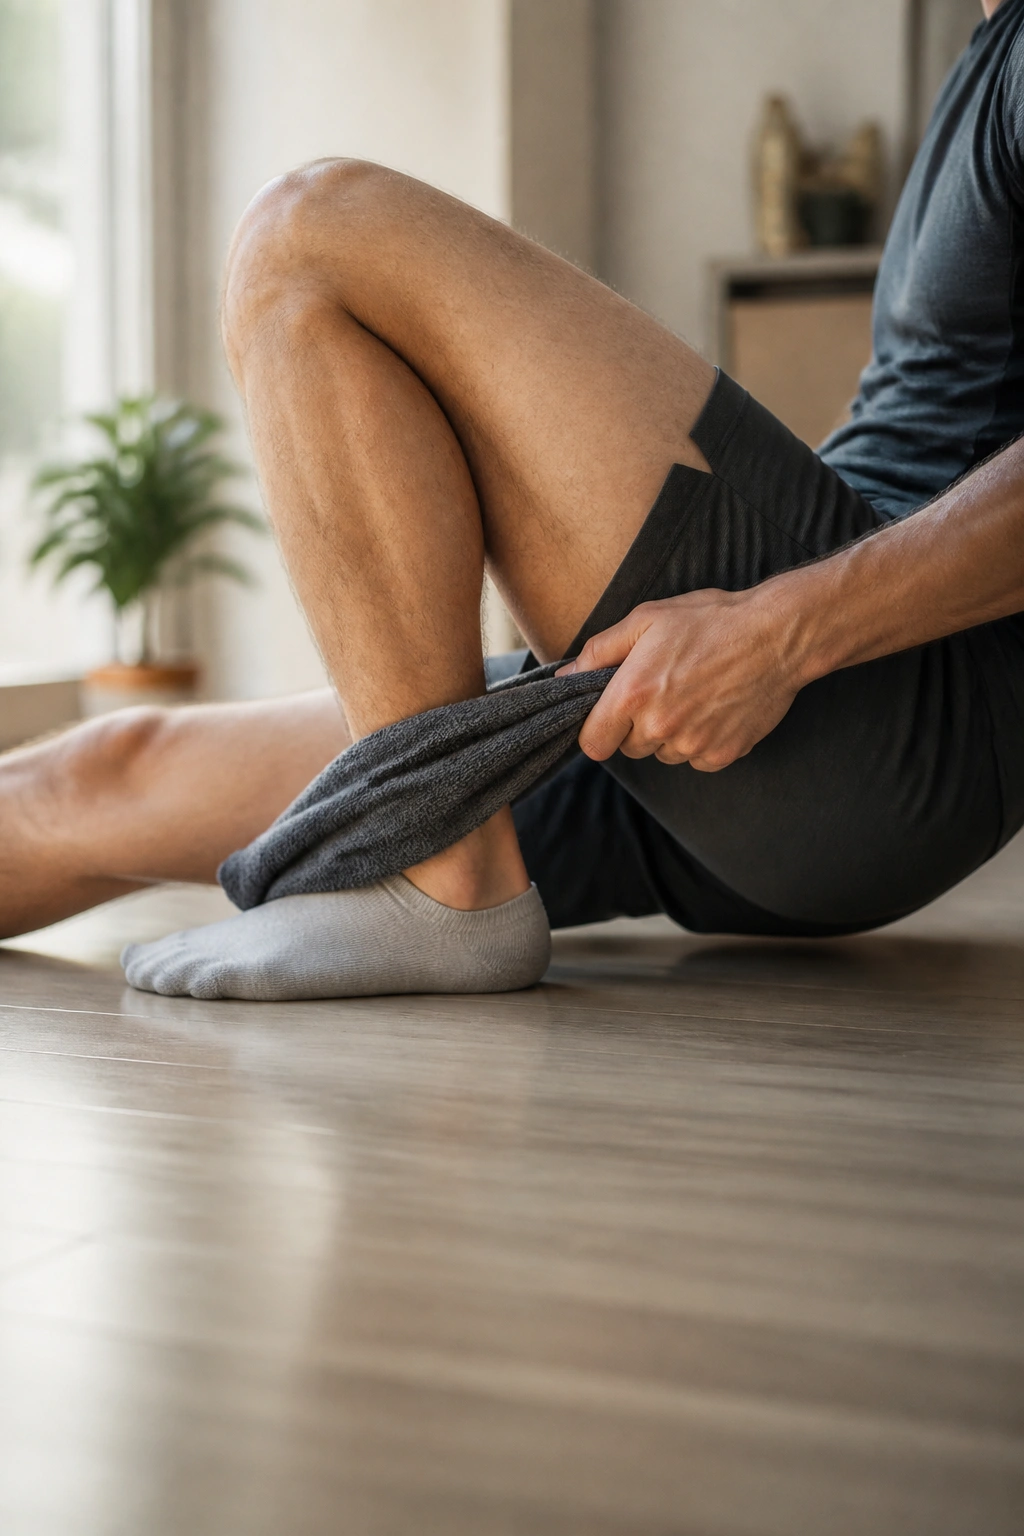
If bending the knee feels like pulling a tight zipper, heel slides are the move that usually unlocks a little more motion without forcing the issue. They help restore flexion while keeping the leg supported, which matters when the knee is still touchy.
Lie on your back or sit on a smooth floor, then slowly slide the heel toward your butt until you feel a gentle stretch. Hold for a second or two, then slide it back out. 10 to 15 controlled reps is a common starting point, though some protocols use more frequent shorter sets.
A Clean Heel Slide
- Keep the heel in contact with the surface.
- Let the knee bend only as far as it moves smoothly.
- Use a towel or strap if you need a little help.
- Stop before the motion turns into a hard shove.
If you had a meniscus repair along with the ACL work, your bend range may be limited for a while. That is not a failure. It’s the plan. Follow the restrictions you were given, not the range you wish you had.
5. Straight-Leg Raises
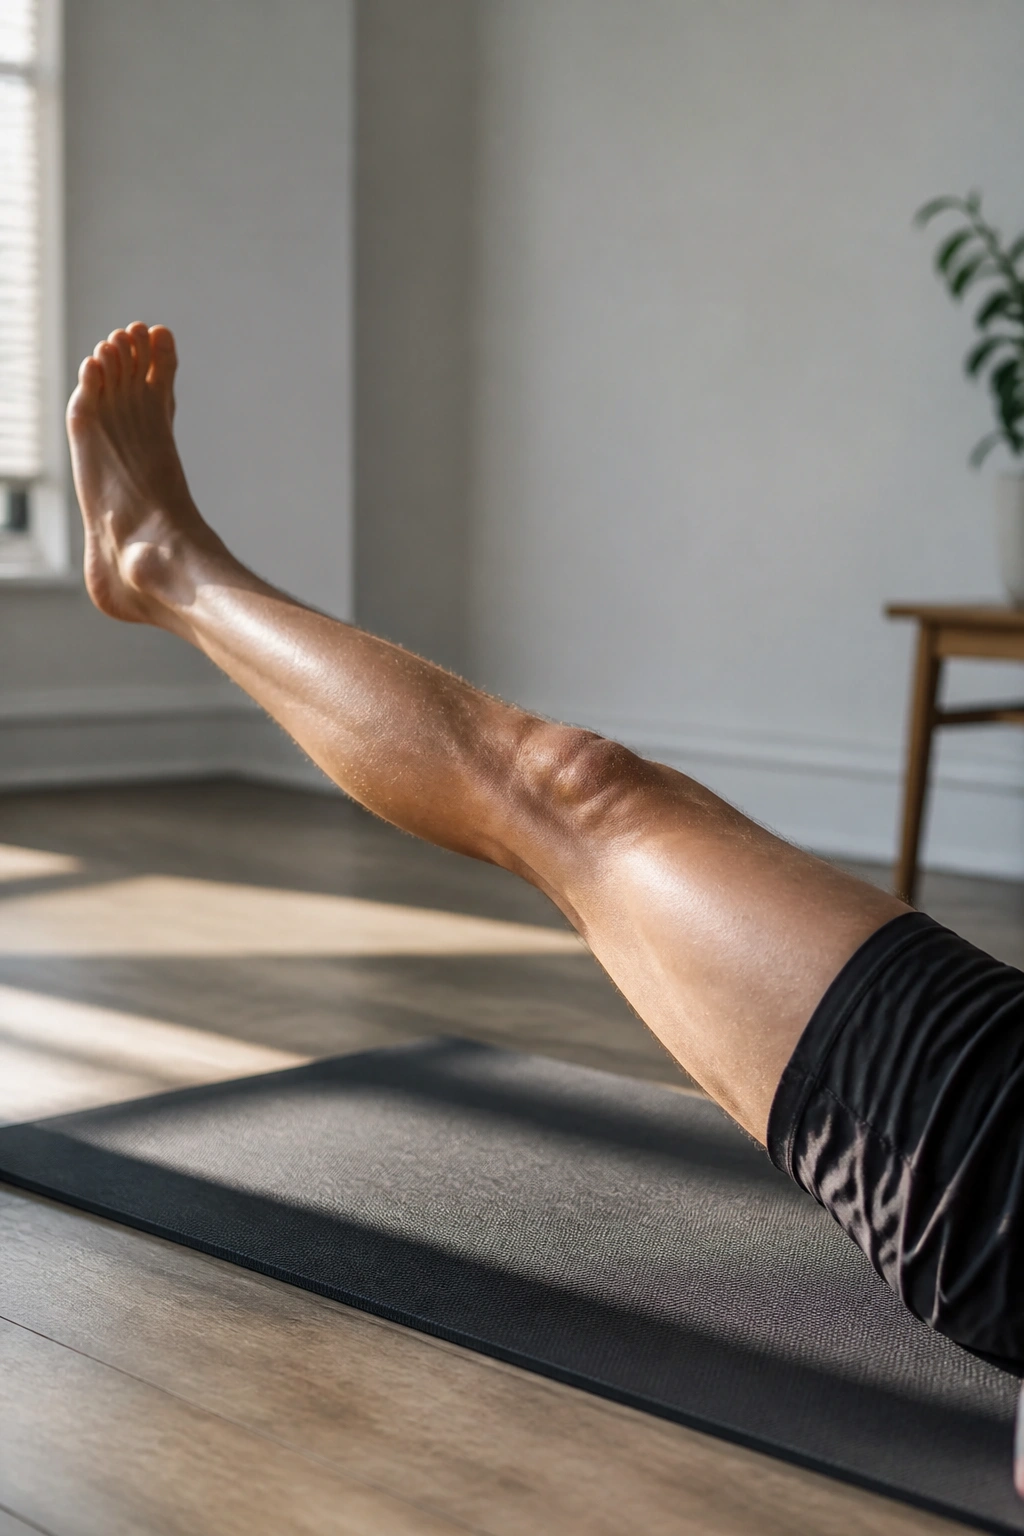
This one is only useful if the quad can hold the knee straight. If the knee bends while the leg lifts, that’s a quad lag, and the leg is telling you it is not ready for a clean raise yet.
Start lying flat with one knee bent and the surgical leg straight. Tighten the thigh first, then lift the leg about 12 to 18 inches off the floor. Lower it slowly. That slow lowering matters more than people think. It gives the quad time under tension and keeps the hip from doing all the work.
Check Your Form
Good Signs
- The knee stays locked straight.
- The leg rises smoothly.
- The front of the thigh is doing the work.
Bad Signs
- The knee bends on the way up.
- The lower back arches hard.
- You feel the hip flexor more than the quad.
If the raise looks ugly, go back to quad sets for a bit. That is not a setback. It’s good judgment.
6. Glute Bridges
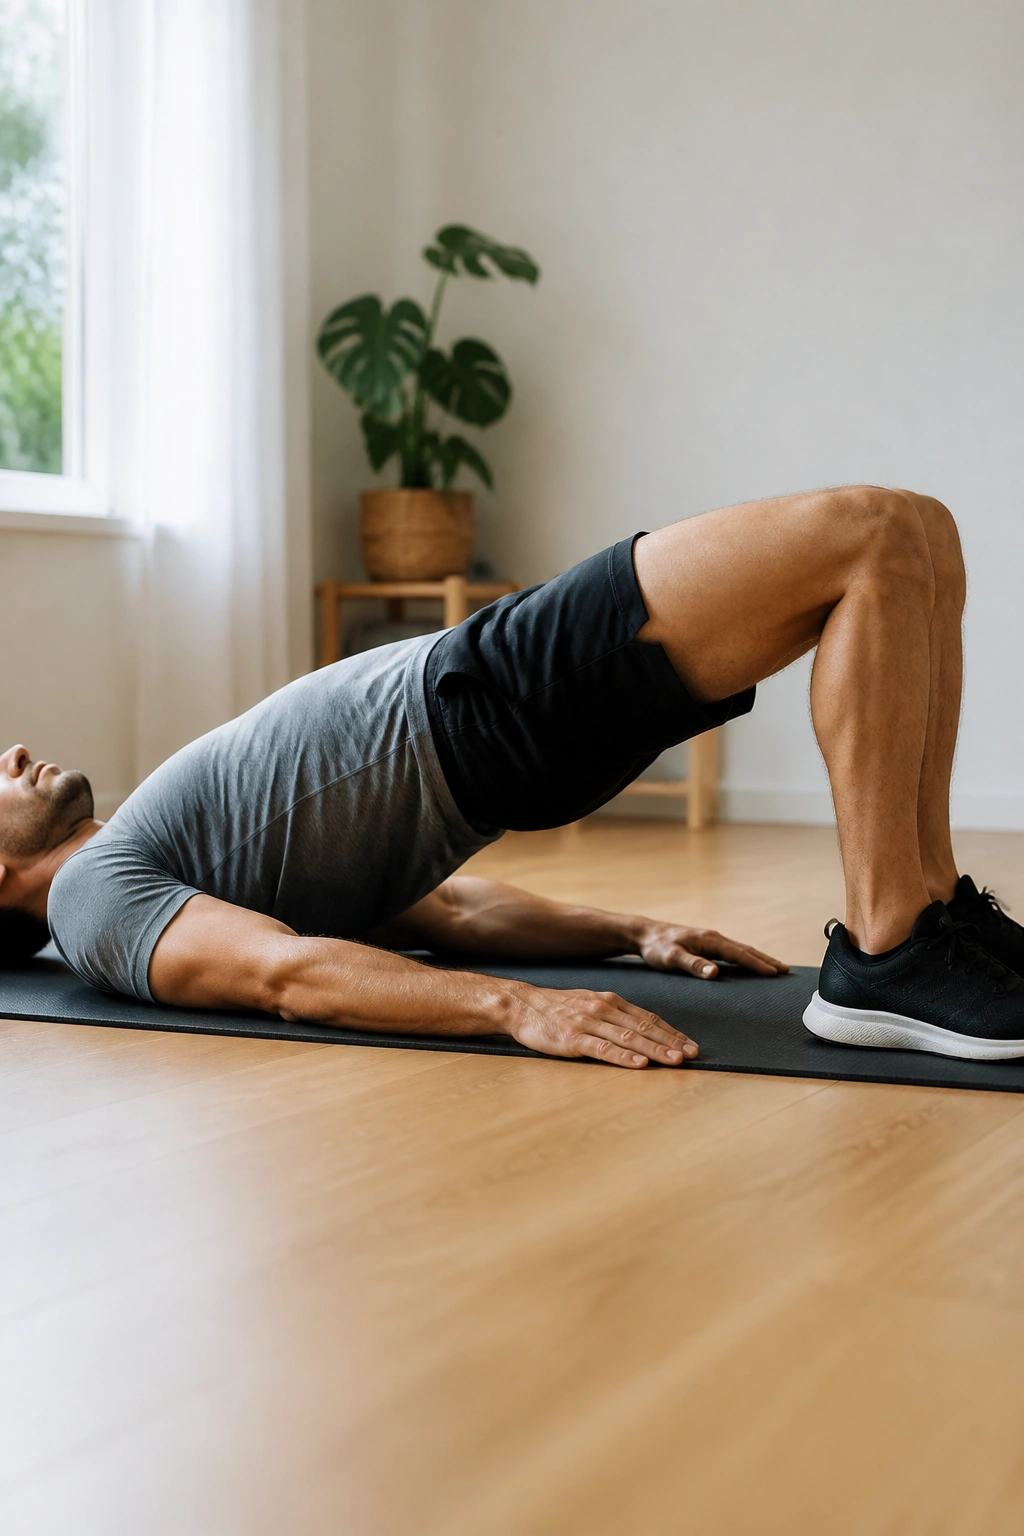
Can a bridge help an ACL knee? More than most people expect. The knee does not work alone. If the glutes are weak, the thigh tends to collapse inward during standing, walking, and later during squatting. Bridges start fixing that chain without asking the knee to absorb too much too soon.
Lie on your back with both knees bent and feet flat. Press through the heels, squeeze the glutes, and lift the hips until the body makes a straight line from shoulders to knees. Hold 2 to 3 seconds, then lower with control for 10 to 15 reps.
One thing to watch: don’t turn it into a lower-back exercise. If the ribs flare up and the back arches, reset. You want the hips to rise, not the spine to steal the show. A clean bridge feels firm through the butt and steady through the hamstrings, with the knee staying comfortable.
7. Mini Squats to a Chair
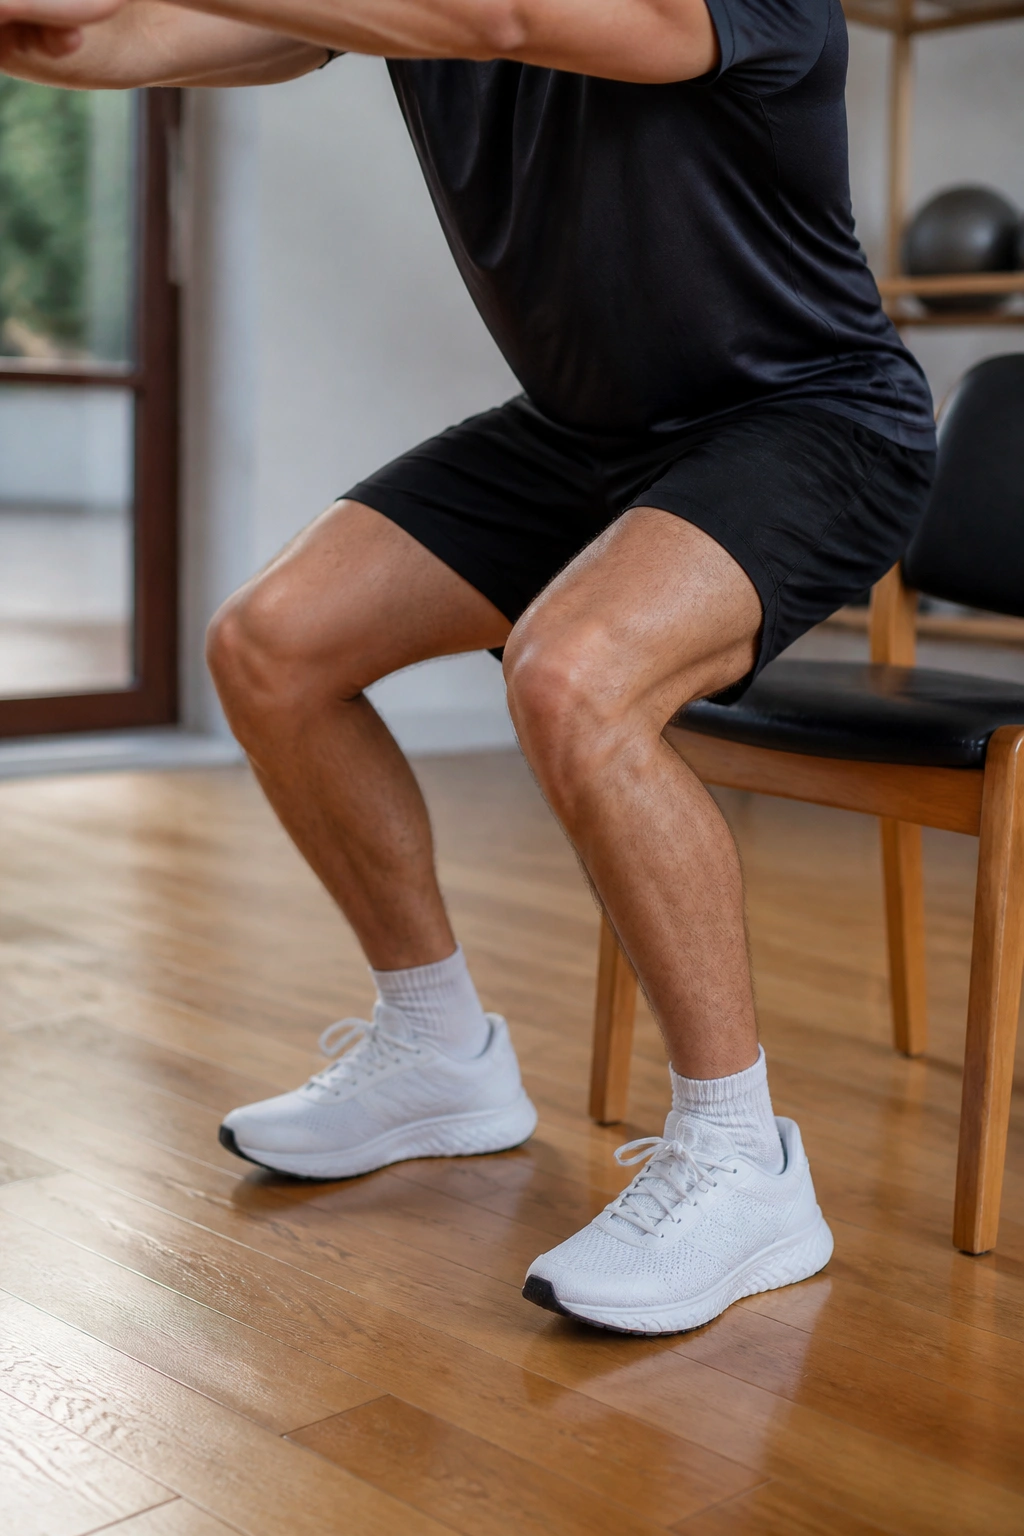
A shallow squat teaches the knee how to load again without throwing it into the deep end. Chair or box squats are useful because they give you a target and keep the depth honest.
Stand with feet about hip-width apart, sit the hips back, and lower until you tap a chair or box. Then stand back up. Keep the range shallow at first — usually somewhere around 0 to 45 degrees of knee bend — and let the knees track over the second and third toes rather than diving inward.
Form Cues That Matter
- Keep the chest lifted, not jammed forward.
- Use a chair that is high enough to stay comfortable.
- Press through the whole foot, not just the toes.
- Pause for a second on the seat if you need to reset control.
The chair is there to help. Use it. People often rush squats because they look simple, then wonder why the knee swells afterward. Depth is earned, not assumed.
8. Weight Shifts and Double-Leg Balance
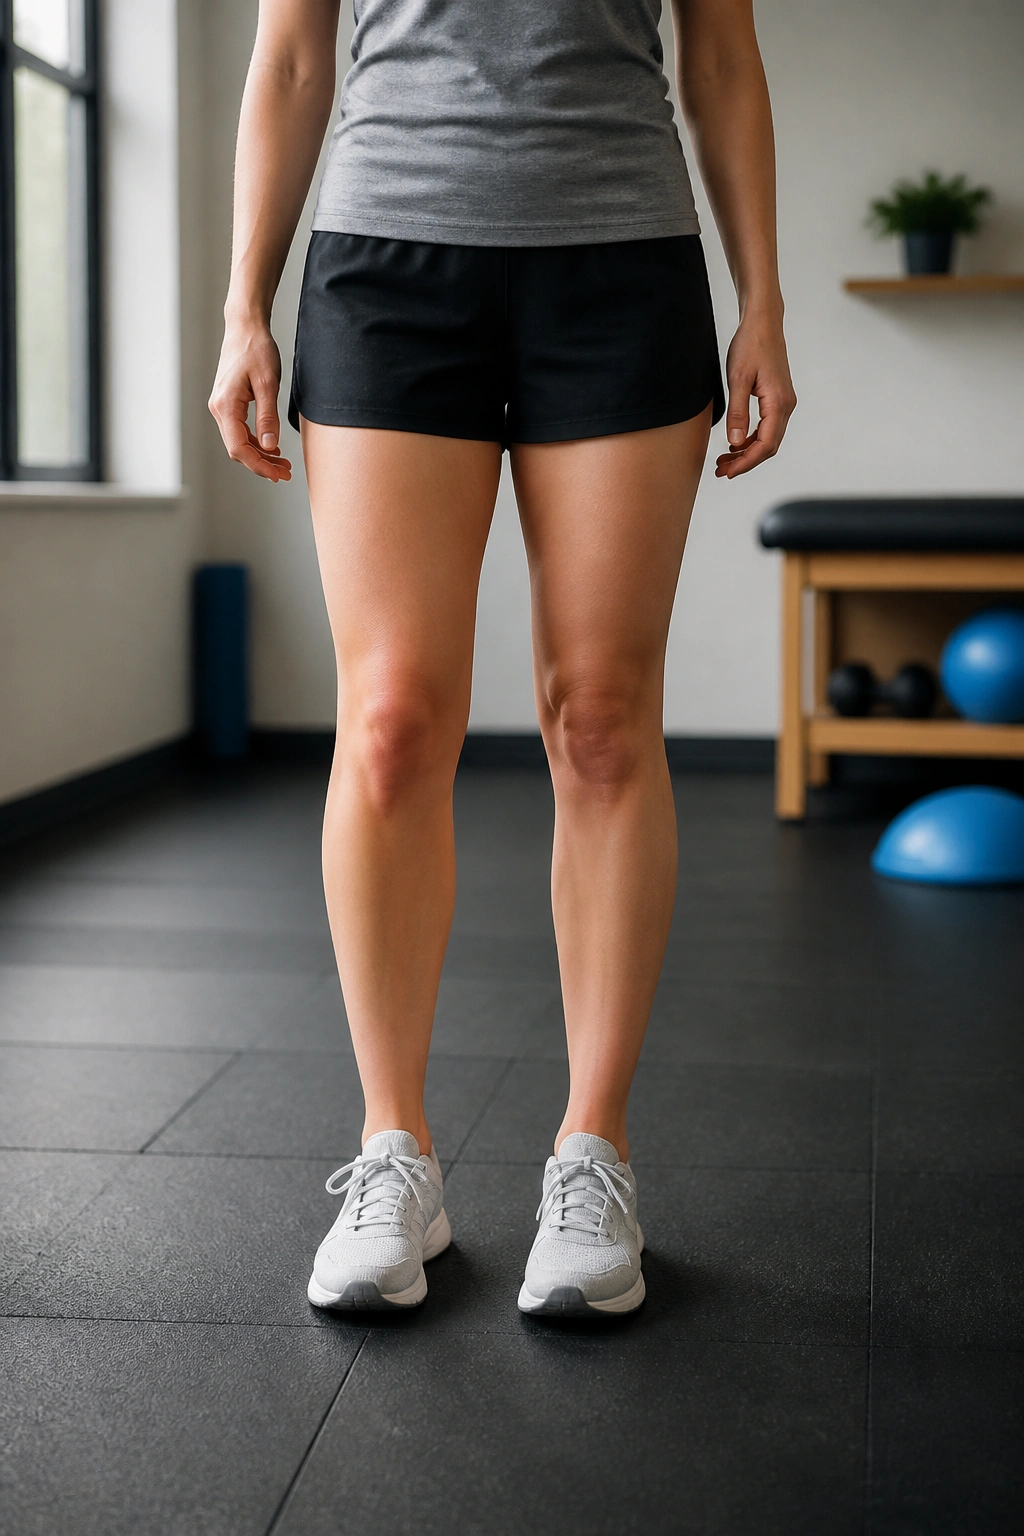
The first real sign that a knee is learning to trust itself again is often something as plain as standing evenly on both feet. Weight shifts wake up proprioception — the joint’s sense of position — and they do it without the drama of heavier loading.
Start with both feet planted. Slowly move your weight left and right, then forward and back, while keeping the pelvis level. After that, try holding the weight in the middle for 20 to 30 seconds and notice whether one side wants to take over.
That little wobble tells you a lot.
What To Watch For
- The surgical side may feel lazy or cautious.
- The hip may drift out to the side.
- The foot may roll to the outside edge.
Keep the movement small and controlled. You’re teaching the leg to stand with confidence, not showing off balance tricks. If the knee starts to feel shaky, shorten the hold and try again later.
9. Stationary Bike
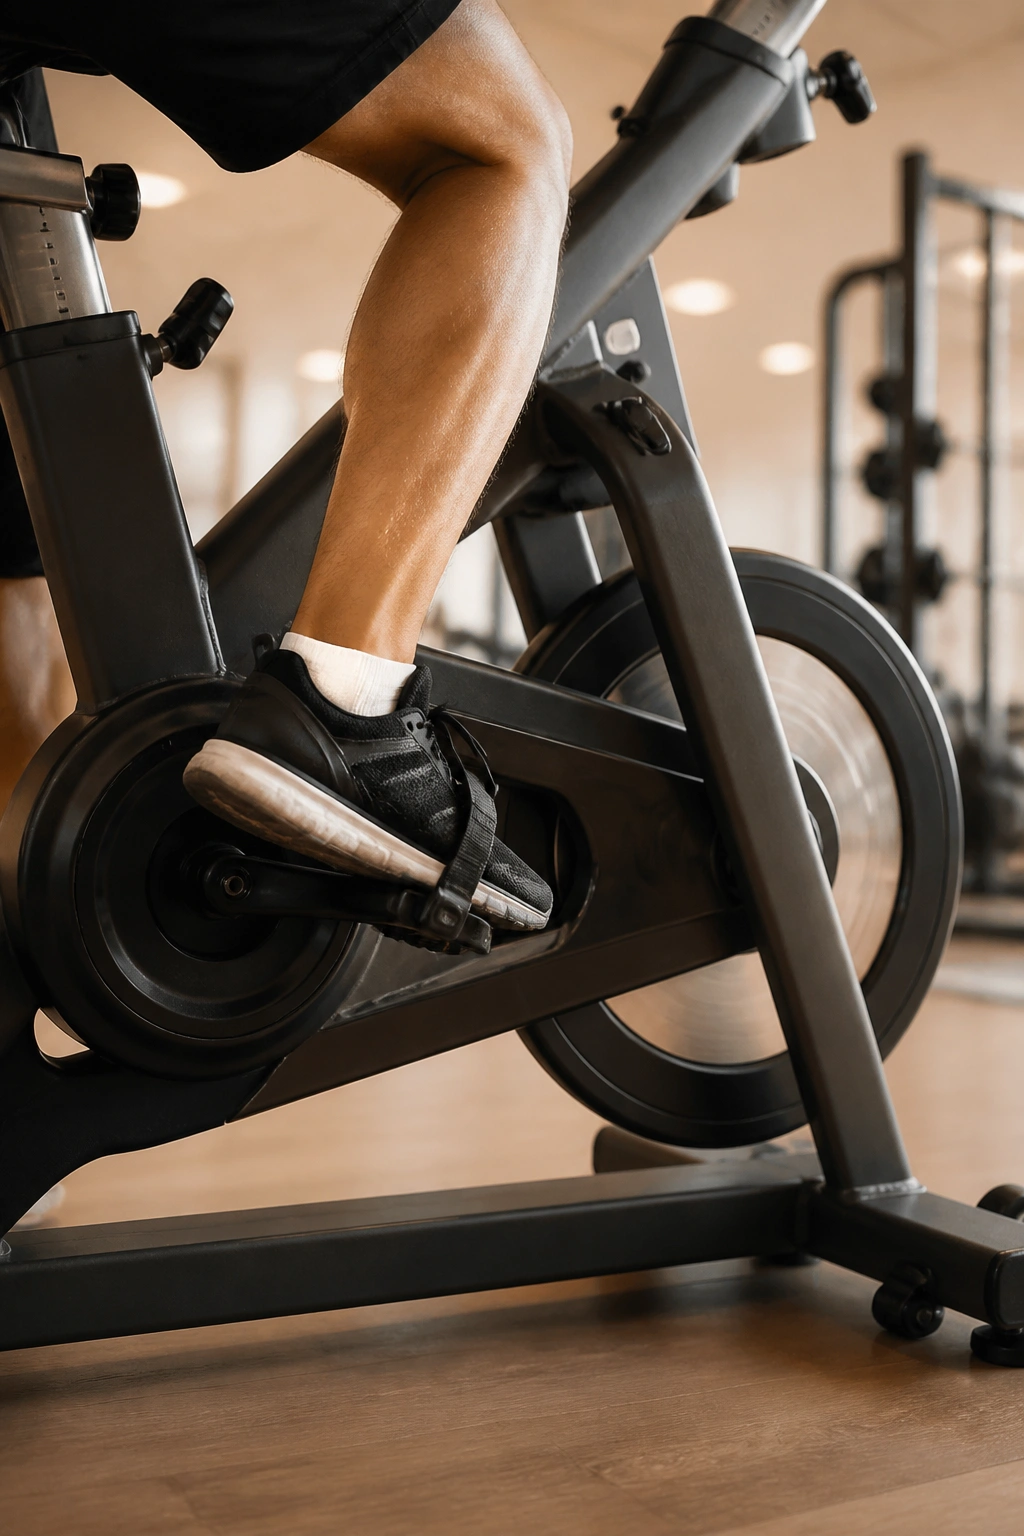
A bike is not just cardio. In ACL rehab, it’s often one of the nicest ways to get the knee moving in a smooth, repeatable pattern without impact. The rhythm can settle the joint down, and the circular motion helps flexion and extension feel less stiff.
Set the seat high enough that the knee is not jammed into deep bend at the bottom of the pedal stroke. Start with low resistance and 5 to 10 minutes if that’s what the knee tolerates. Smooth circles matter more than speed. If the motion feels choppy, raise the seat a little or back off the resistance.
A useful rule: the bike should leave the knee feeling looser afterward, not puffy and irritated an hour later. A little warmth in the muscles is fine. A swelling flare is your cue to cut the load.
10. Terminal Knee Extensions With a Band
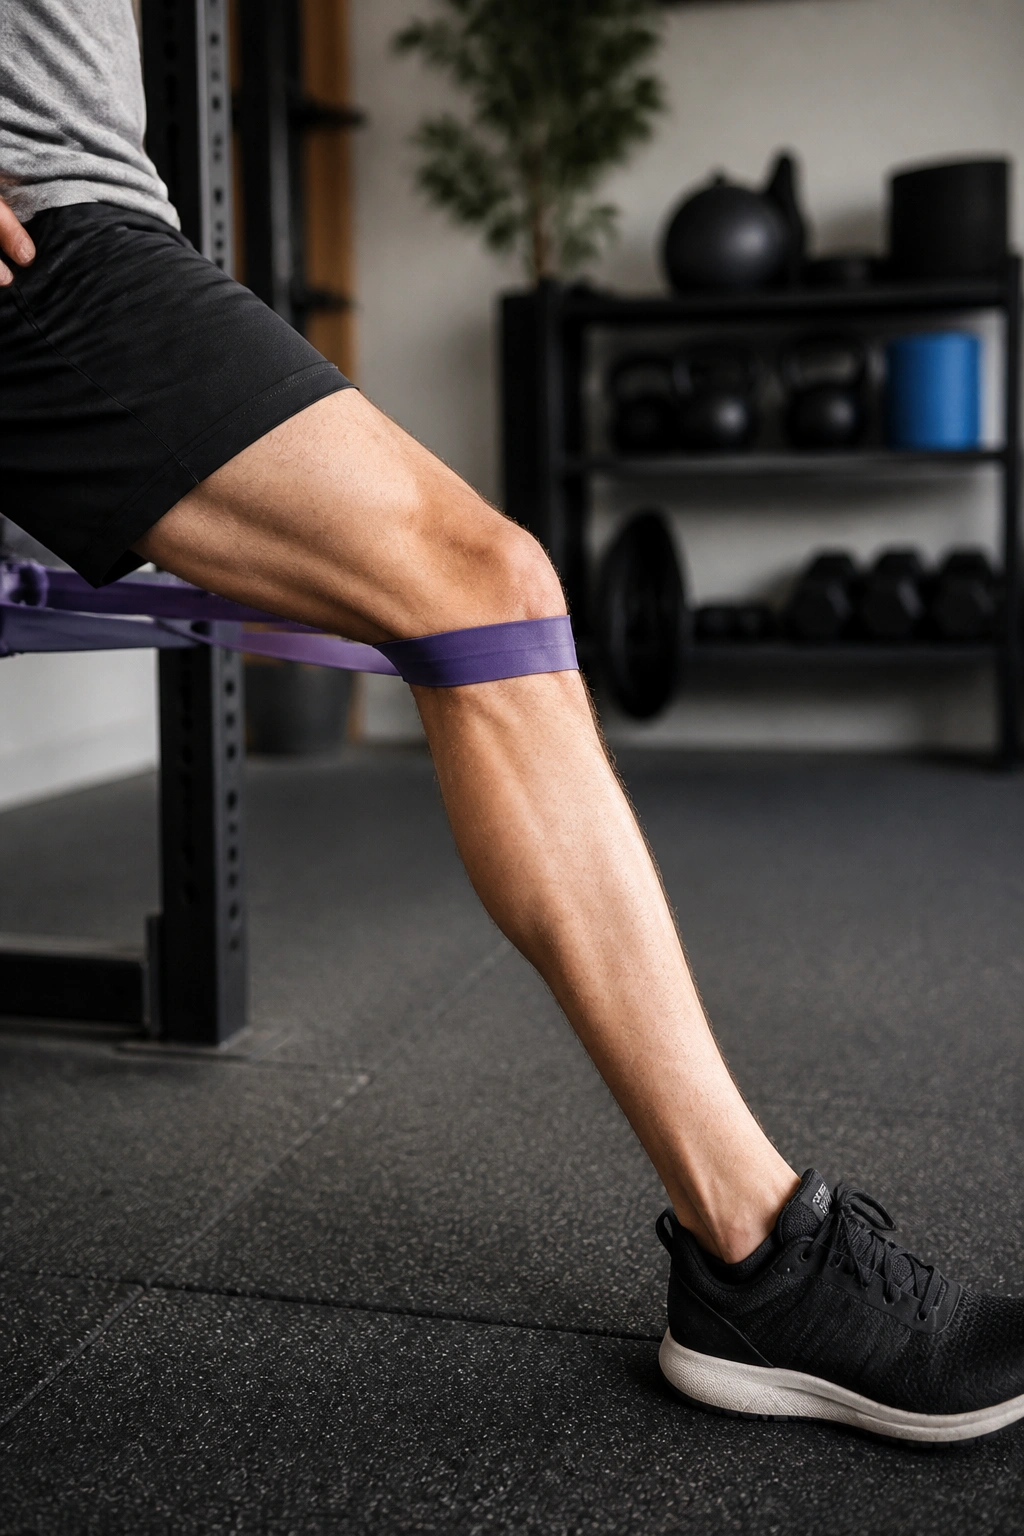
The last few degrees of knee straightening are a big deal. Terminal knee extensions, or TKEs, train that range under light resistance and help the leg stop living in a half-bent posture.
Loop a band behind the knee and anchor it behind you. Start with the knee slightly bent, then press it back into full extension against the band. Hold for a beat, return slowly, and repeat for 2 to 3 sets of 12 to 15 reps. The move is small, but it should feel deliberate.
Why It Works
The Goal
Build control at the end range where people often get sloppy.
The Feel
A firm quad squeeze and a clean lockout, not a hard snap.
The Mistake
Letting the knee hyperextend or letting the hip drive the motion.
If the movement feels too easy, increase band tension a little. If it feels jerky, the band is too strong or your stance is too far back. Clean reps beat stubborn reps every time.
11. Step-Ups
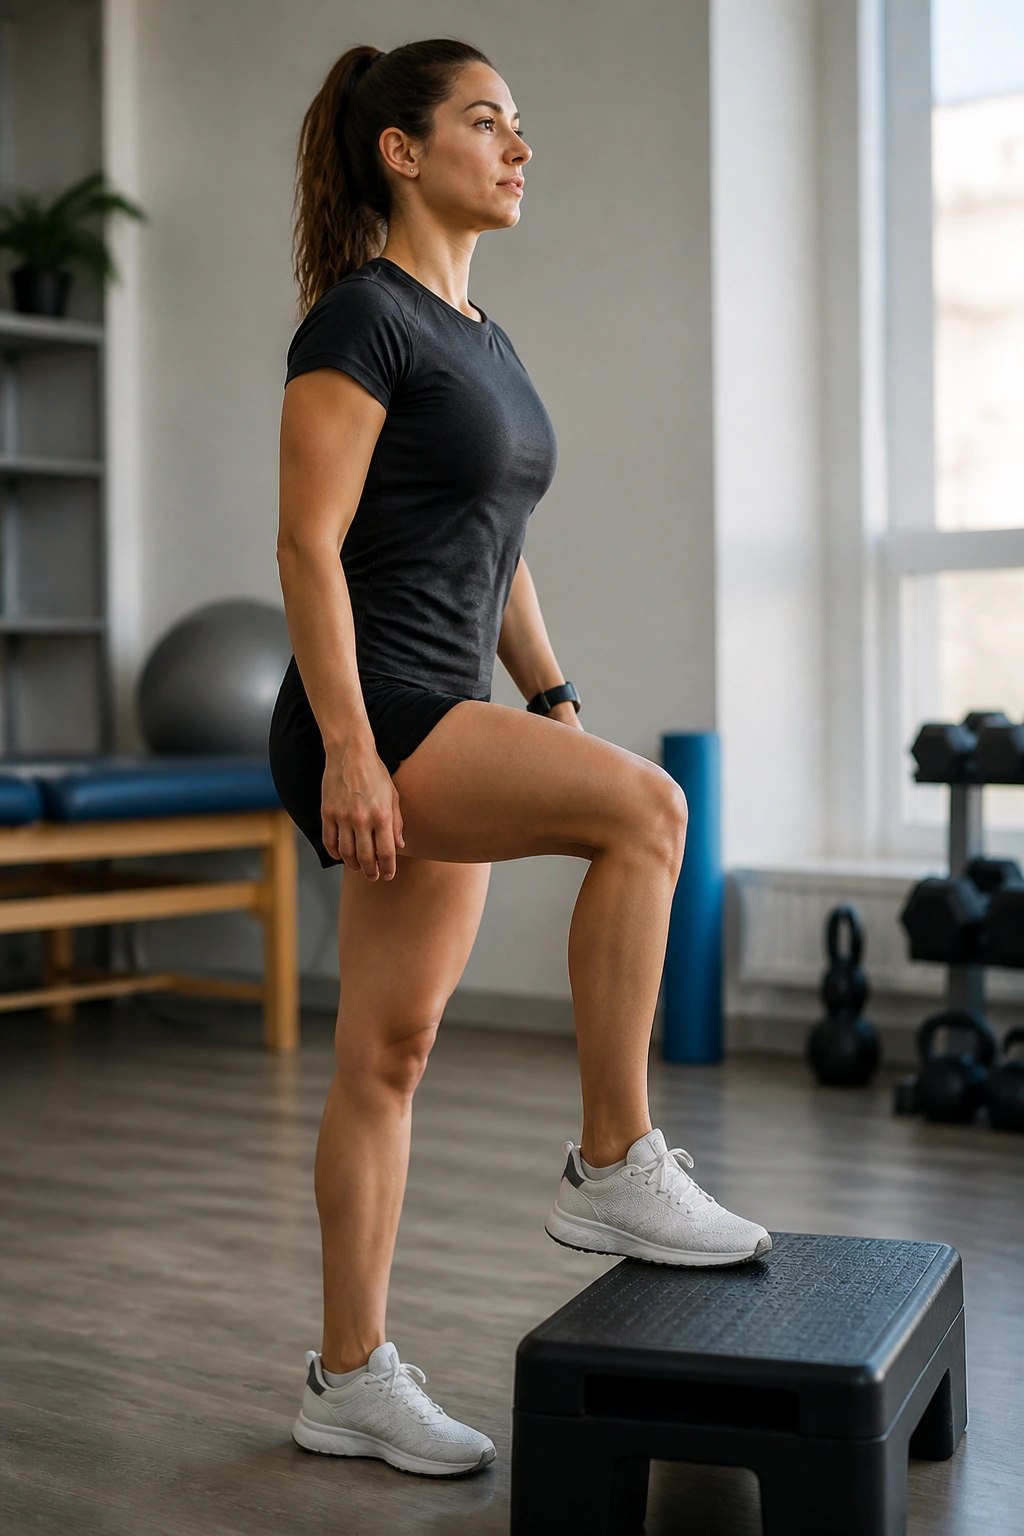
A low step can tell the truth fast. If the quad is weak, the hip is lazy, or the knee wants to cave inward, step-ups make that obvious in the first few reps.
Use a step that is low enough to control — 4 to 6 inches is plenty to start. Step up with the surgical leg, stand tall at the top, then lower slowly. The descent matters more than the climb. That is where the knee learns to absorb load.
A decent step-up should look smooth, not hurried. If the pelvis drops hard on one side or the knee collapses inward, cut the height down and slow the pace. Support from a rail or wall is fine in the beginning. Pride has no business here.
12. Side-Lying Clamshells
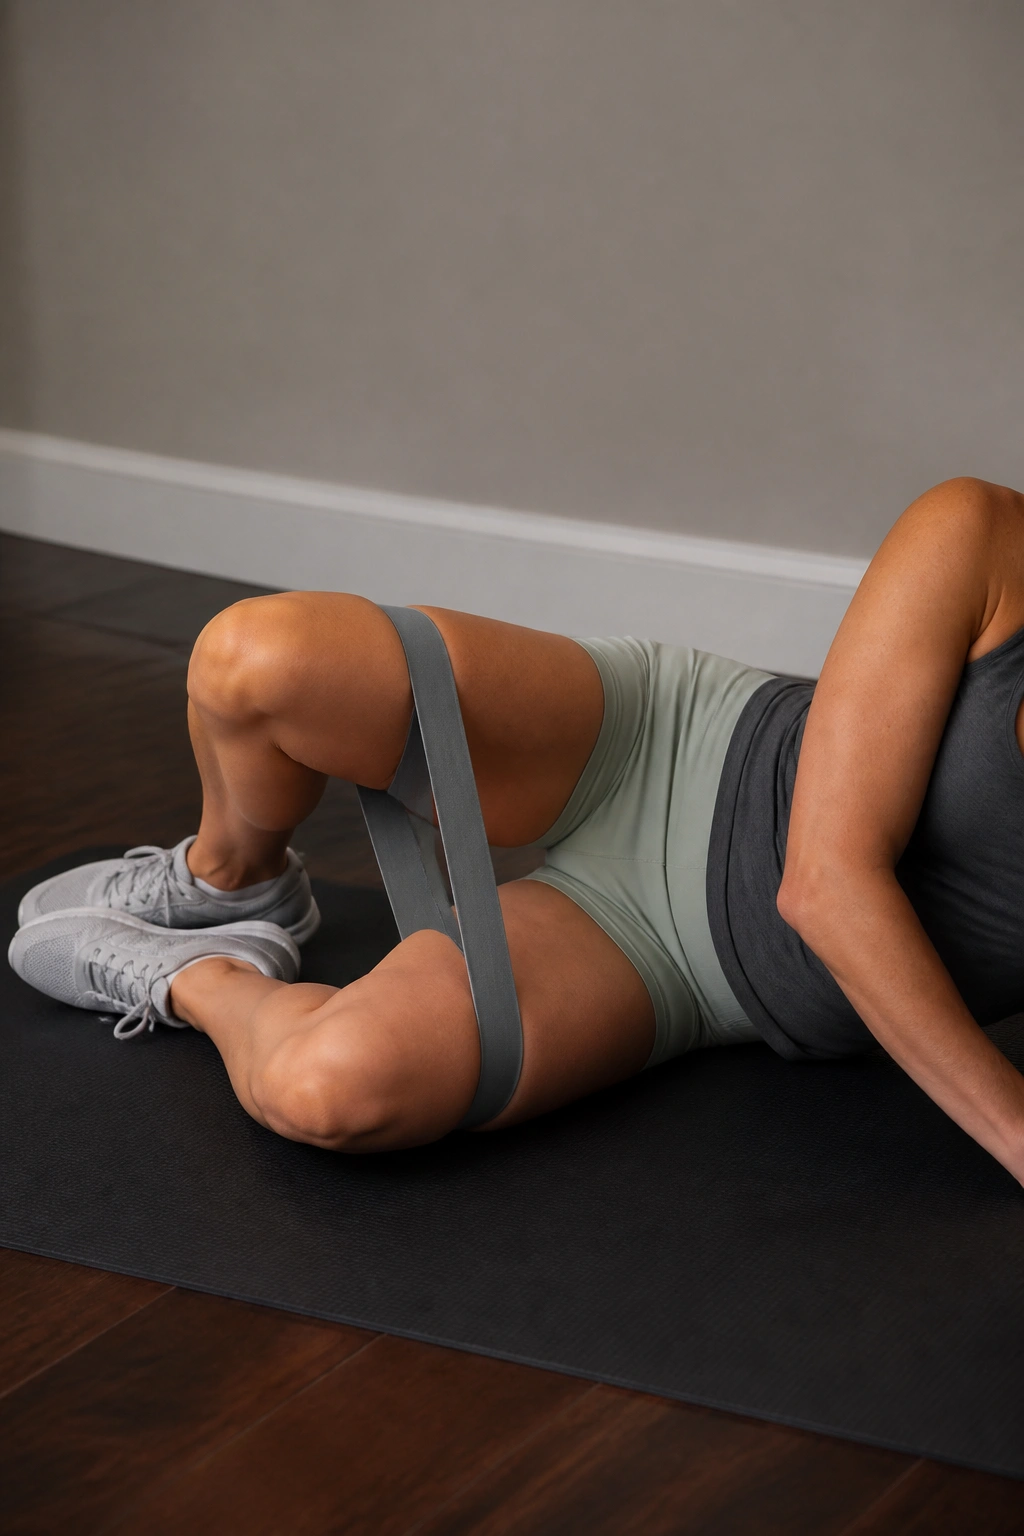
The knee often gets blamed for problems the hip caused two steps earlier. Clamshells target the glute medius and other hip stabilizers that help keep the thigh from twisting inward when you walk, squat, or land.
Lie on your side with knees bent and feet together. Keep the hips stacked, then rotate the top knee open like a clamshell without rolling the pelvis backward. A light band above the knees can add challenge once the basic version feels easy. 12 to 20 reps is a solid range.
The movement is small. That is the whole point. If you swing the knee open with the lower back or tilt the hips, you’ve lost the exercise. Slow reps, short pauses, clean position. That’s the formula.
13. Single-Leg Balance Reach
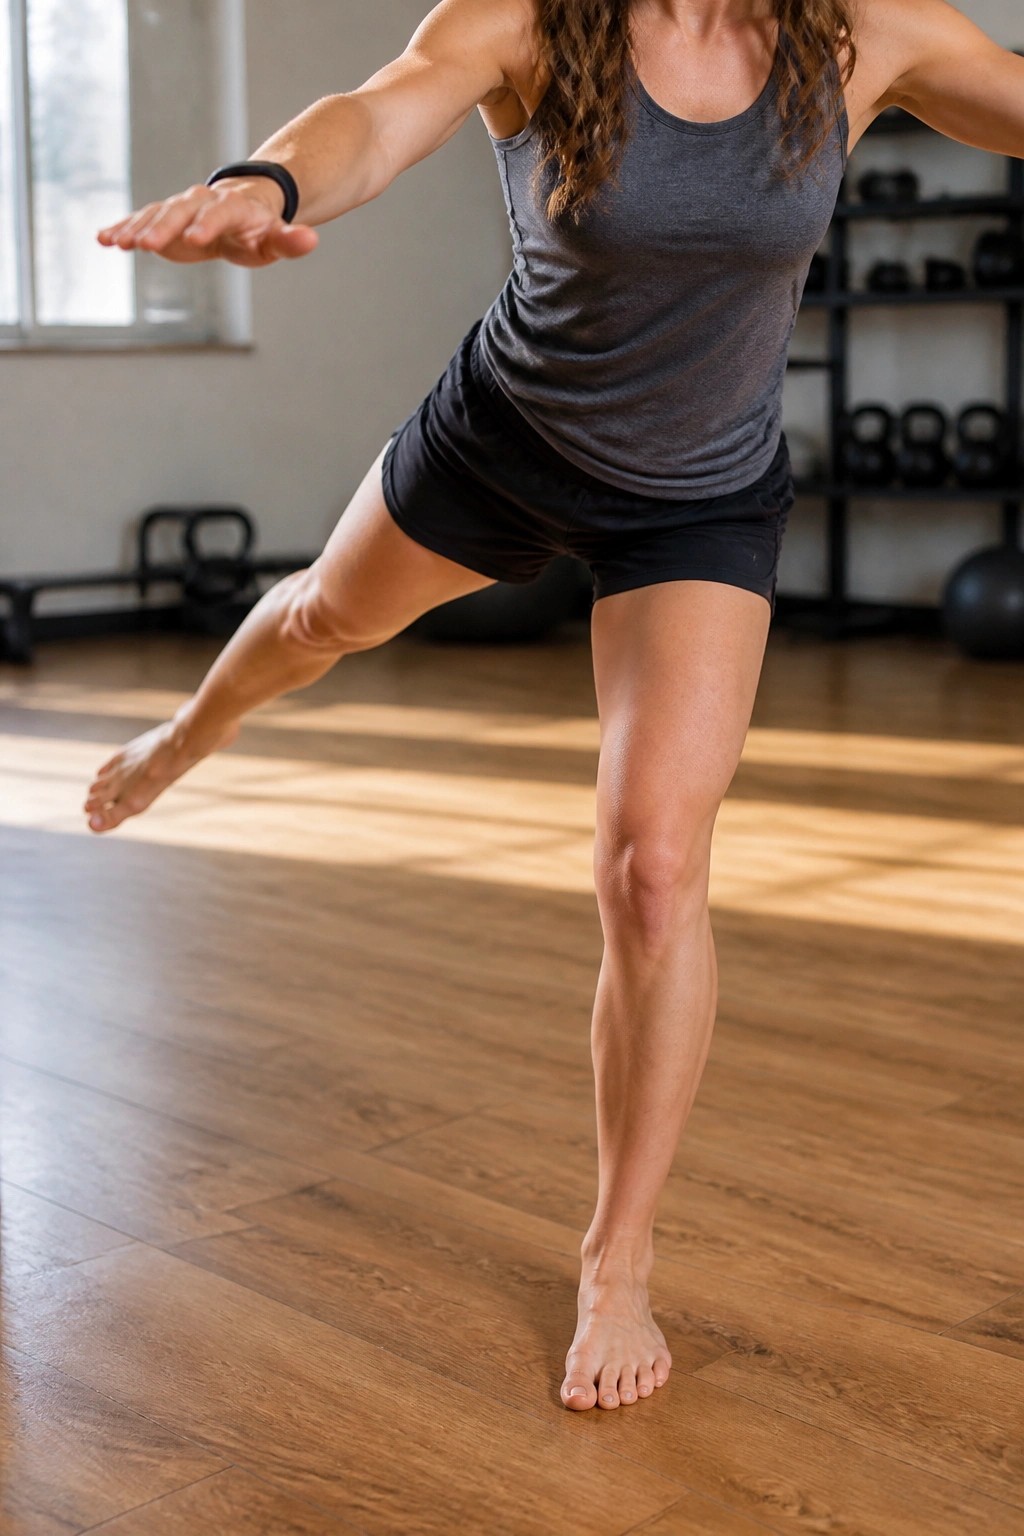
Can you stand on one leg without wobbling all over the place? That question matters more than people think. Single-leg balance work rebuilds control, and the reach variation adds a dose of movement that makes the drill more real.
Stand on the surgical leg and keep the arch active — heel, big toe, and little toe all grounded. Reach the free foot forward, then to the side, then back in a small star pattern. Start with 20 to 30 second holds or 5 to 8 reaches in each direction.
What Good Balance Looks Like
- The knee stays softly bent, not locked.
- The foot stays quiet instead of rolling around.
- The trunk stays calm and stacked over the hip.
If you are flailing, narrow the reach. If you can stand still but not move at all, that is still a starting point. Balance is not one thing; it is a stack of smaller skills.
14. Wall Sits
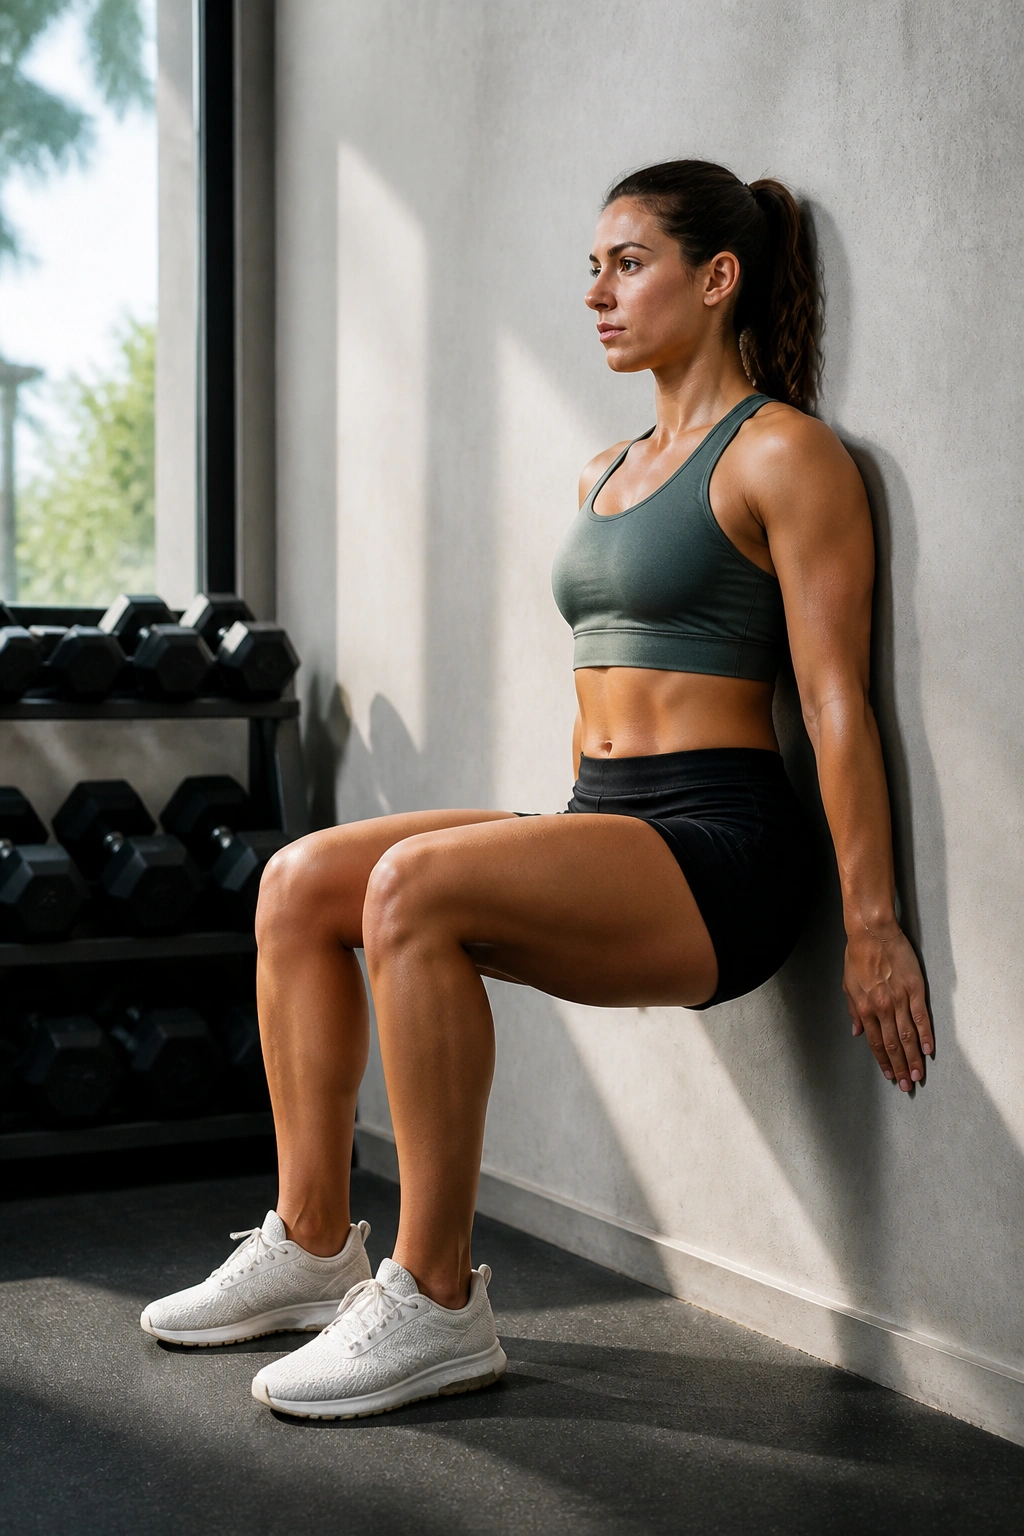
Wall sits are honest. No momentum. No cheating. Just a long hold that asks the quad to keep working while the knee stays in a controlled angle.
Lean your back against a wall, slide down to a shallow squat, and hold for 20 to 45 seconds depending on tolerance. Keep the feet far enough out that the shins stay fairly vertical and the knees do not shoot too far past the toes. The burn should land in the thighs. The knee itself should stay calm.
A lot of people drop too low and turn the drill into a leg-screaming contest. That is not necessary. A slightly higher position held with clean posture is better for most rehab plans. If the knee gets cranky the next day, shorten the hold or raise the angle a bit.
15. Lateral Band Walks
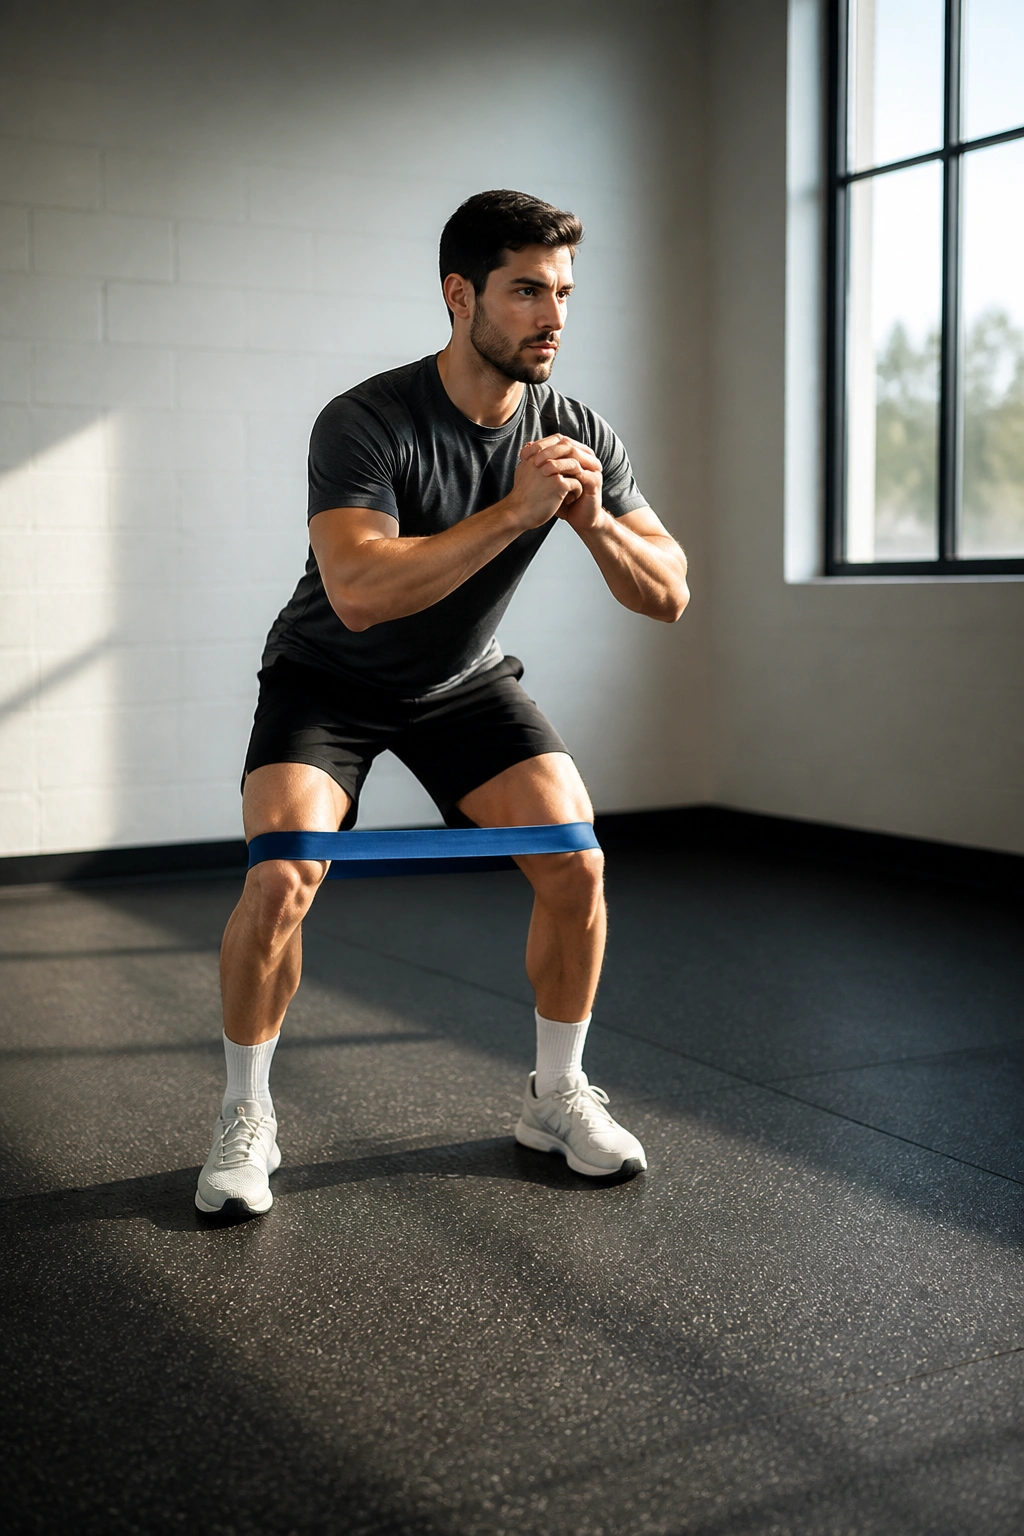
Side-to-side strength matters because the knee rarely lives in a straight line only. Lateral band walks wake up the hips and help keep the thigh from drifting inward when you change direction or land from a small hop.
Place a loop band above the knees or around the ankles if you have enough control. Take small steps to the side, then follow with the trailing foot without letting the band slack fully. Stay low enough to feel the glutes but not so low that you start cheating with your back.
The key is control. Wide, sloppy steps do almost nothing. Short, steady steps make the hips work.
Useful cue: keep your toes pointed mostly forward and your knees tracking over the feet. If the band is snapping you around, use lighter resistance and own the pattern first.
16. Split Squats
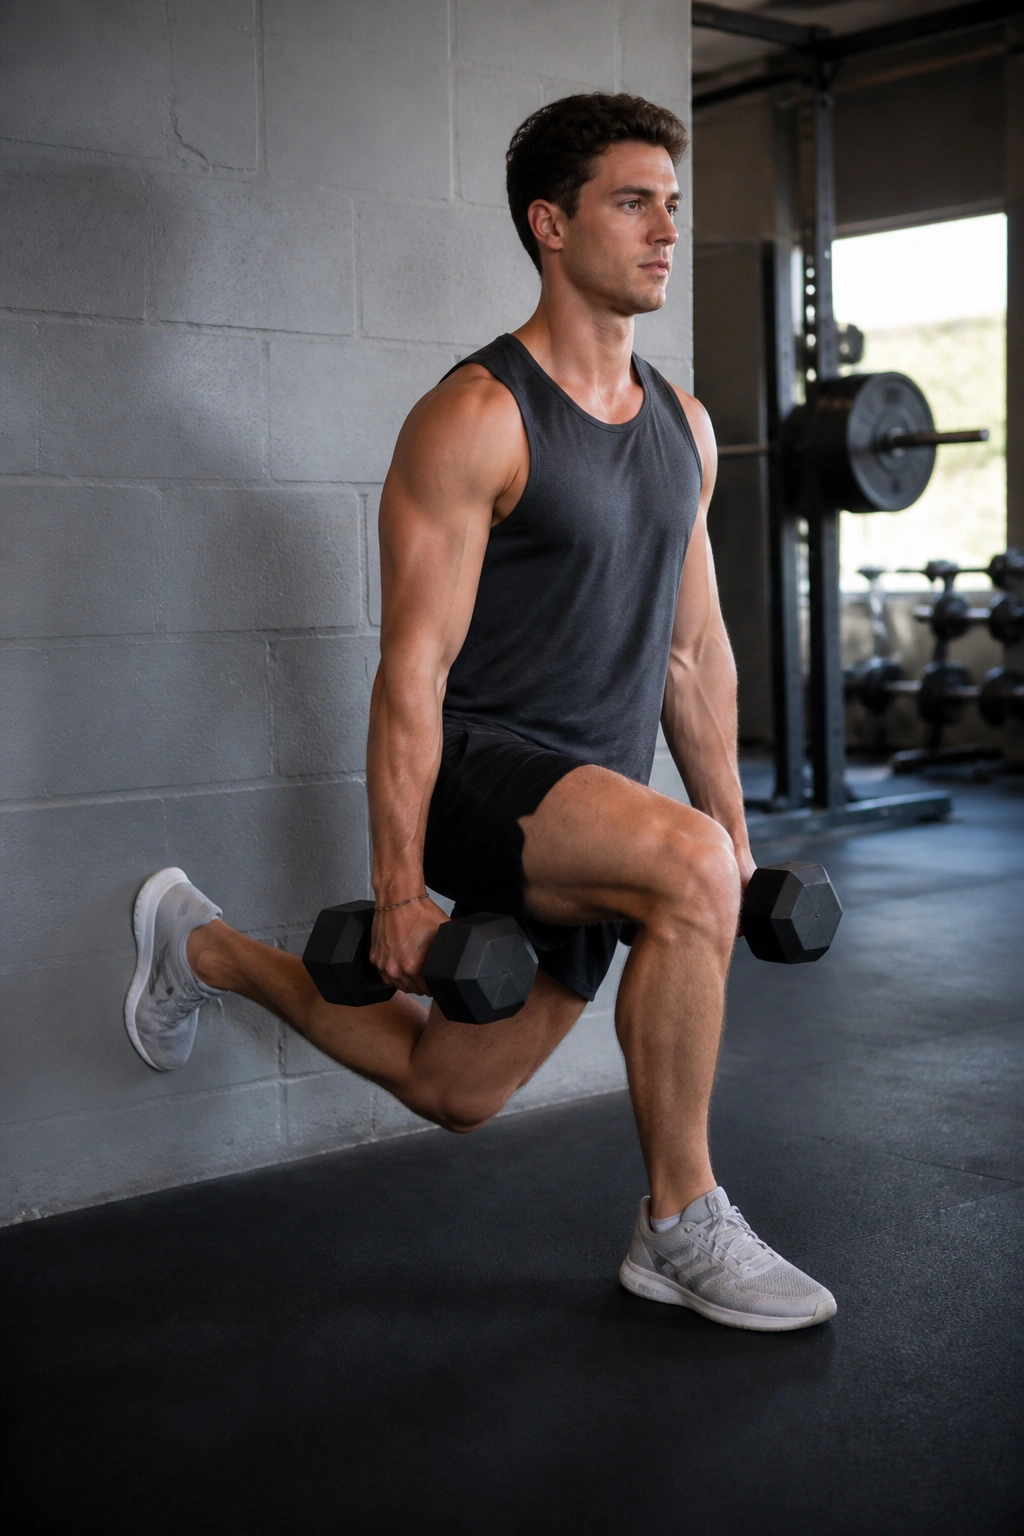
A split squat asks the front leg to carry most of the work while the back leg stays there mostly for balance. That makes it one of the best stepping stones between basic squats and single-leg work.
Start in a staggered stance and lower straight down, keeping most of the weight in the front foot. The front shin can move a little, but it should not slam forward. Keep the torso tall, lower under control, and come back up through the front heel. Support from a wall or dowel is fine at first.
What Makes It Worth Doing
The split stance exposes side-to-side weakness fast. It also teaches the knee to handle load in a more sport-like position than a two-leg squat. If your knee caves inward or the front heel lifts, shorten the range and slow the descent.
Some people like to call these lunges. Close enough. The important part is that the movement stays smooth and the knee feels stable through the whole range.
17. Single-Leg Romanian Deadlift
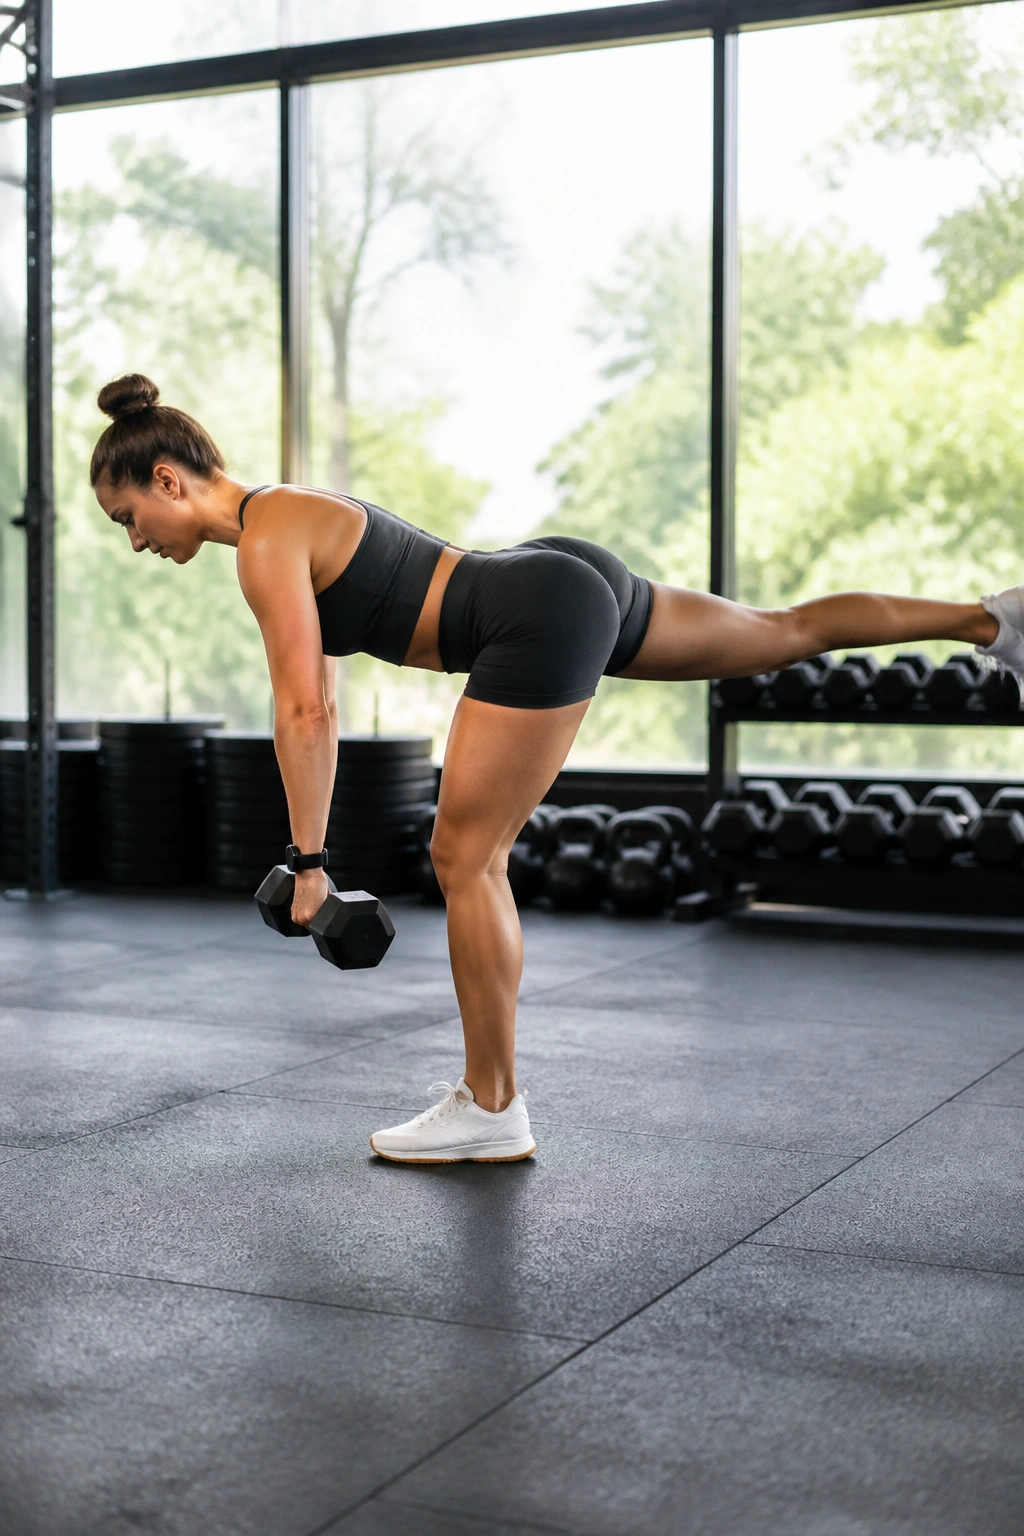
A single-leg Romanian deadlift, or RDL, is one of those exercises that looks simple until you try to keep the hips square and the balance steady at the same time. It builds hamstrings, glutes, and ankle control while teaching the knee not to panic when the body tips forward a little.
Start with a light hand support or use a kickstand version if full single-leg balance is too much. Hinge at the hips, send the free leg back, and keep the standing knee softly bent. The back stays long, the hips stay level, and the movement stops when the torso and back leg start to lose shape.
Don’t chase the floor. Chase control.
A good RDL feels like the hamstrings are loading up while the standing foot stays rooted. If the lower back grabs first, the weight is too much or the hinge is too deep. Reduce the range and keep the line clean.
18. Hop-and-Stop Landing Drills
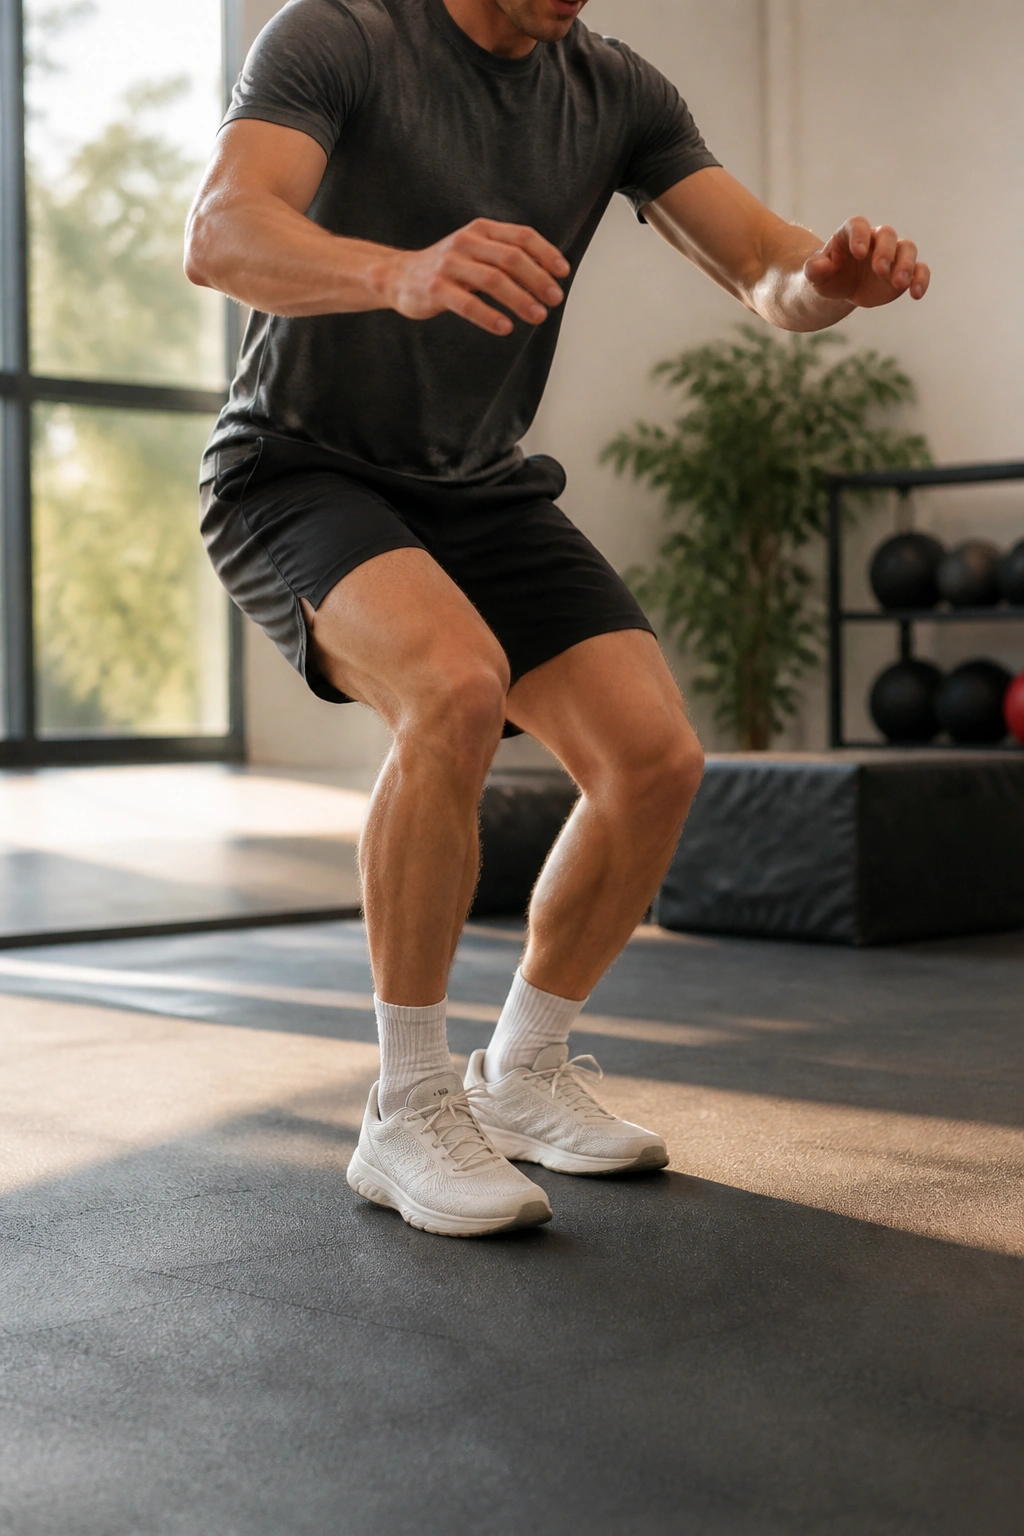
This is the point where rehab starts to look like real movement again, but only if the knee has earned it. Hop-and-stop drills teach the leg how to absorb force, freeze the landing, and keep the knee from collapsing inward when the body gets a little speed.
Start with tiny in-place hops or low forward hops and stick the landing for 2 to 3 seconds. The knee should stay aligned over the foot, the hips should absorb the load, and the landing should sound soft instead of slappy. If you can’t hold the landing without wobbling hard, the drill is too advanced for that day.
Progression Notes
- Begin with two-leg landings.
- Move to gentle single-leg hops only after clearance.
- Keep the jump distance short at first.
- Stop if the knee swells, buckles, or feels hot later that day.
This is where patience matters most. Running, cutting, and harder sport drills come after this kind of control is solid, not before. A knee that can land well is usually a knee that is getting ready for more, and that is the direction you want — one clean step at a time.
