



That nagging, dull ache in your wrist is rarely a sudden event. It is usually the quiet accumulation of a thousand tiny, repetitive movements—clicking a mouse, typing out emails, gripping a barbell, or scrolling through a phone with your thumb. By the time you notice the tightness, the muscles and tendons in your forearms are likely already screaming for a release. Most people try to shake it off, assuming it is just part of the day, but that stiffness eventually turns into a roadblock that makes even simple tasks like opening a jar or holding a coffee cup feel surprisingly heavy.
The secret to wrist health is not about finding some magical, expensive brace or waiting for the pain to disappear on its own. It is about understanding that your wrist is not a single, isolated unit. It is the end of a long chain of muscles in your forearm that handle your grip, your rotation, and your stability. When you ignore the forearm, you get wrist pain. The moment you start treating the muscles that control the wrist rather than just the joint itself, the relief is almost instantaneous.
The following stretches are designed to be performed anywhere, from your office chair to the gym floor. You do not need fancy equipment, and you certainly do not need to be a yoga enthusiast to get results. What you do need is consistency. A few minutes of intentional movement can be the difference between a pain-free work week and a recurring, nagging issue that limits your mobility.
1. The Prayer Stretch

This is arguably the most recognizable wrist stretch for a reason: it targets the entire anterior chain of the forearm. When you sit at a desk, your palms are often facing down, meaning the flexor muscles—the ones on the underside of your forearm—are constantly shortened. This stretch reverses that position.
How to Execute It Properly
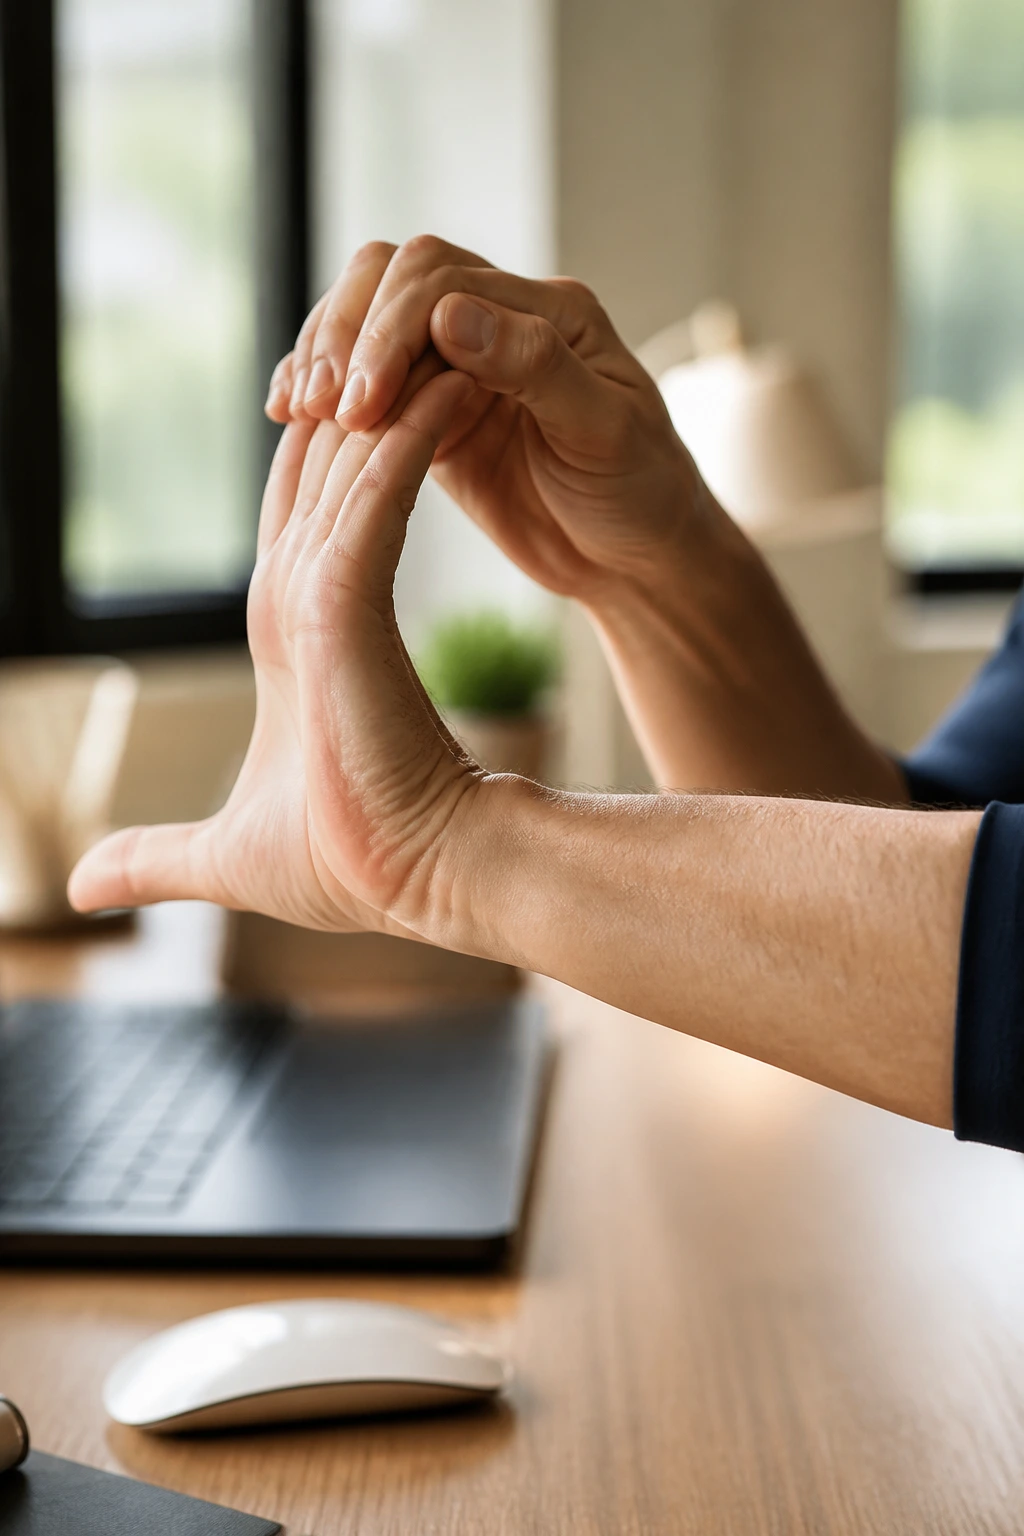
Start by standing or sitting with your feet flat on the floor. Bring your palms together in a prayer position directly in front of your chest. Keep your palms pressed firmly against each other, fingers pointing toward the ceiling. Slowly lower your hands toward your waist while keeping your palms glued together. You should feel a deep, controlled stretch running from your wrist all the way up to your elbow.
Why It Matters
Most beginners make the mistake of letting their palms separate as they lower their hands. If your palms drift apart, you lose the tension that makes this stretch effective. Keep them locked. If you feel a sharp pinch, you have gone too far—ease up, find the tension, and hold it there for thirty seconds. This move is a reset button for tight flexors.
2. Wrist Flexion Stretch (Palm Down)

While the prayer stretch hits both sides, this one allows you to isolate the top of your forearm. It is essential for anyone who does heavy lifting or spends significant time typing, as it stretches the extensor muscles that often become overworked and tight.
The Mechanism of Relief
Extend your right arm straight out in front of you, with your palm facing the floor. Use your left hand to grasp your right fingers and gently pull them backward and down toward your forearm. Keep your right elbow straight throughout the movement. If you bend the elbow, the tension leaks out of the forearm, and you lose the stretch.
Sensory Cues to Watch For
You should feel a clear, linear pull along the back of your forearm, ending just below the elbow. If you feel this mostly in your actual wrist joint rather than the muscle belly, you are pulling too hard. Back off. The goal is to stretch the tissue, not to force the joint. Hold this for twenty seconds, breathing steadily, and then switch sides. It is often surprising how much tighter one side is compared to the other.
3. Wrist Extension Stretch (Palm Up)

This is the direct counterpart to the previous movement. By flipping your hand, you target the flexor tendons. These tendons are the ones that get irritated during repetitive gripping tasks, such as playing racquet sports or using a heavy hand tool.
A Subtle Technique Adjustment
Extend your arm out again, but this time, rotate your palm to face the ceiling. Use your other hand to gently pull your fingers backward toward you. It is tempting to arch your back or shrug your shoulder during this, but try to stay relaxed. Keep your shoulder away from your ear.
Integrating This Into Your Routine
Many people find this stretch uncomfortable because the flexor tendons are often quite tight. If you have any history of carpal tunnel symptoms, proceed with caution. The sensation should be a dull, comfortable ache—never a sharp, lightning-bolt nerve pain. If you feel numbness or tingling, stop immediately. These are signals that you are compressing the median nerve, and that is not the goal of a stretch.
4. The “Waiter’s Tip” Stretch

I call this the waiter’s tip because it mimics the motion of holding a tray. It is dynamic and helps wake up the smaller stabilizing muscles around the wrist that static stretches sometimes miss.
Step-by-Step Movement
Hold your arm out, palm facing up as if you are waiting for a tip. Take your other hand and place it on your palm. Gently apply pressure downward on your fingers and palm, pushing them toward the floor while keeping your forearm straight. You will feel a strong engagement in the wrist and lower forearm.
Why This Variation Works
Because this stretch puts the wrist in a state of supination (palm up) while applying resistance, it hits the muscles slightly differently than a standard extension stretch. It is incredibly effective for people who spend all day at a computer because it forces the forearm to move through a full range of motion that is rarely used during typing. Do this for fifteen seconds per side, and do not rush the transition.
5. Radial Deviation Stretch

Most people focus on up-and-down movement, but the wrist also moves side-to-side. This is called radial and ulnar deviation. When you neglect this plane of motion, you create imbalances that can lead to soreness on the thumb-side or pinky-side of the wrist.
Proper Execution
Place your forearm on a table, hand hanging off the edge, palm facing down. Keep your forearm completely still—this is the most important part. Gently move your hand sideways toward your thumb, then toward your pinky. Do this ten times slowly. If you want to increase the stretch, use your opposite hand to apply very light pressure at the peak of each deviation.
The Benefit of Side-to-Side
This is not just a stretch; it is a mobility drill. By moving through the lateral plane, you are lubricating the wrist joint and engaging the muscles that stabilize your grip. If you feel “clicking” or “popping,” that is usually just the tendon snapping over a bone—it is generally harmless, but if it is accompanied by pain, reduce your range of motion.
6. Finger Splay and Clench
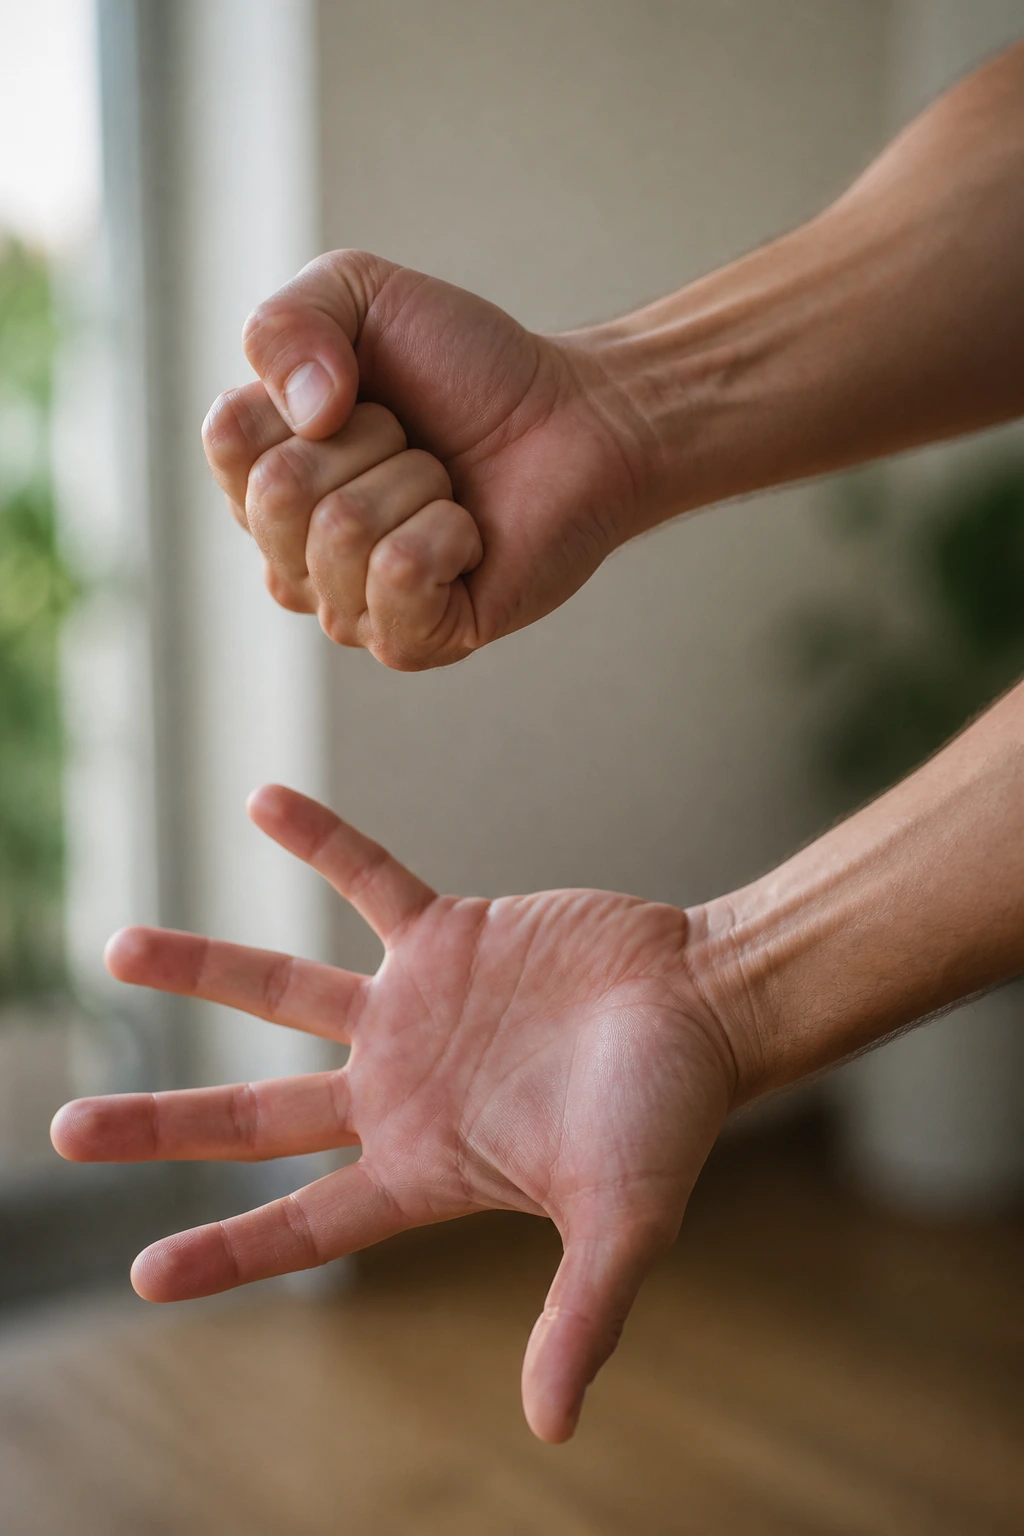
The muscles that move your fingers originate in your forearm. When you have wrist pain, your grip strength often suffers. This simple movement helps to flush out the forearm muscles and improve circulation.
Creating the Movement
Make a tight fist with both hands. Hold for two seconds. Then, explode your hands open, spreading your fingers as wide as humanly possible, like you are trying to touch the walls on either side of you. Repeat this twenty times.
Why It Feels Different
This is more of a blood-flow exercise than a deep tissue stretch. You will likely feel a “burn” in your forearm after ten repetitions. That burn is the accumulation of metabolic waste, which is exactly what we want to move out of the muscle. It feels simple, but it is one of the most effective ways to combat the “heavy” feeling that comes after a long day of typing.
7. Thumb Circles

Thumb pain is the silent partner of wrist pain. Many people who complain about their wrists actually have issues stemming from the thumb’s overuse—specifically the tendons that control the thumb, which run directly over the wrist.
The Range of Motion
Hold your hand in a neutral position. Slowly move your thumb in large, controlled circles. Do five clockwise, then five counter-clockwise. Do not just move the tip of the thumb; focus on moving the base of the thumb near the wrist.
The “Aha!” Moment
If you feel stiffness at the base of your thumb, you have found the source of a lot of your wrist tension. This exercise is vital for anyone who types on a smartphone or plays video games. It targets the tendons that are often the first to flare up with inflammation. Keep the circles slow—rushing them defeats the purpose.
8. The “Spider” Walk
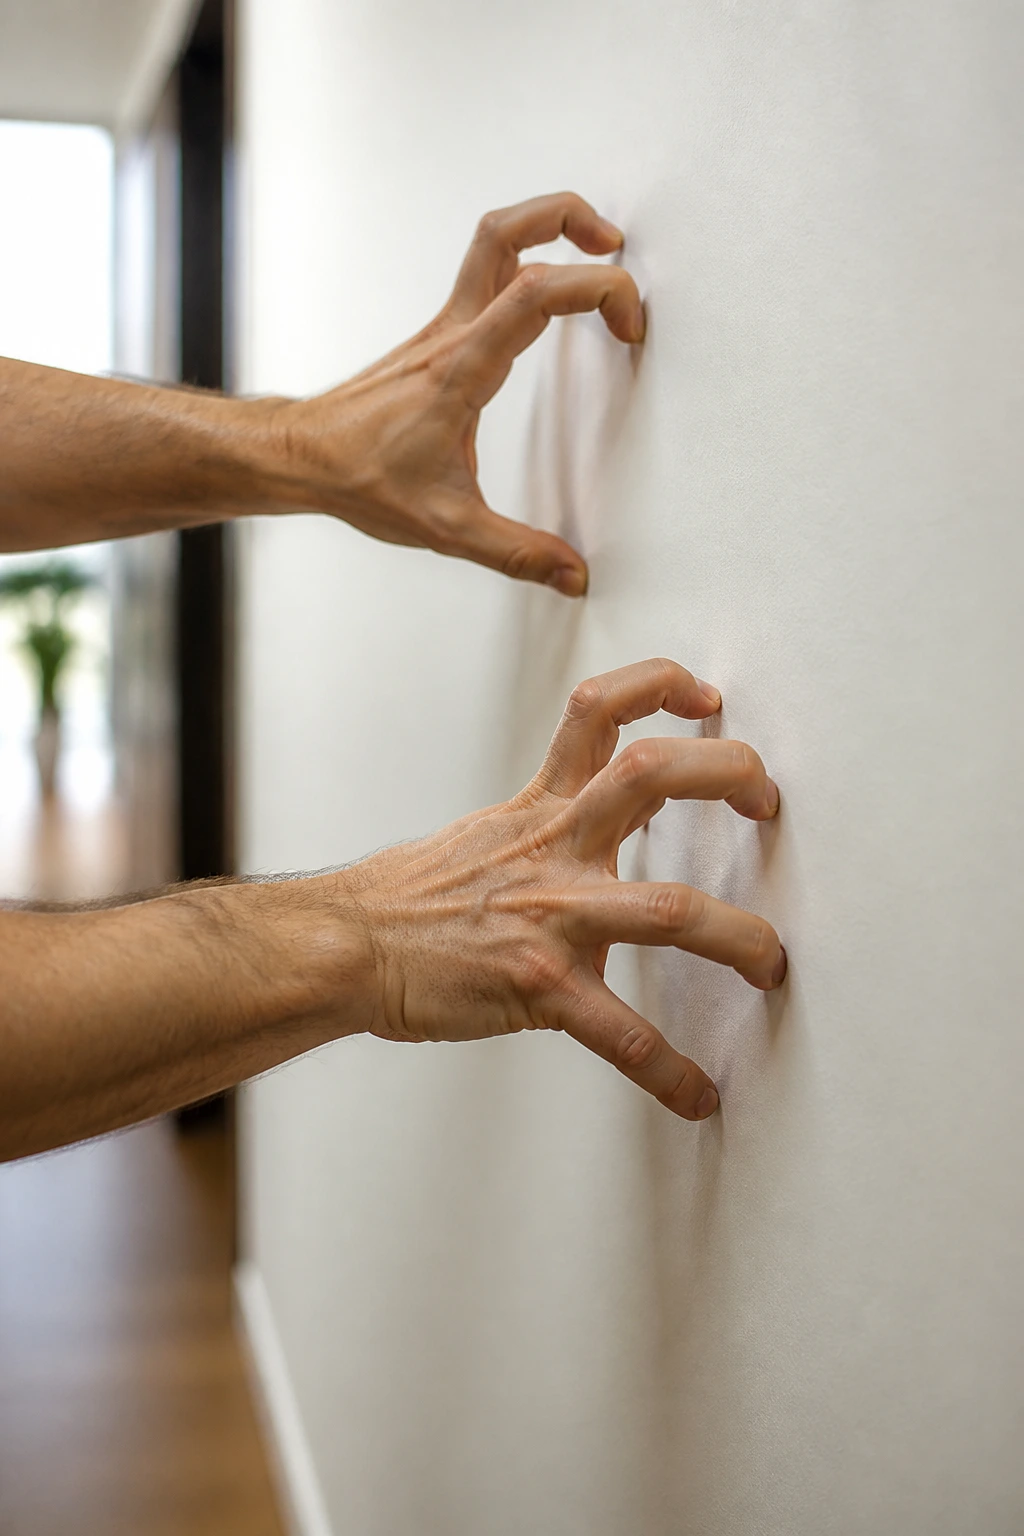
This is an excellent way to stretch the fingers and the small muscles in the palm, which are connected to the carpal tunnel area. It is a subtle move, but it provides a great release for the “claw” hand that develops after hours of holding a mouse.
How to Perform
Place your palms flat against a wall at shoulder height. Now, begin to “walk” your fingers down the wall, one by one, while keeping your palms pressed firmly against the surface. It will feel like a spider crawling down the wall. Once you get as low as you can go, walk your fingers back up.
Why It Works
By keeping your palm fixed against the wall, you are creating a stable base, which forces the fingers and the wrist flexors to lengthen. It is a dynamic stretch that also improves finger dexterity. If you have particularly tight hands, you might notice your fingers trembling slightly—this is normal. It is just your nerves adapting to the new range of motion.
9. Desk-Edge Extension
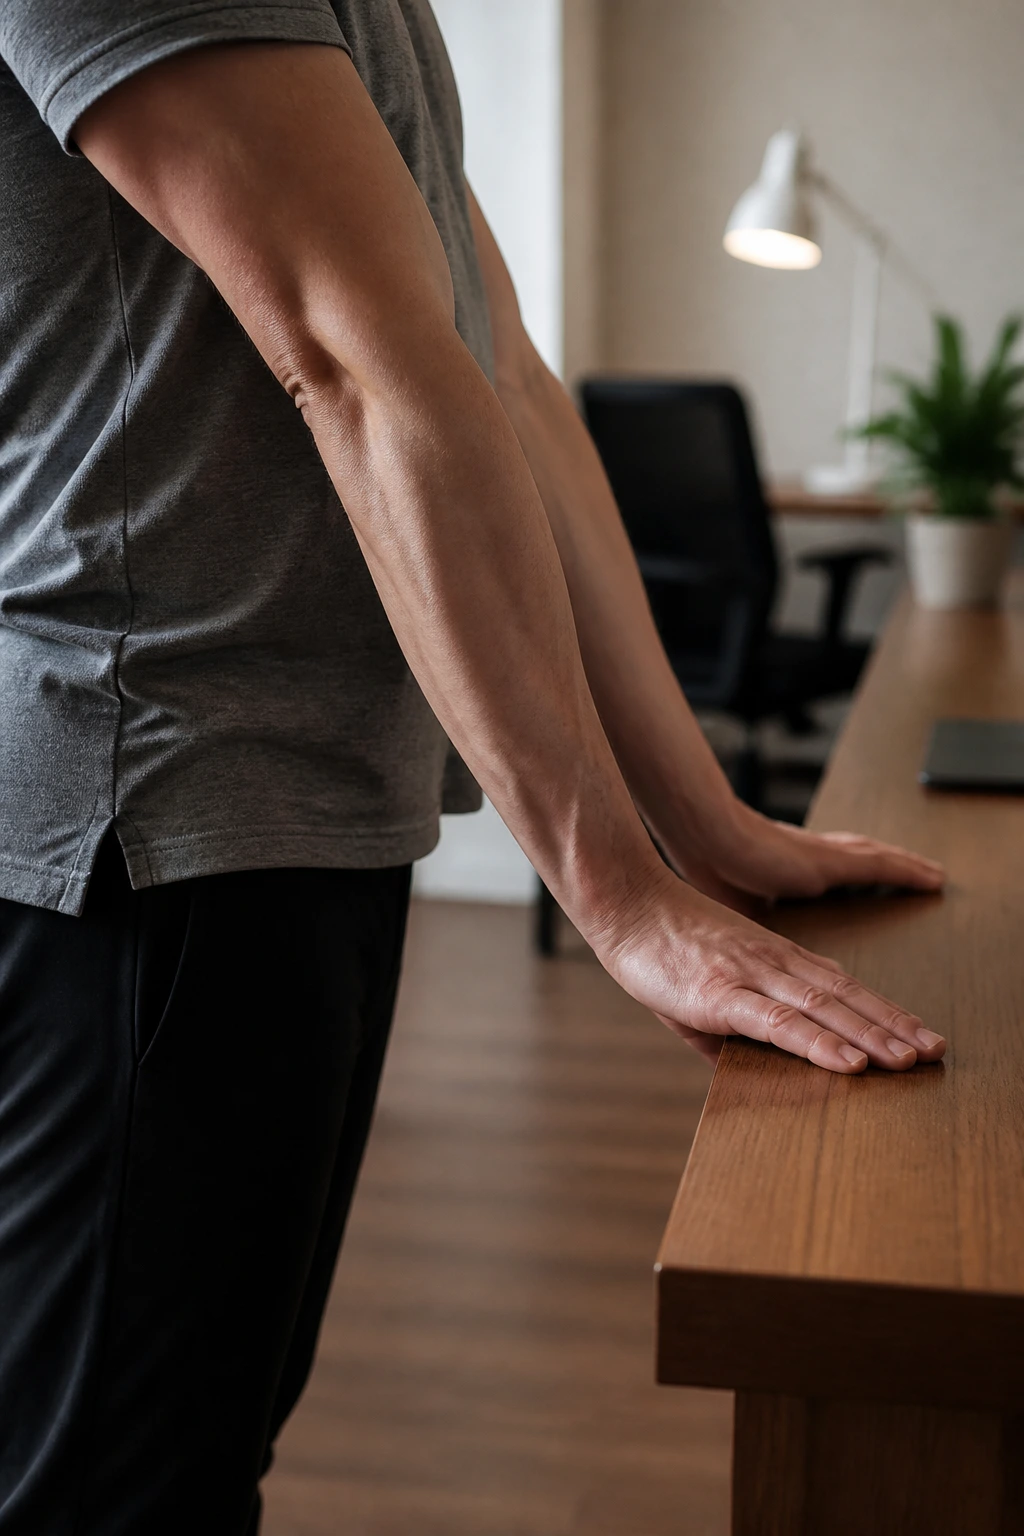
If you work in an office, you have everything you need for this stretch right in front of you. This uses your own body weight to provide a deeper, more sustained stretch than your hand can provide.
Setting Up
Place your palms on the edge of your desk, fingers pointing toward your body. Keep your elbows locked. Lean your body weight backward slowly, away from the desk. You will feel an immediate and intense stretch through the front of your forearms.
Modifying the Intensity
If this feels like too much, do not lean back as far. If it feels like nothing, walk your feet further away from the desk. Because this uses gravity, you can control the intensity with incredible precision. Just be careful not to put too much pressure on your fingers, as they can be sensitive. Keep the weight focused on the base of the palm.
10. The Ulnar Deviation Stretch
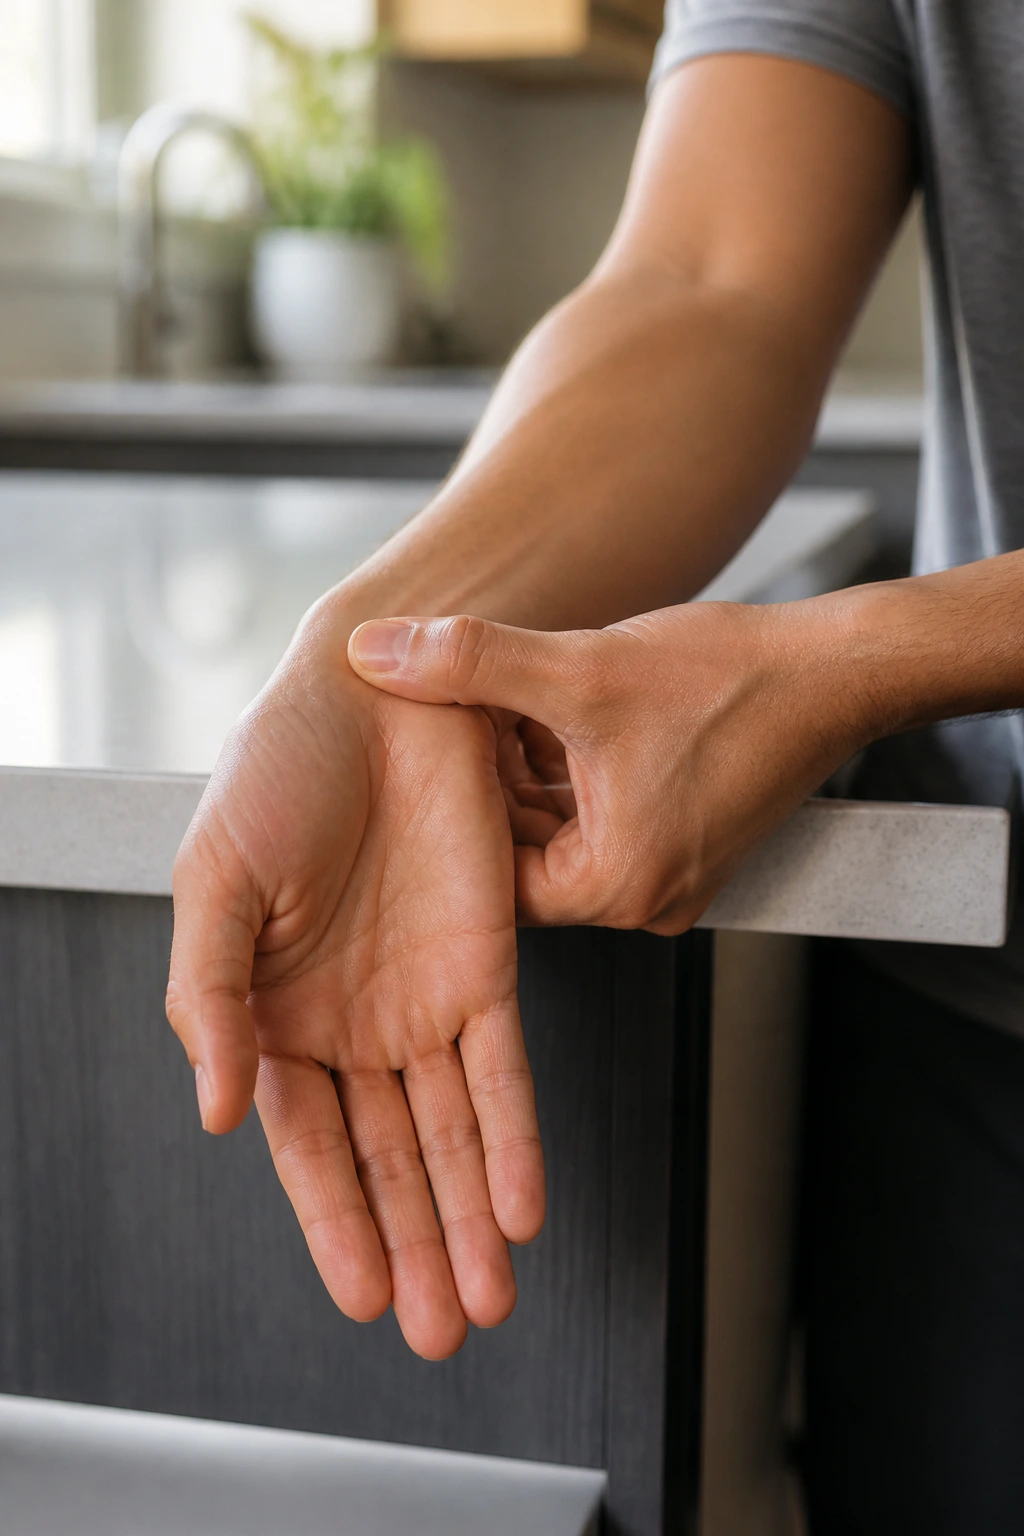
Earlier, we looked at radial deviation (thumb-side). Now we look at ulnar deviation (pinky-side). This is the movement used when you hammer a nail or chop vegetables.
Moving with Control
Start with your forearm on a table, hand hanging off, palm down. Allow your hand to drop toward the pinky side. Use your other hand to gently pull your hand further into that pinky-side stretch. It is a very small range of motion; do not try to force it.
Why It Matters
The ulnar side of the wrist is home to the TFCC (triangular fibrocartilage complex), a structure that stabilizes the wrist. It is a common site for pain in people who lift weights. Stretching here helps keep the area flexible and less prone to acute strain. Remember, the key is gentleness. Never yank the wrist.
11. Forearm Supination and Pronation

This movement addresses the muscles that rotate the forearm, which, while not directly part of the wrist, are mechanically connected. If your rotation is tight, your wrist will be the joint that compensates, leading to pain.
Executing the Rotation
Bend your elbow to ninety degrees, keeping your upper arm tucked against your side. Open your hand. Rotate your palm to face the ceiling (supination), hold for a count, then rotate your palm to face the floor (pronation). Do this fifteen times on each side.
Why It’s Unique
You might notice that one direction feels “stuck.” Usually, pronation (palm down) is tighter because of our daily posture. This movement is the cure. By doing this regularly, you are essentially “oiling the hinges” of your forearm rotation, which takes a massive load off your wrist joint during everyday movements.
12. Ball Squeeze Release
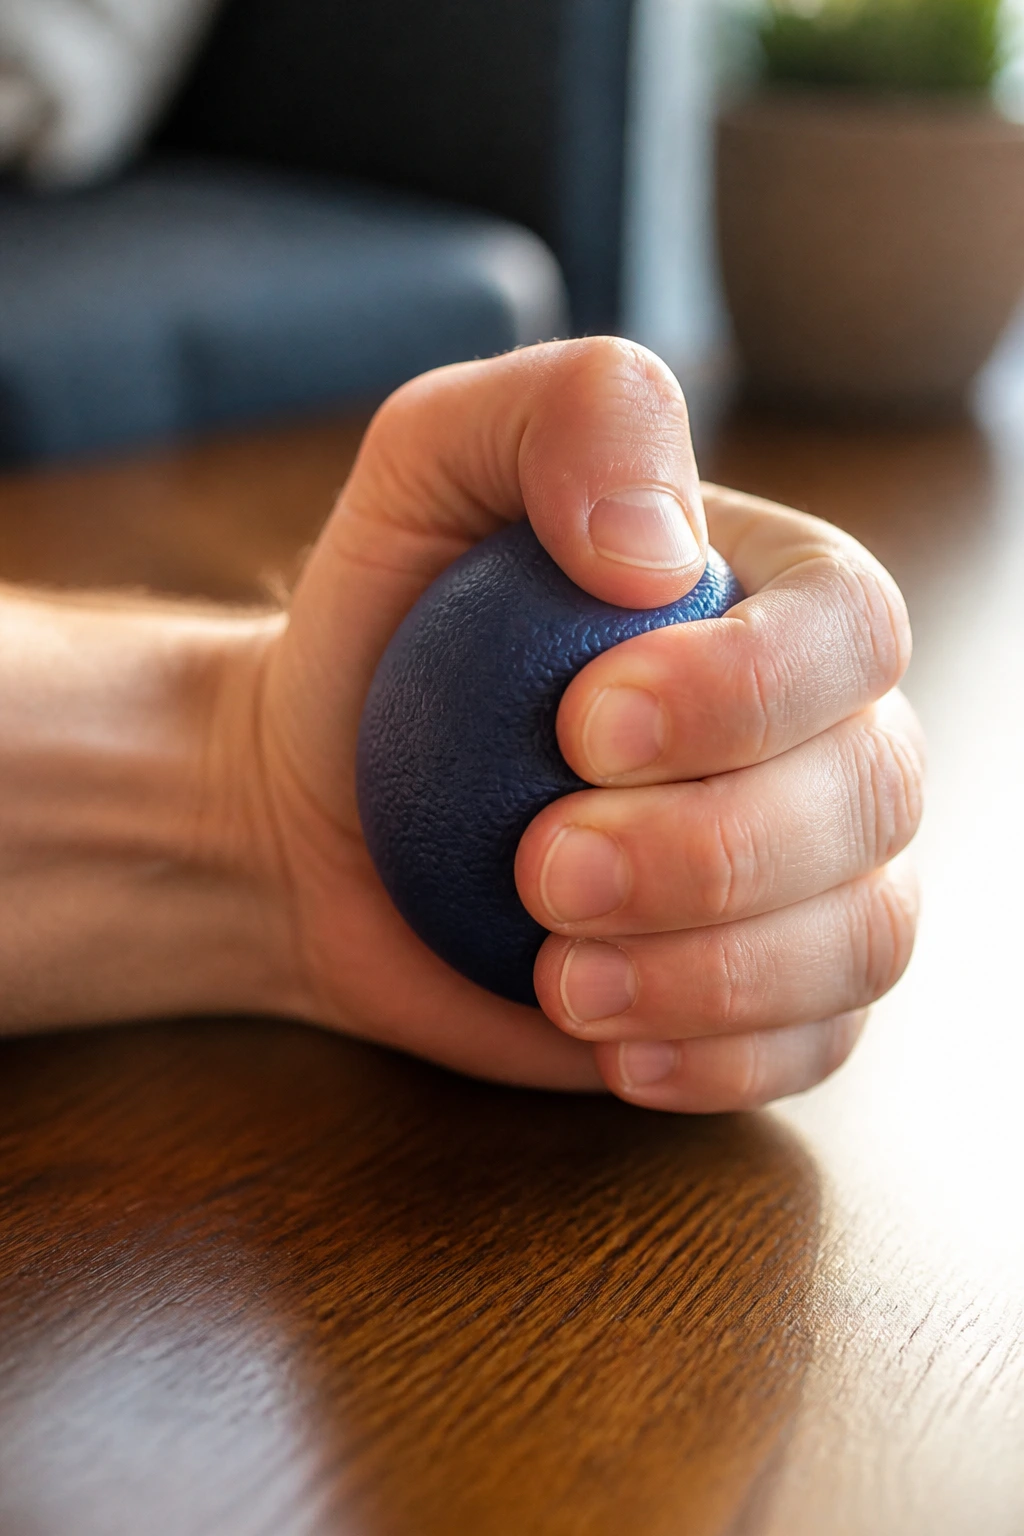
For this, you can use a stress ball, a tennis ball, or even a pair of rolled-up socks. Grip strength is usually what we think of, but relaxing the grip is equally important for wrist pain relief.
The Technique
Squeeze the ball as hard as you can for five seconds, then release it instantly, splaying your fingers wide. Repeat this ten times. The sudden transition from maximum contraction to maximum relaxation is what makes this effective.
Why It Helps
Muscles in the forearm often get stuck in a state of “low-grade contraction.” They never fully relax, which keeps the tendons under constant tension. This exercise teaches your nervous system to fully disengage the muscles after you’ve used them. It is highly effective for people who find their forearms feeling “rock hard” at the end of the day.
13. The Thumb Pull Stretch

This is specific to the tendons that run along the side of the wrist toward the thumb. If you feel pain directly under your thumb when you turn your wrist, this is the one for you.
How to Do It
Make a fist, wrapping your fingers around your thumb. Keep your forearm straight and horizontal. Gently tilt your fist down toward the floor, keeping your elbow locked. You should feel a sharp, clean stretch along the base of your thumb.
Proceed with Care
This stretch targets the abductor pollicis longus and extensor pollicis brevis tendons. These are the ones involved in de Quervain’s tenosynovitis. If you have been diagnosed with this condition, skip this and consult a professional. If you are just tight from phone use, this will feel like the most relief you have had all day.
14. Controlled Wrist Circles
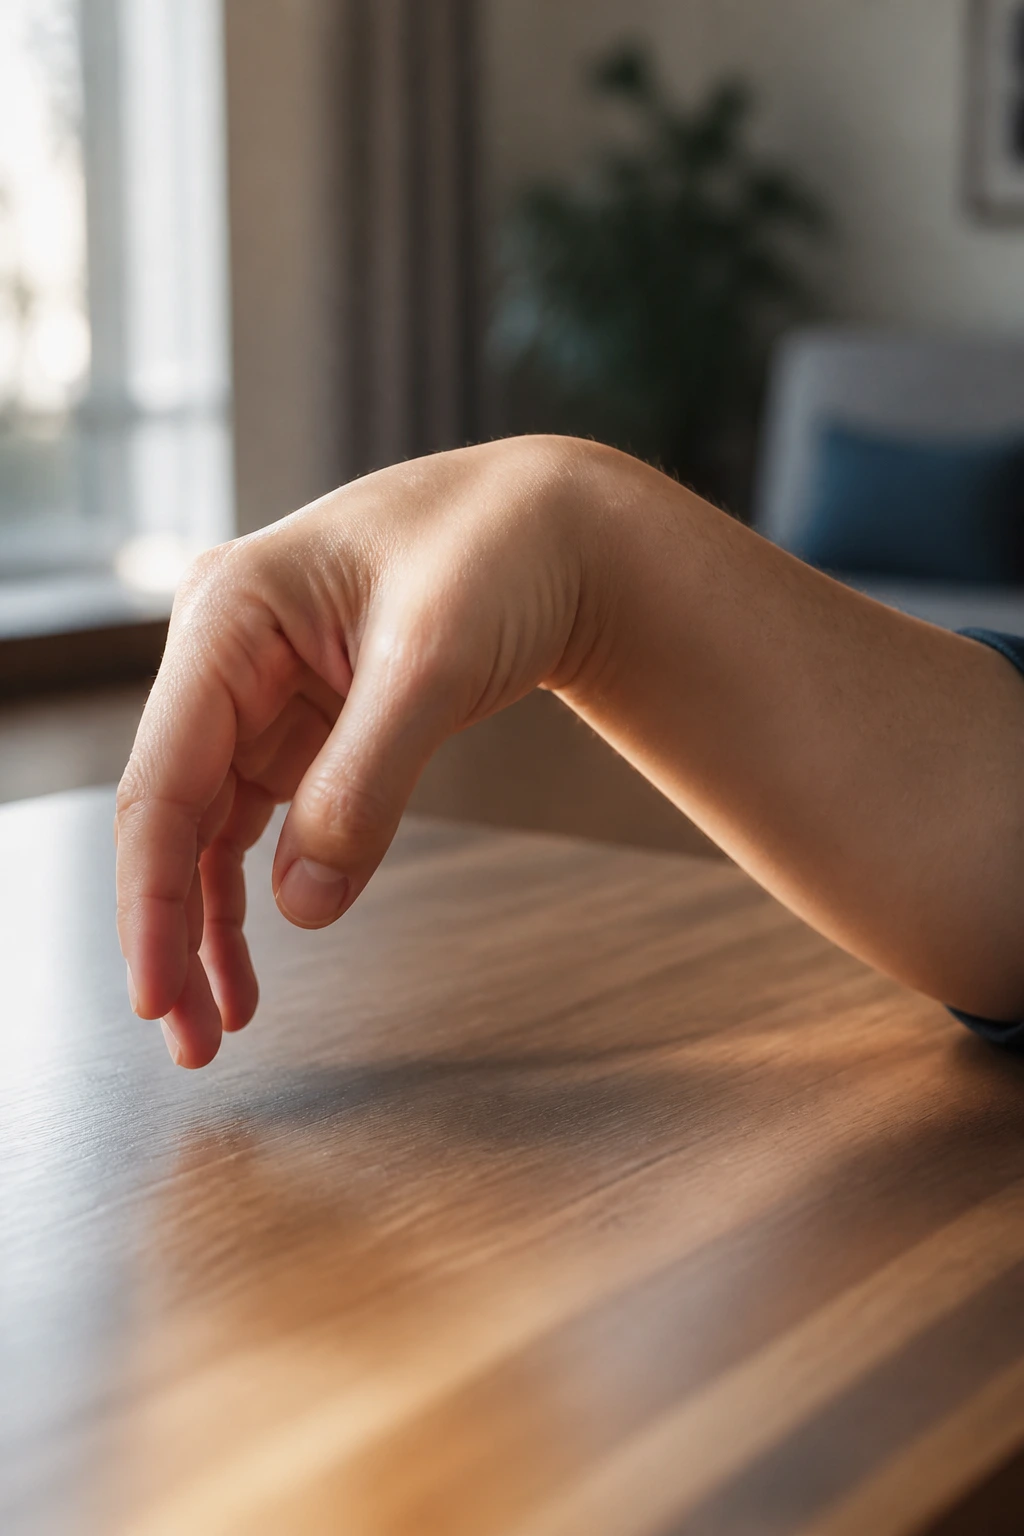
While we did thumb circles earlier, full wrist circles are essential for overall mobility. However, most people do them too fast and without purpose.
Slowing It Down
Slow down until you are moving at a glacial pace. Focus on tracing a large circle with your middle finger. If you feel a spot where the movement is “jumpy” or irregular, slow down even more through that specific arc. Do ten circles in each direction.
The Value of Awareness
This isn’t about getting the circles done; it’s about identifying where your wrist is stiff. You might notice that your wrist feels smooth in one direction but choppy in the other. That “choppiness” is where the tightness lives. Spending an extra ten seconds in that specific range of motion can be incredibly therapeutic.
15. The “Reverse Prayer” (Advanced)

Only attempt this if you have no pain in your wrists. It is a powerful stretch for the back of the wrists and is a staple in gymnastics and martial arts training.
How to Perform
Place the backs of your hands together in front of your chest, with your fingers pointing down toward your waist. Keep your elbows flared out to the sides. Slowly move your hands up toward your chest while keeping the backs of your hands pressed together.
Why It’s Last
This is a high-intensity stretch. Do not force it. If it feels too aggressive, stop immediately. It targets the muscles on the back of the wrist that are almost never stretched in daily life. Use this one sparingly—once or twice a week is plenty for most beginners.
Understanding Why Your Wrists Are Tight

Wrist pain is rarely caused by the wrist itself. Think of your arm as a complex system of levers and pulleys. The muscles that control your fingers and wrists live in your forearm, not in your hand. When you spend hours typing, gripping a steering wheel, or lifting weights, those muscles are constantly working. Eventually, they become fatigued and tighten up.
When a muscle tightens, it pulls on its tendon. Since that tendon is anchored to the bones in your wrist, the constant pulling creates inflammation and soreness. Most people try to massage their wrists, which is like trying to fix a clogged drain by scrubbing the faucet. The problem is in the pipes—the forearm. By stretching the forearm, you are giving the tendons the slack they need to function without pain.
The Difference Between Stretching and Strengthening

Stretching is about restoring length and reducing the “tug” on your tendons. However, sometimes the wrist hurts because it is weak. If your muscles are not strong enough to handle your daily workload, they will tighten up as a defense mechanism to try to stabilize the joint.
This is why a balanced routine includes both. If you are doing these stretches and the pain returns every single day, it is time to add strengthening. Simple wrist curls with a light dumbbell or even a water bottle can build the endurance your muscles need to survive the day without spasming. Think of stretching as the cleanup crew and strengthening as the maintenance team. You need both to keep the system running smoothly.
Warning Signs: When You Should Not Stretch

There is a distinct difference between “stretch pain” and “injury pain.” Stretch pain feels like a dull, pulling sensation, often described as a “good hurt.” It should dissipate immediately when you release the stretch.
Injury pain, on the other hand, is sharp, electric, or throbbing. It might feel like pins and needles. If you experience tingling, numbness, or loss of strength, put your hands down immediately. These are signs of nerve entrapment, often associated with carpal tunnel syndrome or severe tendonitis. Stretching an inflamed nerve can make the situation worse, not better. If you have been in pain for more than two weeks, or if the pain wakes you up at night, skip the stretching and see a physical therapist or a doctor. Your wrist is a complex network of nerves, and some issues need more than just movement.
Creating a Sustainable Daily Wrist Routine
The most common reason people fail with physical therapy exercises is that they try to do too much, too quickly. They do fifteen minutes of stretching on Monday, feel great, skip Tuesday, and then get frustrated when they hurt again on Wednesday.
Consistency beats intensity every time. Instead of trying to do all fifteen of these stretches at once, pick three or four that you enjoy. Do them at your desk during a mid-morning break. Do another few while you are waiting for the coffee to brew. By breaking them up, you are actually “greasing the gears” throughout the day, preventing the stiffness from building up in the first place. You are not trying to be a yogi; you are trying to be a functional human who doesn’t deal with daily aches.
Ergonomic Habits That Prevent Wrist Pain

Stretching is your first line of defense, but your environment is your first line of offense. If you have to reach awkwardly for your mouse or if your keyboard is at an angle that forces your wrists to bend, you are fighting a losing battle.
Look at your workstation. When you type, your wrists should be in a neutral, straight position—not bent up, down, or sideways. If your keyboard is too high, you are forcing your wrists into extension all day. A simple ergonomic keyboard tray or even a rolled-up towel under your wrists can drastically change the angle and reduce the tension on your forearms. Similarly, if your mouse is too small, you are likely “clawing” at it. A larger mouse that supports your palm can eliminate that clawing, which immediately takes the load off your flexor tendons.
Final Thoughts
The goal of this routine is to make your wrists feel like a normal, boring part of your body that you don’t have to think about. You shouldn’t be hyper-aware of your joints while you work or train. When you start noticing your wrists, it is a signal that your body is asking for a change in how you use them.
Listen to that signal. Start slow, be consistent with your chosen movements, and don’t be afraid to take a rest day if your forearms feel particularly tired. Your wrists have served you well—a few minutes of dedicated attention each day is a small price to pay to keep them working pain-free for years to come.
